Star Ocean: Integrity and Faithlessness Guide Part III: Main Story Walkthrough Chapter 11
Mission: Investigate the Signesilica
Before departing the Symbological Research Facility, Fidel and crew are given a clue into Relia’s past and the reason for her existence on Faykreed IV. In a redeeming act, Relia’s parents hand over an enigmatic card to the party, used to access a mystery within the Signesilica.
Action Checklist
- Optional: Undertake and complete side quests
- Optional: View Private Actions around various towns and the Charles D. Goale G
- Optional: Complete the final set of Cathedral of Oblivion challenges
- Head to the Signesilica, through Northern Territory of Sohma
- Find the statue of Palafytos
- Return to the Charles D. Goale G
Mission Walkthrough
With the mystery behind Relia’s origin unraveled, there’s one final piece of the puzzle to investigate. Why was she raised on Faykreed IV, of all planets? To find out, you’ll need to take a plunge into the birthplace of signeturgy, the Signesilica.
Optional
Side Quests
| Central Resulia |
| Indecent Exposure |
|
| Santeroule |
| Open Season on Ruphin |

|
| Open Season on Bordnaks |
| Open Season on Pyekards |
| Open Season on Douxrah |
| Uprooting Families |
| Eastern Trei’kur |
| That Darn Ruddle |
| Subjugation Directive: Dante and Mateo |

|
| War and Peace |

|
Private Actions
| Charles D. Goale G |
| Relia’s Fate |
| Central Resulia |
| Under My Thumb? |

|
| New Friend |
| Friends for Now |
| Santeroule |
| The Letter |
| Eastern Trei’kur |
| Far from Home |

|
| Remembering Mom and Dad |
Shop—Ruddle, Central Resulia
Ruddle the Wanderer
| Item | Cost | Type |
|---|---|---|
| Alchemist’s Water | 3600 | Material |
| Blue Roses | 1200 | Material |
| Cashmere | 2800 | Material |
| Demon’s Tail | 200 | Material |
| Dwarven Embroidery Thread | 1800 | Material |
| Fish Scales | 160 | Material |
| Giant Bird Feather | 400 | Material |
| Green Fruit | 360 | Material |
| High-Strength Adhesive | 1200 | Material |
| Iron | 400 | Material |
| Red Fruit | 300 | Material |
| Ruby | 1400 | Material |
| Silver | 800 | Material |
| Velvet Ribbon | 2400 | Material |
Cathedral of Oblivion, Final

At this point in the story, the final iteration of the Cathedral of Oblivion is available. You can complete the previous five areas, plus an additional one that becomes accessible later on. For completing each skirmish, you’re rewarded with the second strongest weapon, one for each of your controllable party members. The upgrade from your current equipment is drastic—so drastic that obtaining these weapons may make the rest of the main story battles seem trivial! However, the boss found in these final cathedrals can be incredibly difficult.
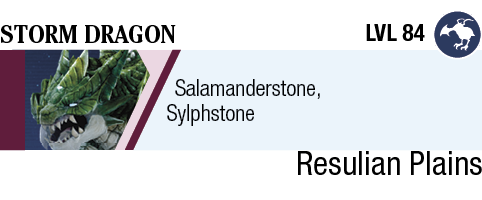
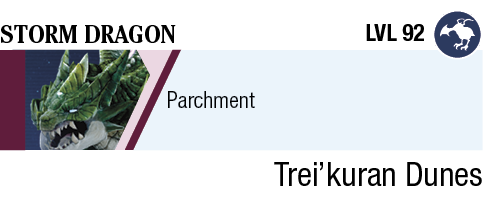
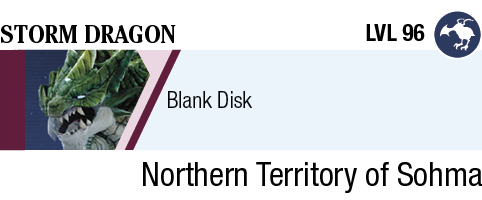
You can access the cathedral through the same warp points you entered from before. From easiest to hardest, the order is Coast of Minoz, Central Resulia, West of the Eastern Eihieds, Eastern Trei’kur, Northern Territory of Sohma, and then one final challenge that you can enter later as you progress through the story.
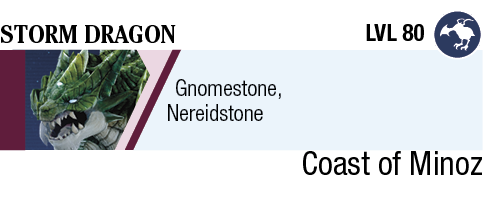
Your party should be at least around Level 60 to 70 since the minimum level of the cathedral’s main boss is 80 (in the Coast of Minoz). Additionally, the final iteration consists of seven rounds (whereas the previous iteration consisted of five): six with groups of enemies that become increasingly difficult, and then a final boss—the mighty Storm Dragon.
You can save these dungeons to complete for post-ending content, or you can give yourself a challenge in order to obtain incredible weaponry. When you’re ready for the trial, head to the Coast of Minoz and look for the warp point on your map. If it doesn’t spawn, simply exit the zone and re-enter it until it does.
Storm Dragon


The Storm Dragon is most likely your toughest encounter yet, especially if you’re going into the fight under Level 70. However, it’s manageable with the correct preparations.
Your equipment should consist of the latest possible purchases, either from locked chests or from crafting and synthesis. They don’t need to be augmented fully, but it helps if you have Ornamentation, Fortification, and Whetting unlocked to boost your combat attributes.
Storm Dragon
Storm Dragon
Storm Dragon

Storm Dragon
Storm Dragon
Storm Dragon


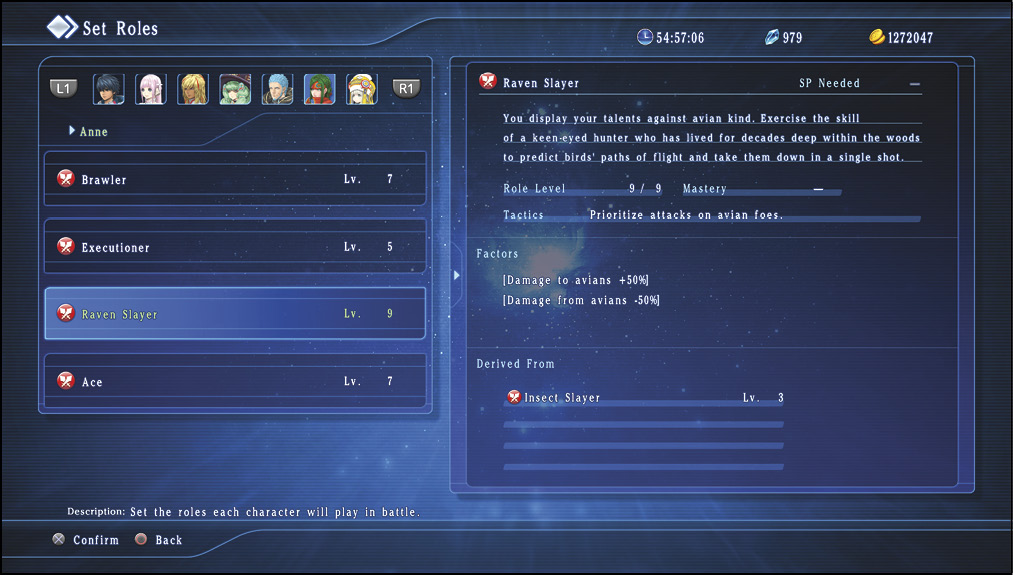
For roles, you’ll want to have the following healer types leveled: Crusader, Sage, Healer, and Savior. For offense, suggested roles include: Berserker, Daemon, Raven Slayer, Enchanter, and Emissary of the Blue Sphere. Equip Miki with the healer roles, Emmerson with Daemon and Berserker, and Anne with Raven Slayer and any other offense-enhancing roles. Raven Slayer is crucial because it increases damage done to and reduces damage taken from avians by 50% (at max level). On your swordsmen, Fidel and Victor, you can equip guard-boosting roles to help them survive the dragon’s melee onslaught. Having Vanguard, Marshal, and Avenger leveled is ideal. Relia should have at least the Vivifier support role equipped to keep your AI-controlled members active.
For food, you should either eat ATK- or INT-boosting food before engaging with the dragon. Grilled Steak works well, especially considering the dragon’s high DEF rating. Hopefully, you have Fiore’s Void spell learned at this point, as well. You should also disable all of Miki’s offensive signeturgies so that she can focus on raising and healing other party members when you’re not controlling her.
The actual fight can be hectic. Your primary concern is to separate your party members to avoid multiple casualties from the devastating Tornado spell.

When you engage, take control of Miki and move her as far away from the dragon as possible. If the dragon starts casting Tornado, make sure to open the battle menu (default J button), assess where the attack is projected, and then move anyone in danger out of the way. If your party is set up properly, the AI-controlled Miki should be able to keep everyone’s health up with Ex Healing and Faerie Light. Try to keep Emmerson and Fiore far away, too. The dragon frequently changes its target and chases after your other party members, so keep a lookout and move them accordingly.
Anyone hit by Tornado, especially at close range, can potentially die instantly because it deals a devastating amount of damage. If this happens, raise your party members up as soon as possible. If Miki goes down, have Fiore cast her Raise Dead spell on her, or have one of your other members use the Fresh Sage item. If you’re positioning correctly, you’ll most likely be able to raise your knocked-out members without risk of wiping out.

Another aspect of the dragon to watch out for is Enshelter, the buff it casts on itself. This boosts its DEF drastically, so you’ll need to make sure to dispel it with Fiore’s Void signeturgy. Watch for the DEF UP icon beneath the Storm Dragon’s status bar, and react accordingly. When it has this buff on, you’ll notice that your attacks deal significantly less damage, even from your strongest members.
As its name implies, the Storm Dragon is not only immune to wind- and lightning-based attacks, but it absorbs them. Make sure to turn off any wind-based spells to prevent this (Emmerson’s Seraphic Thunder is also wind-based, so change his battle set if you need to).
Although the Storm Dragon absorbs Wind-based spells, Ice magic (and other non-Wind based ones) does well against it, so when you have time, you can control Fiore to combo cast repeated Ice Needles. Remember to unleash your high-damage Reserve Rush cancel combos with your ATK-based damage dealers, too.
To summarize, keep your back line members away from Tornado, pausing the game when necessary. Cast Void whenever the Storm Dragon buffs itself with Enshelter, and spend your Reserve Rush liberally. Eventually, the dragon goes down, rewarding you with an epic weapon for one of your party members in the nearby treasure chest.
Skeleton Soldier

Amber Princess

Jatayu

DINOSAURuS

Return to the Northern Territory of Sohma
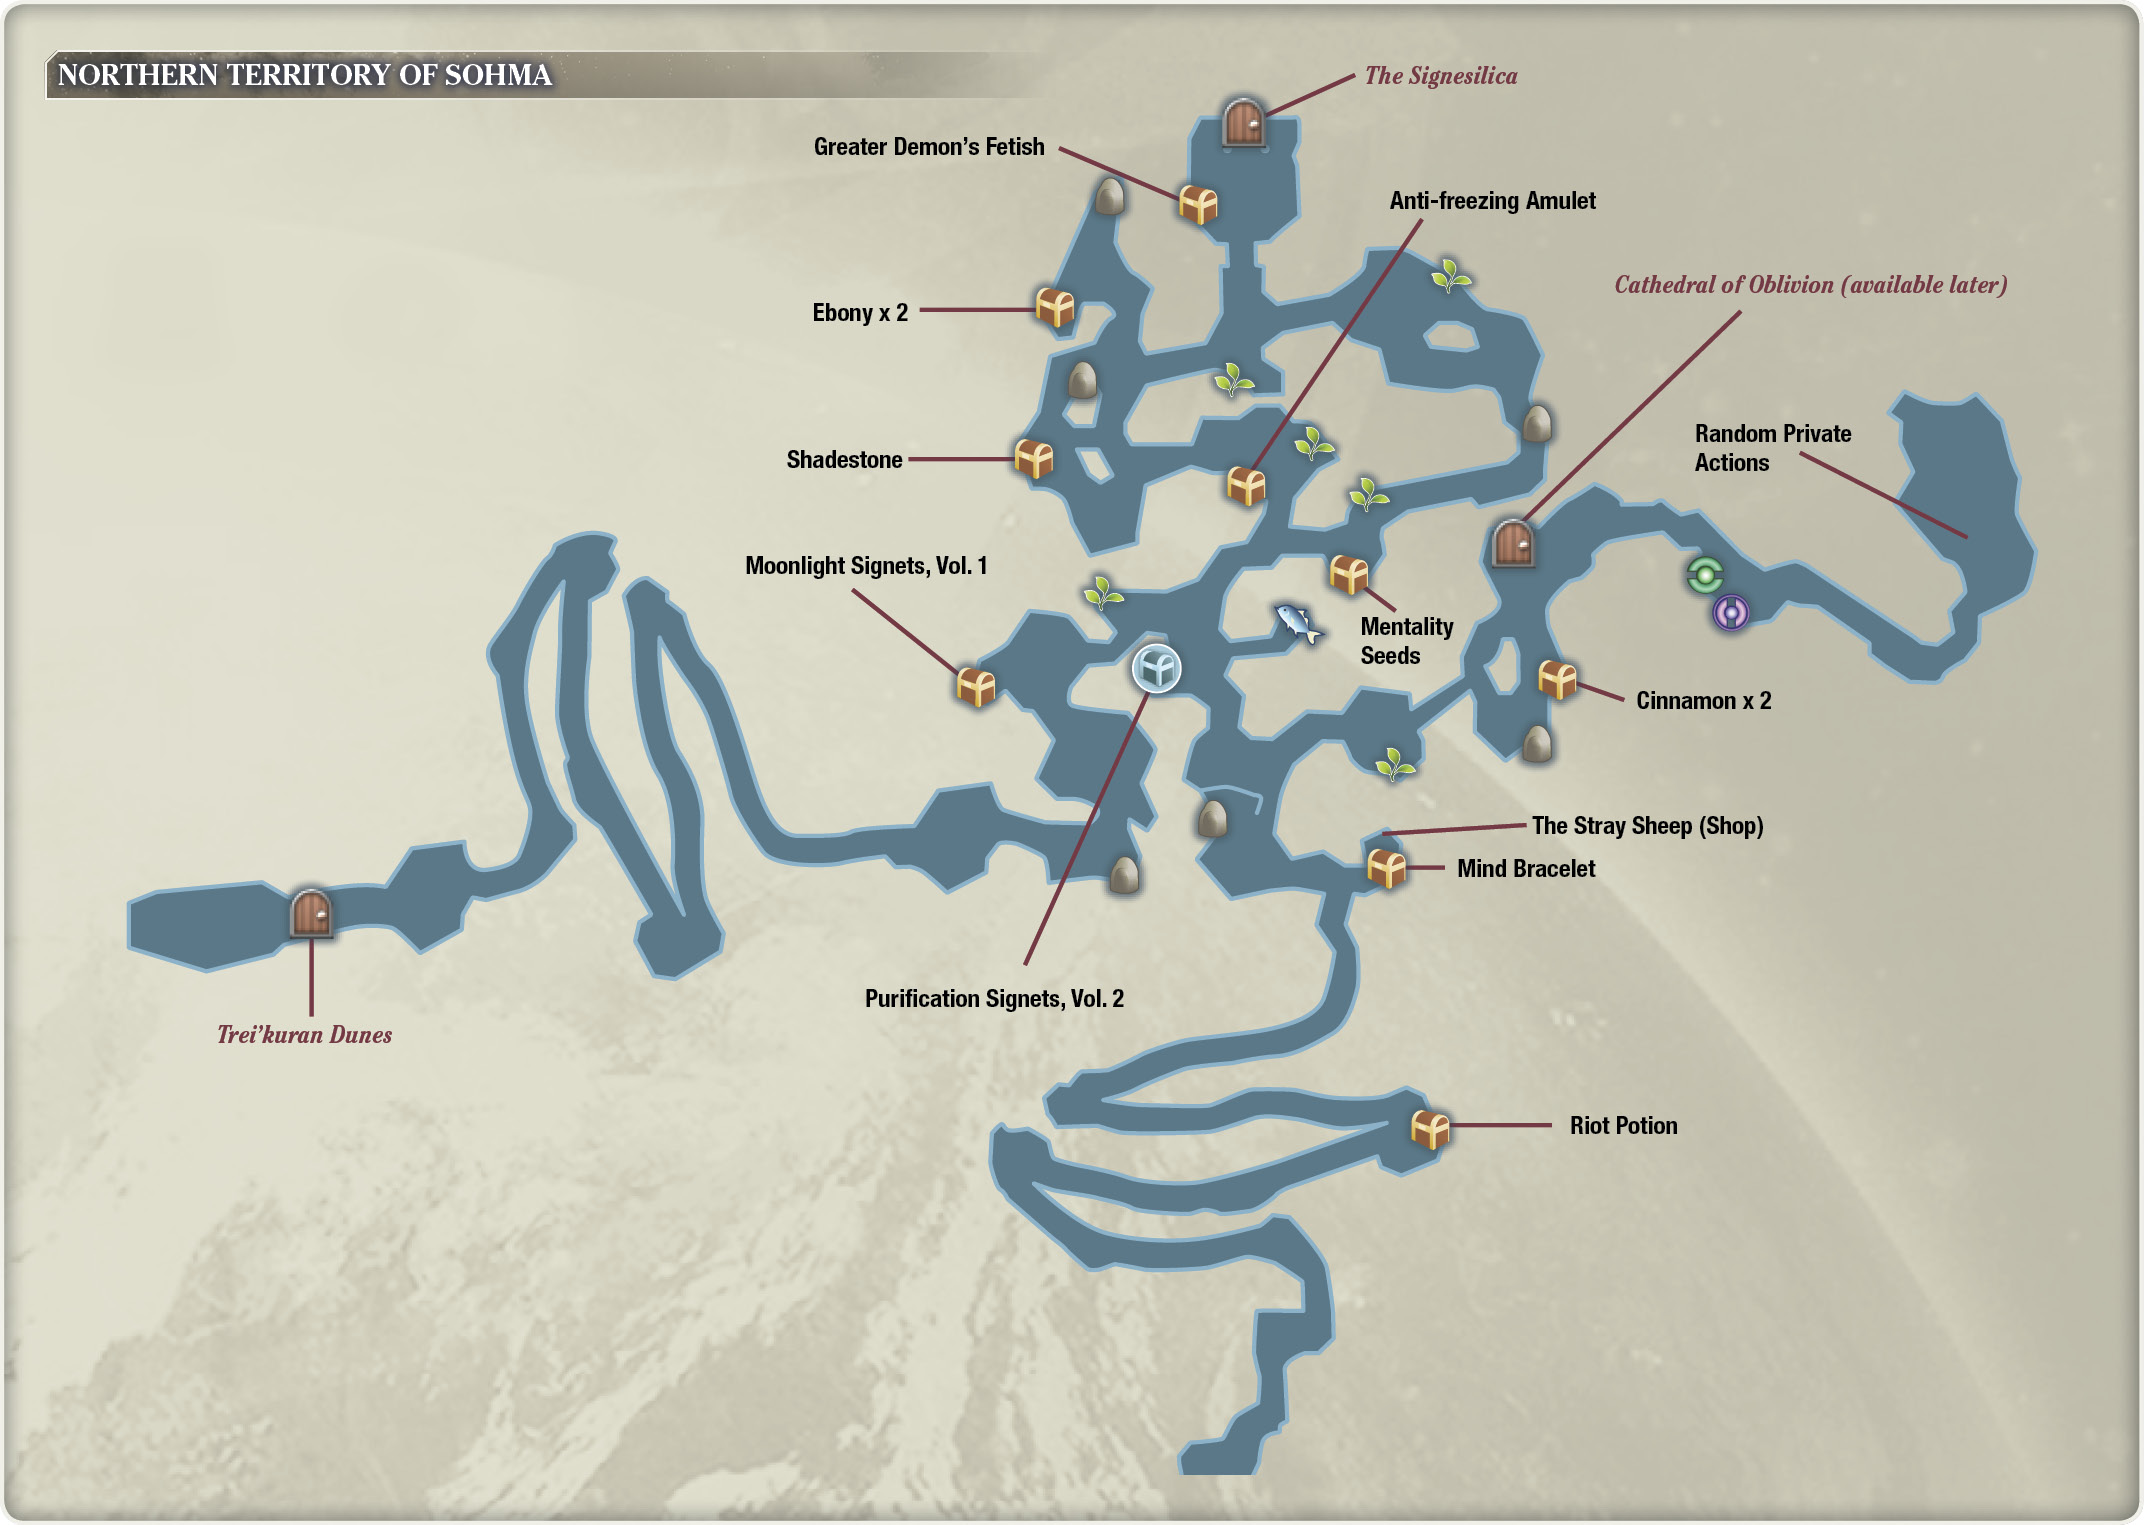
When you’re ready to dive into the Signesilica, take the Charles D. Goale’s transporter to the Northern Territory of Sohma. Your starting point is at the west end, near the Trei’kuran Dunes, with your destination at the north end of the map.
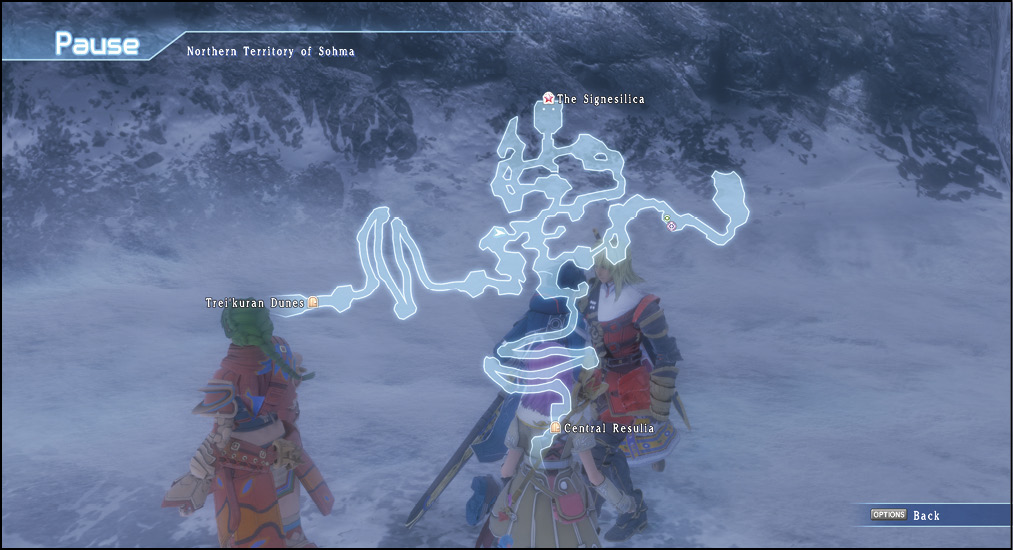
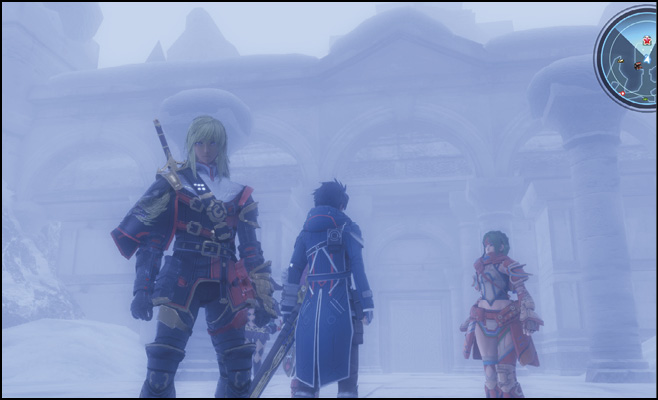
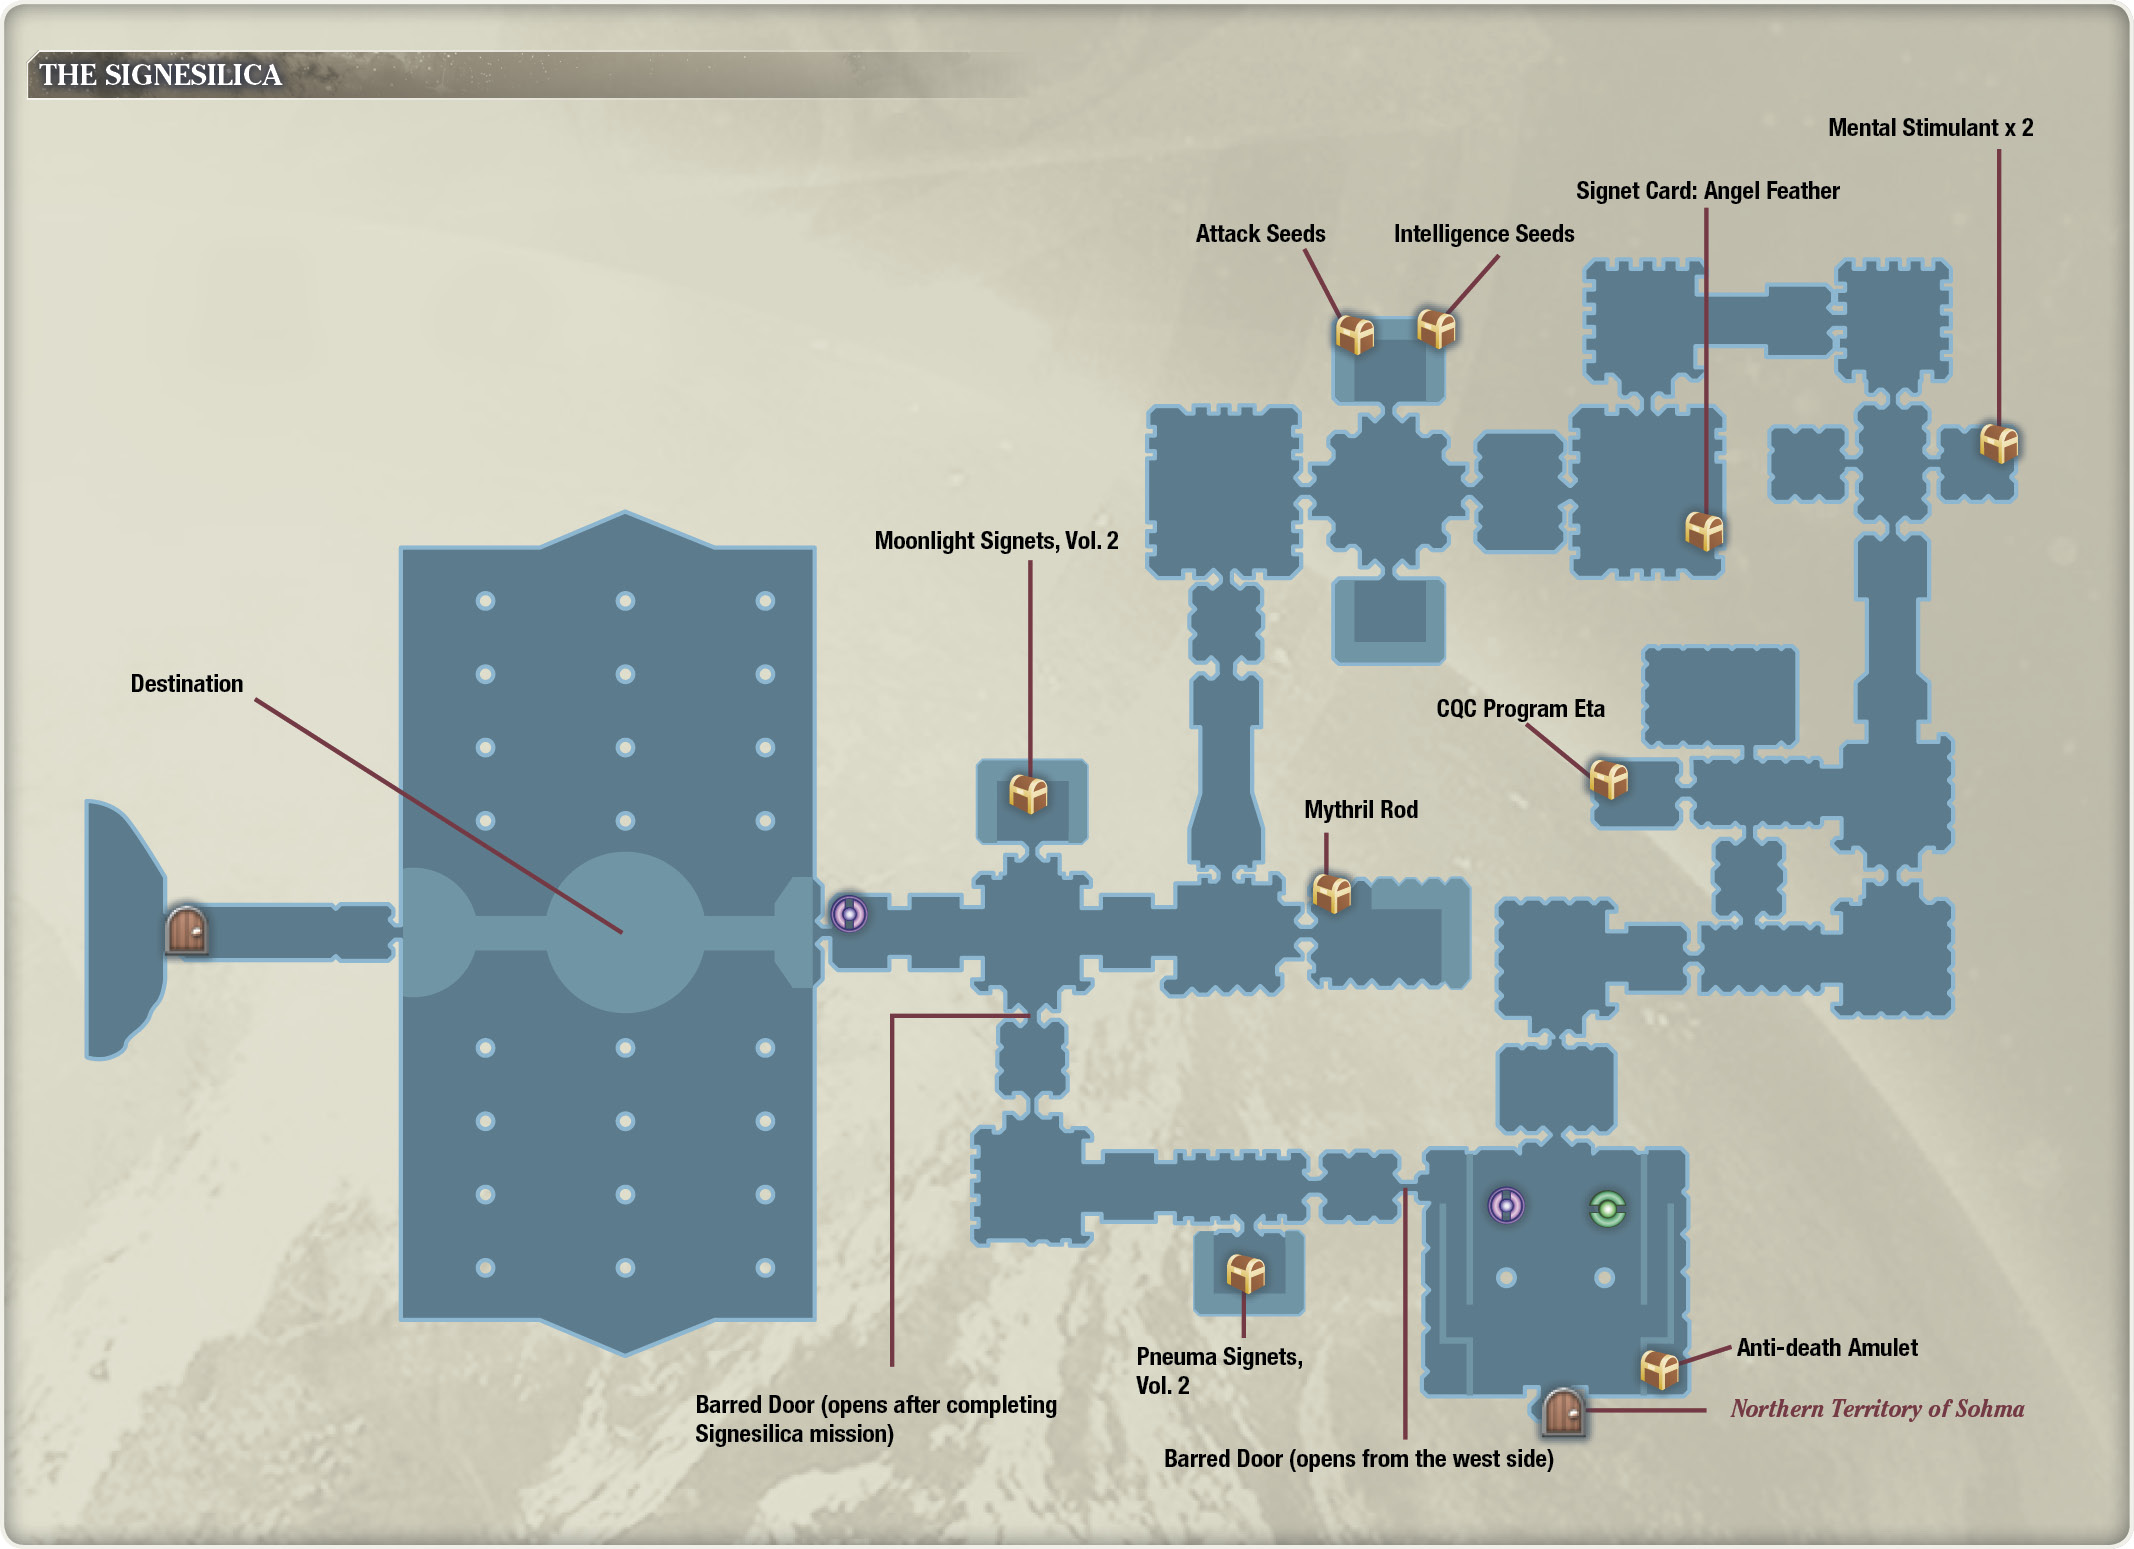
If you haven’t picked up the chests in the northern region of the map, you can do so now. Head north from the center of the area; to your immediate east, you can find a chest containing some Mentality Seeds. If you turn around west and then go north a few steps, there’s another chest holding an Anti-freezing Amulet. Along the west side of the area, you’ll find a few groups of enemies, along with two more chests. Pick up the Shadestone and Ebony x 2, then enter along the northern path heading east, then north, to the entrance of the Signesilica. Don’t forget to grab the Greater Demon’s Fetish nearby (just west of the Signesilica entrance) if you haven’t collected any of these yet. Now, enter the ancient structure to the north.
Inside the Signesilica
Little Satan

Dark Material

Chaotic Cell

Sacred Guard

Ravenne

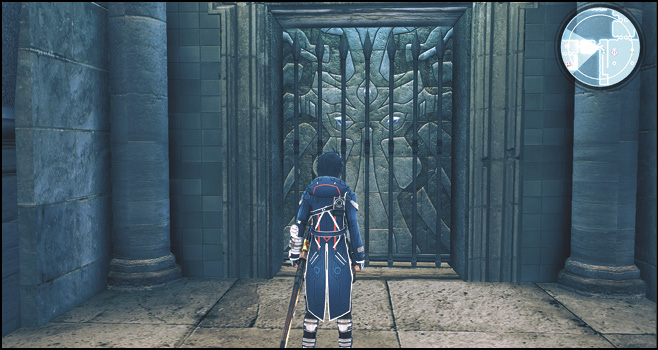
Once you are inside, there are save and restore points in the main hall. Refill your HP and MP, then save your progress here. If you take a look at the map, there’s a door up the stairs to the west that’s barred. This is a shortcut you can take later if you want to return for quests or to pick up anything you might have missed.
First, go up the stairs on to the east balcony in the main hall. At the southeast end lies a treasure chest with an Anti-death Amulet inside.
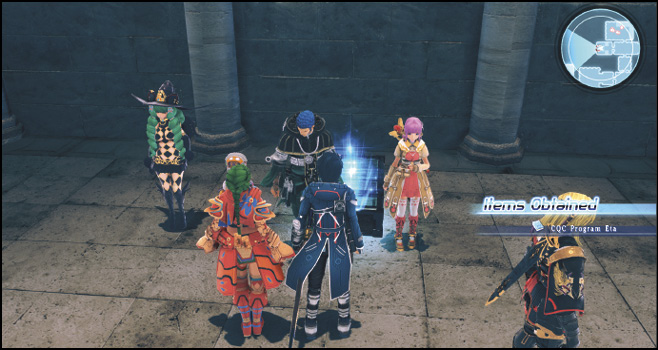
Pick it up, then take the door to the north from the main hall, fighting through the Signesilica’s Corrupt-type monsters. Your path here is fairly straightforward. Travel east, then make the first left you can make, going north. Eventually, you find a door to your left. Head west inside to open a treasure chest containing a CQC Program Eta skill disk.
Use the disk to learn a new skill for one of the federation officers, then turn around and continue all the way east until you can go north. Continue north until you come to a hall with three doors. Enter the one to the east to pick up Mental Stimulant x 2 from a chest in there.
Return to the hallway and take the north door, entering a room full of Sacred Guards. Dispatch them, then continue along the path westward.
In the room to the south from here resides an avian-type enemy called Ravenne. Defeat it, then open up the chest in the room to obtain Signet Card: Angel Feather. Keep going west until you reach an intersection room. Through to the door to the north, there are two chests in a room that hold Attack Seeds and Intelligence Seeds. Grab them, then return to the intersection room. Open the door to the west, and you’ll see a giant Ash Dragon just waiting to get its teeth in you.
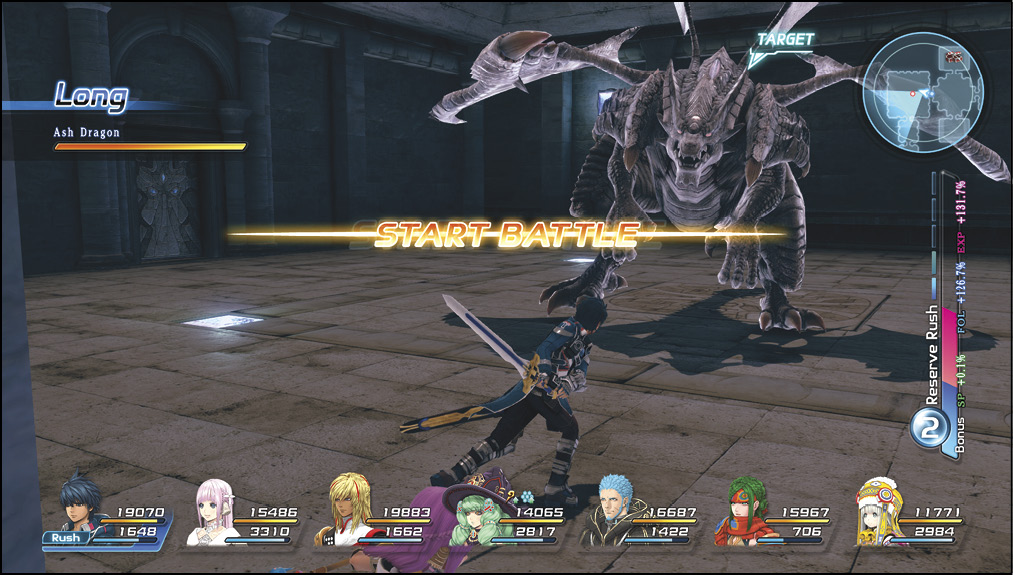
Ash Dragon

Before you fight it, you might want to prepare by eating stat-boosting food; HP-enhancing food can be helpful. While the Ash Dragon doesn’t have an amazing amount of hit points, it does dish out a large amount of damage. Slay it, then proceed all the way south. If you’ve undertaken the Open Season on Ruphin quest, enter the room to the east here to defeat Ruphin the Imperious, a Corrupt-type enemy. In the same room, open the chest to obtain a Mythril Rod.
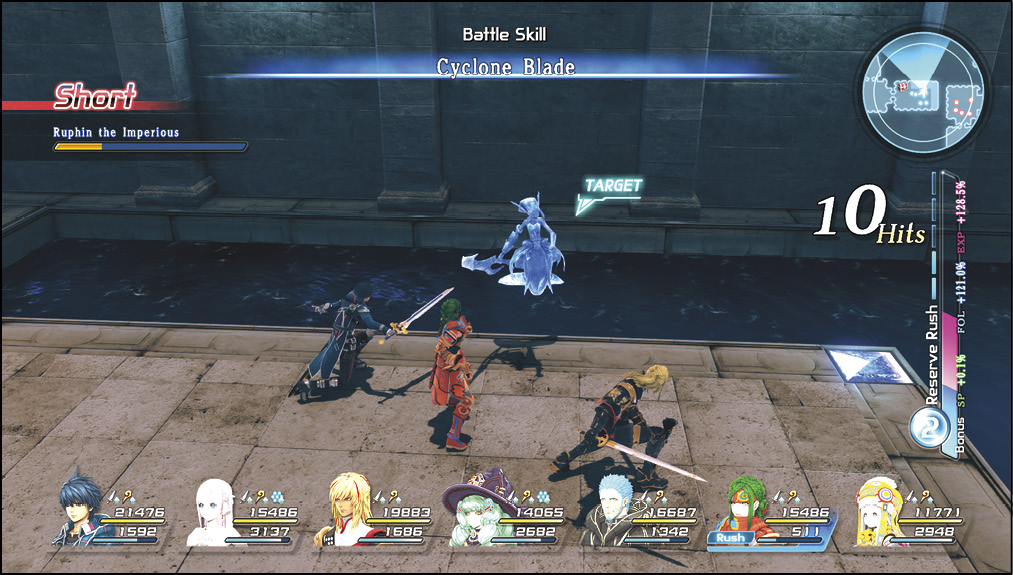
Crystal Guardian

Continue west, and you’ll see a save point ahead. Before the save point, enter the room to your right, going north, to pick up a copy of Moonlight Signets, Vol. 2 in the treasure chest. Now, save your game and prepare for a boss battle in the west wing of the Signesilica.
The Crystal Guardian is a Corrupt-type enemy, so Mutant Slayer works well against it on one of your damage-dealing party members. It’s also capable of casting powerful signeturgical spells at your back line heroes, so watch out for things like Radiant Lancer. The guardian also uses a full-screen lunge attack, as well as an extremely powerful triple beam attack skill. This causes devastating damage, so make sure to run out of its line of fire.
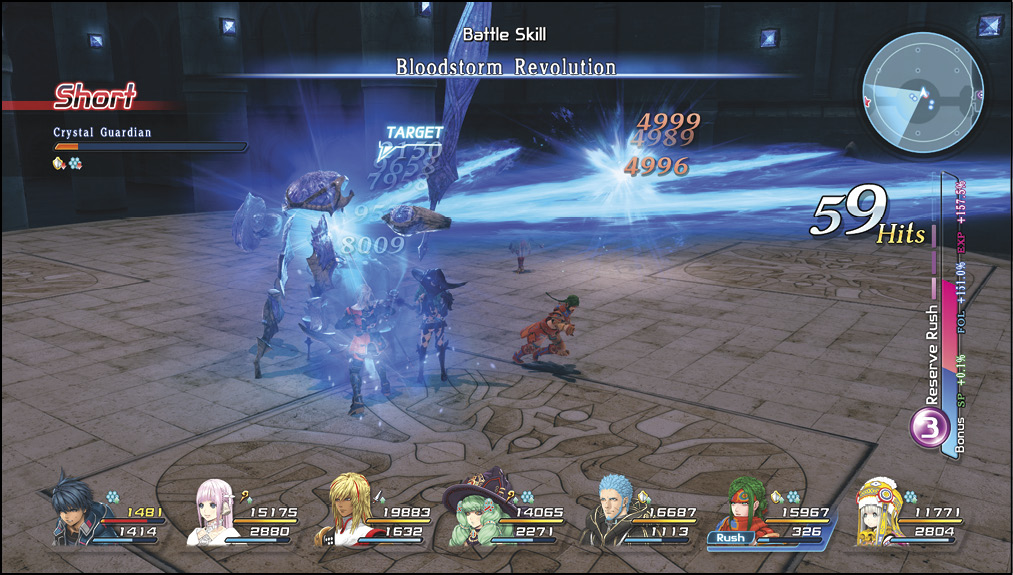
The Floating Desert Beneath
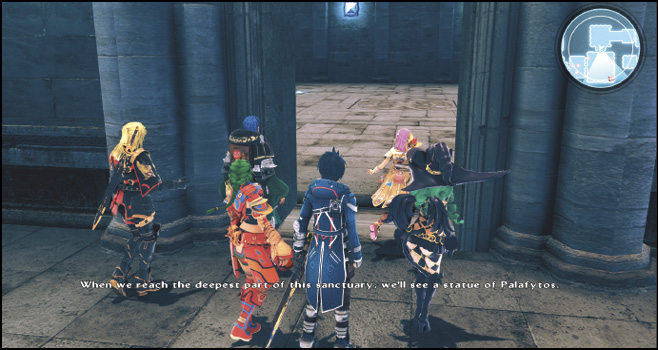
When you’ve defeated it, continue west down a flight of stairs, where you’ll find a statue of Palafytos, the founder of signeturgy. Although it’s seemingly a dead end, Anne senses an electrical field emanating from behind the statue. She takes the card that Relia’s caretakers gave to Fidel and scans it at the statue’s base. A hidden doorway appears.
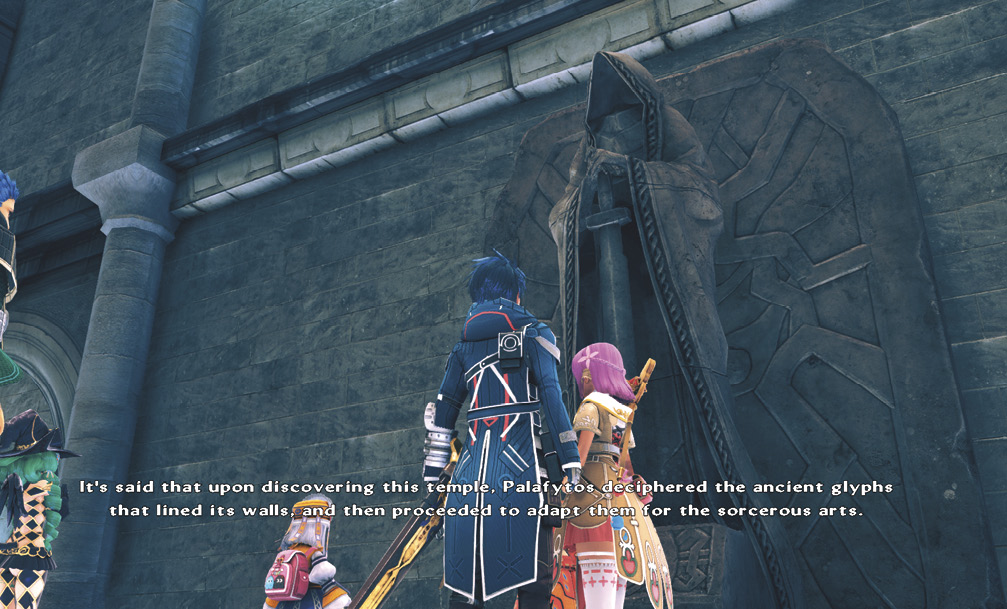
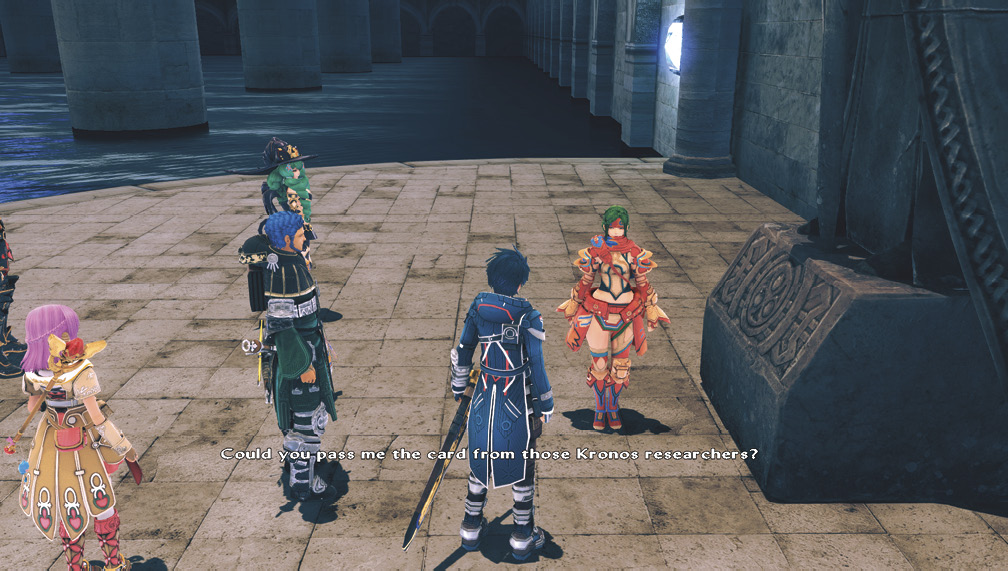
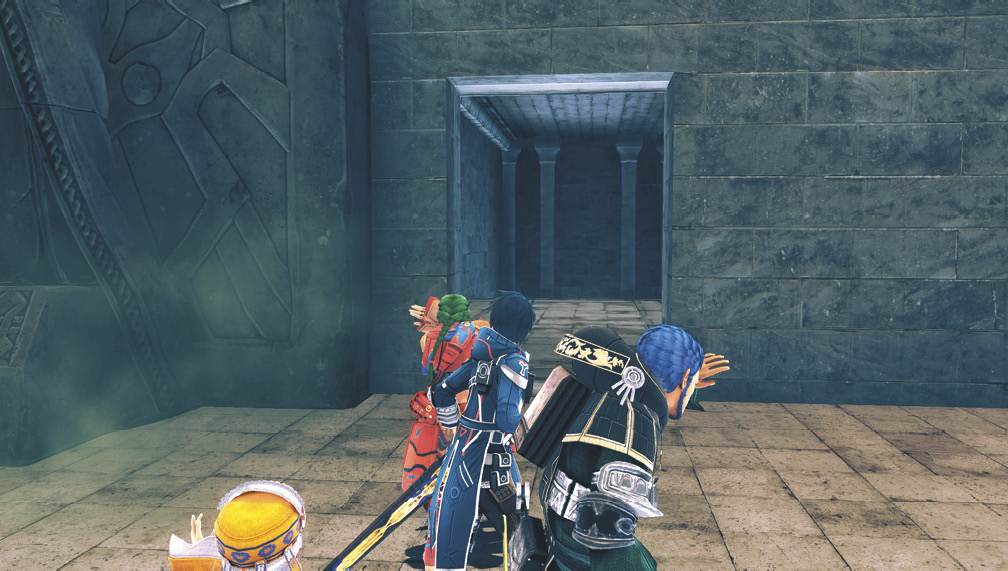
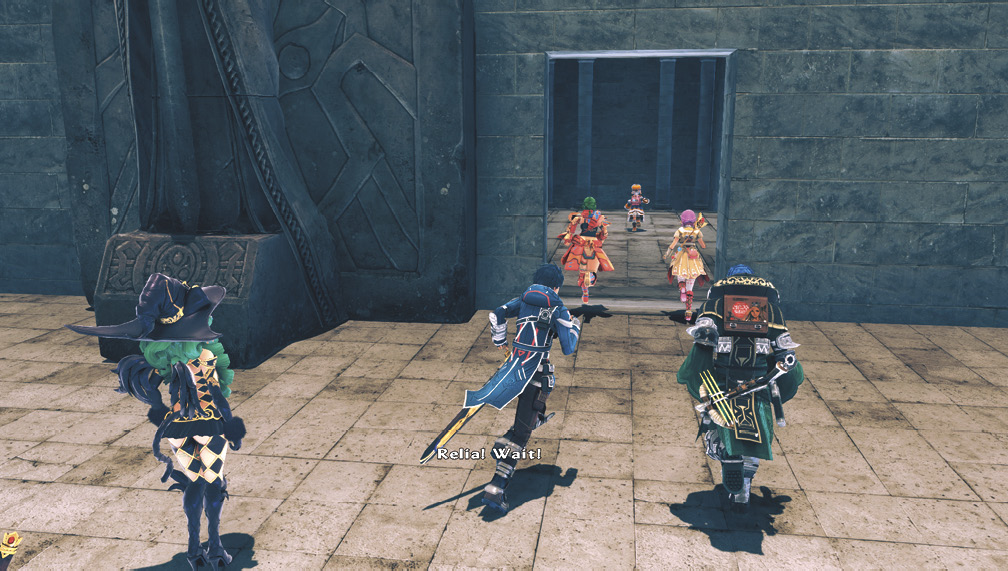
Relia runs ahead. Follow her down into the mysterious dimension.
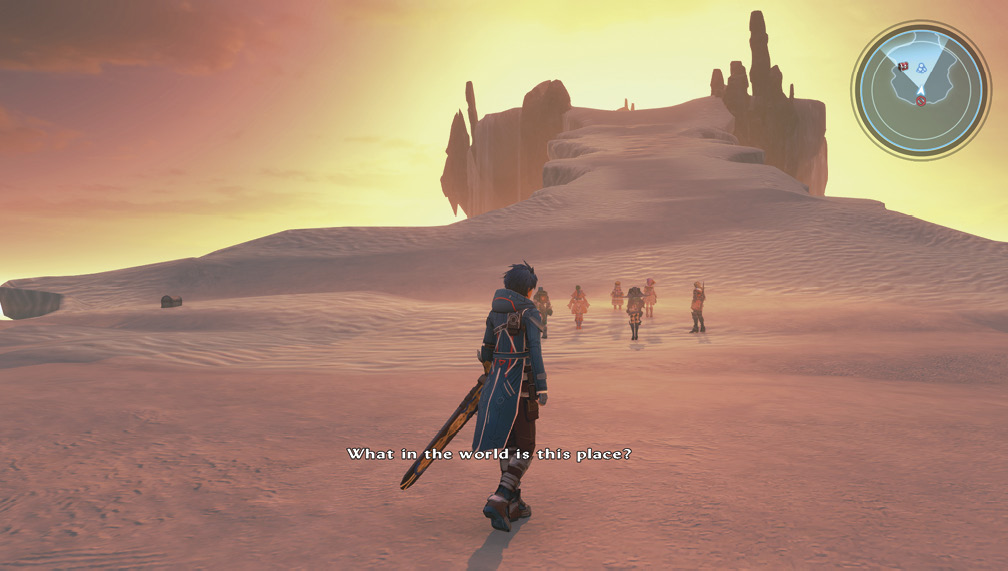
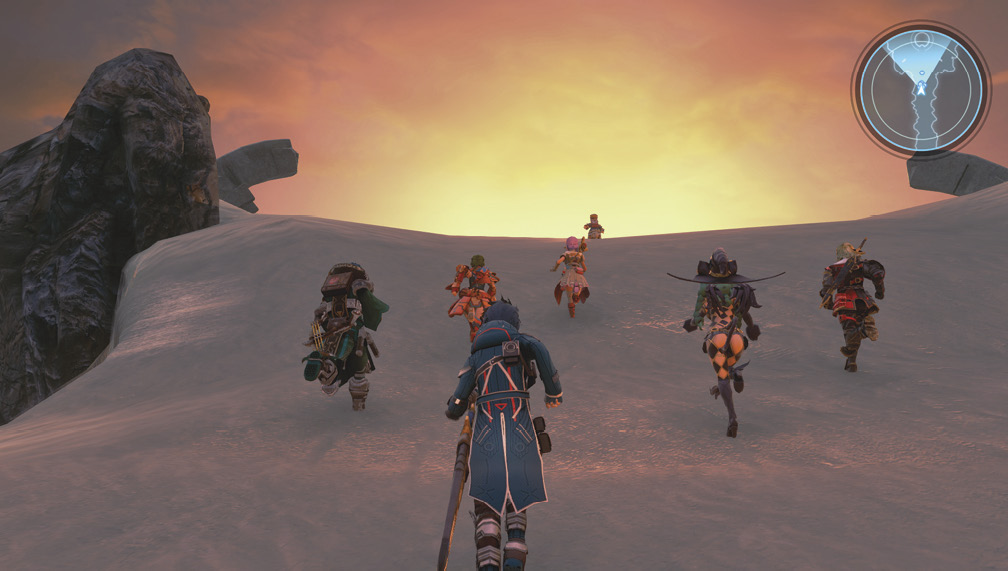
Relia recognizes this otherworldly area and seems to be attracted to something up ahead. Continue following her up the hill, where you’ll come across a strange circular structure.
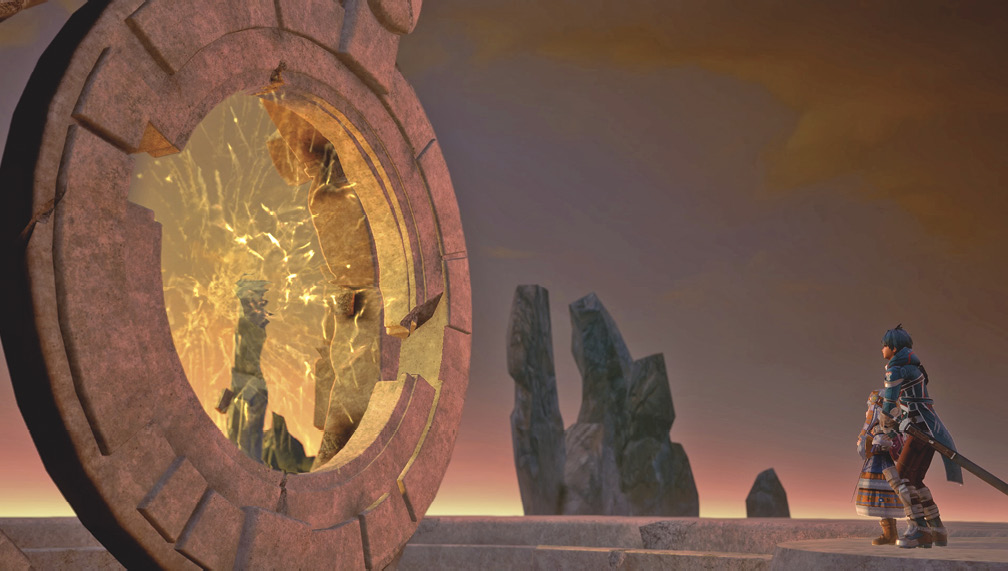
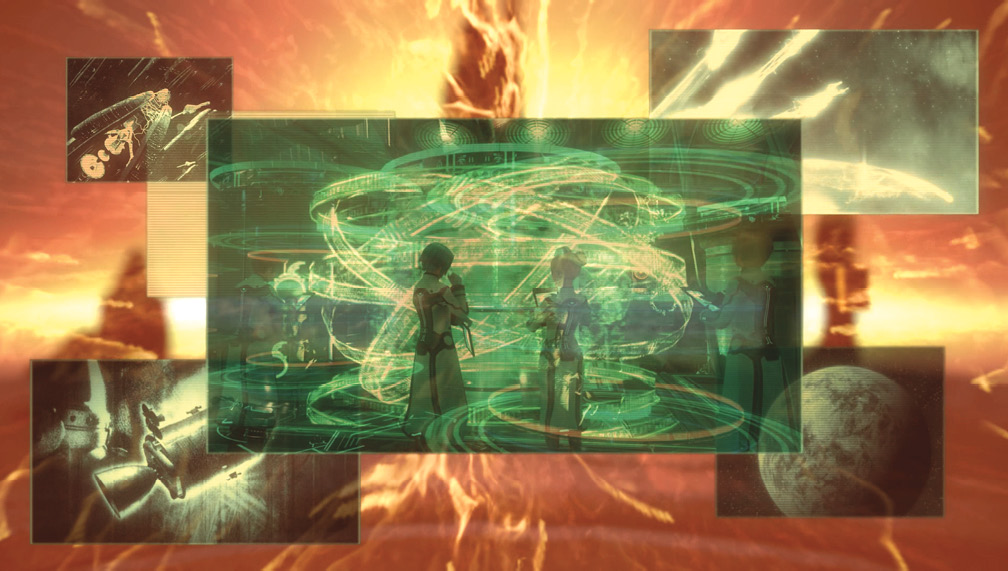
The device activates, displaying Relia’s past and reminding her of her painful existence as a man-made weapon. However, Fidel assures her that she’s more than that now, considering how much she’s protected her new friends. After his words of encouragement, a newfound strength emerges from her.
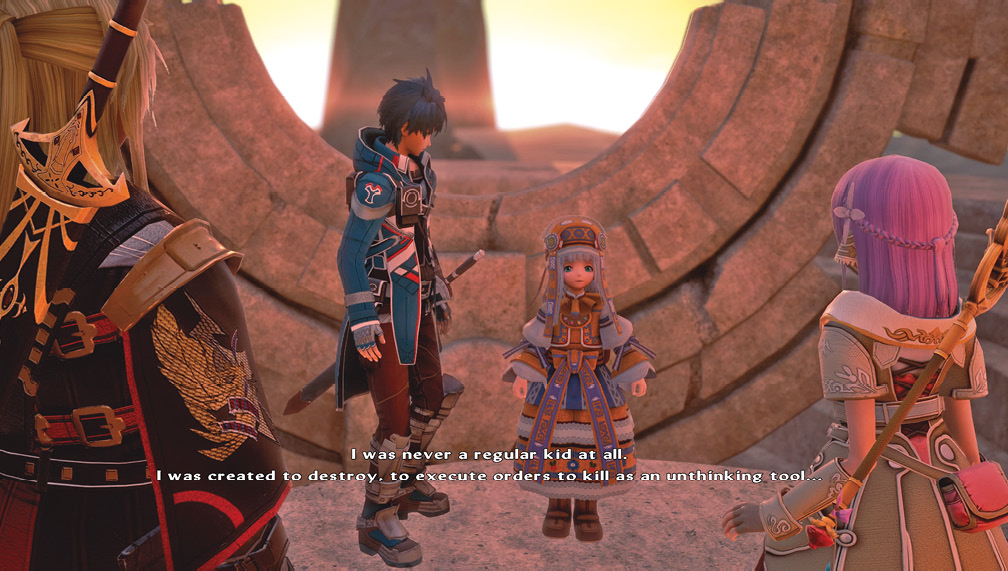
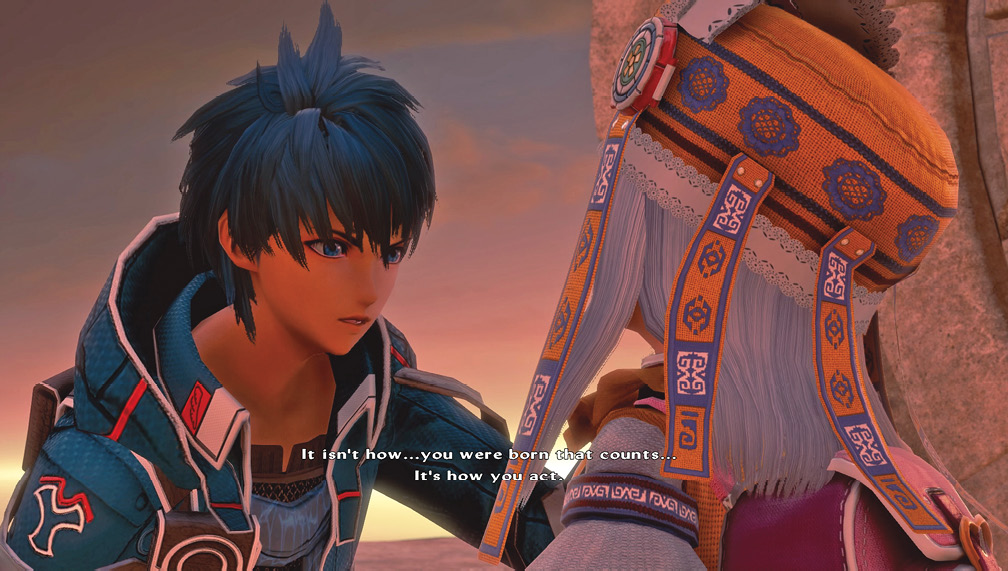
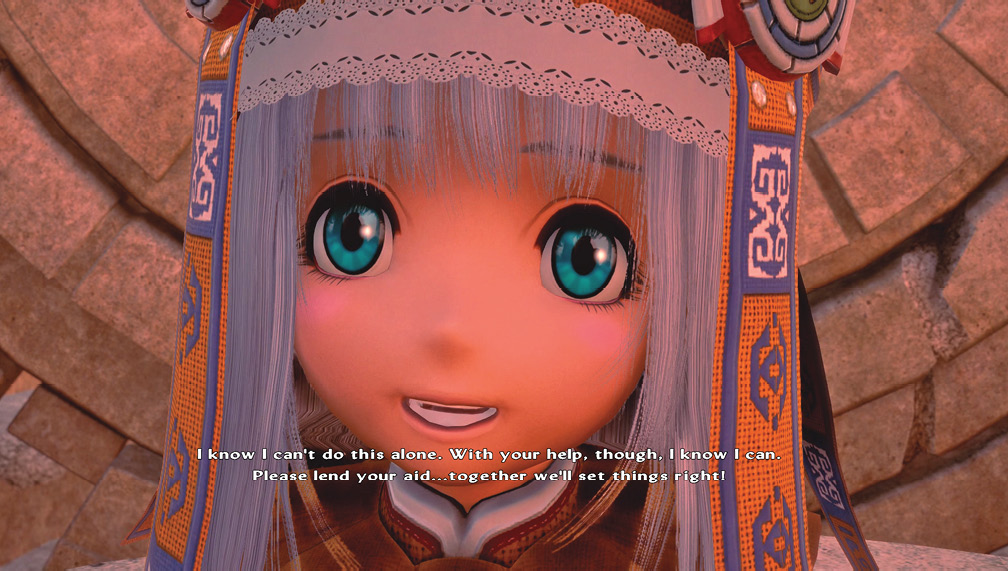
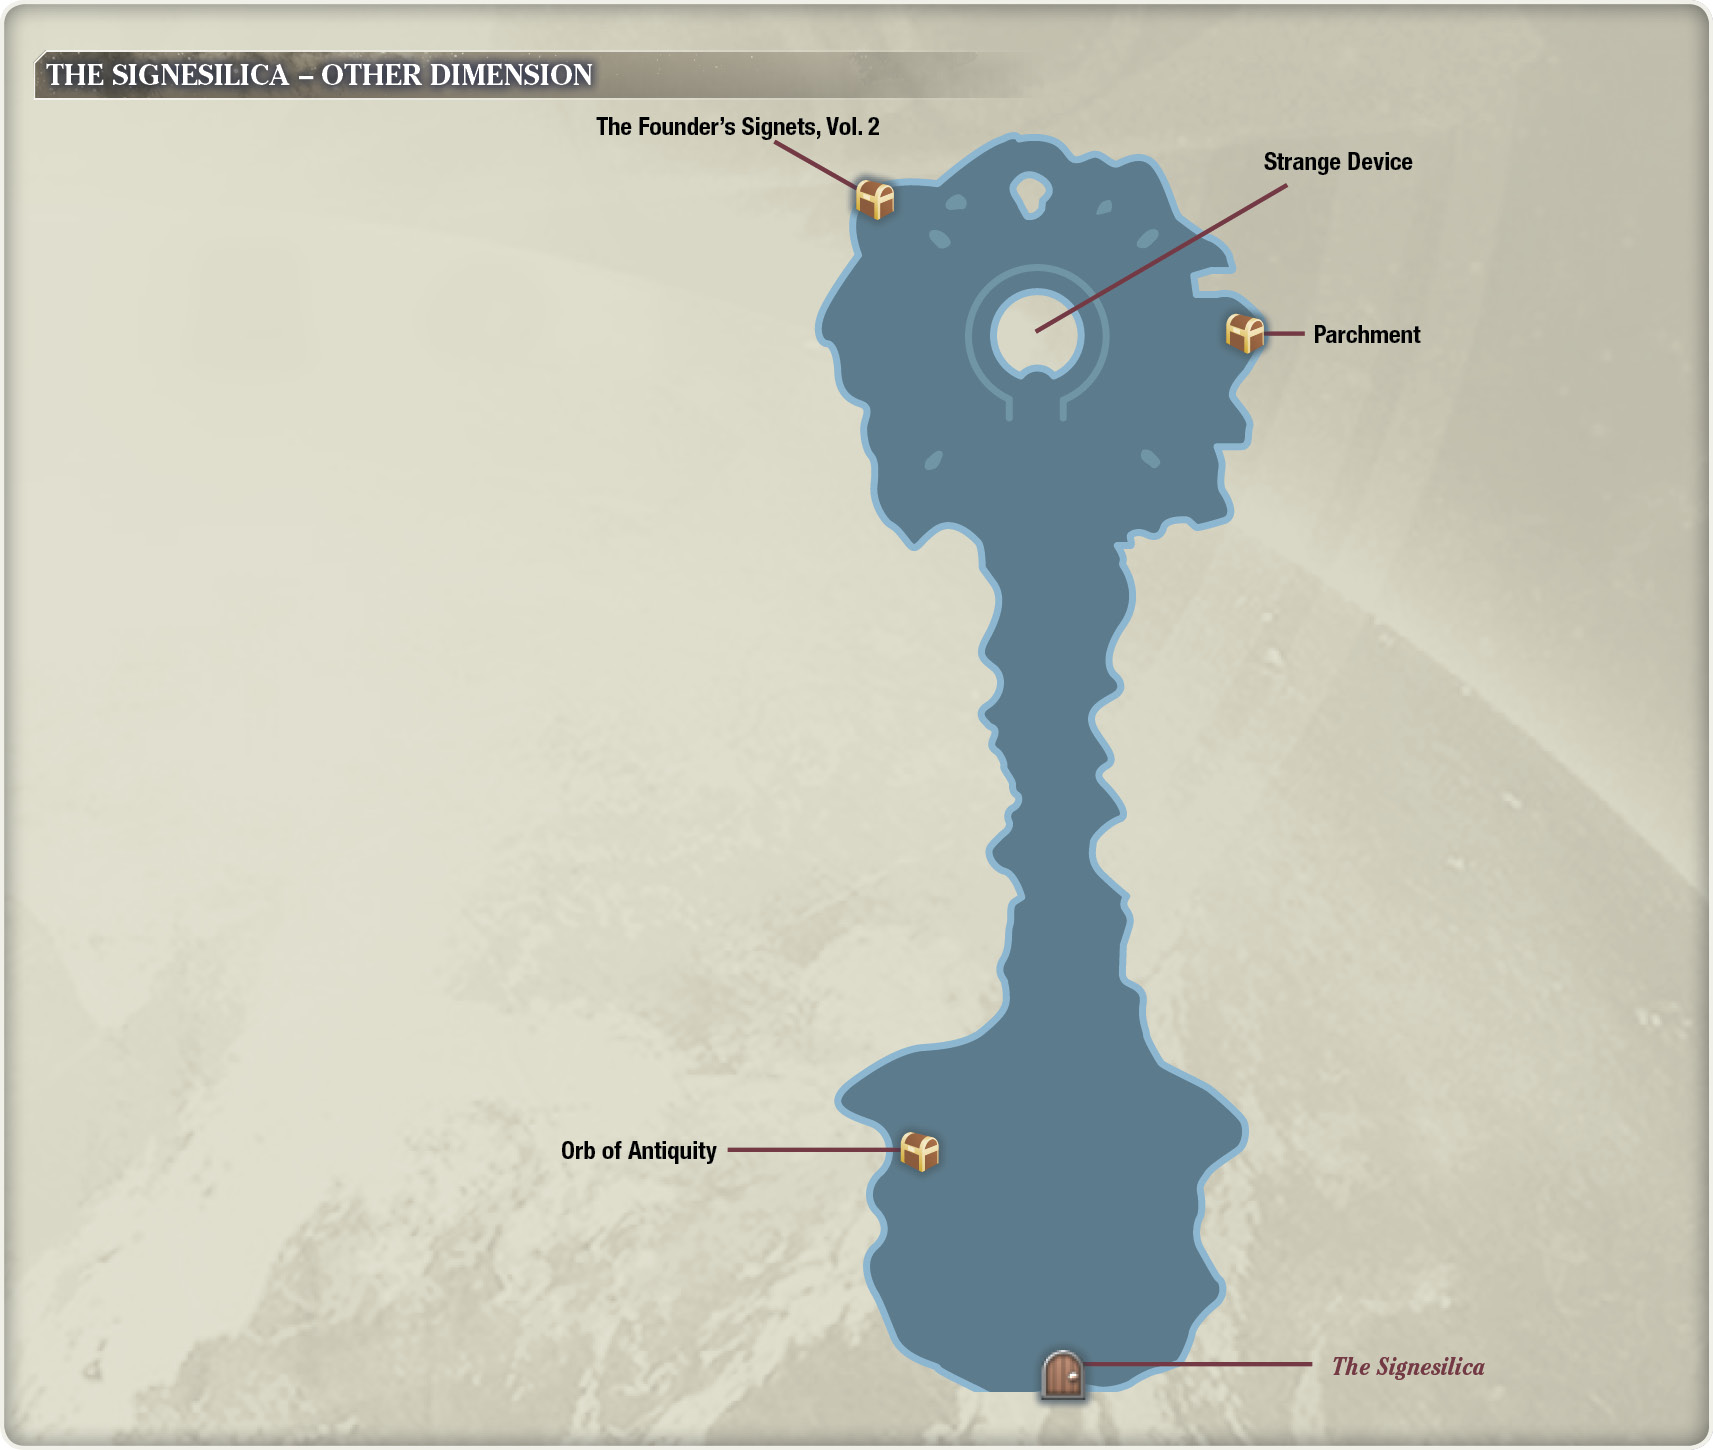
After the cutscene, there are three chests in the area to loot. To the northwest of the extraterrestrial device is a copy of The Founder’s Signets, Vol. 2. To the east of the platform, pick up a piece of Parchment. On your way out, open the chest near the exit for an Orb of Antiquity.
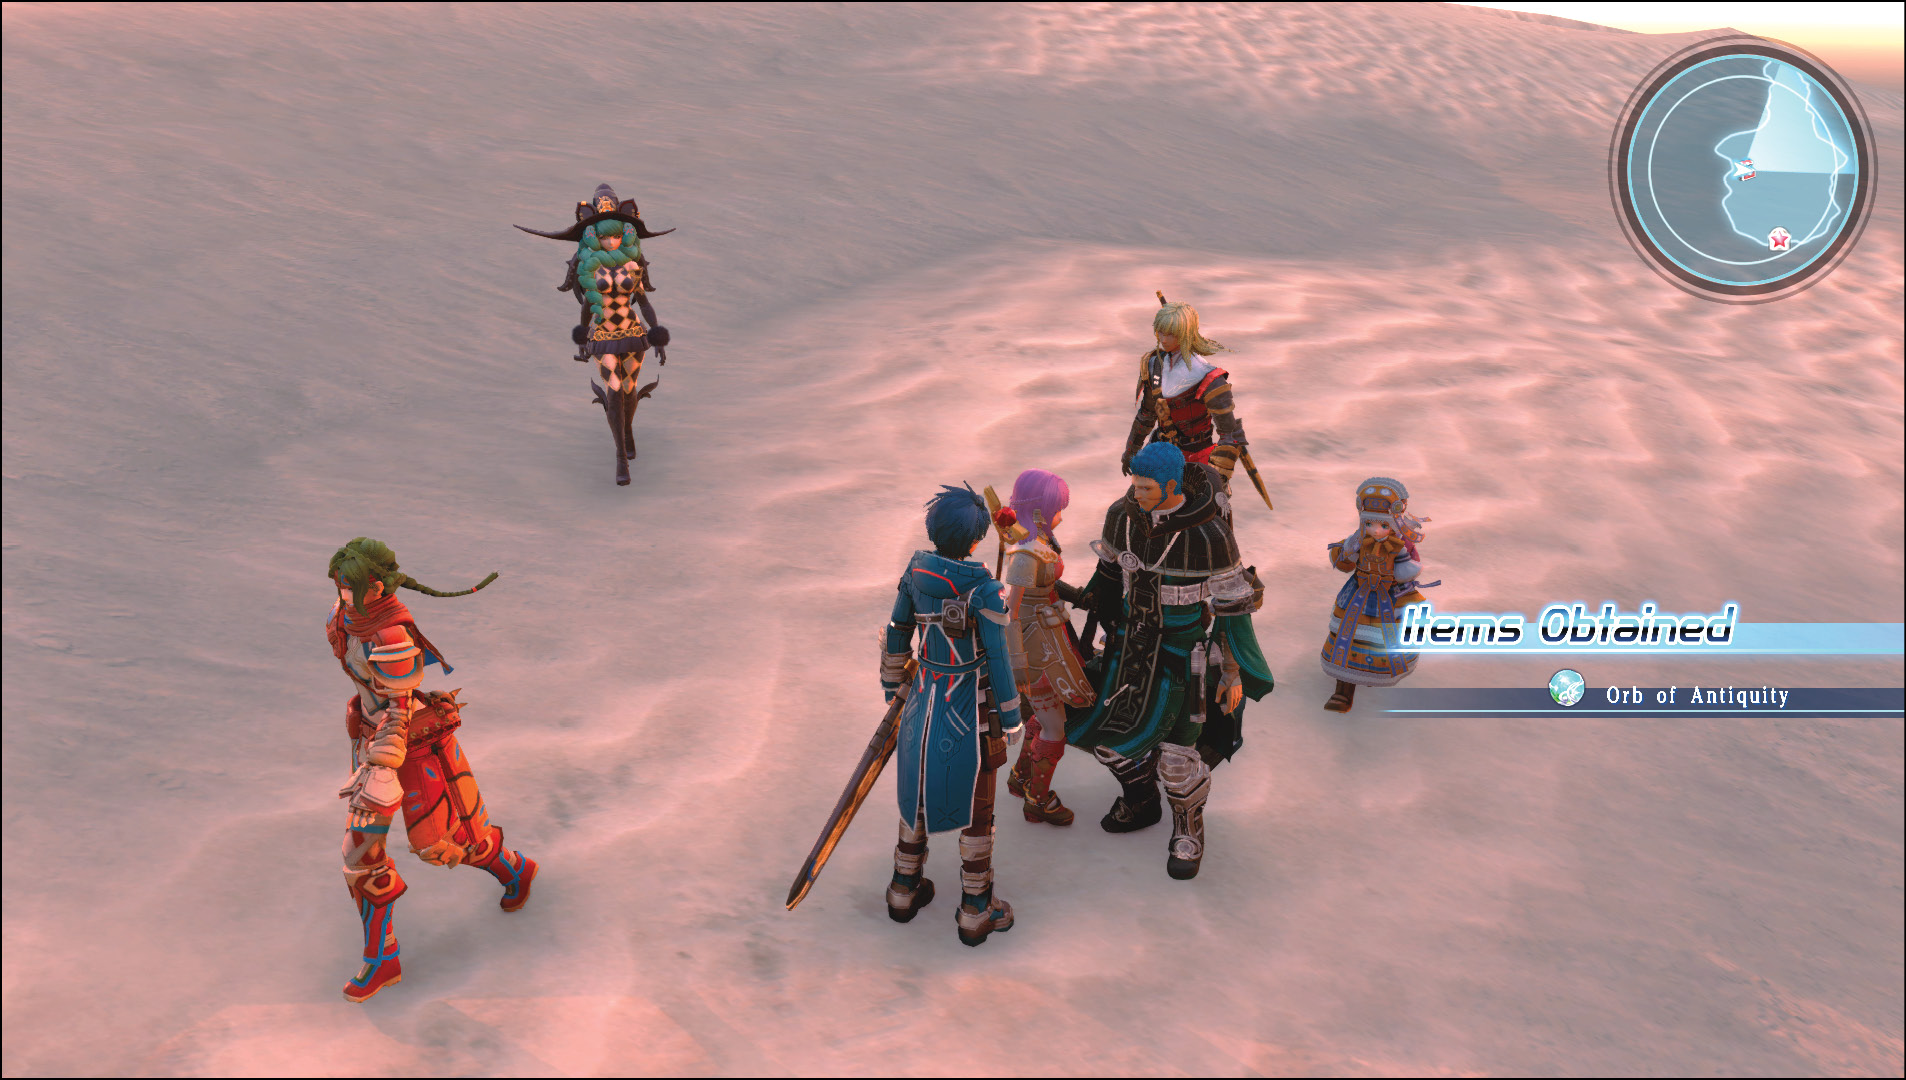
When you re-enter the Signesilica from the otherworldly desert, Emmerson receives a call from the Charles D. Goale G. Unfortunately, the signeturgical interference prevents the use of the Communicator Model G, so the party must trek their way out of the dilapidated labyrinth by foot. The good news is you can take the short way back, so head east, then south from the save point, where the door is now open for you to leave. This path takes you to the previously barred door near the main hall of the Signesilica.
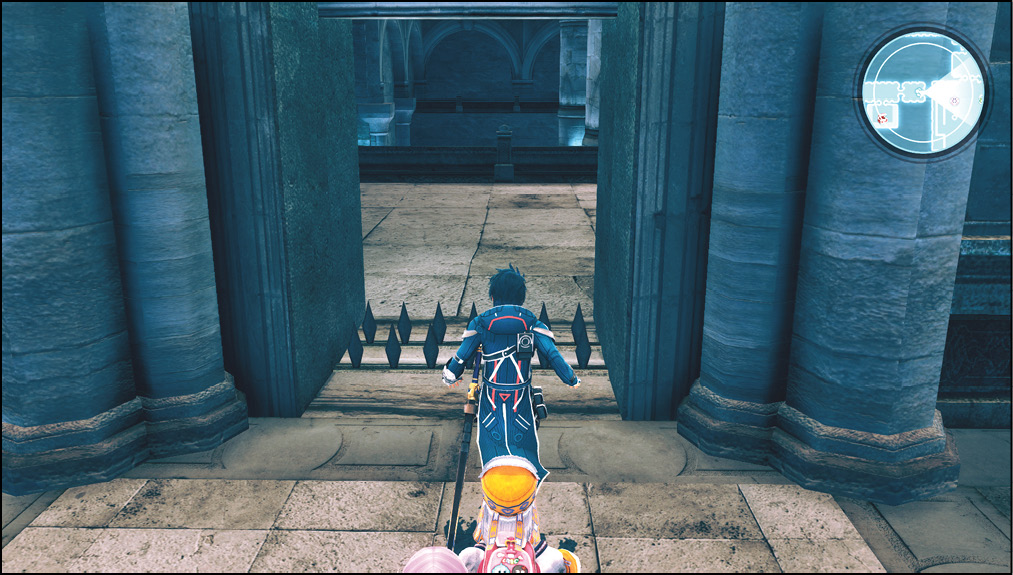
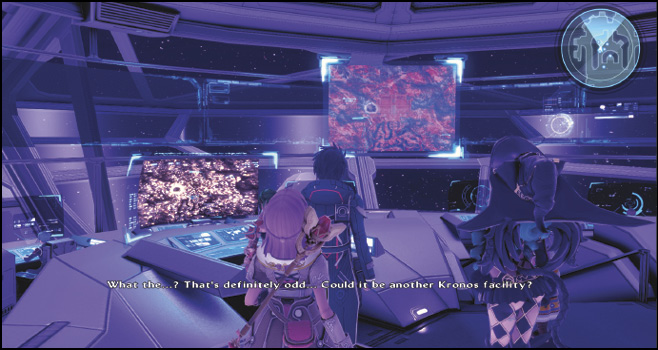
On your way out, there’s a room to the south on the way east. Enter the room to pick up a copy of Pneuma Signets, Vol. 2. Have Miki read the book to learn the Resurrection signeturgical spell, then continue on out of the Signesilica. Once outside, you can use the Communicator Model G for a transport back to the starship. Time to check in with Delacroix regarding the Kronos transmission he received.
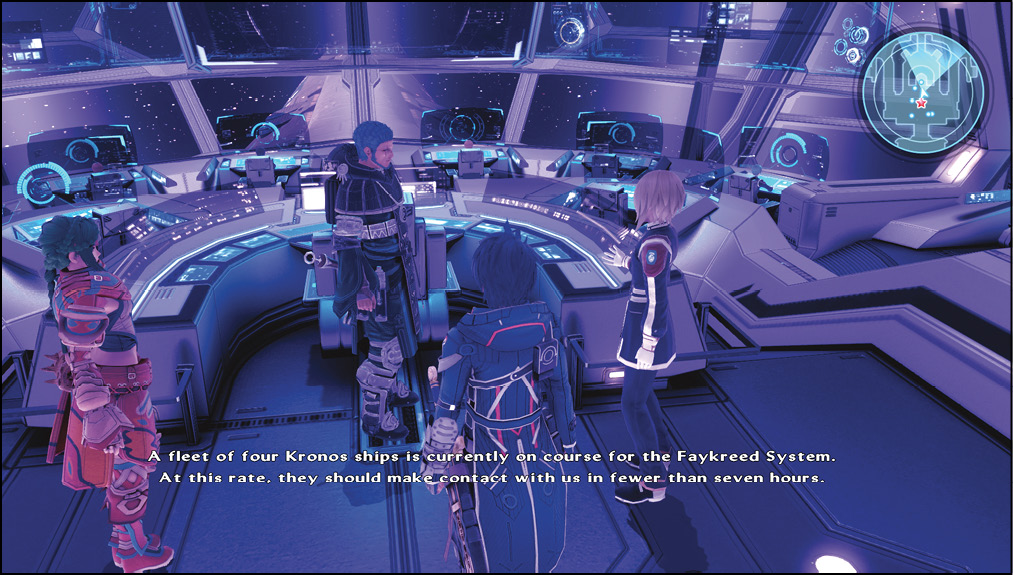
Make an Unlikely Alliance
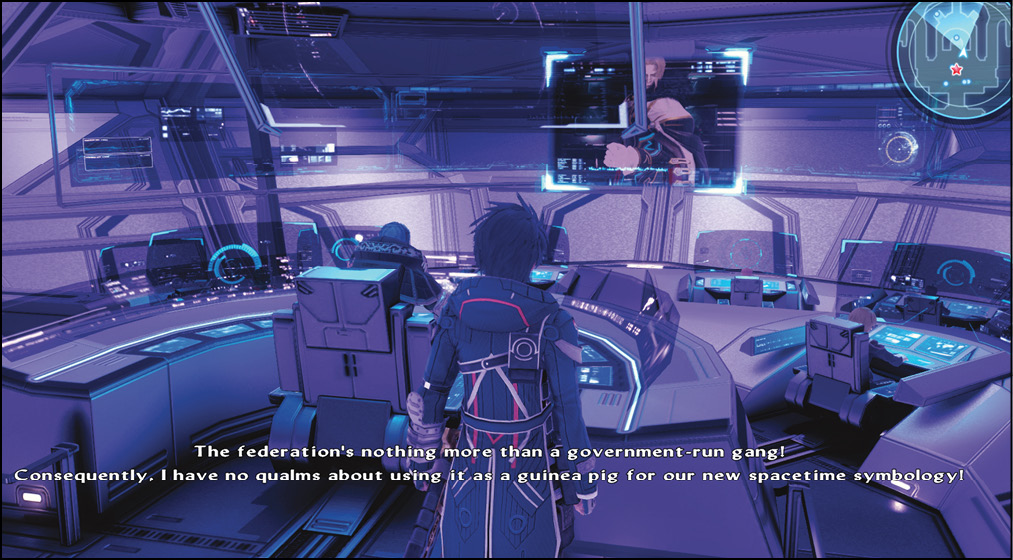
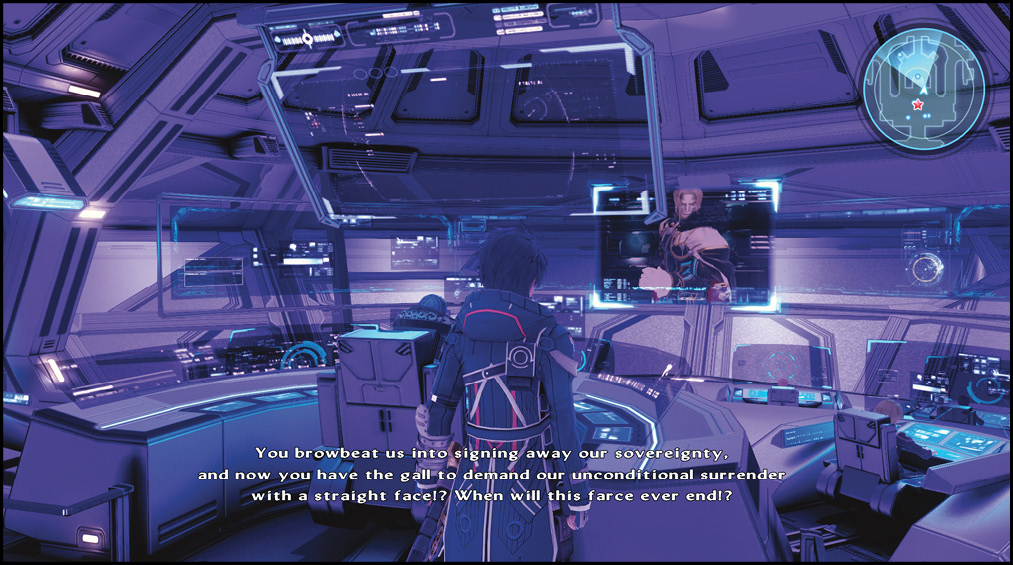
Take the turbo lift to the Bridge. President Mutal of the Kronos government starts a communication line with Emmerson and his crew. It seems General Alma is working on his own accord, executing a coup d’état.
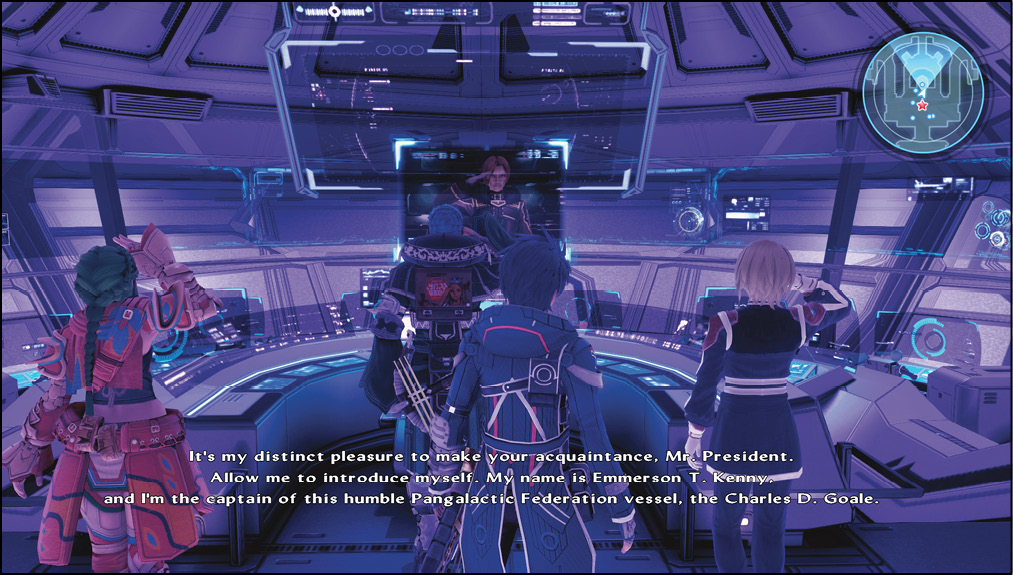
After the cutscene, you assume control of Fidel in his room aboard the starship’s Private Quarters. Just outside, Victor questions Emmerson about Kronos’ true intentions and whether they can be trusted.
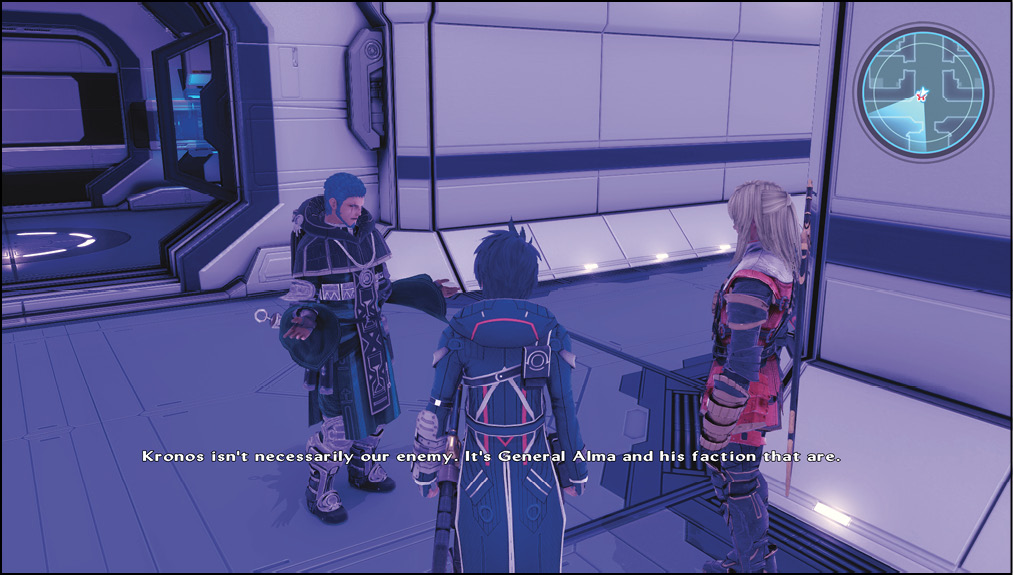
Now, return to the Bridge, and President Mutal will start another conference call (this time with Commander Dean of the Pangalactic Federation). The commander permits lending aid to the Kronos fleet and appoints Emmerson as the federation’s official ambassador.
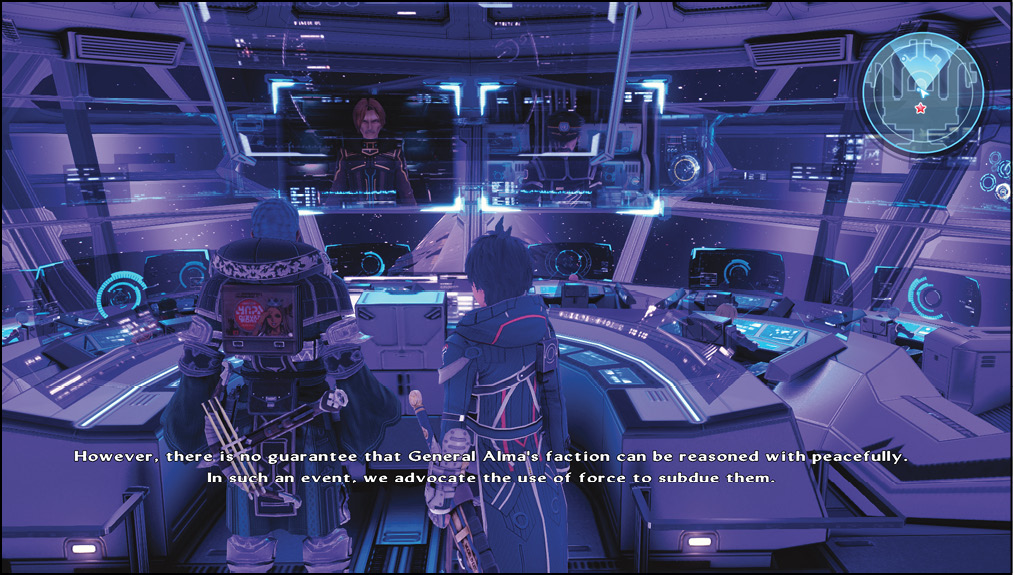
After an intermission, General Alma calls in. Emmerson attempts to negotiate a peaceful outcome to the conflict, but without any luck, as Alma threatens to destroy everyone in his way. The heroes now have no choice but to stop him forcefully.