Splatoon 2 Guide Single-Player Campaign Area 05: Cephalon HQ
Cephalon HQ Collectibles
| Legend |
|---|
|
|
|
|
|
|
|
|
|
|
|
|
|
|
|
|
|
|
|
|
|
|
 Underground Expressway
 The Octogalaxy
 Transfer Junctio
 Platform Madhouse
 Paradise Lanes
 Octoling Workout
 Boss Kettle
 Sunken Scroll Balloon (Start)
 Sunken Scroll
 Sardinium
 Ticket
Sardinium
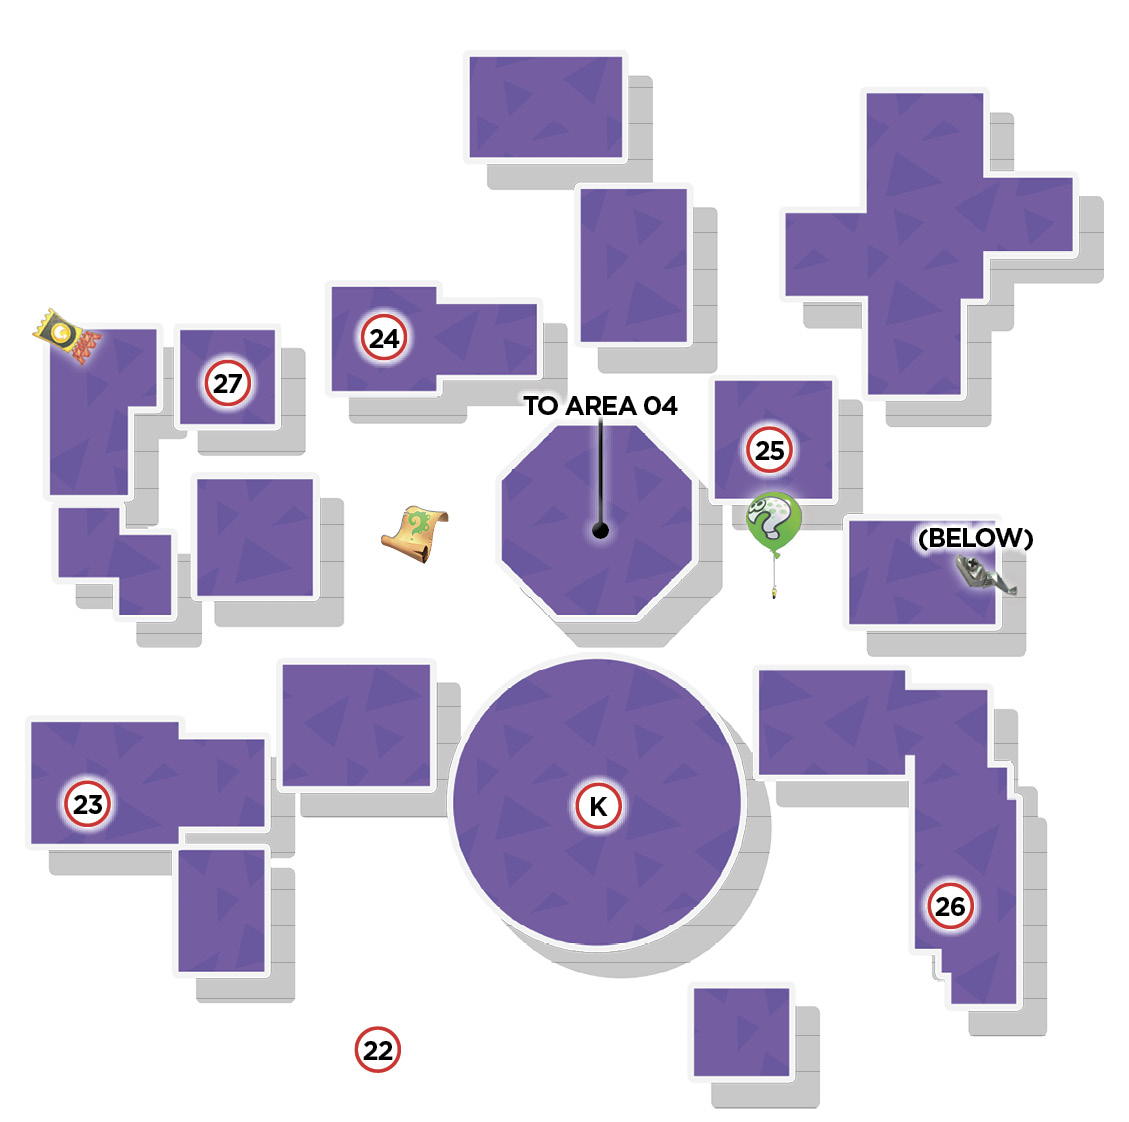
This Sardinium is hidden beneath an isolated platform between Lairs 25 and 26. Use a saucer to reach the top of the platform, then shoot ink over the side to reveal an invisible platform below. Drop down onto the freshly inked platform to access the alcove beneath and grab the Sardinium.
Sunken Scroll
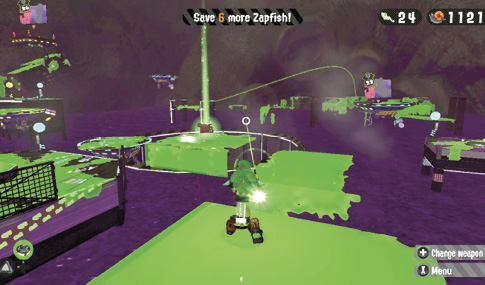
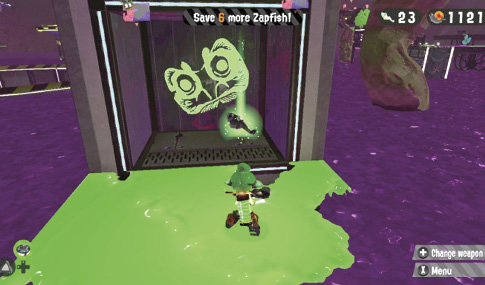
Retrieving this Sunken Scroll requires you to hit multiple balloons from a moving platform. Equip the Hero Charger and start on the central platform where you initially entered, looking out toward Lair 25—board one of the nearby saucers as it passes by. The first Sunken Scroll balloon is floating near the large tentacle, beneath Lair 25—pop it with your Hero Charger to begin the chase. Stay on the saucer and follow the green arrows to the next balloons in the sequence, shooting them with the Hero Charger. As the saucer circles back toward the central platform, jump off and shoot two more balloons. The final balloon is floating on the opposite side of the center platform, between Lairs 23 and 27. Shooting it causes the Sunken Scroll to appear and fall onto an invisible platform. Ink the area around the Sunken Scroll to reveal two neighboring platforms nearly connected by a drawbridge. Board one of the adjacent saucers and ride it toward the freshly inked platforms to retrieve the Sunken Scroll—cross the inked drawbridge when it’s down, then squid-jump over to the scroll’s platform.