Square Activities
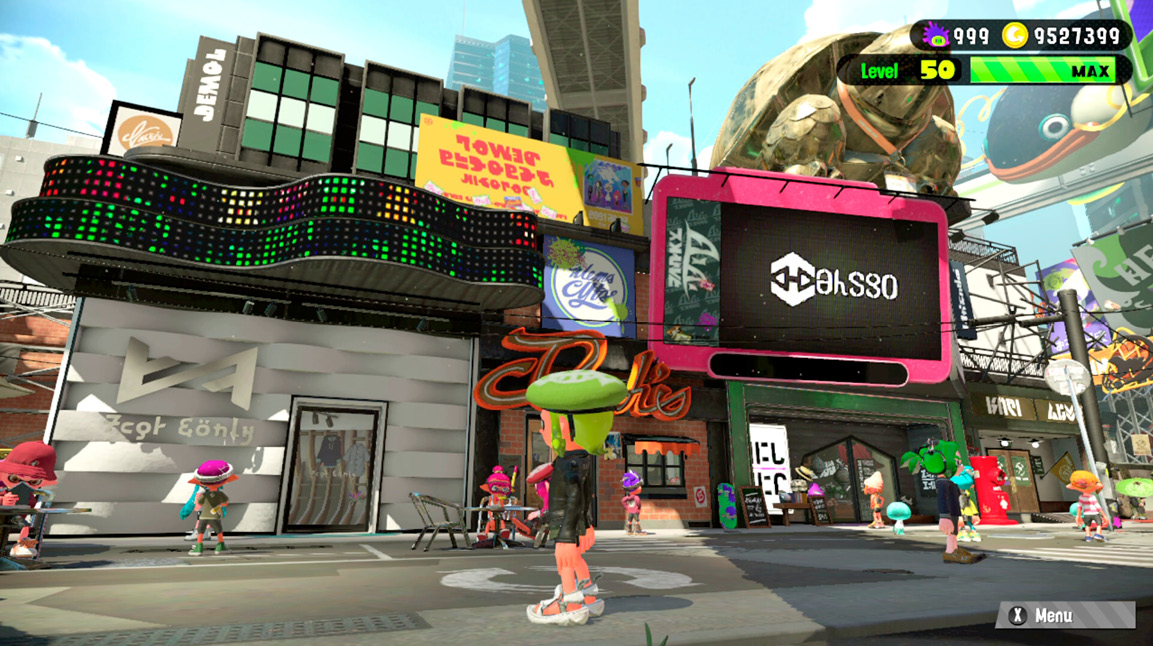
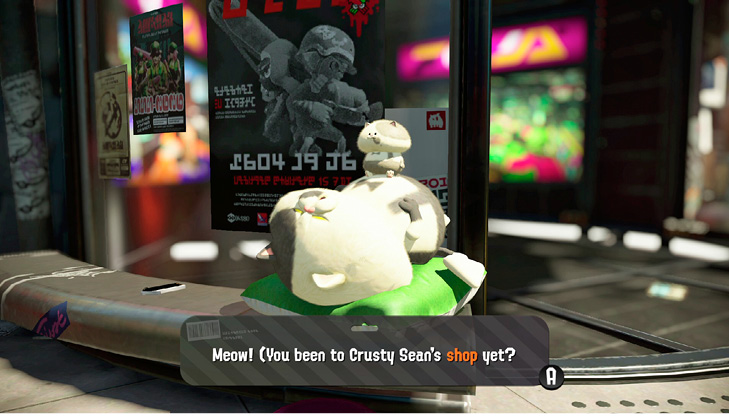
As addictive as Ink Battles are, don’t forget to take a break and explore the Square. This is where you can spend some of your hard-earned gold on new weapons and gear. Visit Judd for advice, or speak to Murch to customize your gear. Redeem tickets at Crusty Sean’s to gain some bonuses.
Galleria
Do you have gold burning a hole in your pocket? Look no further than the Square’s Galleria. This collection of shops is the perfect place to unload some gold in exchange for new weapons and gear. Visit Ye Olde Cloth Shoppe, Headspace, and Shella Fresh to purchase new clothing, headgear, and shoes, respectively. Stock is rotated daily in these shops, so check back frequently to see what new items the proprietors have for sale.
Sheldon’s weapon shop, Ammo Knights, is the odd one out since its stock is fixed and based on your current level. Each level you gain provides access to at least one new weapon. New weapons will be made available in the future with software updates, so don’t forget to check back frequently.
Judd and the Fresh Meter
Judd has returned, and is as sleepy as ever. You can find him snoozing near Deca Tower. As usual, Judd is happy to dispense advice pertaining to Ink Battles—speak to him to receive some helpful tips. Once you reached Level 30, return to Judd to receive a bonus Super Sea Snail. He continues awarding one Super Sea Snail for each level you achieve beyond Level 30.
The more wins you string together, the more you ascend the Fresh Meter ranks, receiving a point for each win. There are four ranks on the Fresh Meter: Dry, Raw, Fresh, and SUPERFRESH. Each rank is determined by the number of points you accumulate. The higher your rank, the more bonus experience you gain at the end of a match. However, you can lose points too. Losing a match results in a penalty, potentially dropping your rank. Maintain a high Fresh Meter rank to benefit from an award of varying amounts of bonus BP at the end of a match.
You receive a Freshness Bonus! for racking up consecutive wins while using the same weapon. Each weapon has its own rank. When you hit a new rank, you receive bonus points at the end of the match. It should be noted that these bonus points do not apply toward gear XP.
Murch: Gear Customization
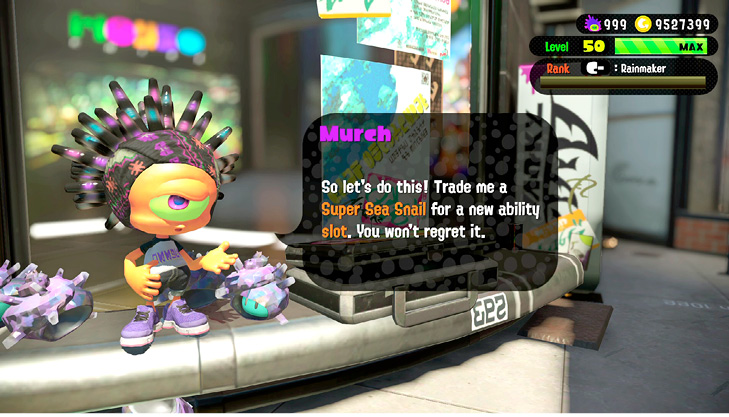
Spyke has moved on, but fortunately Murch is around to help customize your gear. Visit Murch in the Square’s alley once you reach Level 4 or higher—he doesn’t do business with newbies. Doing business with Murch isn’t cheap, either. You need Super Sea Snails awarded from Splatfests or Judd to take advantage of Murch’s specialized services. Murch offers several options:
Order Status: If you’ve placed an order with Murch, select this option to get an update. To obtain an order from Murch, you must first place an order by interacting with an Inkling in the Square.
Increase Slots/Reroll: Want an extra sub ability slot added to your gear? Murch can add a slot for the cool price of one Super Sea Snail. Murch can also reroll the sub abilities associated with your clothing, shoes, and headgear for the same price. Once confirmed, all slots on the piece of gear you’ve selected are randomized. Rerolling sub abilities makes sense when you’re unsatisfied with their current configuration.
Scrub Slots: Not satisfied with a gear’s sub abilities? Instead of rerolling, Murch can scrub them. This requires you to refill these slots by earning BP through Ink Battles. Sub abilities scrubbed from gear are returned to you as ability chunks.
Use Ability Chunks: If you’ve had gear scrubbed by Murch, you have ability chunks in your inventory. It takes 10 ability chunks of the same type to apply the corresponding ability to a piece of gear. For example, if you have 10 Swim Speed Up ability chunks, you can add Swim Speed Up to a piece of gear. However, the price increases when applying the same ability to one piece of gear. So if an item already has Swim Speed Up, it takes 20 Swim Speed Up ability chunks to apply the second ability. Or 30 Swim Speed Up chunks if there are already two Swim Speed Up abilities applied to a piece of gear.
SplatNet Order: You can order gear through the Nintendo Switch Online app on your smartphone. There are six pieces of gear available at all times, and the gear available rotates every two hours. After you order the gear through the app, it becomes available for purchase via talking to Murch in the Square. Unlike orders placed through characters in-game, which take a day to become purchasable, this gear is available instantly.
Placing Orders
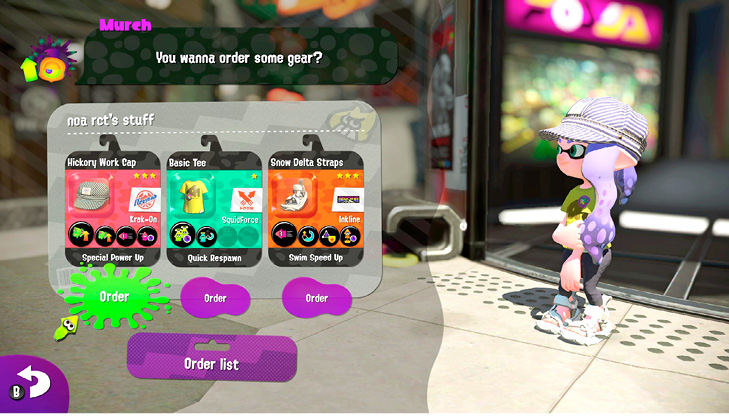
Don’t walk past your fellow Inklings in Inkopolis Square without taking notice of their clothing, headgear, and shoes. If you see a piece of gear an Inkling has that you want, you can order an exact replica from Murch. Select the Order Gear option, then choose the gear you wish to order. You can place up to three orders at a time. However, Murch can only deliver one item per day. Orders are delivered in the sequence in which they’re placed, with the first order arriving the next day. Check back with Murch to pick up your orders. Placing orders is an alternative way to obtain gear that isn’t currently in stock, but it isn’t free. Murch charges a premium for these orders; they cost you more gold than if you’d bought them in a store.
Crusty Sean’s Food and Drinks
Not long ago, Crusty Sean closed up shop at Shrimp Kicks to follow his true passion—crafting delicious fried food and refreshing drinks. Working out of a food truck parked in the Square, Crusty Sean has a full menu of items, each providing a unique bonus in Ink Battles. Food items provide a bonus boost in gold or experience, while drinks increase your chances of getting specific sub abilities when leveling up gear. All drinks also increase gear XP.
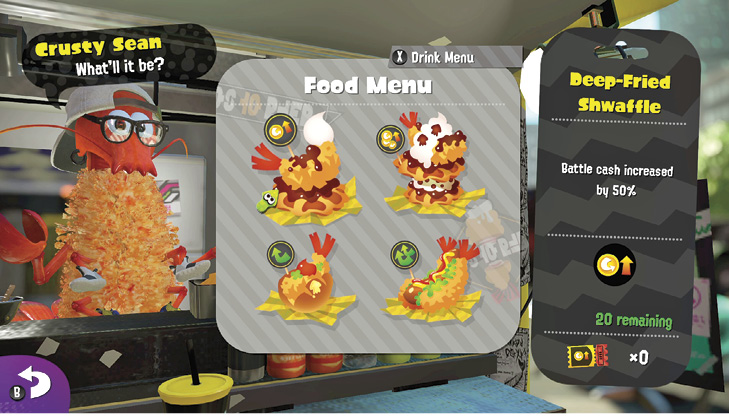
You can’t simply buy these items with gold. You need tickets retrieved from Octo Canyon, obtained by playing matches in the Shoal, or received from Grizzco Industries in Salmon Run. Once you have a ticket, redeem it at this food truck for a specific item on the menu. Bonuses gained from food and drinks last for 20 matches. These bonuses can’t be stacked—consuming a new food or drink overrides the active bonus. Here’s a breakdown of what Crusty Sean has to offer:
Crusty Sean’s Menu
Food
| Name | Description | |
|---|---|---|
|
|
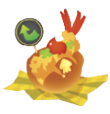
Deep-Fried Shwaffle |
Battle cash increased by 50%. |
|
|
Double-Fried Super Shwaffle |
Battle cash doubled! |
|
|
Crusty Seanwich |
Battle experience gain increased by 50%. |
|
|
Super Seanwich |
Battle experience doubled! |



Drink
| Name | Description | |
|---|---|---|
|
|
Main-Saver Lemon |
Slightly increases the chance of receiving Ink Saver (Main) when your gear levels up. Increases gear XP. |
|
|
Sub-Saver Berry |
Slightly increases the chance of receiving Ink Saver (Sub) when your gear levels up. Increases gear XP. |
|
|
Ink-Charge Melon |
Slightly increases the chance of receiving Ink Recovery Up when your gear levels up. Increases gear XP. |
|
|
Run-Speed Tomato |
Slightly increases the chance of receiving Run Speed Up when your gear levels up. Increases gear XP. |
|
|
Swim-Speed Apple |
Slightly increases the chance of receiving Swim Speed Up when your gear levels up. Increases gear XP. |
|
|
Special-Charge Shake |
Slightly increases the chance of receiving Special Charge Up when your gear levels up. Increases gear XP. |
|
|
Special-Saver Latte |
Slightly increases the chance of receiving Special Saver when your gear levels up. Increases gear XP. |
|
|
Special-Up Smoothie |
Slightly increases the chance of receiving Special Power Up when your gear levels up. Increases gear XP. |
|
|
Short-Respawn Mocha |
Slightly increases the chance of receiving Quick Respawn when your gear levels up. Increases gear XP. |
|
|
Quick-Jump Orange |
Slightly increases the chance of receiving Quick Super Jump when your gear levels up. Increases gear XP. |
|
|
Sub-Up Juice |
Slightly increases the chance of receiving Sub Power Up when your gear levels up. Increases gear XP. |
|
|
Ink-Shoe Grape |
Slightly increases the chance of receiving Ink Resistance Up when your gear levels up. Increases gear XP. |
|
|
Blast-Armor Peach |
Slightly increases the chance of receiving Bomb Defense Up when your gear levels up. Increases gear XP. |
|
|
Mark-Shaker Cocoa |
Slightly increases the chance of receiving Cold-Blooded when your gear levels up. Increases gear XP. |