Splatoon 2 Guide Single-Player Campaign Area 04: Slimeskin Garrison
17: Octocommander Fortress
Legend
|
|
|
|
|
|
|
|
|
|
|
|
|
|
|
|
|
|
|
|
 Key Location
 Armor
Armor
 Jump Path
 Key
Key
 Power Egg Can
 Sardinium
 Sunken Scroll
 Ticket
 Vault
Vault
 Zapfish
Lair Entrance
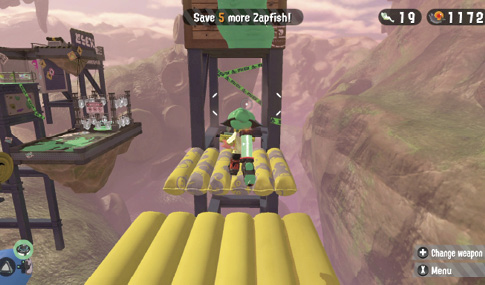
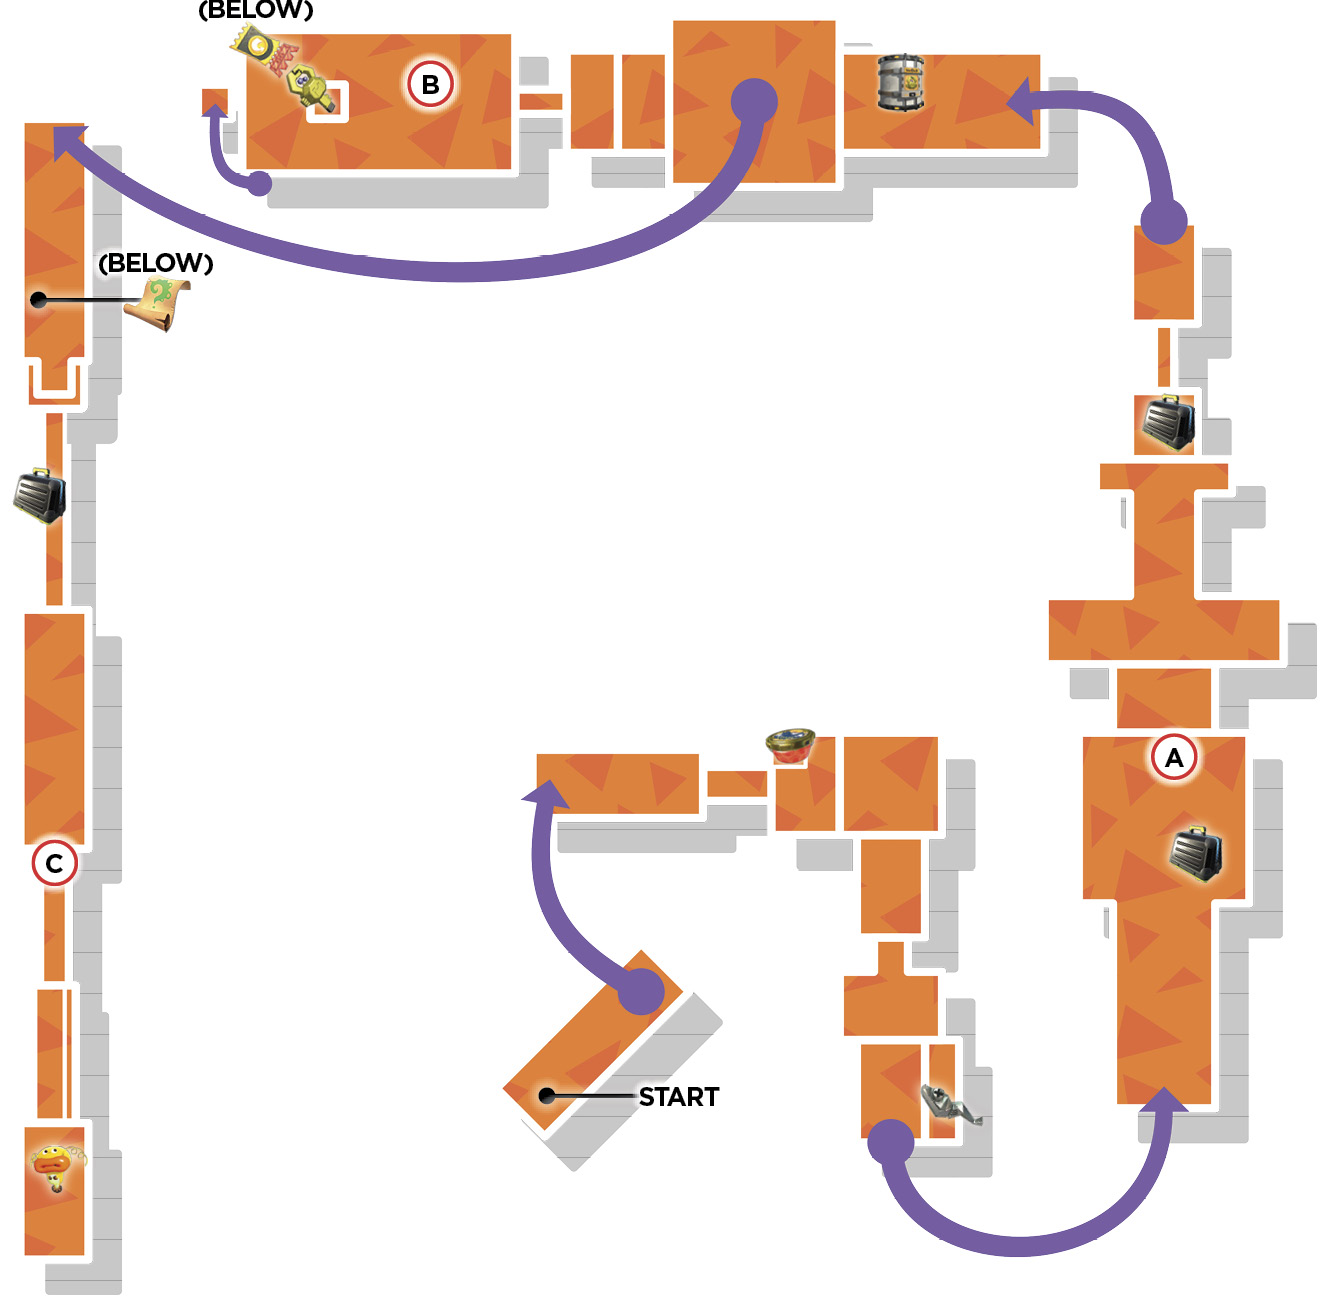
This lair is located just to the right of the area’s entrance. Jump across the Bounce Pads while inking the wall of the wooden tower on which the lair is situated. Bounce up to the inked wall and swim upward to access the lair.
Sheldon Request
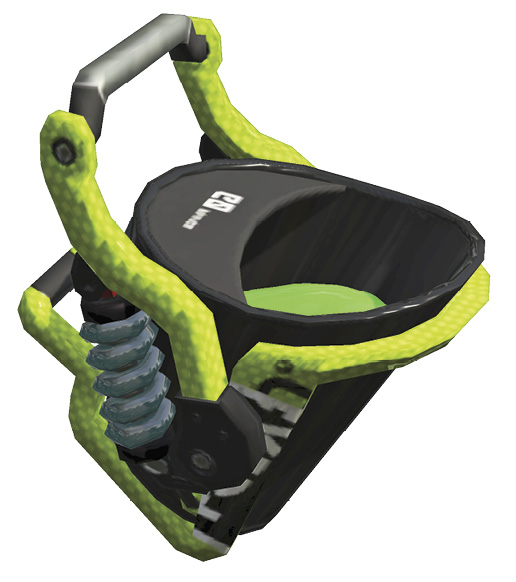
Sheldon needs you to complete this stage while using the Hero Slosher. This weapon requires you to get close to your enemies before coating them in a thick layer of ink. Rely on Splat Bombs and Curling Bombs for longer-range attacks.
Key Locations
 Octocommander Splat!
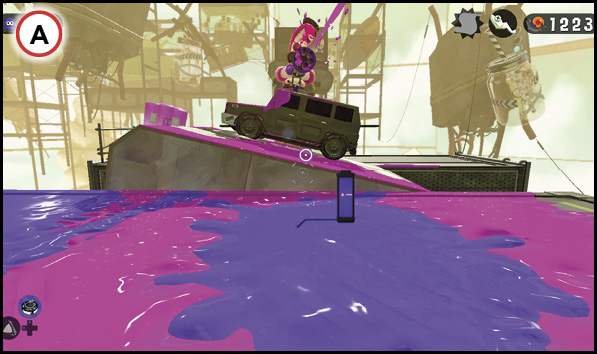
This marks your first encounter with an Octocommander. This enemy type performs similarly to an Octosniper but is equipped with a powerful, rapid-firing cannon. After splatting the nearby Octotrooper with a Rolonium bundle, take cover behind the low wall in the center of the platform to avoid getting pelted by the Octocommander’s enemy ink. Meanwhile, take note of the Rolonium bundle on the rotating platform directly in front of the Octocommander. Spread ink toward the rotating platform and swim forward slowly, using the rotating platform as partial concealment. When the Rolonium bundle is lined up with the Octocommander, fling ink onto the rotating platform to send the bundle crashing into this aggressive foe.
 Octostamp DX
An Octostamp DX holds the key to the nearby vault on this platform. This massive variant of the Octostamp performs a similar attack, face-planting in an attempt to splat you. Sidestep out of the way as the Octostamp DX face-plants, then ink his side and swim up to his back to retrieve the key. This maneuver is identical to the one you used on the Neo Octostomp. Be mindful of the Octotrooper positioned on the Octostamp DX’s head. Splat this enemy with the Hero Slosher when the Octostamp DX face-plants. While you’re here, consider taking a slight detour to retrieve the ticket beneath this platform—there’s a hidden ledge at the far end.
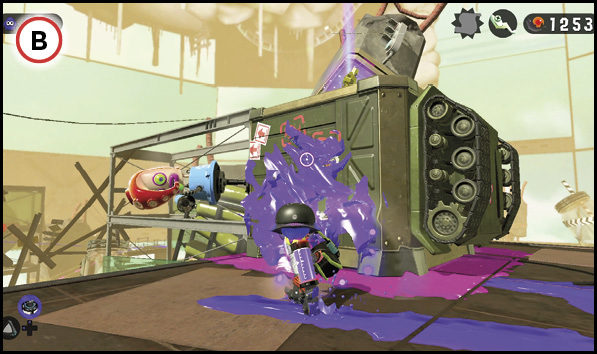
 Rollaway Rolonium
The path to the Zapfish consists of multiple rotating platforms, the final of which is occupied by two Octocommanders. Due to their positions on the platform, one Octocommander has a clear view of your approach at all times. Before you can safely reach the Zapfish, you must eliminate at least one of them. Take note of the Rolonium bundle on the second-to-last platform. Wait until the bundle is lined up with one of the Octocommanders, then ink it with your Hero Slosher to send it flying toward your foe. Ambush the second Octocommander with your Hero Slosher as he comes into view, then make a beeline for the Zapfish.
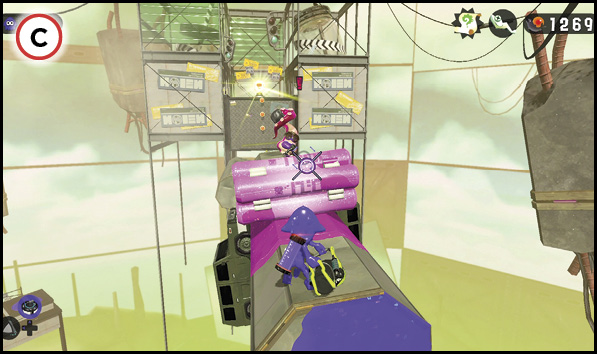
Collectibles
Sardinium
The Sardinium is located on a high ledge near the first Ride Rail. Ink the metal diamond plate wall of this platform while traversing the rotating platform—stand on the vehicle (once guarded by an Octotrooper) and aim up to completely coat the wall with your Hero Slosher. Once it’s inked, swim up the wall to access this ledge and grab the Sardinium, stashed in a small orange crate.
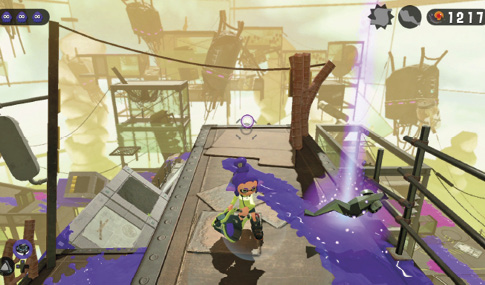
Sunken Scroll
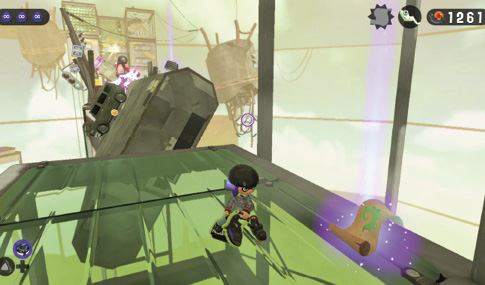
Look beneath the final checkpoint’s platform to locate this well-hidden Sunken Scroll, stored in a small orange crate. Be sure to grab it before traversing the final set of rotating platforms.