Splatoon 2 Guide Single-Player Campaign Area 04: Slimeskin Garrison
16: Secret Bowling Alley
Legend
|
|
|
|
|
|
|
|
|
|
|
|
|
|
 Key Location
 Armor
Armor
 Jump Path
 Power Egg Can
 Sardinium
 Sunken Scroll
 Zapfish
Lair Entrance
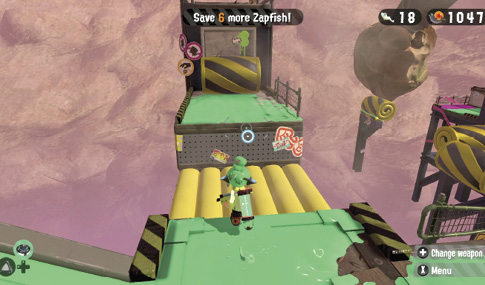
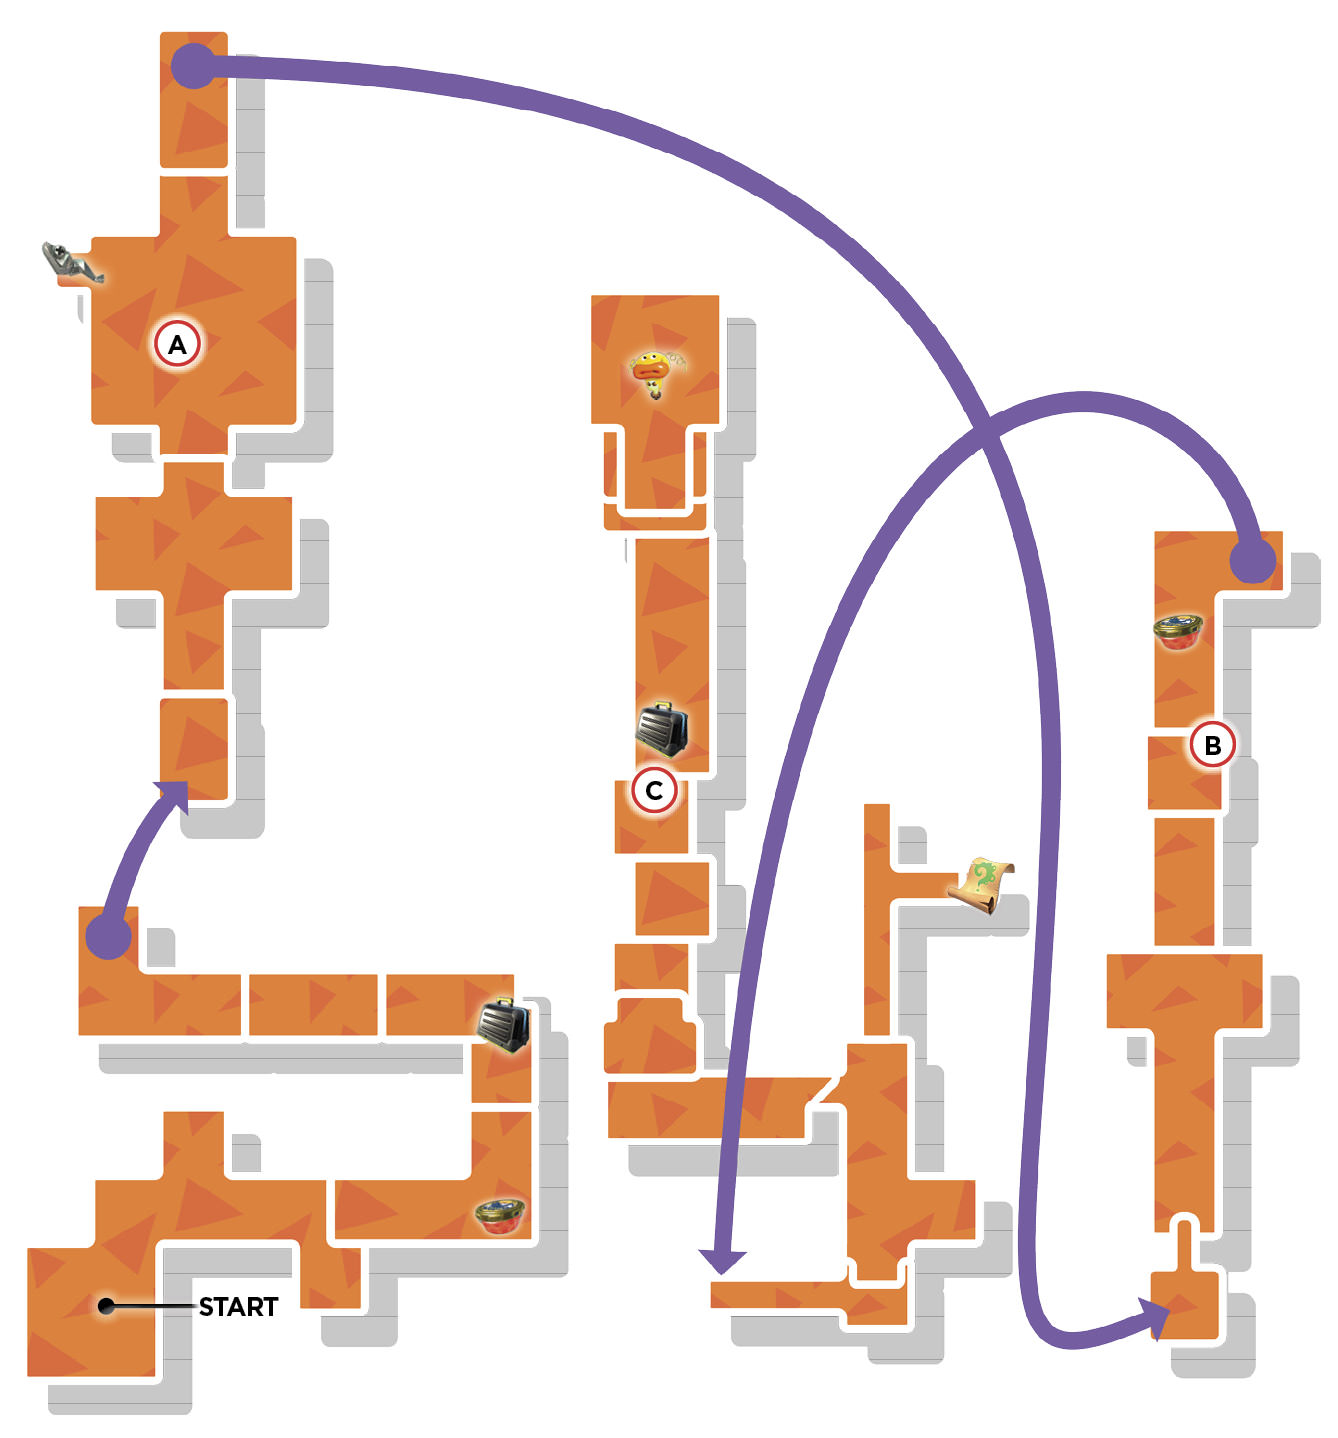
This lair is a short trot from the area’s entrance. Jump across the Bounce Pad and ink the vertical Inkfurler at the base of the tower. Swim up the Inkfurler while it’s fully extended to reach the top of the tower and ink the invisible entrance to the lair.
Sheldon Request
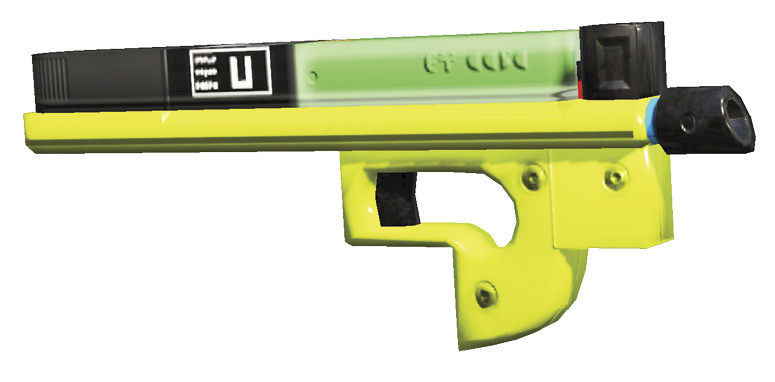
The Hero Shot is Sheldon’s preferred weapon for completing this stage—he still needs to collect some field data. While the Hero Shot is a well-rounded option, its range is a bit limited, particularly when it comes to spreading ink. Make sure you have the Curling Bombs on hand to quickly ink the level’s long, narrow paths.
Key Locations
 Rolling Cover
The Octosniper guarding this platform can’t see you as long as you stay behind the rolling Octoballers. Carefully advance across this platform, keeping at least one Octoballer between you and the Octosniper at all times. The surface of the platform can’t be inked, so you have to walk the whole way. Advance behind the wooden crates, just to the left of the Octosniper, and toss a Splat Bomb in his direction. Before moving on, be sure to grab the nearby Sardinium.
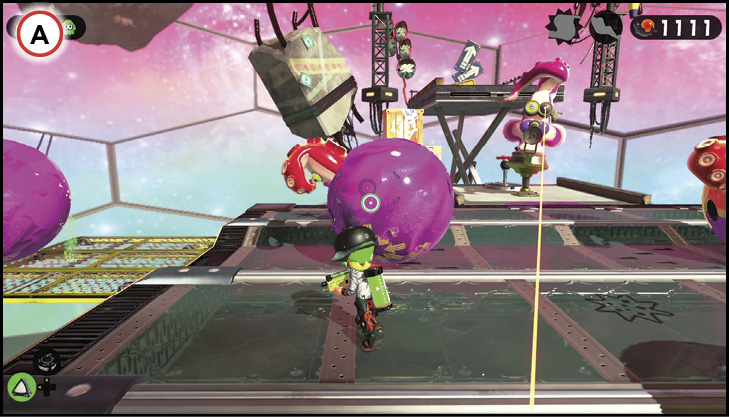
 Curling Bomb Path
As you near this platform’s launchpad, stay to the right of the ascending and descending platform and toss a Curling Bomb along the perimeter of the next ramp. The Curling Bomb creates a safe, narrow path left untouched by the incoming Octoballers. Swim along this straight path to avoid getting hit by the Octoballers. But be ready to deal with the Octotrooper patrolling near the launchpad.
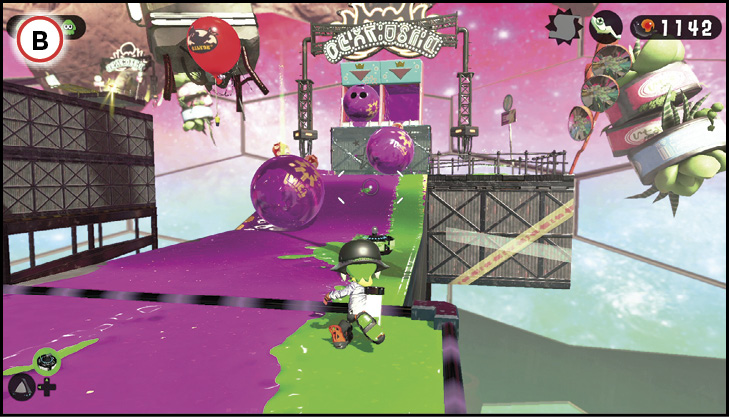
 Gusher Takedown
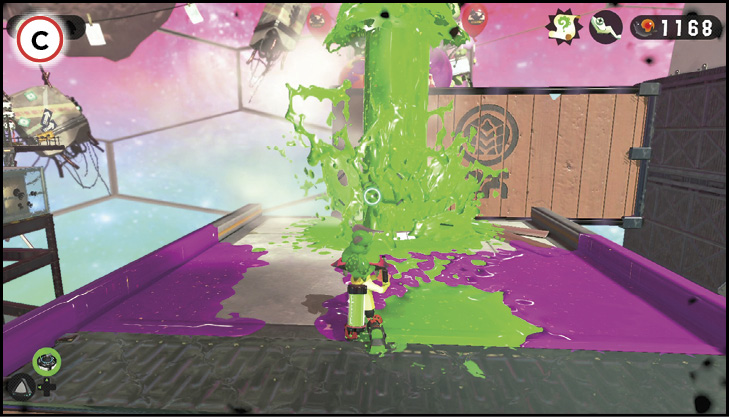
When making the final push toward the Zapfish, activate this Gusher to serve as a makeshift shield. Any Octoballers that make contact with the Gusher are instantly destroyed. Stay directly behind the geyser of ink and wait for the latest Octoballers to come rolling down the adjacent ramp. Once the Octoballers are destroyed, swim up the Gusher and advance onto the next ramp. An array of three Gushers wait at the end of the final ramp—activate them all to serve as a barrier while you proceed upward to the Zapfish’s platform.
Collectibles
Sardinium
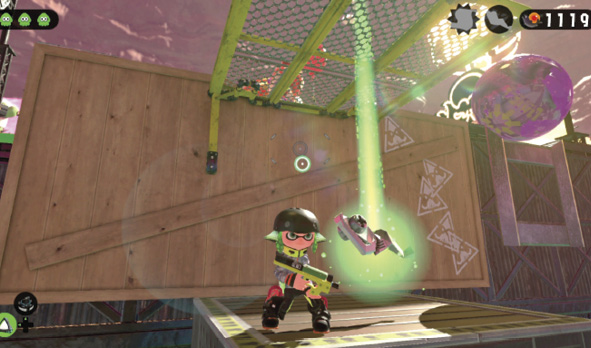
After eliminating the Octosniper, follow the nearby Octoballer toward the grated ledge. When it’s clear, drop through the grate to land on this hidden platform to collect the stage’s Sardinium. Ink the wooden wall beneath the grate to return to the upper platform—but watch out for incoming Octoballers on your way up.
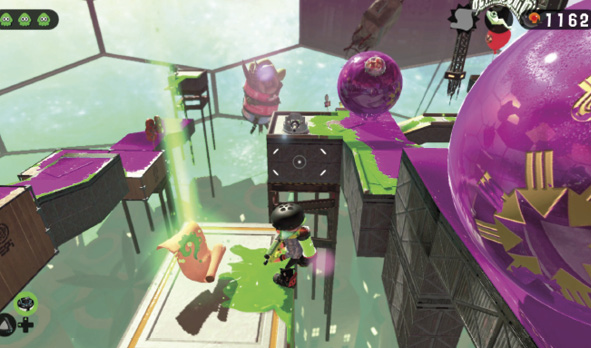
Sunken Scroll
Reaching this Sunken Scroll requires speed and perfect timing. Use the nearby cannon to ink the wall just beneath the narrow path where the massive Kingpin Octoballers drop. Next, swim up to the inked wall and partway up, waiting for the next Kingpin Octoballer to pass. When the path is clear, swim up to the narrow path and toss a Curling Bomb straight ahead. Swim directly behind the Curling Bomb and squid-jump toward the small platform on the right to avoid getting splatted by the next Kingpin Octoballer. You can now retrieve the Sunken Scroll in the crate on this platform.