Splatoon 2 Guide Single-Player Campaign Area 02: Suction-Cup Lookout
08: Spinning Campground
Legend
|
|
|
|
|
|
|
|
|
|
|
|
|
|
|
|
 Key Location
 Armor
Armor
 Jump Path
 Power Egg Can
 Sardinium
 Sunken Scroll
 Ticket
 Zapfish
Lair Entrance
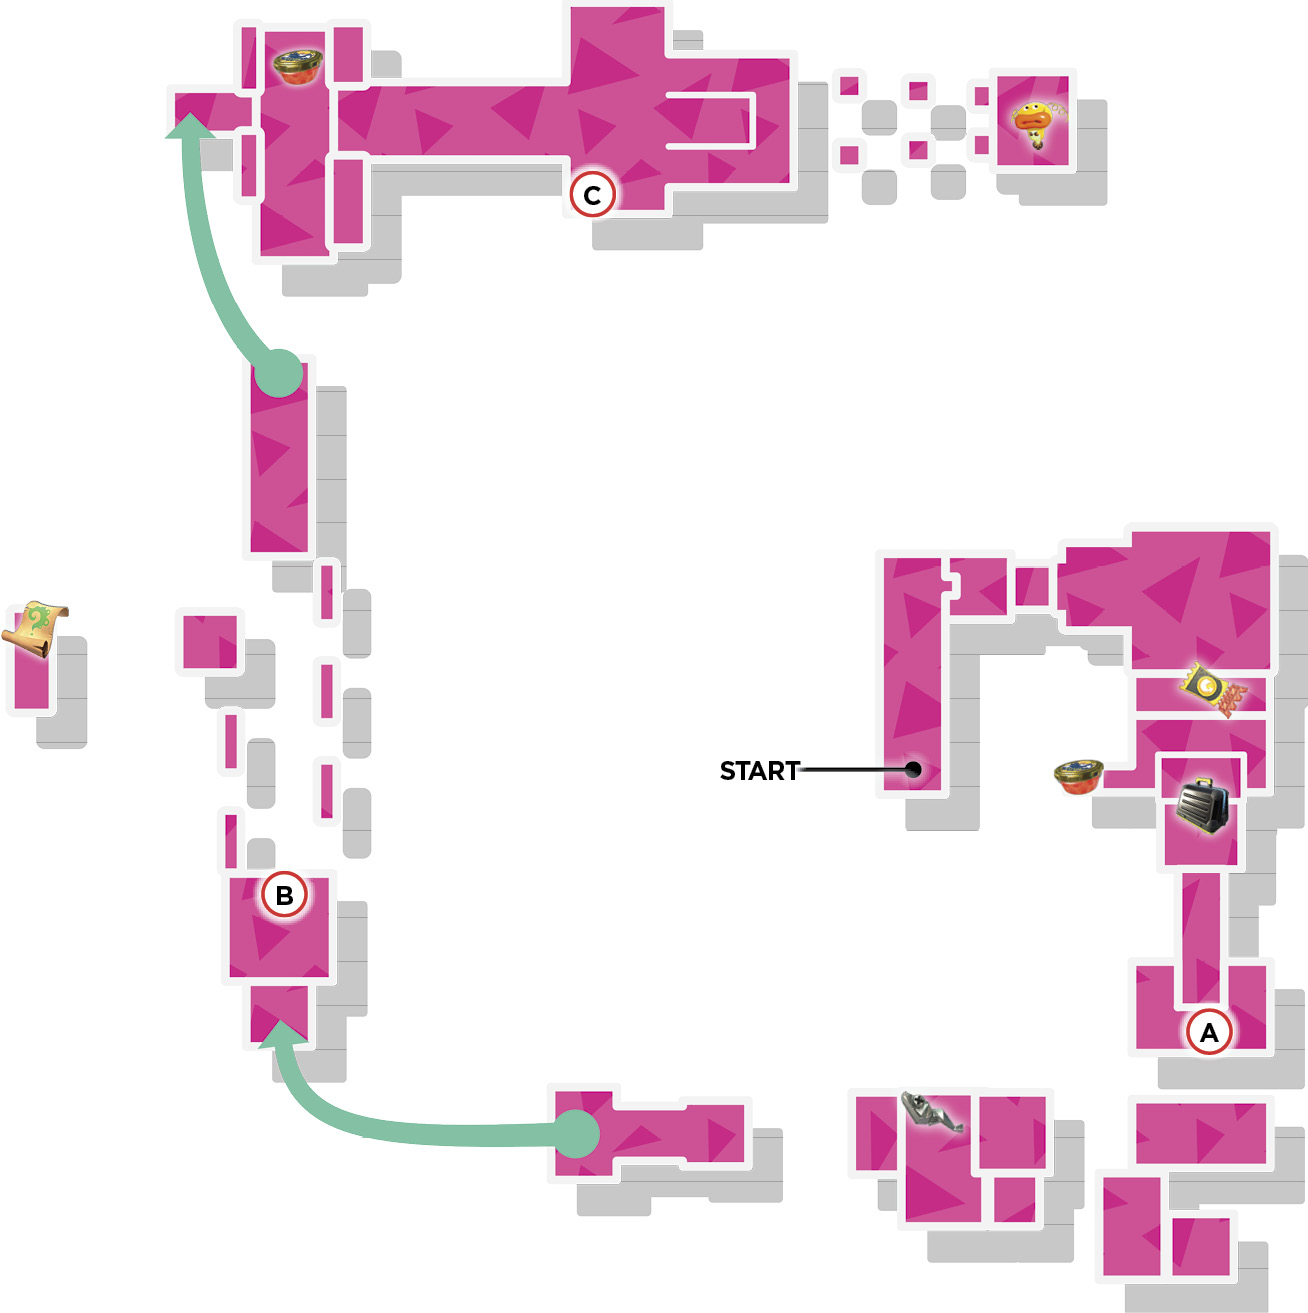
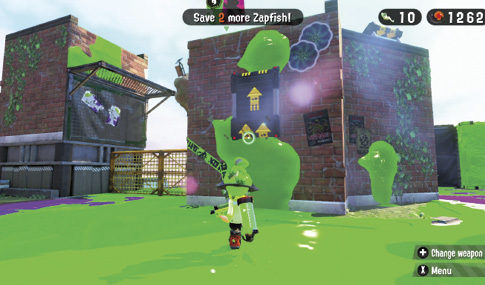
You must negotiate a pair of Dash Tracks to reach this lair. Look for a platform near the center with a vertical Dash Track. Ink the area just below the Dash Track and swim up the wall. As you make contact with the Dash Track, it launches you to the top of the platform. From there, use the next Dash Track to reach the lair.
Sheldon Request
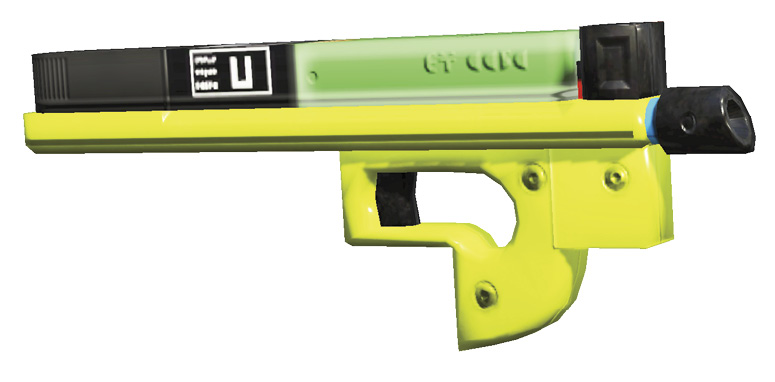
Once again, Sheldon needs you to complete this lair using the Hero Shot. The Hero Shot is a solid choice for this level, offering a good balance of range, damage, and ink coverage. But don’t forget to try other weapons once you’ve completed this lair.
Key Locations
 Inkfurler Fury
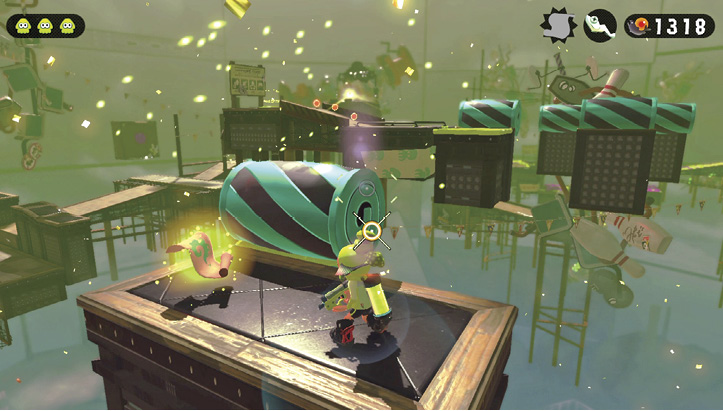
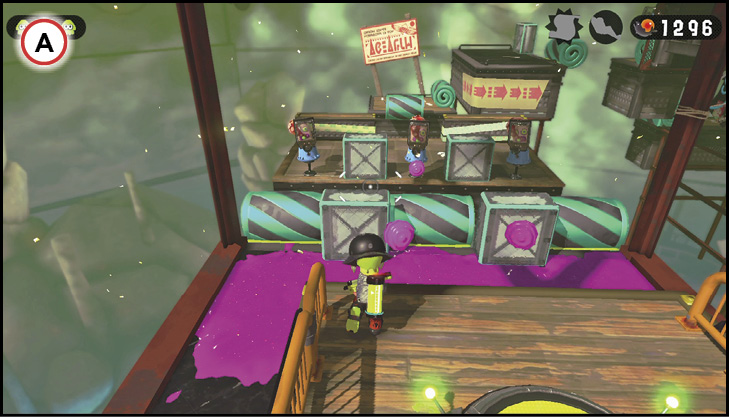
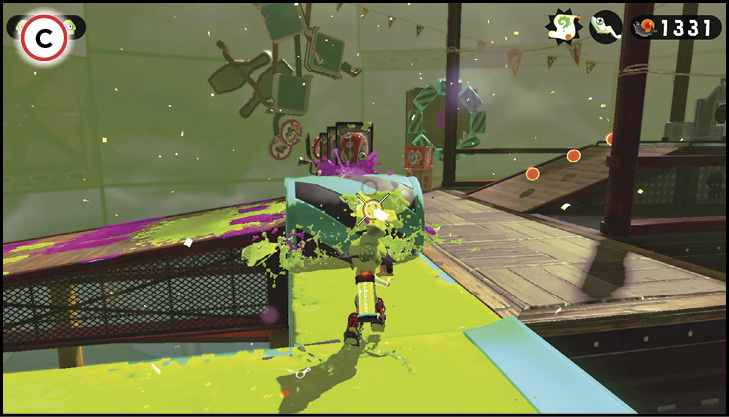
This path is blocked by three Shielded Octotroopers. Unfortunately for them, they’ve each established a defensive position in front of an Inkfurler. Drop down and ink an Inkfurler to cause it to roll out like a carpet in the direction of the Octotrooper. Each Inkfurler requires repeated hits to extend to its full potential, so keep moving forward and firing as the device unfurls. Once fully extended, the Inkfurler splats the Shielded Octotrooper. Repeat the same tactic to eliminate all three Octotroopers. As you continue through this lair, look for more opportunities to use Inkfurlers offensively.
 Rolling Advance
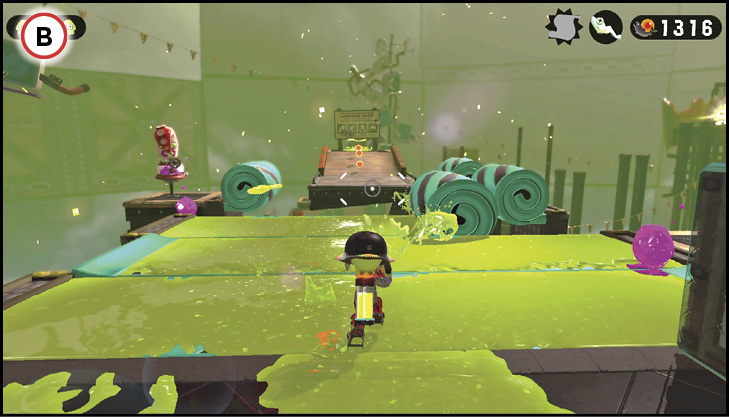
Here you must ink an array of six adjacent Inkfurlers to create a path to the second launchpad. Before attempting to cross, focus on eliminating the two Octotroopers on the perimeter. Use the nearest Inkfurler to reach and engage the Octotrooper on the right first, then advance toward the second Octotrooper, on the left. While you’re standing on an Inkfurler, make sure it doesn’t roll up. If necessary, apply more ink to keep the Inkfurler fully extended. Meanwhile, look ahead and ink the next Inkfurler in the sequence. Keep pushing forward, inking one Inkfurler at a time until you can make it across this large chasm.
 Inkfurler Flank
The path leading to the Zapfish is guarded by four Shielded Octotroopers—a frontal assault is not advisable. Instead, use the Inkfurler to the right to perform a flanking maneuver. Once you’ve reached the Octotroopers’ flank, extend another Inkfurler in the direction of the four Octotroopers, splatting them one at a time. Keep applying ink while advancing along the Inkfurler to ensure all four Shielded Octotroopers are eliminated.
Collectibles
Sardinium
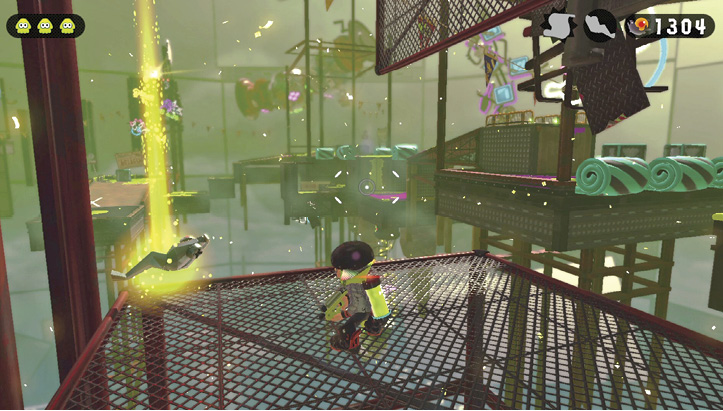
Before advancing to the first launchpad, drop down to this large grated platform. Splat the three crates in the corner to reveal this lair’s Sardinium.
Sunken Scroll
While crossing the array of horizontal Inkfurlers, don’t neglect this small platform to the left. The crate on this platform contains the lair’s Sunken Scroll.