
Splatoon 2 Guide Multiplayer Maps The Reef
Game Modes
Turf War
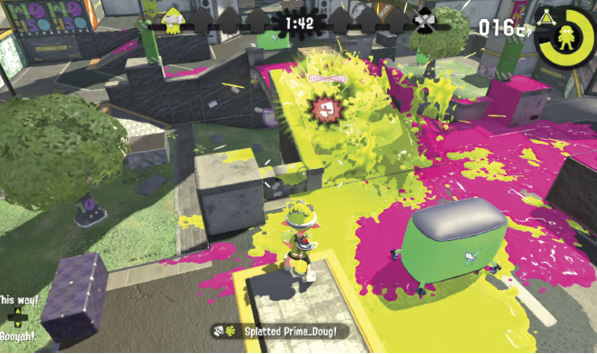
The high ground adjacent to each spawn point offers a great view of the center. Stand atop the elevated platforms and walls before dropping down and assaulting the bridge. Don’t give up the high ground until you’ve conducted a thorough scan for opponents.
- At the start of the round, ensure at least one player stays behind and inks the large elevated area around your team’s spawn point—rollers work well for covering the flat platforms and ramps. This area accounts for nearly a quarter of the map, so don’t neglect it. Once inked, it’s relatively secure, since opponents can’t swim up the perimeter walls. You can also use this elevated area to fire down on enemies. Always scan for nearby opponents before jumping down toward the bridge.
- Be careful when operating around the bridge. While there’s valuable territory beneath it, the walls here can’t be inked, making this area a potential trap. When possible, stay along the perimeter and ink the area beneath the bridge from a safe distance, using long-range weapons and bombs. Curling Bombs are particularly effective. Once this low area is inked, defend it from atop the bridge.
- Due to the lack of inkable walls, the various ramps are critical when climbing out of the low-lying areas. Monitor these ramps and look for opportunities to ambush opponents. Ink Mines, Toxic Mist, and Splash Walls are all effective when placed along these narrow chokepoints, hindering the opposing team’s movements.
Splat Zones
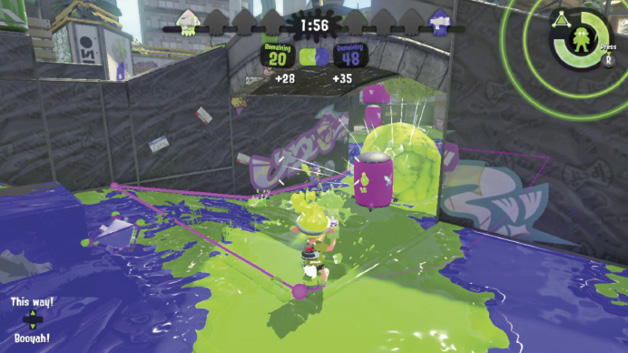
The Splat Zone is located directly beneath the bridge, leading to some intense back-and-forth battles. Ink the Splat Zone from the perimeter or the bridge above. If you must enter the Splat Zone, use the inflatable barrier in the center for cover. Don’t linger long—ink the zone and retreat to the perimeter.
- At the start of the round, immediately push toward the bridge, but make sure your team takes different routes. Send at least two players to the top of the bridge while the other players flank the low area from the right. This two-pronged attack helps you secure the Splat Zone before the opposing team.
- Don’t defend from within the Splat Zone, beneath the bridge. Instead, ink and defend from the perimeter. Once the zone is inked, there are plenty of sneaky spots you can hide in—wait for opponents to rush the zone, then pop out of your ink to splat them. Also, don’t forfeit the top of the bridge. Maintaining control of the bridge prevents opponents from dropping down onto the Splat Zone.
- Movement is key, so consider performing regular patrols around the bridge, in a figure-eight pattern. This is a great way to cut off opponents’ retreats, as well as confront freshly spawned reinforcements. It’s important to intercept opponents before they get close to the bridge.
Rainmaker
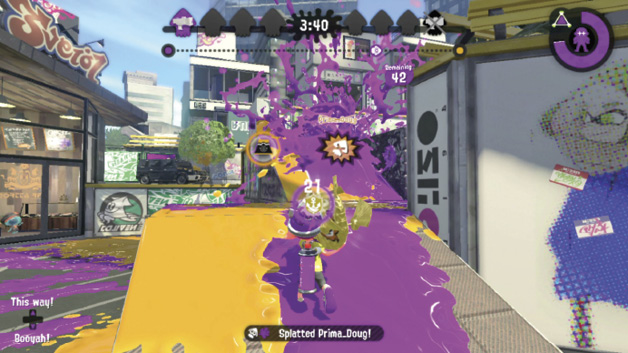
Regardless of which path you take, you face a difficult uphill climb while carrying the Rainmaker. Fire fully charged shots to ink a path up these ramps and swim forward. If you’re lucky, you may splat opponents waiting to ambush you at the top of the ramp.
- A series of new ramps is added in Rainmaker, providing two separate paths to the capture point, near the car. When defending, ink these ramps thoroughly to hinder the opposing team’s movements. Don’t give up the high ground; stay near the tops of the ramps and fire down on incoming attackers.
- After grabbing the Rainmaker from beneath the bridge, move toward the tree in the adjoining courtyard—there’s a ramp behind this tree leading toward the capture point. This is the quickest, most direct route.
- Rainmaker carriers face an uphill advance all the way to the capture point. This makes solo captures difficult. Always make sure the Rainmaker carrier has escorts. When escorting, determine a route, then ink a path for the Rainmaker carrier to follow. Secure the area around the capture point and harass opponents advancing from their spawn point.
Tower Control
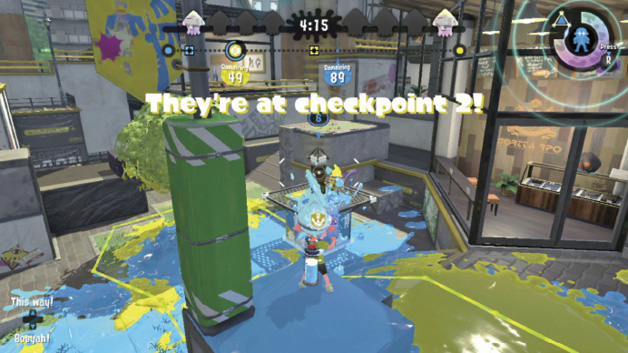
Like the Rainmaker, the tower starts beneath the bridge. Once captured, the tower must pass through three low-lying checkpoints. By securing the high ground, defenders have an easy time firing down on the tower riders, particularly when the tower stops at the first and second checkpoints.
- The third checkpoint is extremely close to the capture point. When defending, it’s vital to hold the tower at the third checkpoint. Make sure your entire team converges here to prevent the opposing team from securing a win.
- If you lose the tower near the opposing team’s capture point, fall back to the bridge. Secure the top of the bridge and wait for the tower to pass beneath. Use this elevated position to fire down on the tower riders and reclaim the objective. The tower is vulnerable while passing beneath the bridge, so maintain control of this critical location until your team has advanced the tower beyond this point.
- Given the low-lying terrain the tower must traverse, consider having one or two teammates push ahead of the tower and harass the defenders on the high ground. Since most defenders are focused on the tower, it’s usually easy to flank them. The tower is vulnerable while stopped at checkpoints, so work hard to occupy the defenders until the checkpoints are cleared.