Splatoon 2 Guide Single-Player Campaign Area 03: Beaker’s Depot
12: Octo-Resort Spring
Legend
|
|
|
|
|
|
|
|
|
|
|
|
|
|
|
|
|
|
 Key Location
 Armor
Armor
 Jump Path
 Key
Key
 Power Egg Can
 Sardinium
 Sunken Scroll
 Vault
Vault
 Zapfish
Lair Entrance
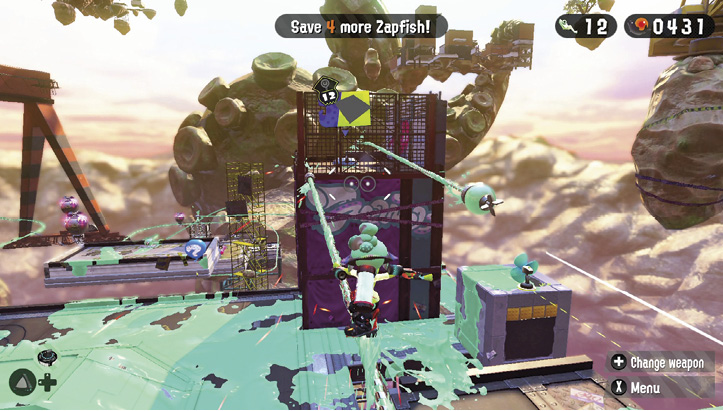
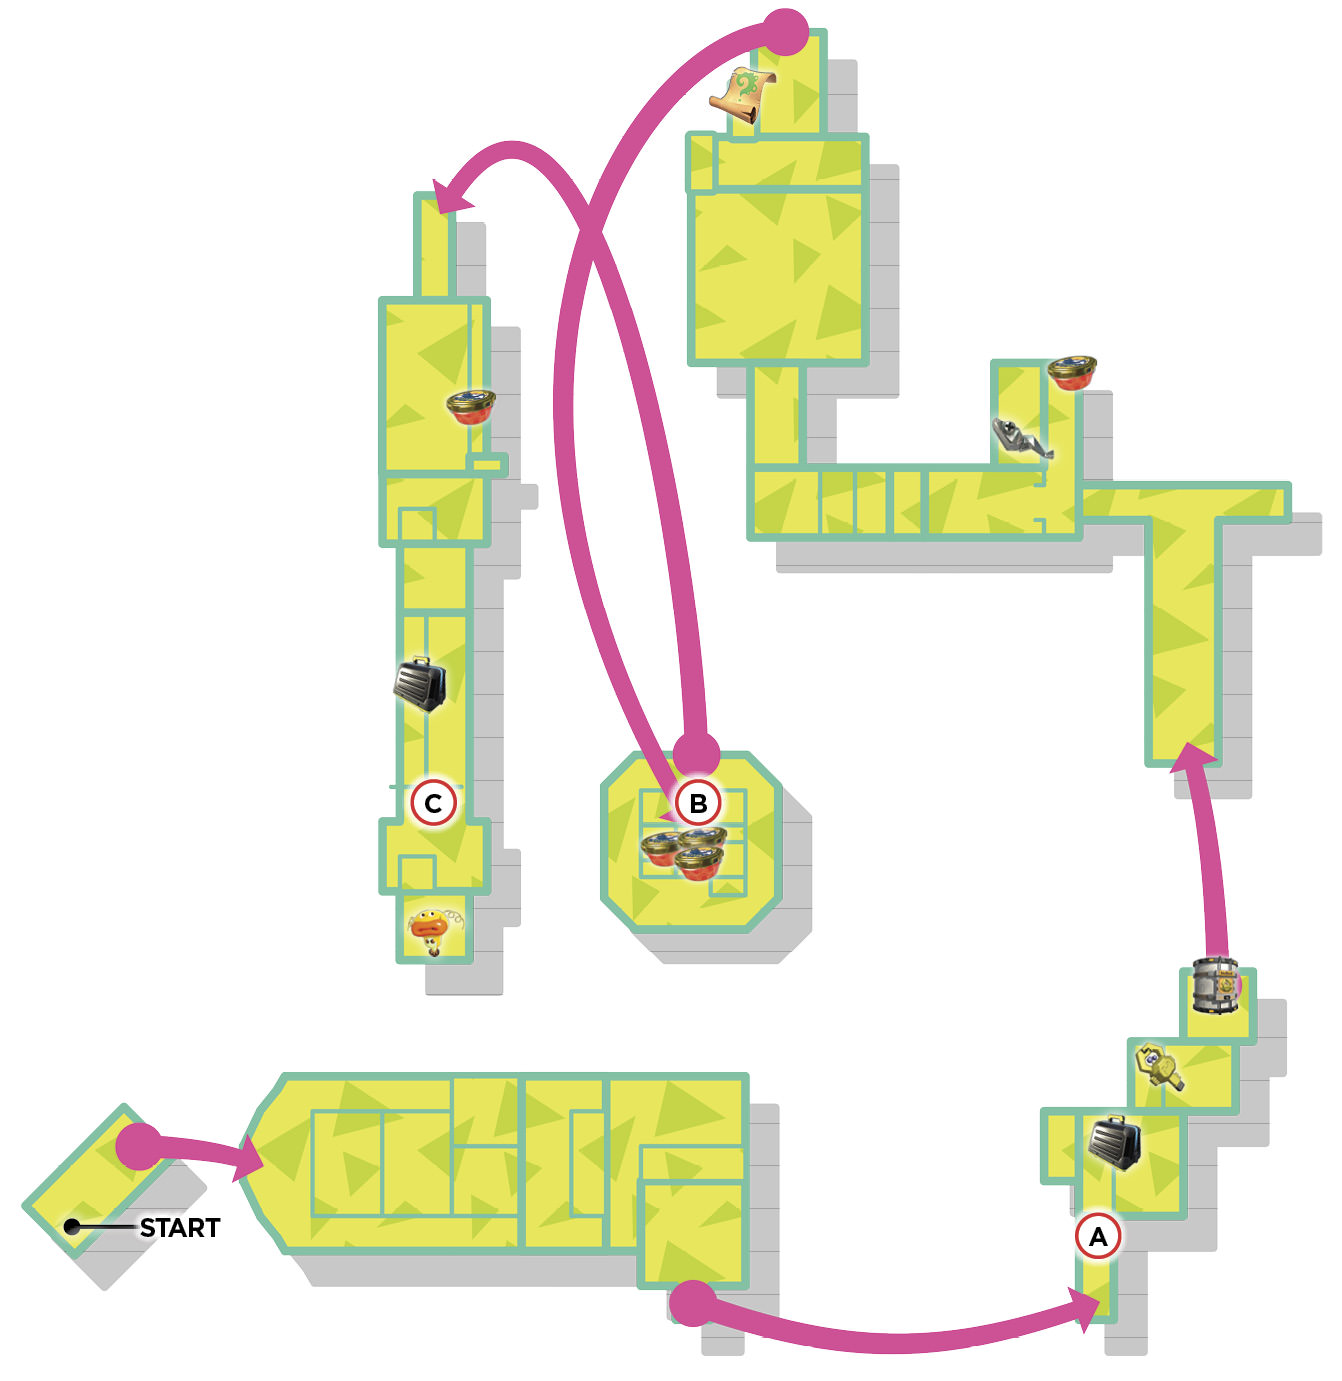
Lair 12 is situated atop a tall tower. Use the Propeller to reach the platform near Lair 15. From there, access the Ride Rail and ride it toward Lair 12. This Ride Rail alone doesn’t get you to the lair—jump from the left Ride Rail to the one on the right. As you approach the vertical grate, enter squid form to prevent getting knocked off the Ride Rail.
Sheldon Request
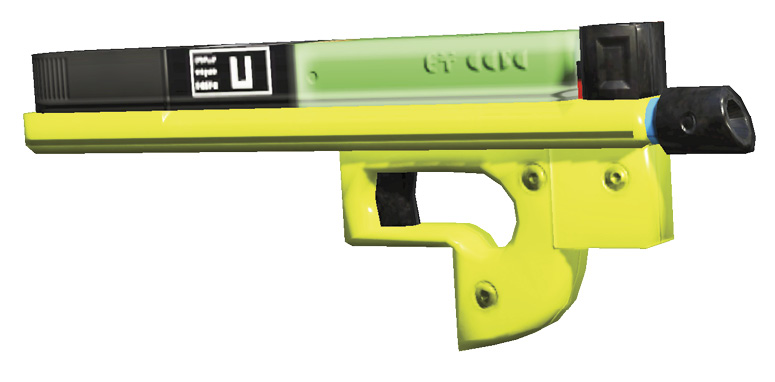
The Hero Shot is Sheldon’s weapon of choice for clearing this lair. While the Hero Shot doesn’t excel in any one category, it’s a solid, well-rounded weapon with a decent rate of fire and damage output. Given all the Bounce Pads on this stage, it will serve you well, allowing you to spread ink over wide areas while bouncing around.
Key Locations
 Bounce Pad Advance
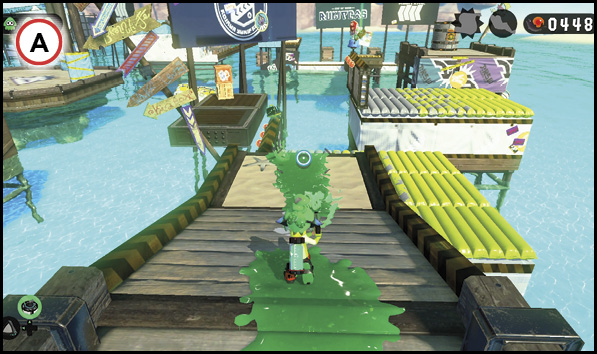
The Bounce Pads featured in this stage allow you to reach extreme heights while jumping. Simply hold down B while crossing a Bounce Pad to automatically bounce upward. On this platform, you must evade a couple of moving walls crossing over the Bounce Pads. Keep bouncing forward to avoid getting pushed off by the moving walls. As long as you bounce, you can jump over the walls. Gather the armor atop the first wall and a key atop the second wall—the key unlocks the nearby vault. There’s also a Splat Switch on the right side of the second moving wall—hitting this switch causes three orange balloons to appear, each containing five Power Eggs.
 Tower Descent
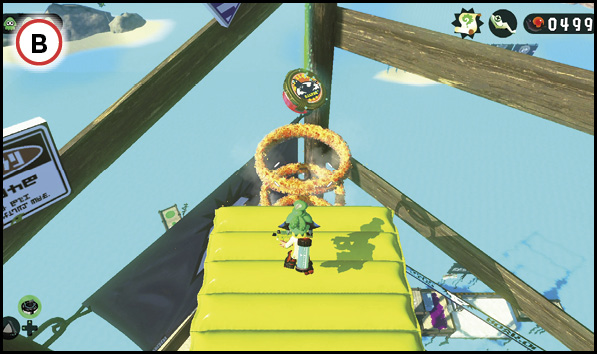
Utilize the Bounce Pads to descend to the bottom of this exceptionally tall tower. Along the way, try to pass through squid rings while collecting Power Eggs and Power Egg Cans. Once you’ve reached the bottom of the tower, there’s no way to return to the top, so you only have one shot at collecting these items. There are three Power Egg Cans available during this descent. The first is easily obtained by jumping through the first set of squid rings. However, the second Power Egg Can is on a moving Bounce Pad—time your descent carefully before making the jump. The third Power Egg Can is on another moving Bounce Pad. Look down and line up your Inkling with the Power Egg Can before making the jump.
 Octosniper Rush
The final path to the Zapfish is guarded by a couple of Octotroopers and one Octosniper. The Octosniper is extremely deadly, capable of splatting you with one hit. In this case, speed and erratic movements give you the best chance for survival. Step out onto the Bounce Pad and begin bouncing forward, directly toward the Octosniper—ignore the Octotroopers for now. The Octosniper is incapable of tracking your bouncing movements, which causes his shots to miss. Keep bouncing forward until the Octosniper is within range of your Hero Shot; it only takes a modest burst from this weapon to splat the Octosniper. With the Octosniper down, eliminate the Octotroopers and collect the armor atop the moving wall before capturing the Zapfish.
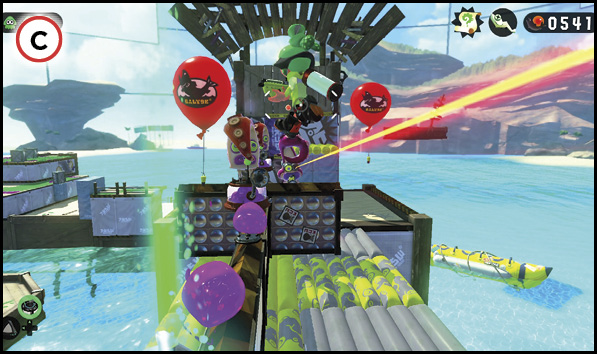
Collectibles
Sardinium
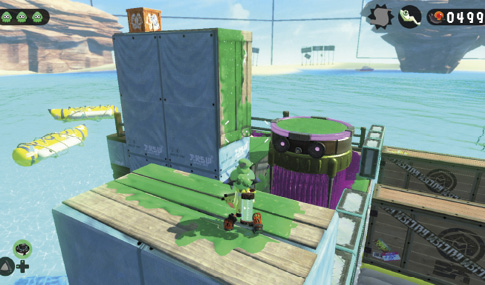
The Sardinium is stashed in a crate on this platform, near the first Flooder. You must sneak past the Flooder and ink the side of the platform before swimming to the top. Move quickly, as the Flooder is likely to respond to your intrusion.
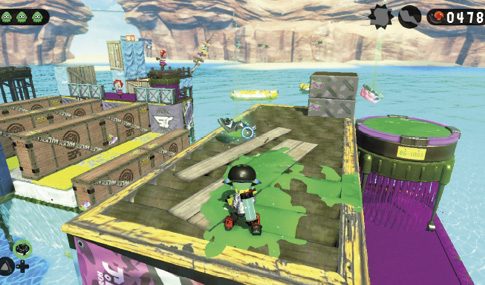
Sunken Scroll
Like the Sardinium, retrieving the Sunken Scroll requires you to evade a Flooder. The Sunken Scroll is located in a crate atop a tall platform near the launchpad. Sneak past the second Flooder and swim to the top of this wall. From here you can ink the wooden planks leading up to the Sunken Scroll’s platform. Next, hop on top of the Flooder and ride it toward the inked wooden planks. Finally, swim up the planks to retrieve the Sunken Scroll.