Salmonids
Grizzco employees head out to the Spawning Grounds in time to intercept the onslaught of Salmonids returning with their Power Eggs and Golden Eggs. There’s a large variety of Salmonids to contend with, so study up!
Salmonids ink the ground they crawl across. They’re not playing Turf War, but they do make it that much harder for you to move around and replenish your ink. Consider having one of your teammates focus on inking the ground so the others can move around unhindered.
It’s also worth noting that Salmonids can detect Inklings no matter where they are. You can’t hide in the ink to avoid detection; the Salmonids find you and continue their attacks.
Lesser Salmonids
Though small, they shouldn’t be ignored. Lesser Salmonids, despite being highly susceptible to ink, can still prove quite dangerous. Keep an eye on their presence, particularly when engaging a Boss Salmonid. Lesser Salmonids spread their ink around the map, cutting off your escape and making it difficult to refill your Ink Tank. Chum and Cohock can inflict significant damage with their frying pans. The latter can down an Inkling with a single swing of its frying pan! Smallfry are quite small, but very fast and attack in large numbers. Beware the swarm!
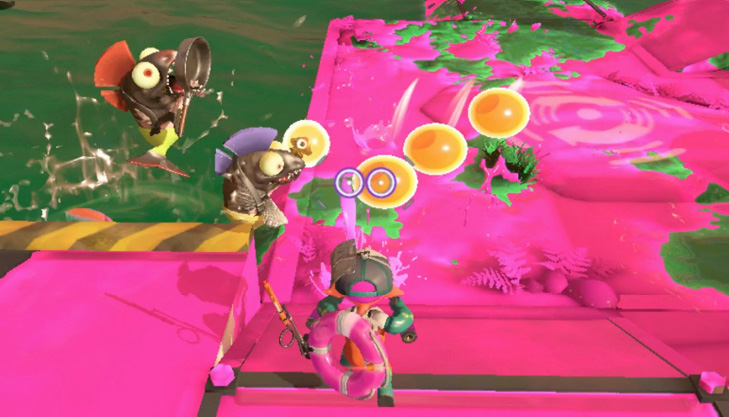
Unlike Grizzco employees, Snatchers can carry multiple Golden Eggs at once. Splat them with ink to make them drop the Golden Eggs before they return to the water. When only two players are involved, consider having one teammate guard the Golden Eggs, while the other player transports the Golden Eggs to the basket.
Boss Salmonids
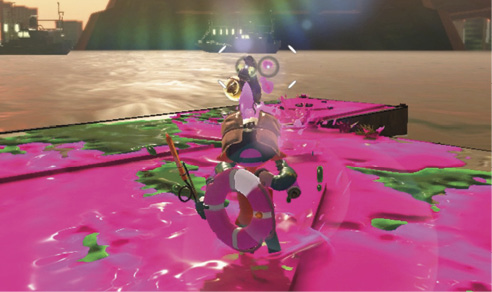
Maintain a safe distance from the Steelhead to ensure a suitable firing angle on its head-top bomb. Doing so also affords you a chance to spot the incoming bomb and relocate to a safer position as needed. The bomb detonates shortly after landing, coating the vicinity in ink. Quickly ink over the Steelhead’s ink to ensure you have ink to swim through.
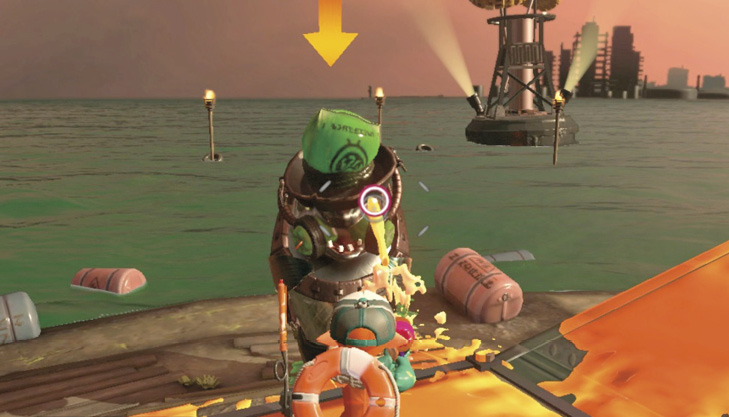
Battling the Steel Eel requires teamwork. The player being pursued should entice the Steel Eel into a chase around the periphery of the Spawning Grounds while the other players close on the Steel Eel’s driver from behind. If possible, have a third player focus on re-inking the area doused by the Steel Eel as soon as it passes by. The Steel Eel is particularly difficult to dispatch during high-tide events.
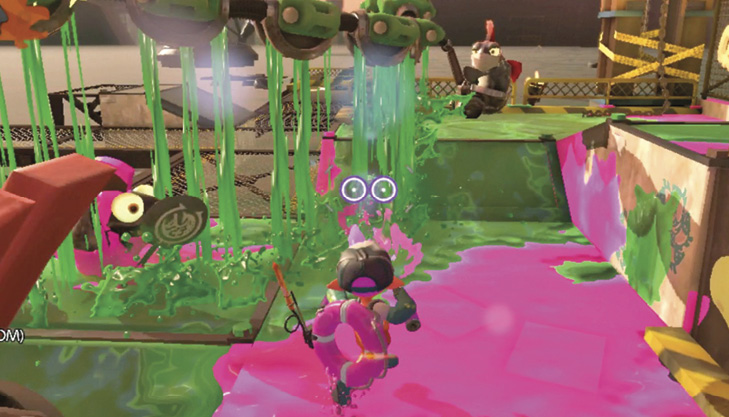
The only way to defeat the Scrapper is to concentrate ink on its shields in effort to damage them. This brings the Scrapper to a standstill and makes it possible to circle around behind it. Fire on the opening in its armor as it tries to repair the damage.
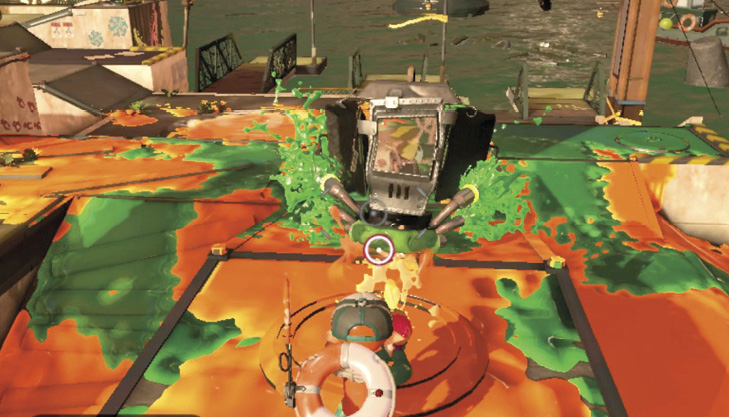
The only way to defeat the Stinger is to close on its position and shoot each of the pots away so that the Salmonid sniper at the top falls into the flame at the base of its tower. Shooting the Salmonid at the top of the stack inflicts no damage. You must shoot the pots! The boiling pots of ink provide the pressure it needs to fire its long-range sniper attacks. The fewer pots the Stinger has (i.e. the shorter its tower), the less power and range it gets.
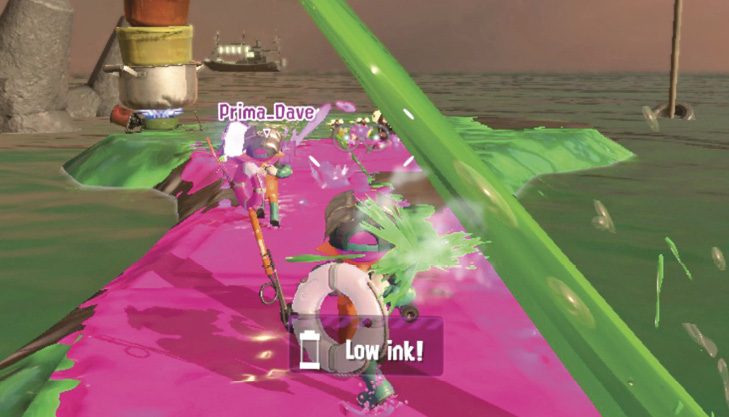
Though it’s possible to gradually damage Maws by shooting it with ink when it surfaces, this takes a lot of time and is risky. It’s far more effective to quickly lob a bomb at Maws’ point of attack, thereby tricking it into swallowing the bomb. Maws swims through ink, and even up walls, as it searches for prey. Stay on the move and be ready with a bomb to defeat it.
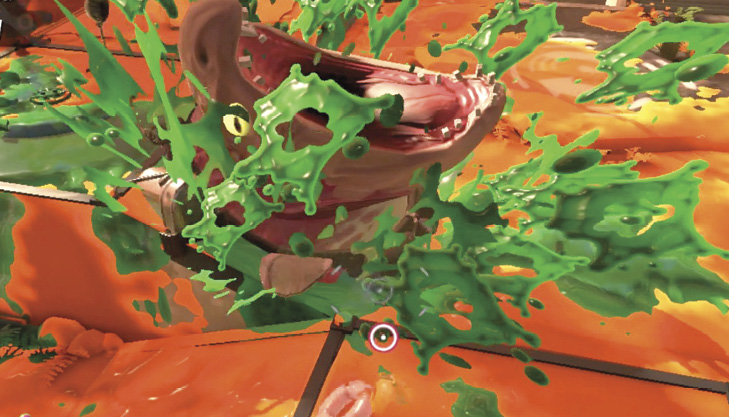
There are two basic ways of dealing with the Drizzler. One option is to attack it immediately after it launches its projectiles. You have to dodge the attack and take advantage of the brief window of time when the Drizzler is vulnerable. The other option is to target the Drizzler’s projectiles and deflect them back at it. This is the most efficient method, but it’s also more difficult. Either way, the key is to damage the Salmonid within the umbrella-shaped armor after it fires its projectiles. Keep your distance and move forward while firing at the Salmonid after it fires its rocket. With some luck, the rocket will sail past overhead and you’ll have plenty of time to defeat the Drizzler.
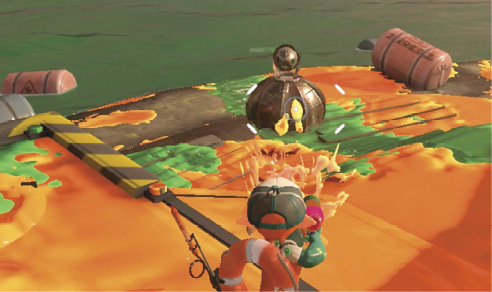
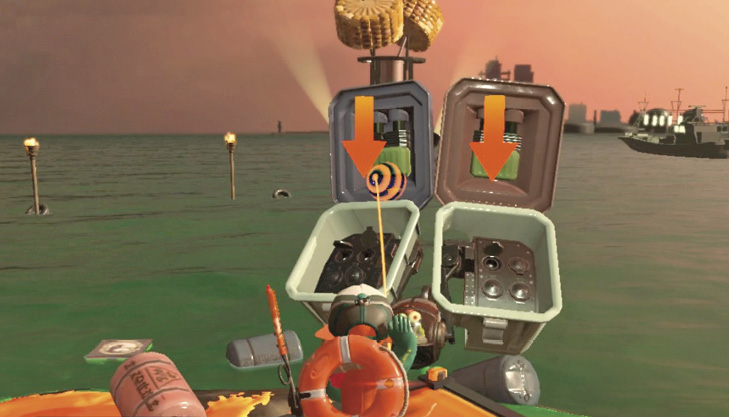
The Flyfish can lock on to two targets at once, and fire up to four missiles from each launcher. The only way to defeat this Boss Salmonid is by lobbing a bomb into the missile launchers as their lids open. This is best accomplished by maintaining an elevated position so that you can better aim the bomb without having to manipulate the camera too much.