Splatoon 2 Guide Single-Player Campaign Area 02: Suction-Cup Lookout
09: Octoling Strike
Legend
|
|
|
|
|
|
|
|
|
|
|
|
|
|
 Key Location
 Armor
Armor
 Power Egg Can
 Sardinium
 Splat Bomb Launcher
 Sunken Scroll
 Zapfish
Lair Entrance
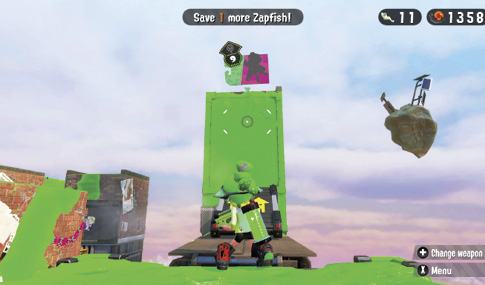
This lair is located atop a tall tower on the area’s periphery. Ink the sponge at the base of this raised Dash Track to move into position. If you haven’t already, shoot the Balloon Fish attached to the side of the tower, coating the nearby wall in ink. Next, run across the Dash Track and launch yourself toward the tower. As you make contact with the tower, immediately swim up the inked wall to access the lair.
Sheldon Request
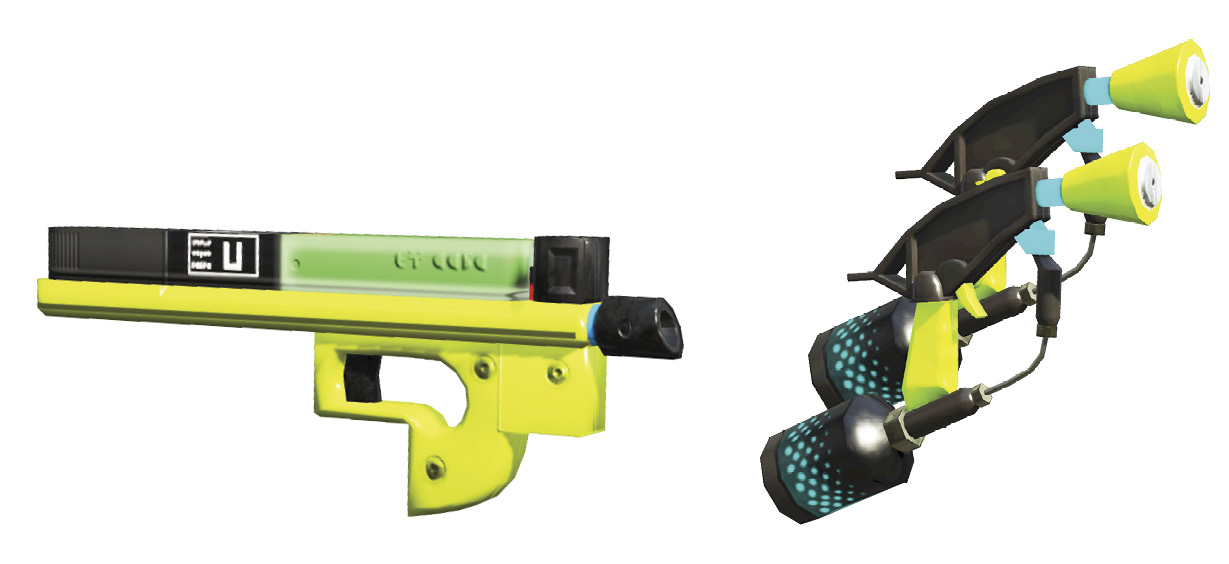
Sheldon has no specific request for completing this lair, so you’re free to choose from the weapons you’ve unlocked. However, you’re about to enter a battle against Octolings, which closely mimics a battle of Turf War on the Reef. The Hero Shot and Hero Dualies are best suited for this style of toe-to-toe combat, particularly if you’re not quite comfortable with the Hero Roller or Hero Charger.
Key Locations
 High Ground
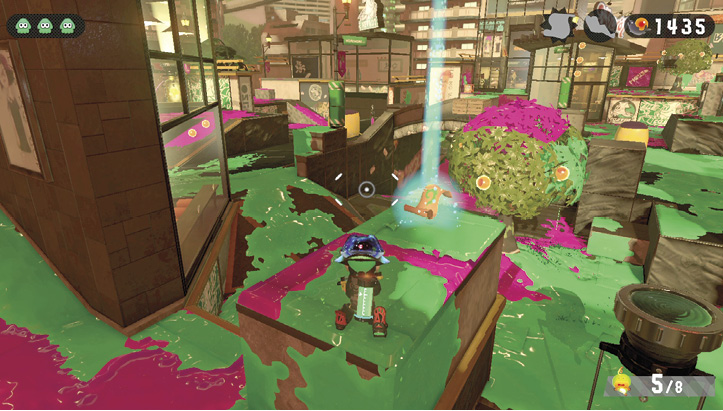
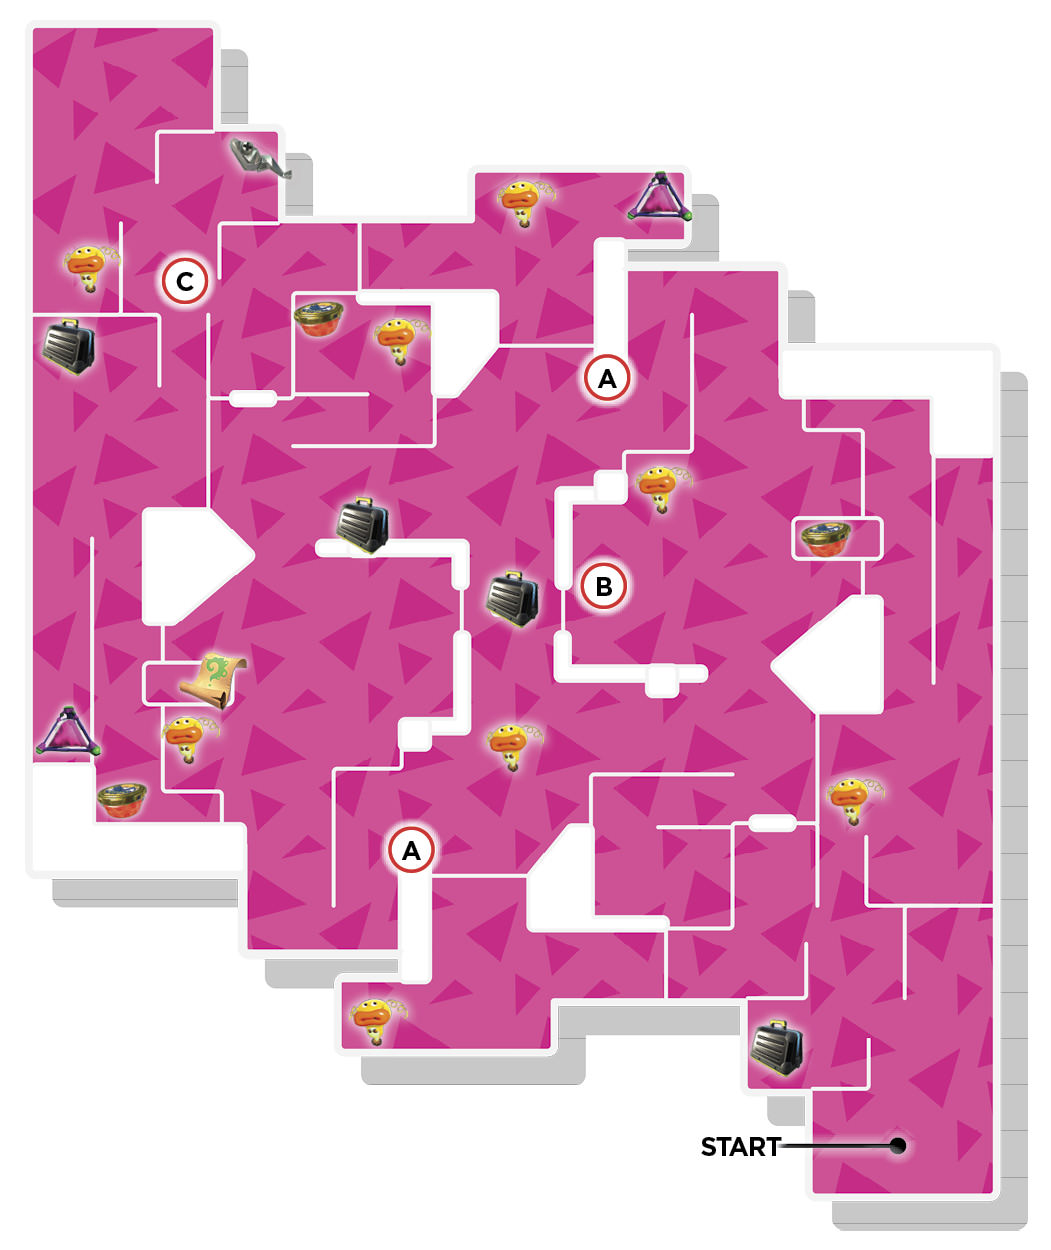
In this battle you must locate and free a total of eight Mini Zapfish scattered about the stage. As indicated by Marie, eight Mini Zapfish have the power of one normal Zapfish. Whenever possible, take the high ground to get a better view of the area. This makes it easier to spot the Mini Zapfish—look for the columns of yellow light. These walls, located on both sides of the symmetrical map, offer a good vantage point, allowing you to fire down on the Octolings below. However, the top of the wall can’t be inked, so drop down into your own ink when it’s time to replenish your Ink Tank.
 Armor Up!
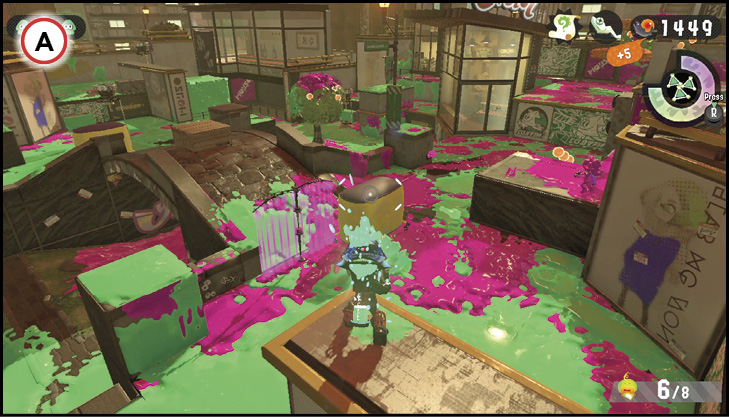
There’s a number of armor pickups on this map, including one beneath the central bridge—ink the ground beneath the bridge to reveal a hidden crate containing armor. During this fight, you’re completely outnumbered by Octolings, which puts you at a serious disadvantage. Armor allows you to survive the Octoling onslaught, but don’t get overconfident. If you find yourself taking heavy damage, especially if enemies are firing down on you, retreat immediately and seek a different approach to your objective.
 Bomb Launcher Assault
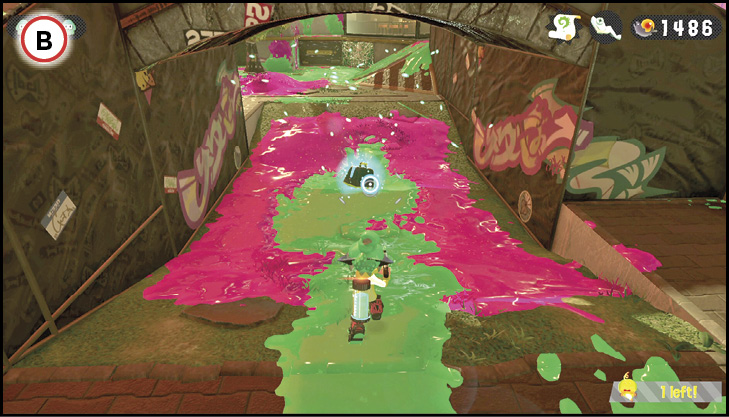
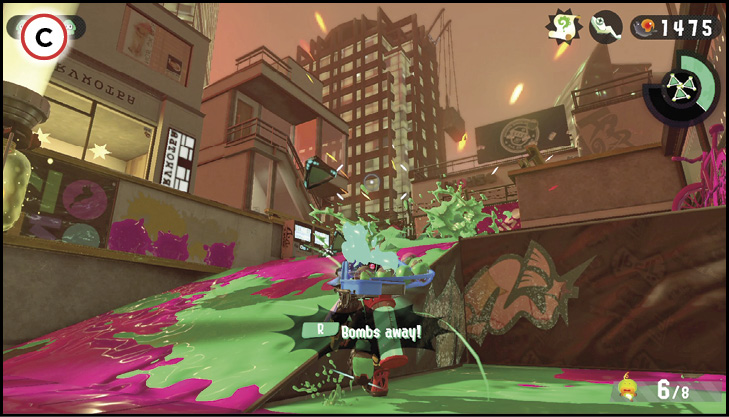
Operating near the enemy spawn point is extremely dangerous, as the Octolings have the height advantage. Still, you need to access this area if you wish to secure the nearby Mini Zapfish and Sardinium. Grab one of the Bomb Launcher specials and use it to saturate the area around the enemy spawn point, splatting any Octolings in the process. This also coats this hotly contested area with your ink, making it easier to swim around.
Collectibles
Sardinium
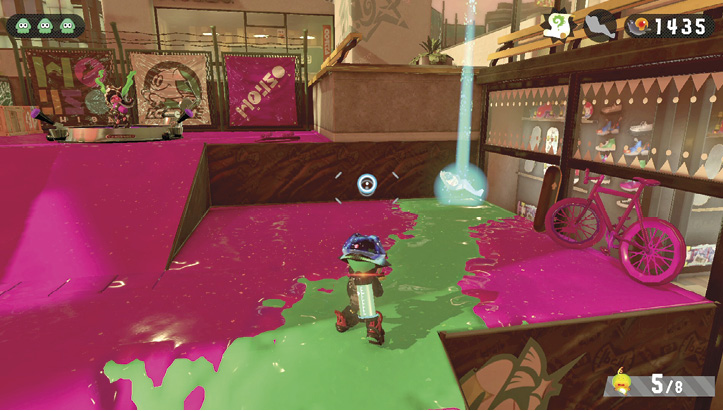
Reaching this Sardinium can be a bit dangerous, since it’s located right next to the Octoling spawn point. Move into this area quickly and ink the ground in the corner next to the bicycle. This causes a hidden crate to appear, which contains the lair’s Sardinium.
Sunken Scroll
This lair’s Sunken Scroll is stashed in a hidden crate behind a Splash Wall. Destroy the Splash Wall, then ink the ground behind it to reveal the hidden crate.