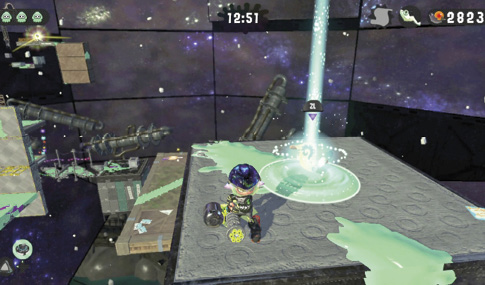
Splatoon 2 Guide Single-Player Campaign Area 05: Cephalon HQ
25: Platform Madhouse
Legend
|
|
|
|
|
|
|
|
|
|
|
|
|
|
|
|
|
|
|
|
|
|
 Key Location
 Armor
Armor Ink Storm
 Jump Path
 Key
Key Power Egg Can
 Sardinium
 Sunken Scroll
 Ticket
 Vault
Vault Zapfish
Lair Entrance
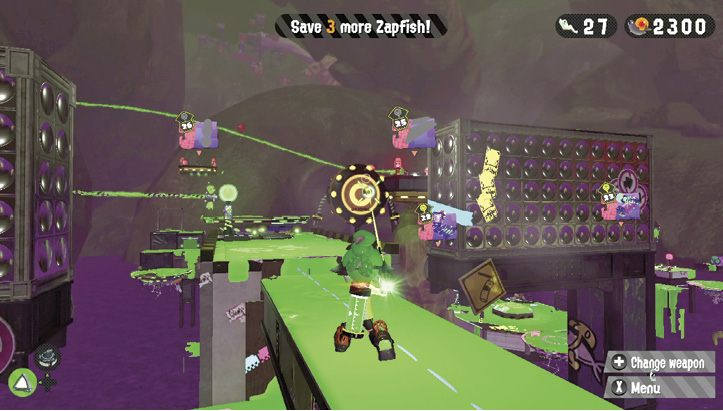
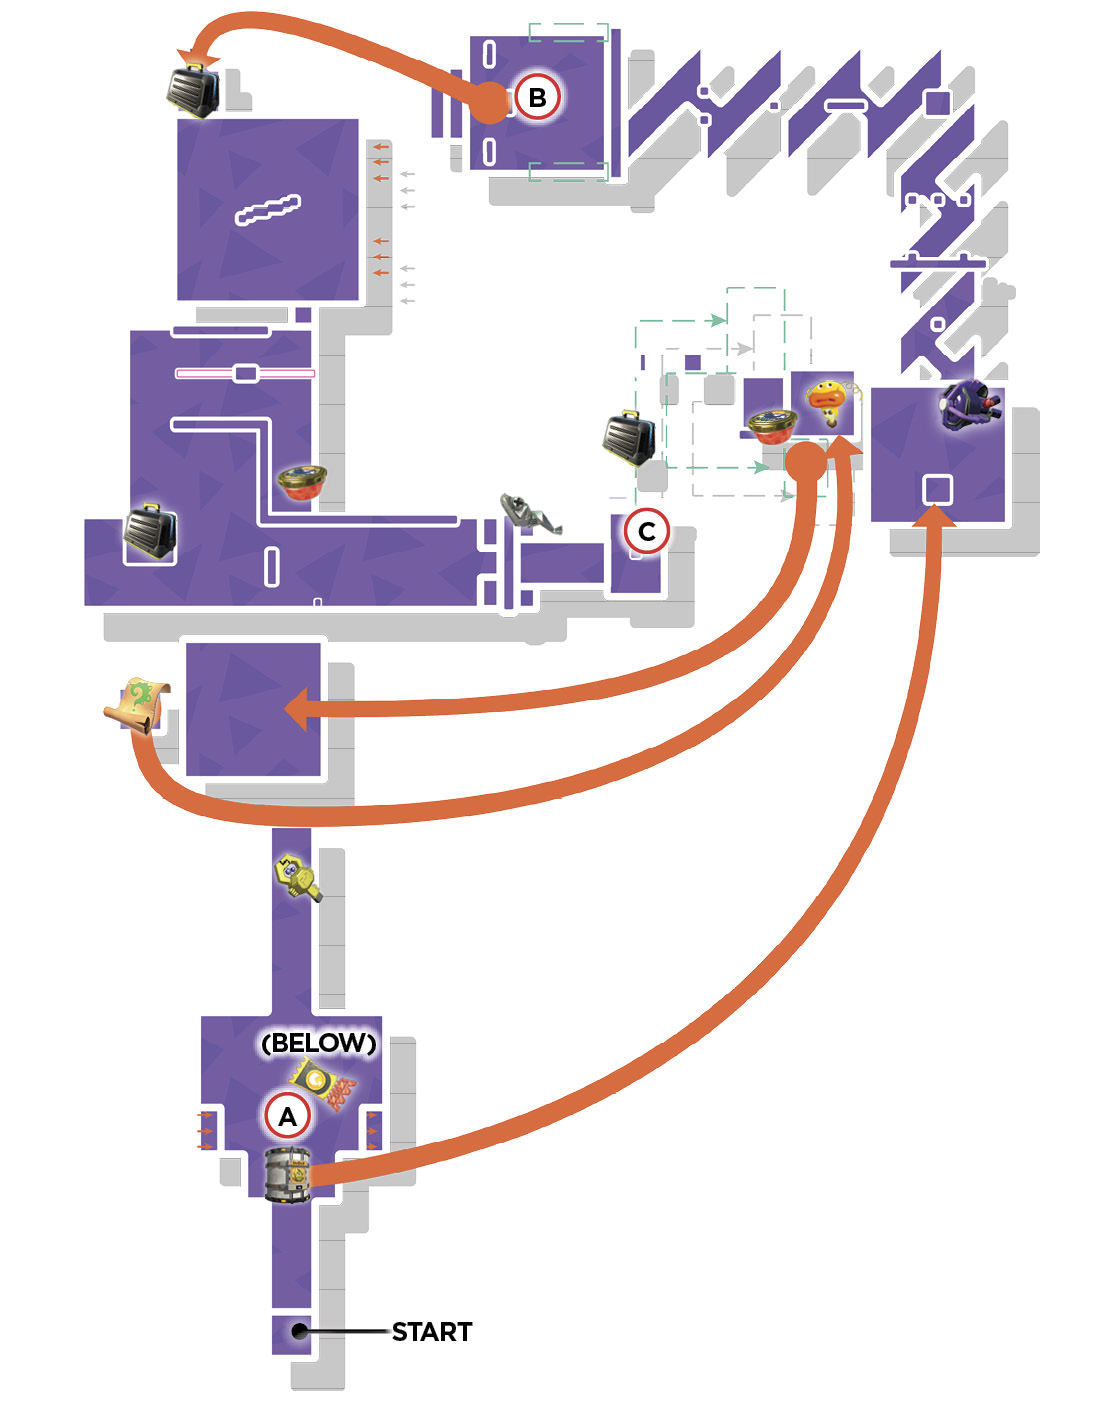
Ride a saucer toward the tall platform with an Ink Switch. Hop onto the moving platform beyond the Ink Switch and turn around. Shoot the Ink Switch to cause two walls to move toward each other. Ink the wall on the left as it moves within range. Strike the Ink Switch again, then jump toward the freshly inked wall and swim to the top. Once again, shoot the Ink Switch to cause the walls to move toward each other. Hop to the top of the approaching wall and ride it toward a Ride Rail hub—shoot the hub to activate the Ride Rail, and ride it to a distant platform to access the lair.
Sheldon Request
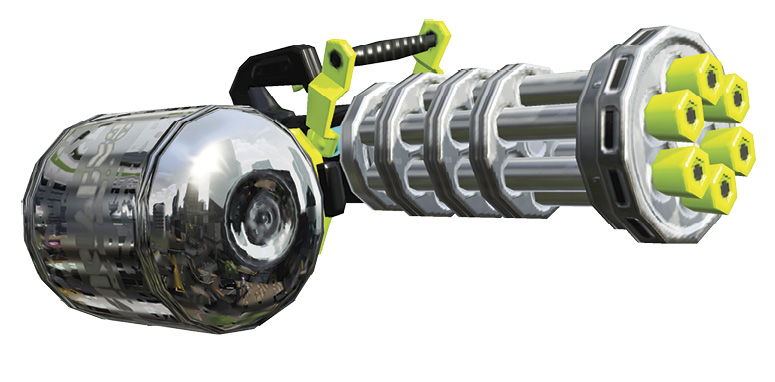
Sheldon offers the Hero Splatling as his recommended weapon for this stage; yes, he needs to collect more data on this rapid-firing, ink-guzzling powerhouse. Since the Hero Splatling consumes ink at a rapid pace, keep an eye on your Ink Tank. Make a habit of filling your Ink Tank to capacity before unleashing a fully charged barrage.
Key Locations
 Moving Cover
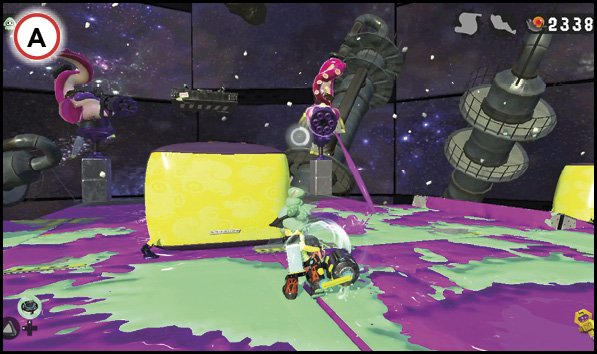
After you retrieve the key on this platform, two Twintacle Octotroopers and two Octocommanders appear, blocking your path to the vault. Fight your way past the Twintacle Octotroopers first, then cautiously approach the Octocommanders, using the yellow inflatable barriers for cover. The barriers on the moving conveyor belt allow you to get close enough to hit each Octocommander with the Hero Splatling, but you need to keep moving to stay behind cover. Sidestep to the left while firing, hitting each Octocommander with a fully charged barrage of ink. Once both Octocommanders are splatted, retrieve the ticket below this platform—ink the conveyor belt and swim along a vertical piece as it passes below to access a hidden platform.
 Cloud Burst
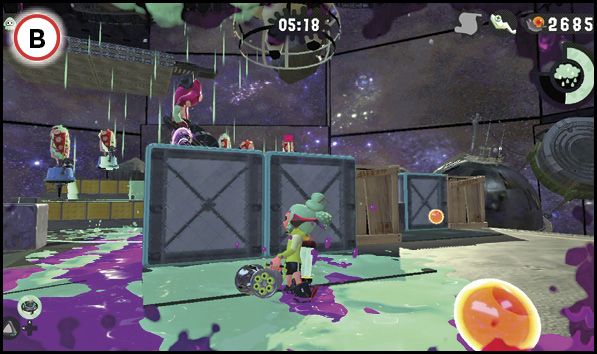
If you acquired the Ink Storm special prior to crossing the previous conveyor belt, consider putting it to use against this impressive line of enemies, including an Octocommander. Stay behind the low wall to prevent being hit by incoming ink, and toss the Ink Storm directly toward the Octocommander. As a cloud forms overhead, ink pours down on the enemies, slowly inflicting damage. Hold back and let the Ink Storm go to work, splatting the majority of Octotroopers as well as the Octocommander. After the cloud moves on, pop out of cover to deal with any survivors.
 Ink Switch Advance
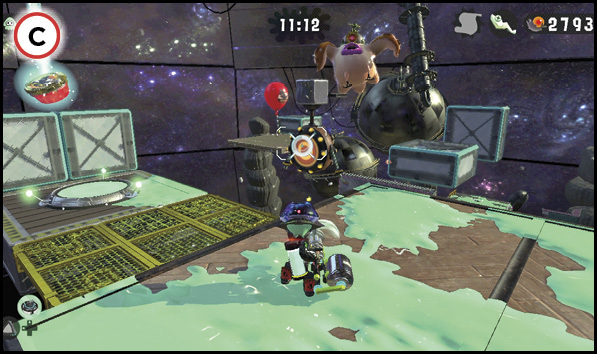
Reaching the Zapfish requires riding a moving platform, operated by shooting a pair of Ink Switches. Start by boarding the platform and shooting the nearby Ink Switch, careful to evade obstacles that may knock you off—when you near the vertical grate, enter squid form. As the platform begins to rise, transition to shooting the upper Ink Switch; it functions just like the lower one, continually moving the platform toward the Zapfish. As you near the checkpoint, be ready to eliminate an Octobomber floating overhead. The platform begins rotating as it nears the Zapfish. Maneuver accordingly to stay on top of the platform during this transition, while persistently hitting the upper Ink Switch. Watch for a small Splat Switch on the edge of the Zapfish’s platform—shooting it leads you to the lair’s Sunken Scroll.
Collectibles
Sardinium
After scaling the nearby wall, look down and to the left to spot a low platform holding the Sardinium. Drop down to collect it, then use the nearby launchpad to advance to the next checkpoint.
Sunken Scroll
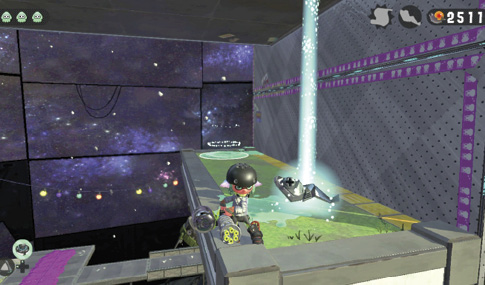
Shoot the small diamond-shaped Splat Switch on the edge of the Zapfish’s platform to reveal a hidden launchpad atop the moving platform. This launchpad leads to a distant platform occupied by an Octostamp DX. Lure this enemy forward, then sidestep as he face-plants. Use this opportunity to ink his side and swim up to another launchpad on his back, which leads to a small platform with a high stack of crates. Smash all the crates to retrieve Power Eggs and this lair’s Sunken Scroll. Use the launchpad beneath the crates to return to the Zapfish’s platform.