Splatoon 2 Guide Single-Player Campaign Area 02: Suction-Cup Lookout
06: Octozeppelin Invasion
Legend
|
|
|
|
|
|
|
|
|
|
|
|
|
|
|
|
|
|
 Key Location
 Armor
Armor
 Jump Path
 Key
Key
 Sardinium
 Sting Ray
 Sunken Scroll
 Vault
Vault
 Zapfish
Lair Entrance
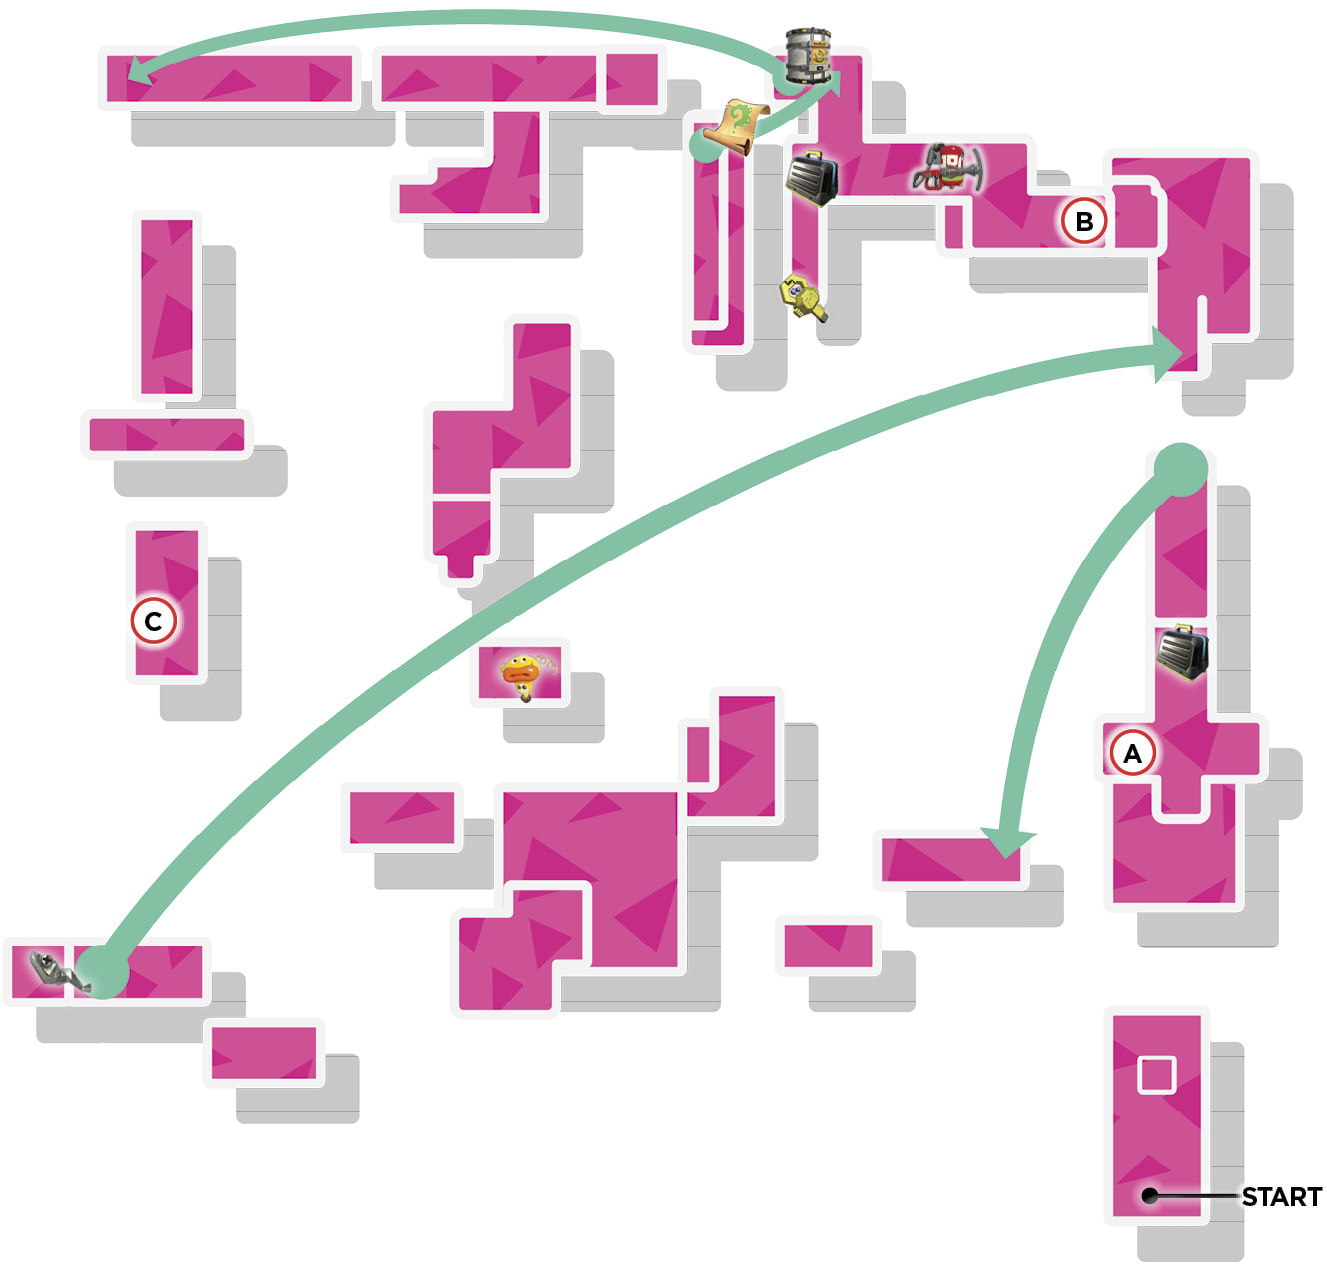
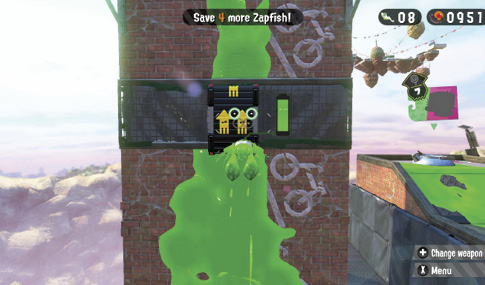
This lair is located atop a tall tower platform. Ascend to the top of this neighboring platform until you see the vertical Dash Track along the side of the tower. Ink the area just beneath the Dash Track before squid-jumping across—that’s where you’ll land. Swim upward to engage the Dash Track and launch yourself to the top of the tower.
Sheldon Request
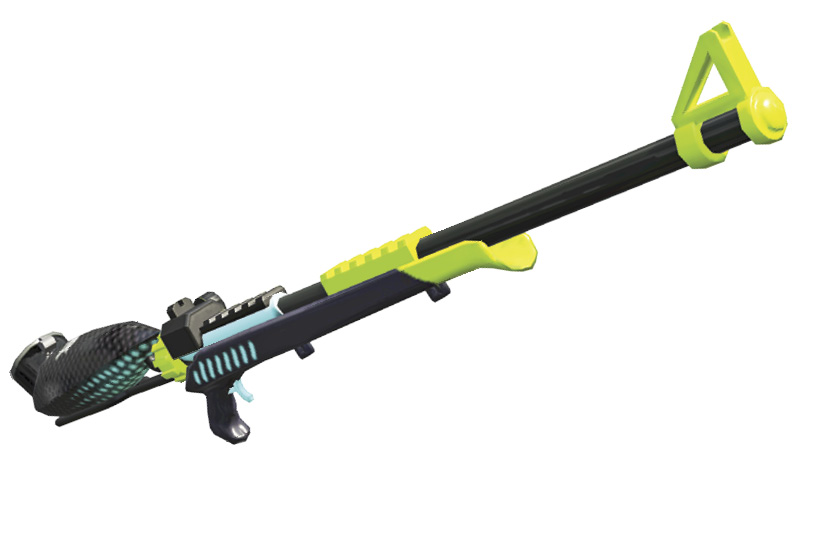
As you enter this lair, Sheldon delivers the Hero Charger. This is a variant of the Splat Charger, made famous by sharpshooters during Ink Battles. Hold down ZR to charge the weapon, then release ZR to fire a powerful stream of ink capable of impressive ranges. You can also store the weapon’s charge while swimming, which allows you to pop out of your ink and fire off a quick, powerful shot. The Hero Charger’s range makes it an ideal weapon for traversing this level’s various Grapplinks.
Key Locations
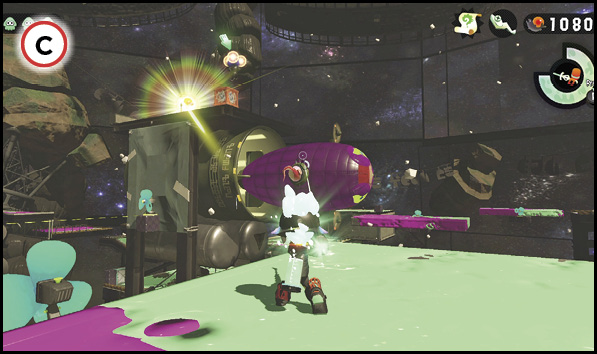
 Octozeppelin Zap
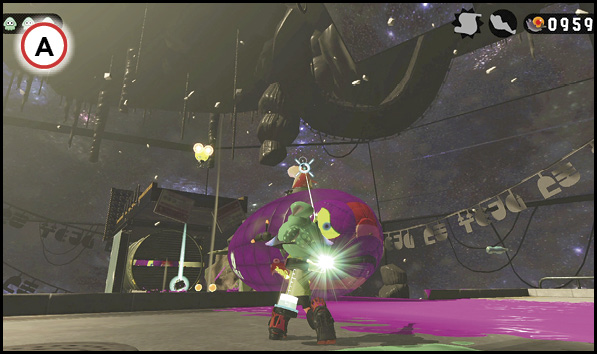
Octozeppelins are a continual nuisance in this lair. While they don’t pose a direct threat, they’re constantly in the way, leaving behind a wake of sticky purple ink. To eliminate an Octozeppelin, target the writhing tentacle on top. You’ll probably need to fully charge the Hero Charger to make this long-distance shot. Aim just ahead of the approaching Octozeppelin and wait for the tentacle to move within your Hero Charger’s reticle before firing.
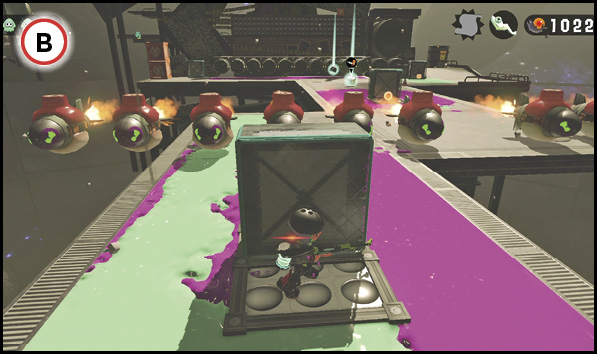
 Octorpedo Advance
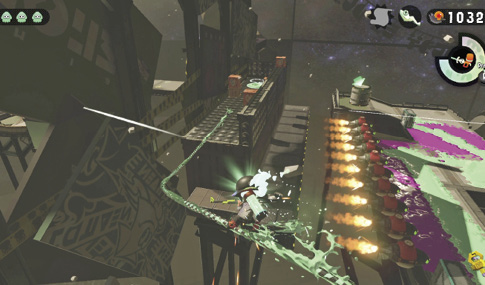
Watch out for the incoming barrage of Octorpedoes when you reach this platform. While you can shoot these enemies, it’s best to save your ink. Take cover behind the nearby wall and wait for the latest barrage to pass. When it’s clear, fire your Hero Charger at the next wall and swim forward before the following barrage arrives. Keep advancing in this fashion until you can reach the key on the far left side of the Octorpedo launch tubes. Take extra caution when crossing in front of the tubes—ink a path and swim past the tubes before the next barrage is fired. Be sure to grab the Sting Ray special and armor before making your way to the vault on the right. Don’t use the launchpad until you’ve collected this lair’s Sunken Scroll, stashed in the crate about the launch tubes.
 Zapfish Capture
Reaching the Zapfish is a bit tricky, requiring you to move two Propellers simultaneously while evading incoming Octozeppelins. The goal is to shoot the Grapplink just above the Octozeppelin base. Start by accessing the flat, horizontal-moving Propeller, then turn your attention to the Octozeppelin base beneath the Zapfish. There’s a propeller along the left side of this platform. Move your Propeller within range, then shoot this propeller on the left side of the Octozeppelin base—this causes the base to move to the left. Immediately aim up and shoot the Grapplink to reach the Zapfish. This is a tricky maneuver, so don’t get frustrated if it takes a few attempts. For best results, move to the corner of the Propeller and as close to the Grapplink as possible.
Collectibles
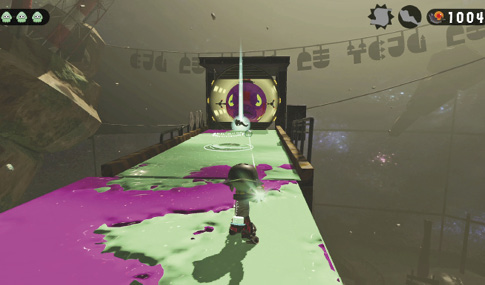
Sardinium
This Sardinium is located at the mouth of an Octozeppelin base, just beyond a launchpad. Step forward off the moving Propeller and aim at a freshly spawned Octozeppelin, taking it out with your Hero Charger. Swim forward immediately through your ink, careful to avoid the launchpad, and grab the Sardinium. Quickly backtrack to the launchpad before the next Octozeppelin appears.
Sunken Scroll
When you first encounter this impressive array of Octorpedoes, step off the left side of the platform to find this well-hidden Ride Rail. Ride the Ride Rail around the perimeter of the platform, evading all incoming Octorpedoes. The Ride Rail leads to a hidden platform above the Octorpedo launch tubes. Here you find a few crates, including one containing the lair’s Sunken Scroll. Use the nearby launchpad to return to the platform below, landing near the vault.