Splatoon 2 Guide Single-Player Campaign Area 03: Beaker’s Depot
13: Dancing Floors
Legend
|
|
|
|
|
|
|
|
|
|
|
|
|
|
|
|
|
|
 Key Location
 Armor
Armor
 Jump Path
 Key
Key
 Power Egg Can
 Sardinium
 Sunken Scroll
 Vault
Vault
 Zapfish
Lair Entrance
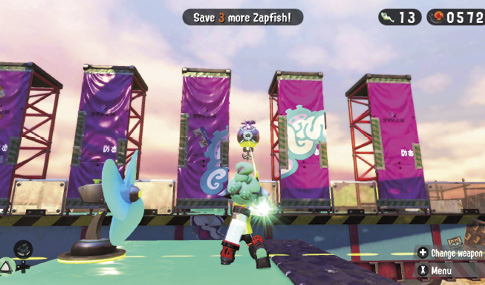
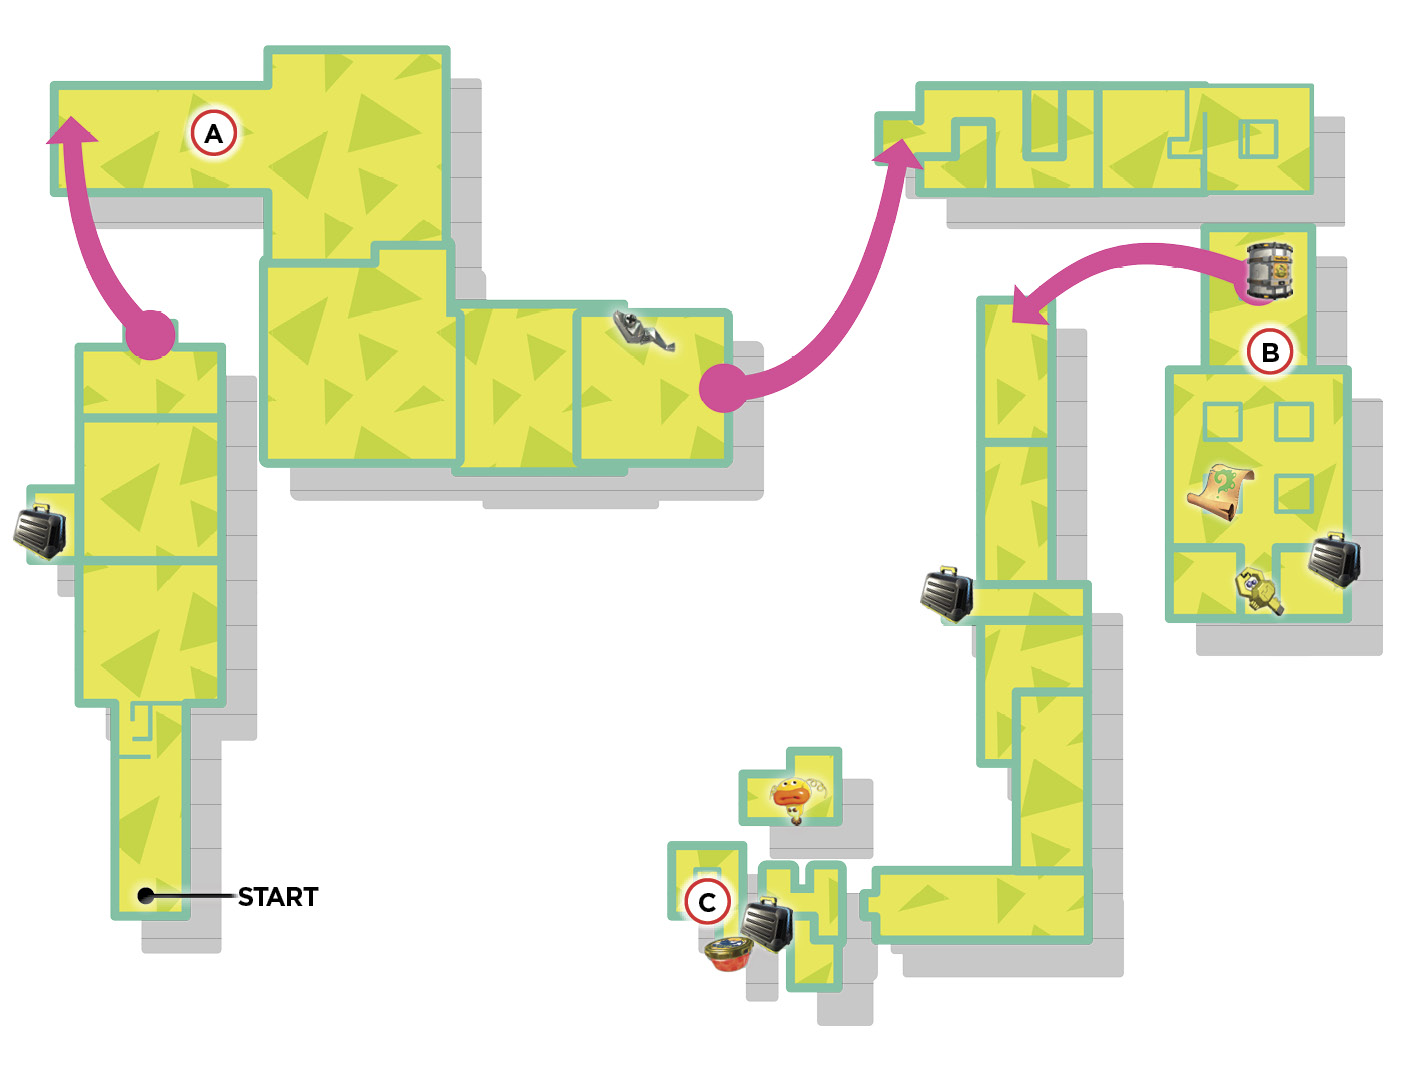
This lair is located to the right of the area’s entrance, requiring you to board the nearby Propeller. Equip the Hero Charger and step onto the lift, but be mindful that it doesn’t take you all the way to the lair. While riding the lift, turn to the right and locate a Grapplink—shoot it with your Hero Charger to reach the adjoining platform. From here you can access Lair 13, as well as the area’s Sardinium, which is stashed in a crate on one of the high pillars.
Sheldon Request
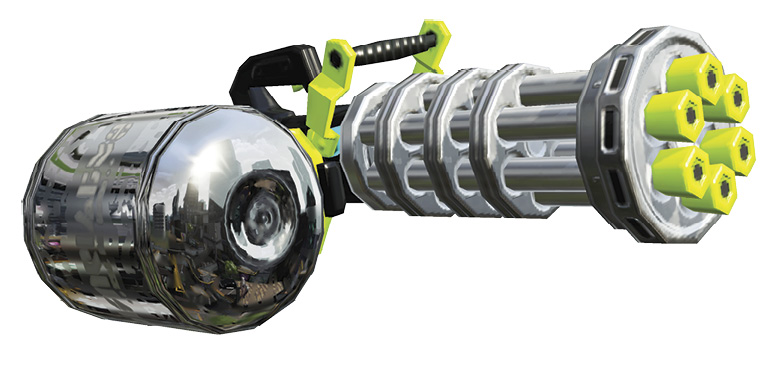
Before you tackle this lair, Sheldon delivers a new weapon—the Hero Splatling! This functions much like the Hero Charger—hold down ZR to charge the weapon. When you release ZR, the weapon spits out an automatic burst of ink. The weapon has impressive range and a high rate of fire, but since it consumes a large amount of ink, keep an eye on your Ink Tank. Curling Bombs are also useful in this stage, particularly when evading Flooders.
Key Locations
 Octosniper Ambush
An Octosniper guards this platform. Though your Hero Splatling has great range, it comes up short against the range of an Octosniper, so you need to get closer. Ink a path toward one of the yellow barriers and swim through your ink before the Octosniper can respond. While hiding behind the yellow barrier, charge your Hero Splatling by holding down ZR. Once the weapon is fully charged, sidestep and peek around the yellow barrier until you can get a clear shot at the Octosniper. Unleash a barrage of ink at the target before the Octosniper has a chance to act. A second Octosniper is positioned nearby. Use the same tactics to deal with this threat.
 Flooder Ride
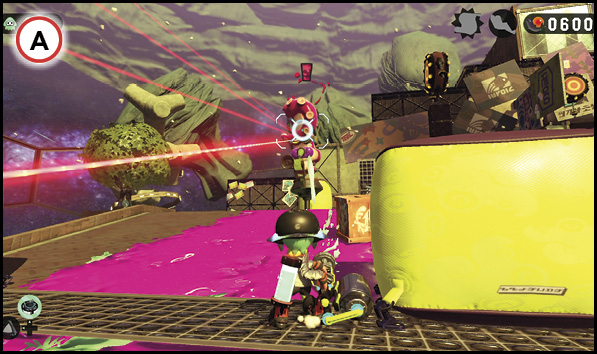
The key for the nearby vault is located on the far side of this platform, patrolled by two Flooders. Look up to spot a Grapplink near the area’s entrance. Lure a Flooder toward the Grapplink by spreading ink. Once a Flooder is directly beneath the Grapplink, shoot it to pull yourself up on top of the Flooder. Ride the Flooder toward the key—this is also a good opportunity to grab the Sunken Scroll on the nearby tower. You need to drop off the Flooder to secure the key. As soon as you grab it, immediately turn back toward the vault, using a Curling Bomb to ink a straight path through the Flooder ink. If necessary, drop off the sides near the key’s position to allow the Flooders to reset, before making your journey back to the vault.
 Zapfish Ascent
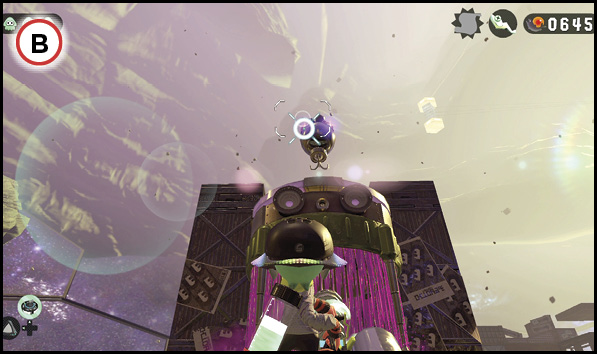
Reaching the Zapfish requires you to ride atop the final two Flooders. Start by boarding the shortest Flooder from the platform indicated on the map. While riding the short Flooder, shoot a nearby Grapplink to reach a floating platform. This platform allows you to board the tallest Flooder. Watch out for the Octocopter appearing near the Zapfish. Eliminate the Octocopter, then set your sights on the next Grapplink, located near the Zapfish. Wait until the tall Flooder moves within range of the Grapplink, then spread ink on the platform below to send the Flooder moving in the direction of the Grapplink.
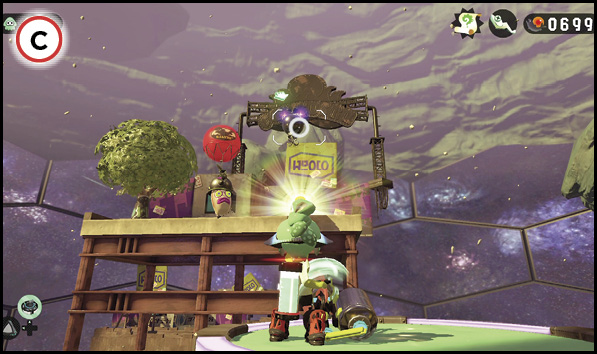
Collectibles
Sardinium
This stage’s Sardinium is located in a crate on a raised platform near the second launchpad. You must ink and negotiate a series of moving platforms to reach this area. Start by hitting the Ink Switch below to fully extend the moving platforms. Don’t expect to reach the Sardinium on your first attempt. Instead, focus on inking a path to the Sardinium, including the wall of the platform on which the collectible resides. Inking a path across the moving platforms is important because you have to swim the entire way, before eventually jumping over to this inked wall.
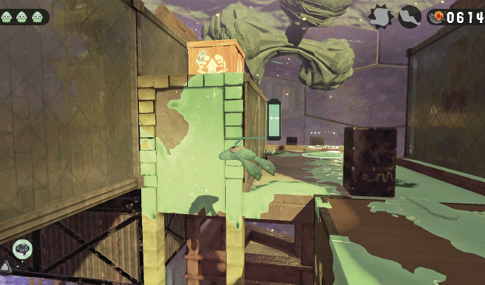
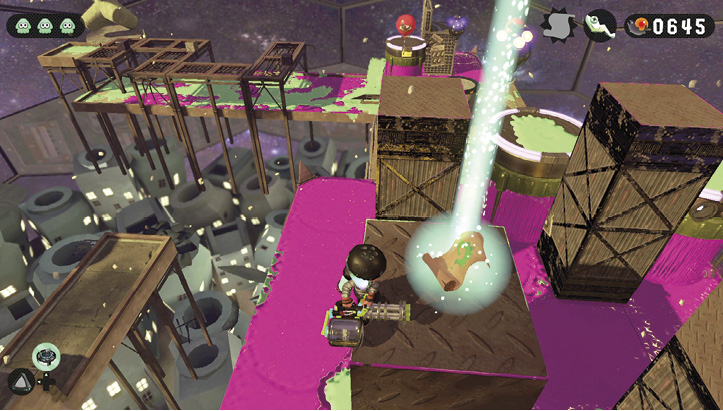
Sunken Scroll
The Sunken Scroll is located on this tall tower above the area patrolled by two Flooders. Shoot the Grapplink near the area’s entrance to reach the top of a Flooder, and ride it toward this tower. Ink the wall of the tower, then squid-jump onto the wall and swim up to retrieve the Sunken Scroll, stashed in a small crate.