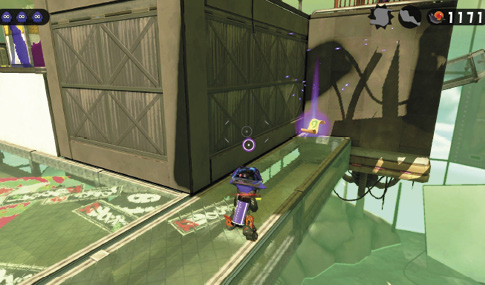
Splatoon 2 Guide Single-Player Campaign Area 02: Suction-Cup Lookout
07: Back-Alley Cleanup
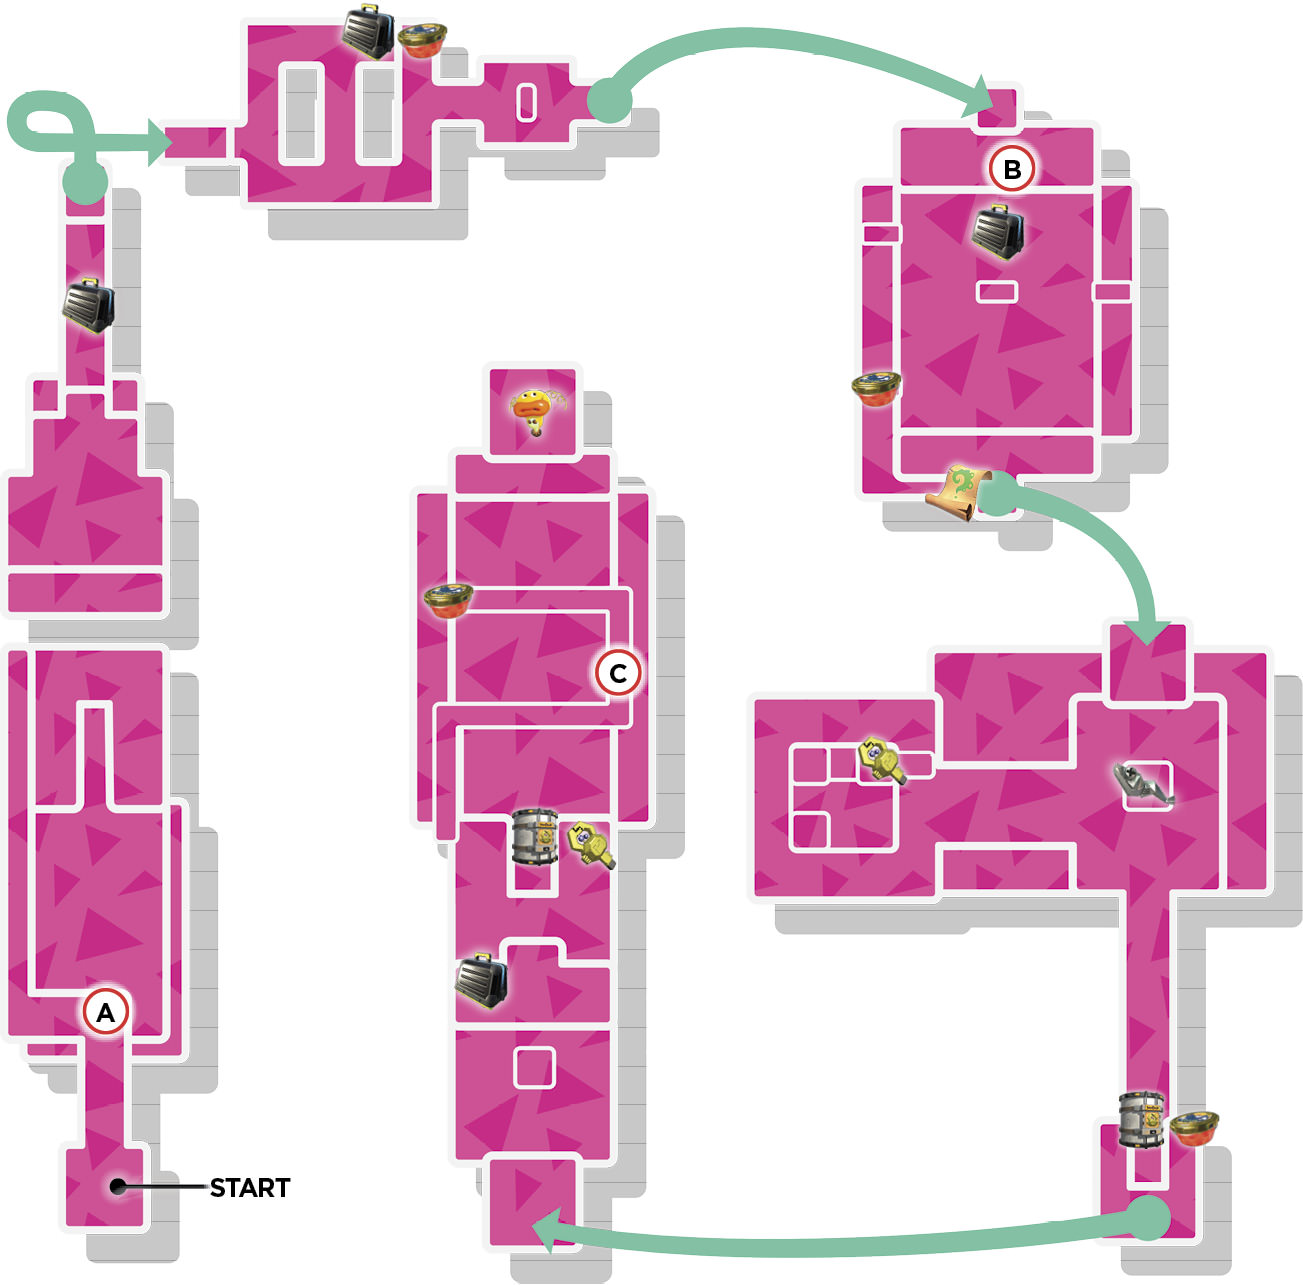
Legend
|
|
|
|
|
|
|
|
|
|
|
|
|
|
|
|
|
|
 Key Location
 Armor
Armor Jump Path
 Key
Key Power Egg Can
 Sardinium
 Sunken Scroll
 Vault
Vault Zapfish
Lair Entrance
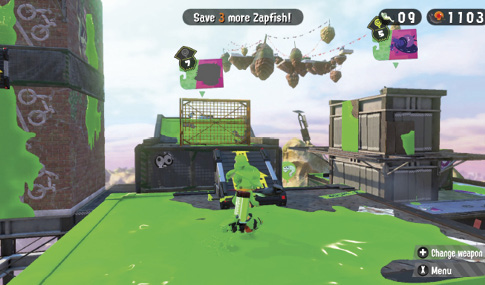
You must use a Dash Track to reach this lair, but a vertical grate blocks your path. Run across the Dash Track, then immediately enter squid form to pass through the grate. Now you can ink the invisible entrance to the lair.
Sheldon Request
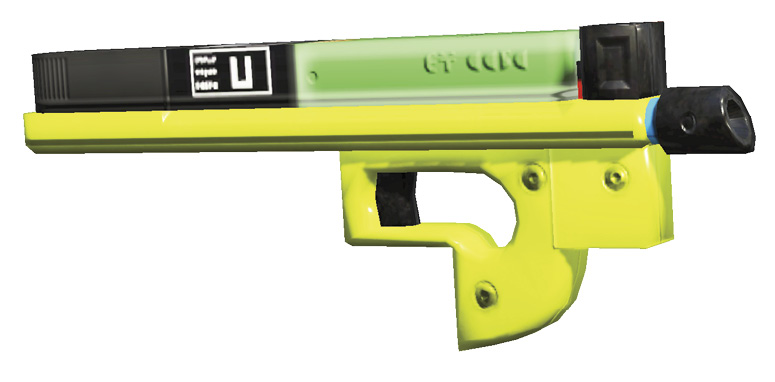
Sheldon needs more field data for the Hero Shot, so that’s your weapon for clearing this lair. By now you should be rather familiar with this well-rounded weapon. Once you’ve completed this level, you can play it again using the Hero Charger, Hero Dualies, or Hero Roller.
Key Locations
 Industrial Squee-G Ambush
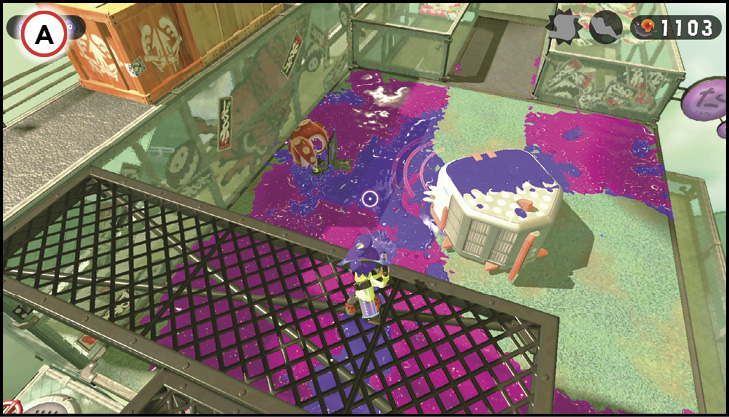
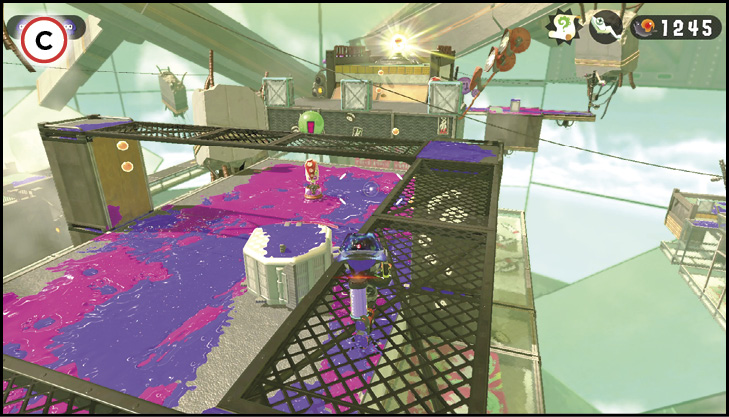
The area below is guarded by three Shielded Octotroopers. Don’t drop down to their level. Instead, maintain the high ground and fire down toward them. This causes an Industrial Squee-G to appear in the distance. These massive Squee-Gs operate just like regular-sized Squee-Gs, instinctively moving in the direction of your ink. Fire ink around the Shielded Octotroopers and watch with glee as the Industrial Squee-G runs over and splats your enemies. Simply spread ink wherever you want the Industrial Squee-G to move.
 Industrial Squee-G Ride
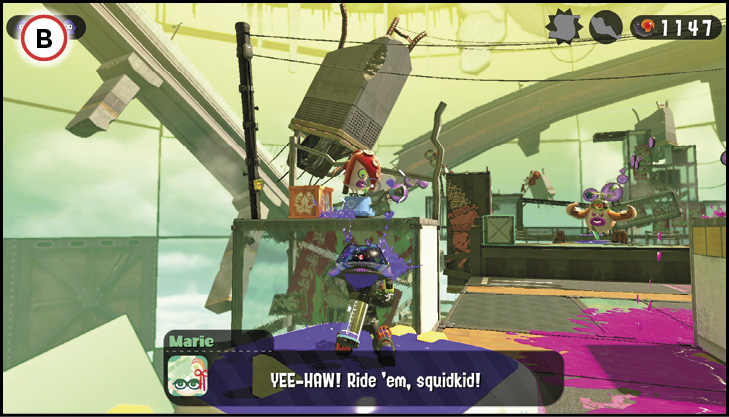
Instead of avoiding this Industrial Squee-G, put it to use by riding atop it—there’s even armor waiting for you on top. The Industrial Squee-G serves as an excellent moving platform, making it tougher for the Octotroopers and Octobomber to target you. Spread ink to guide the Industrial Squee-G in the direction of enemies, then open fire once they’re in range. Be mindful of the Sprinkler on the central platform; take it out early to prevent it from inking your position. When your Ink Tank gets low, ink the top of the Industrial Squee-G and swim around. If necessary, leap to one of the raised platforms to evade incoming ink and Splat Bombs tossed by the Octobomber. But it’s best to keep moving.
 Industrial Squee-G Rampage!
This final area is swarming with Octotroopers. Fortunately, you can leverage the nearby Industrial Squee-G to help clear a path. Start by grabbing the key and unlocking the Industrial Squee-G. Next, advance along the raised catwalk, firing down on the Octotroopers below. As you spread ink, the Industrial Squee-G follows, eager to clean up your splotches. Fire your ink onto the ground, guiding the Industrial Squee-G toward the panicked Octotroopers. In most cases, you don’t need to hit the Octotroopers—the Industrial Squee-G splats them for you. But don’t lose sight of the Octotroopers on the catwalk during your advance. Glance up and use Splat Bombs or your Hero Shot to deal with these threats. Once the area is clear, drop down onto the Industrial Squee-G and ride it toward the Zapfish.
Collectibles
Sardinium
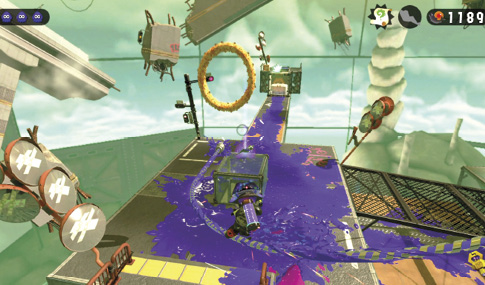
This lair’s Sardinium is stashed in a box on a glass cube. The walls of the cube can’t be inked, so you need to find another way up. Retrieving the nearby key unlocks a Ride Rail. Ride the Ride Rail down toward the cube. Leap off the end of the rail, flying though a squid ring, then land on the cube to retrieve the Sardinium.
Sunken Scroll
After clearing the platform occupied by the Industrial Squee-G and Octobomber, ignore the launchpad and look for a recessed path on the right side. The small crate on the narrow ledge contains this lair’s Sunken Scroll.