Splatoon 2 Guide Single-Player Campaign Area 05: Cephalon HQ
26: Paradise Lanes
Legend
|
|
|
|
|
|
|
|
|
|
|
|
|
|
|
|
|
|
 Key Location
 Armor
Armor Ink Storm
 Jump Path
 Power Egg Can
 Sardinium
 Sunken Scroll
 Ticket
 Zapfish
Lair Entrance
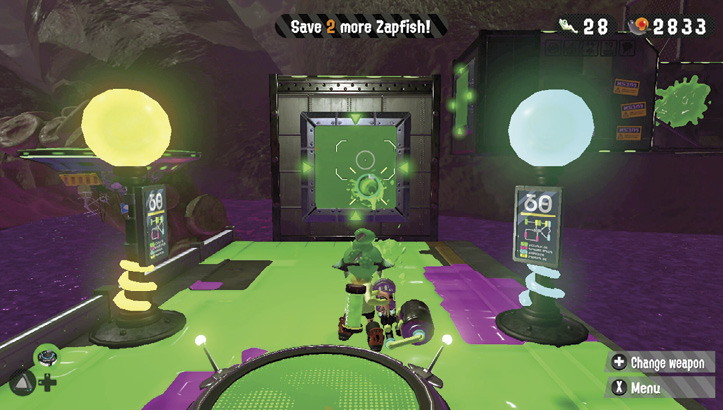
Board and ride a saucer toward a platform featuring an outward-facing Splat Switch. Shoot it to cause the neighboring platform to rotate. Spread ink and advance across the rotating platform until you can shoot another Splat Switch, on the next platform to the right. Hop over to this rotating platform—utilize the grates as necessary to avoid falling off. Climb to the highest point of the second rotating platform and look up to shoot a Splat Switch on a platform above. This causes the platform to drop, allowing you to jump over and ink the lair’s entrance.
Sheldon Request
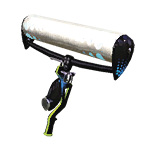
Sheldon needs you to use the Hero Roller one last time to complete his research data. While rolling, the Hero Roller excels at spreading wide lanes of ink—swim back through these inked paths as necessary to replenish your Ink Tank. The Hero Roller can also be swung to spread large volumes of ink. When flinging ink, the weapon has limited range, so do this from atop a high platform to improve the weapon’s reach. Otherwise, bombs are better suited for taking on distant enemies.
Key Locations
 Rotating Platform
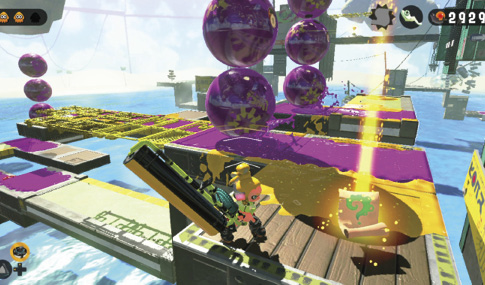
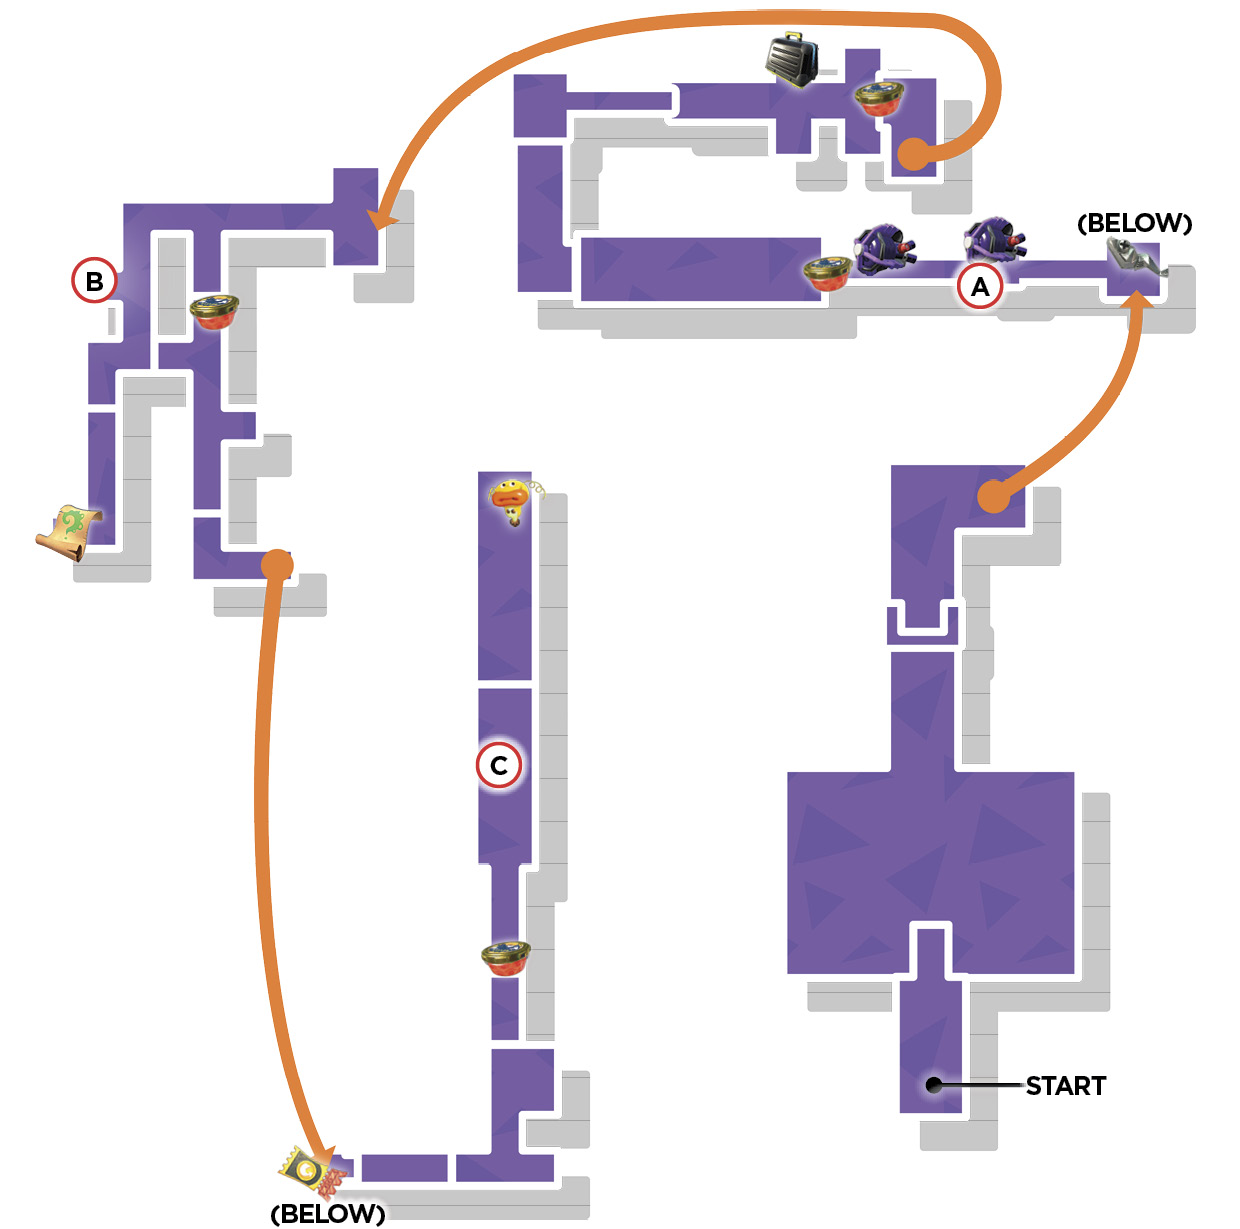
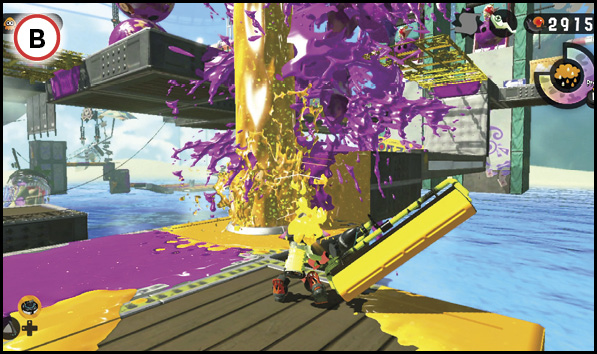
Grab the Ink Storm special on this platform and use it to spread ink onto the rotating platform below. The Ink Storm pops the balloons above the platform while spreading ink. The amount of ink dispensed isn’t quite enough to splat the rolling Octoballers on the rotating platform, but it does slow them down, making the platform easier to cross. It rotates clockwise, so sidestep left while crossing to compensate. Rolling the Hero Roller or tossing Curling Bombs offers a quick way to cross—swim when possible to increase speed. Just be sure to stay on top at all times. Grab another Ink Storm special and a Power Egg Can on your way.
 Octoballer Smash
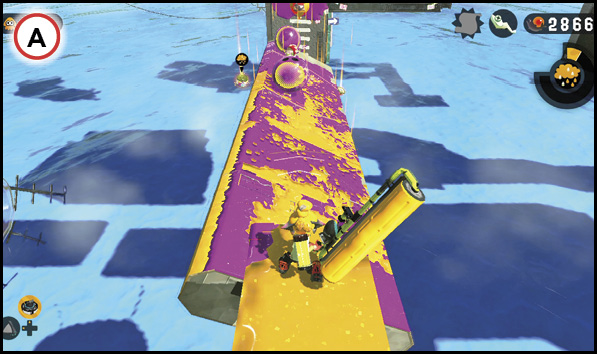
This platform features two parallel lanes, each occupied by a predictable stream of Octoballers. Three Octoballers are released at a time, making this advance a bit tricky. Activate the first Gusher, on the right lane, to smash the incoming wave of Octoballers, then swim up the ink geyser to reach the next level, crossing over to the left lane. Once again, time your movement carefully, waiting for the next set of Octoballers to roll by before making a push toward the second Gusher. Activate the Gusher to eliminate the next set of Octoballers, then ride the geyser upward to the next launchpad. Before using the launchpad, consider grabbing the nearby Sunken Scroll.
 Zapfish Push
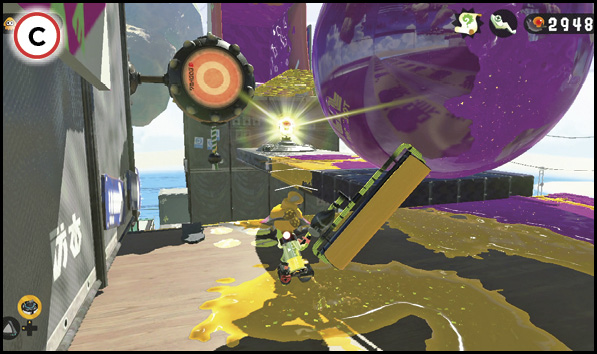
When making the final push toward the Zapfish, don’t overlook the two Ink Switches on the left side of the path. These switches operate a moving platform, pushing out from the left. Ink the side of this platform and swim to the top, careful to avoid the massive incoming Kingpin Octoballers. While on the moving platform, advance toward the Zapfish and hit the second Ink Switch to keep the platform extended while waiting for the opportunity to make your move. After the next Kingpin Octoballer rolls by, hop over to the next platform and roll a path toward the Zapfish to complete this stage.
Collectibles
Sardinium
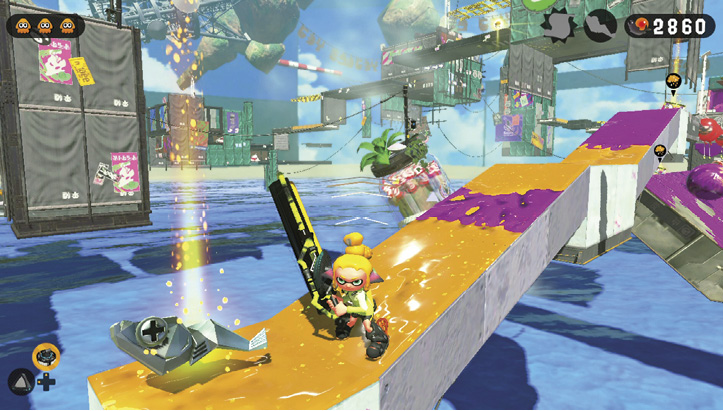
After passing the first checkpoint, drop to the narrow walkway below and turn around to spot a small crate, containing this lair’s Sardinium.
Sunken Scroll
Navigate toward this platform’s launchpad, careful to avoid the stacks of Octoballers rolling down the narrow lanes. Before using the launchpad, turn to the orange crate on the neighboring lane. Wait for the latest set of Octoballers to pass, then ink a path before squid-jumping across to the adjacent lane. Rush to this ledge and smash the crate to grab this lair’s Sunken Scroll.