Splatoon 2 Guide Single-Player Campaign Area 03: Beaker’s Depot
10: Octoseeker Shakedown
Legend
|
|
|
|
|
|
|
|
|
|
|
|
|
|
|
|
|
|
|
|
 Key Location
 Armor
Armor
 Jump Path
 Key
Key
 Power Egg Can
 Sardinium
 Sunken Scroll
 Ticket
 Vault
Vault
 Zapfish
Lair Entrance
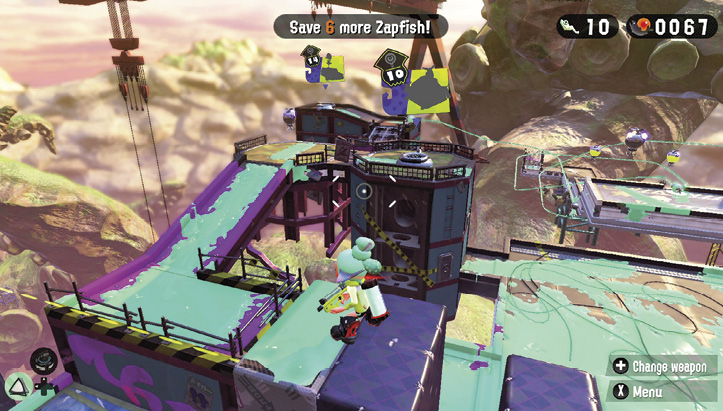
Before approaching this lair, deal with the Sprinklers nearby. A few well-placed Splat Bombs can destroy these annoying ink-spreading implements. Next, utilize the two moving platforms to reach the catwalk leading to the lair.
Sheldon Request
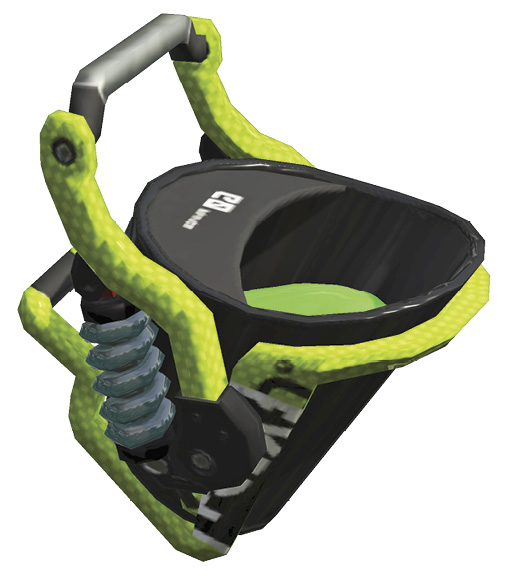
Sheldon has a new weapon for you to try out—the Hero Slosher! This is essentially a bucket filled with ink, great for ink coverage. It’s also a formidable weapon at close range, dealing massive damage. You can fling ink over walls as well, hitting enemies hiding behind cover.
Key Locations
 Octoseeker Stowaway
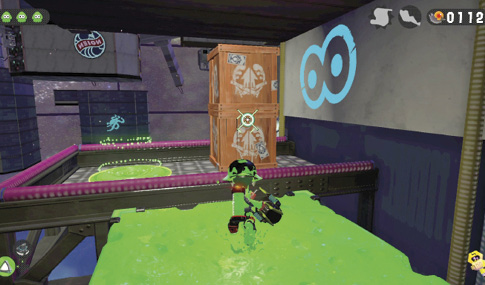
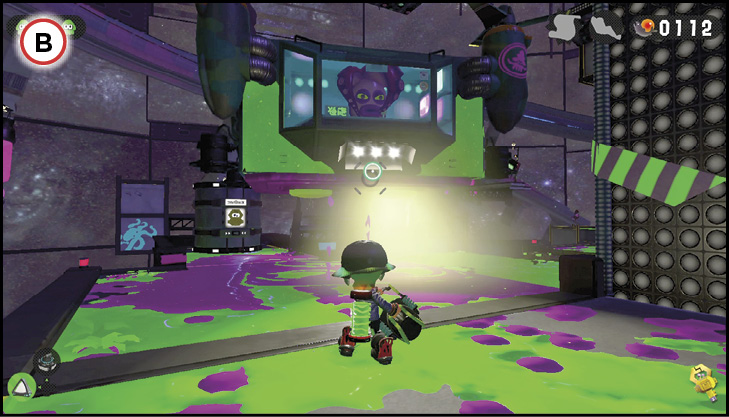
This marks your first encounter with an Octoseeker. These helicopter-like vehicles can’t be destroyed. But if you ink the side of one, you can swim up to the top and take a ride. Lure an Octoseeker to the ground first by getting caught in its spotlights. When the spotlights turn red, immediately swim out of the way to avoid getting stomped—this is your chance to ink the side of the vehicle and swim atop. Riding on Octoseekers is a great way to reach areas that are otherwise off-limits. Ride this Octoseeker to gather the nearby armor and Power Egg Cans stashed in crates on the pillars. Ink the top of the Octoseeker to facilitate high-speed squid jumps. Take care to avoid the Octoseeker’s rotors. They don’t inflict damage, but they may interrupt your jump, causing you to fall.
 Lock and Key
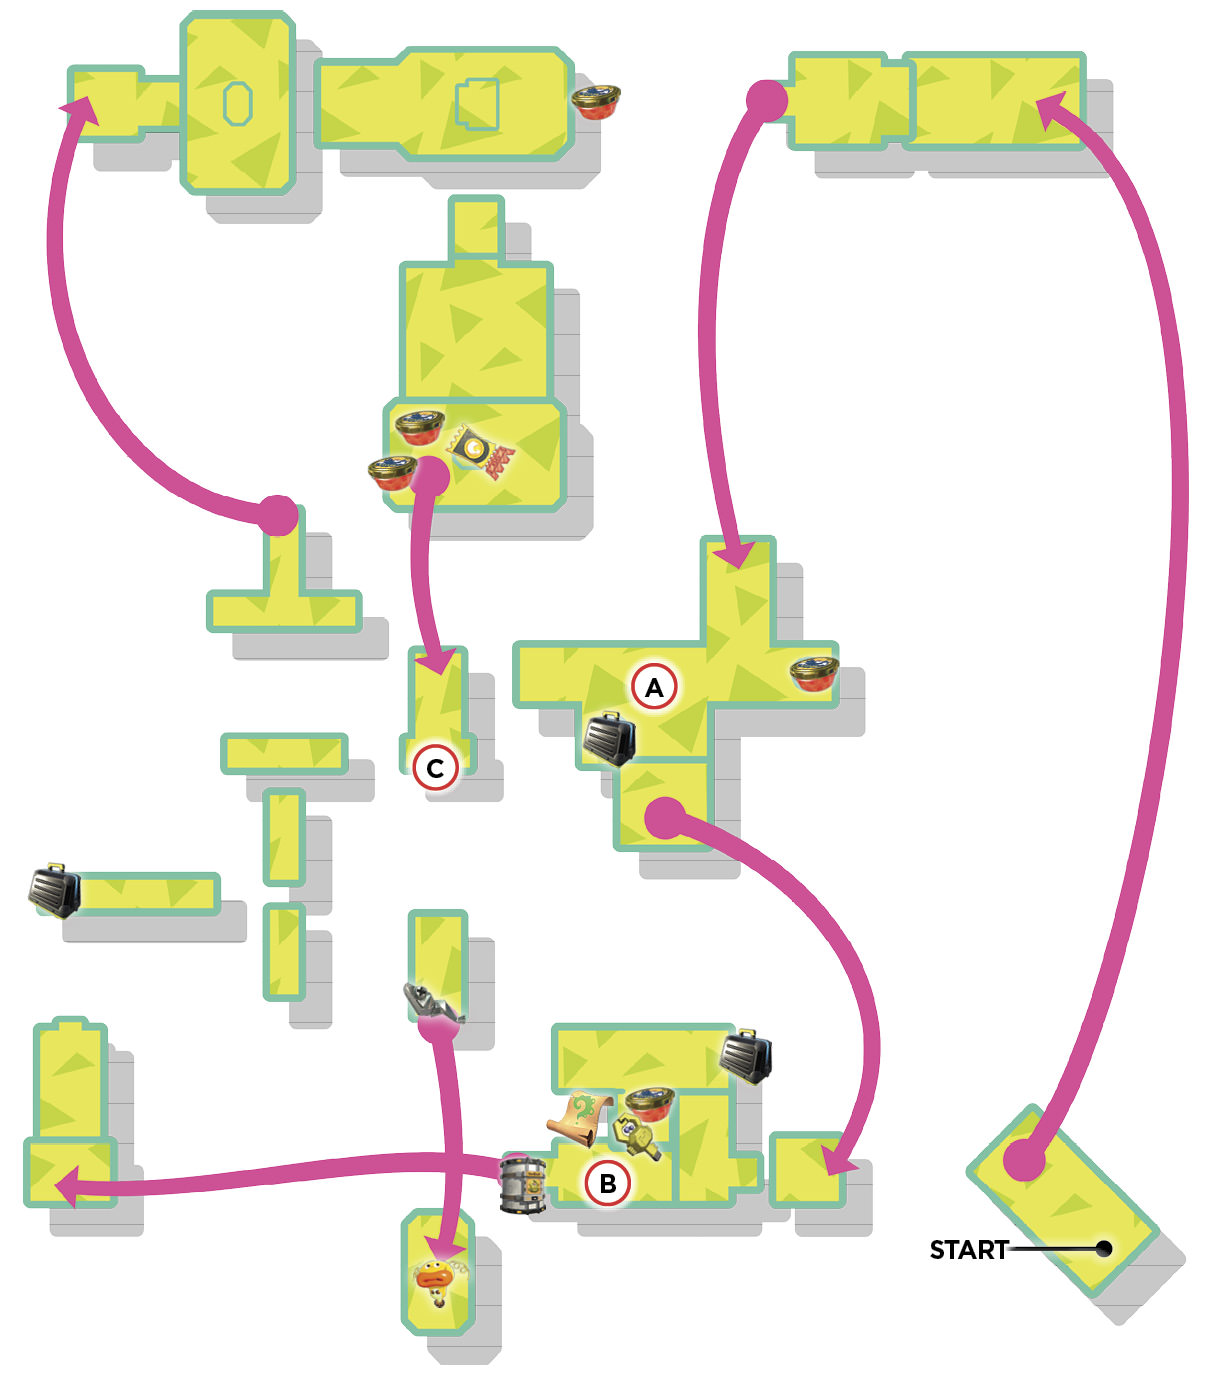
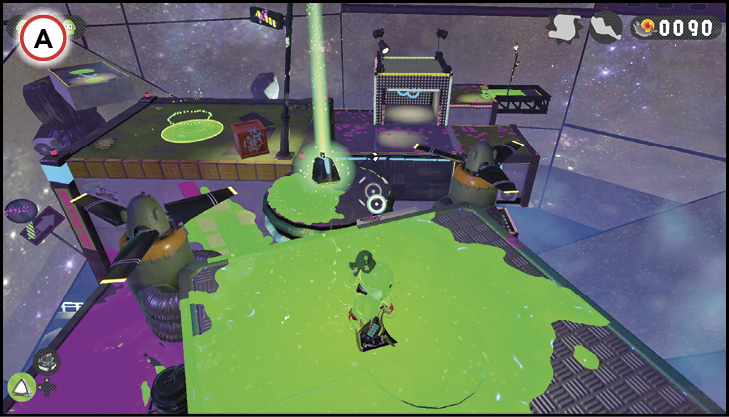
There’s a flurry of activity on this platform, along with a vault requiring a key. Do your best to avoid getting spotted by the Octoseeker, particularly while you’re dealing with the Octotroopers guarding the key. If you hide in your ink, the Octoseeker will continue its patrol. Once you’ve eliminated the Octotroopers, smash the crates in the alcove beneath the tower to retrieve the key, then return to the vault to unlock the launchpad. Before leaving this area, hitch a ride on the Octoseeker to grab a Power Egg Can on top of the tower. The Sunken Scroll is also located nearby, beneath the sponge area.
 Sponge Dash
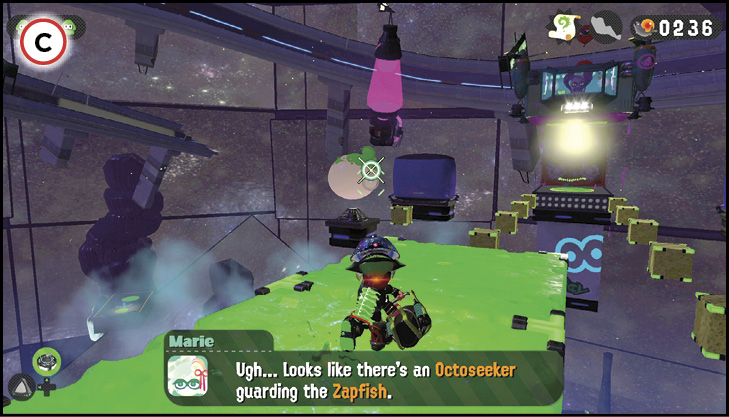
Reaching the Zapfish requires you to cross a series of sponges while avoiding an Octoseeker patrolling above. Speed is the key to traversing this area. Use your Slosher and the nearby Balloon Fish to expand the sponges, then dash (or swim) across. Even if the Octoseeker spots you, you’ve got a few seconds before it comes crashing down, causing the sponges to shrink. Make your way to the launchpad on the distant platform to escape this area and acquire the Zapfish. Consider grabbing the Sardinium before accessing the launchpad.
Collectibles
Sardinium
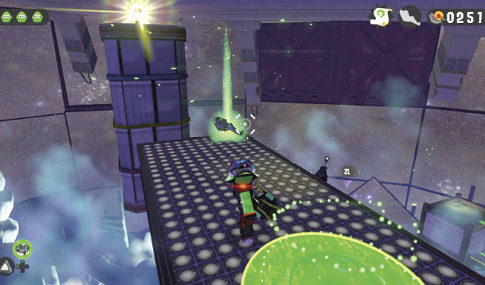
Run past the launchpad leading to the Zapfish and destroy the two crates at the end of this short platform—the one on the right contains the level’s Sardinium. Move quickly to avoid getting splatted by the Octoseeker hovering above.
Sunken Scroll
Before leaving this platform with the vault and key, approach the area with the sponges and look down—there are three hidden sponges just below. Slosh ink onto these lower sponges and drop down onto them. Here you find a hidden platform holding two crates. Smash the crates to reveal the level’s Sunken Scroll. Use the nearby launchpad to return to the platform above.