Splatoon 2 Guide Single-Player Campaign Area 05: Cephalon HQ
22: Underground Expressway
Legend
|
|
|
|
|
|
|
|
|
|
|
|
|
|
|
|
|
|
|
|
|
|
|
|
 Key Location
 Armor
Armor
 Curling Bomb Launcher
 Ink Storm
 Jump Path
 Key
Key
 Power Egg Can
 Sardinium
 Splashdown
 Sunken Scroll
 Vault
Vault
 Zapfish
Lair Entrance
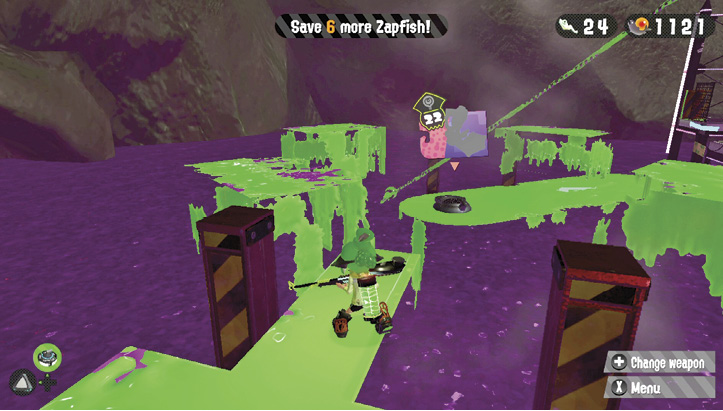
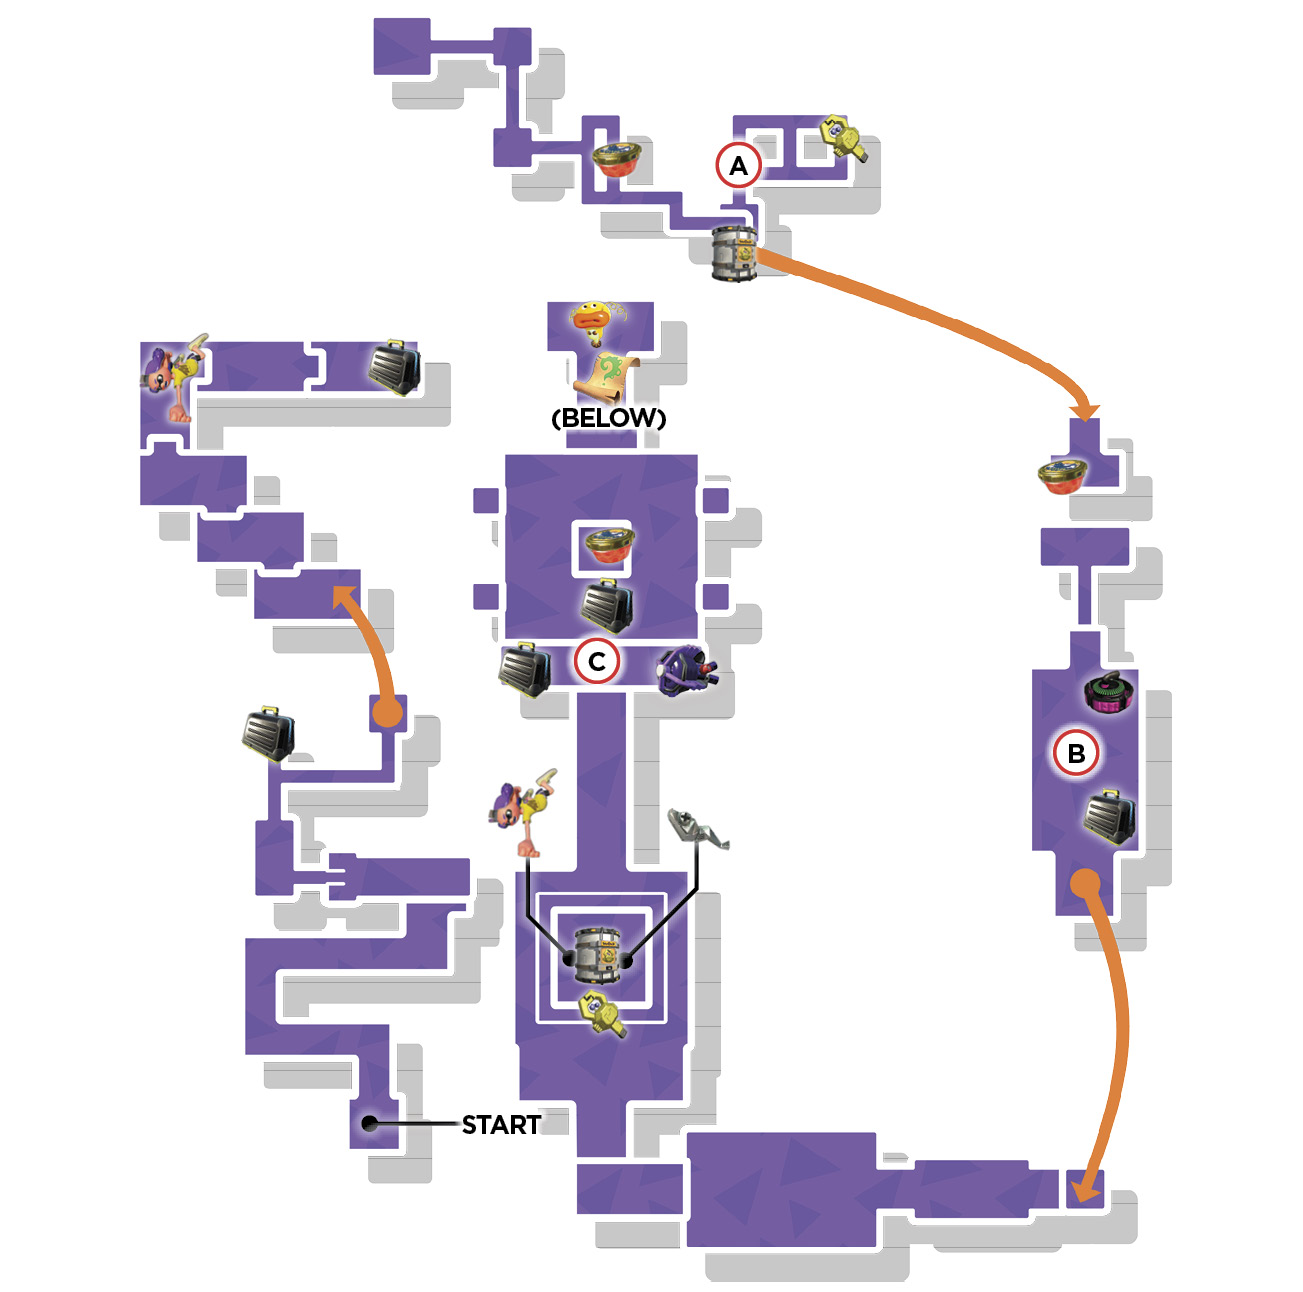
The entrance to this lair is well-hidden, situated on an invisible platform between Lairs 23 and 26. Ride a saucer out into this area and look for the four obelisk objects sticking out of the water. Ink the area between these obelisks to reveal an invisible platform. Hop on and continue spreading ink while moving in the direction of Lair 23. More invisible walkways come into view as you advance, eventually leading to a narrow platform surrounded by several moving blocks. Drop down onto the narrow platform and spread ink to uncover the lair’s entrance.
Sheldon Request
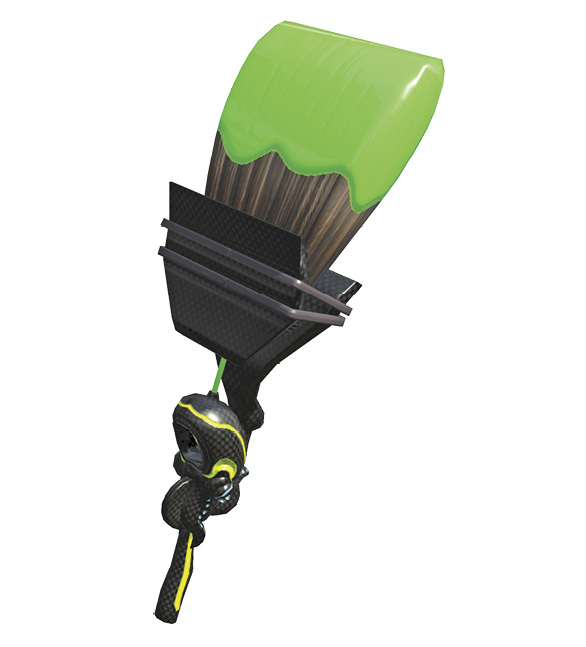
When you enter this lair, Sheldon delivers a brand-new weapon for you to gather data on—the Hero Brush. As the name implies, this is a large brush, which functions similarly to a roller, ideal for spreading ink while running forward. The Hero Brush can also be swung rapidly to fling ink over a wide area. But like the Hero Roller, this weapon consumes ink rapidly, so be mindful of your Ink Tank.
Key Locations
 Acrophobia
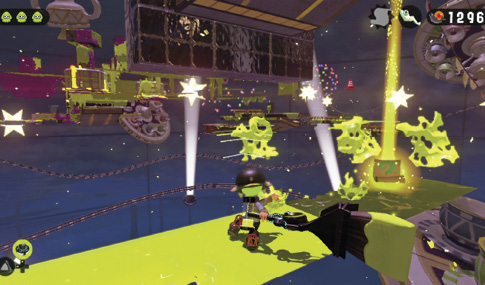
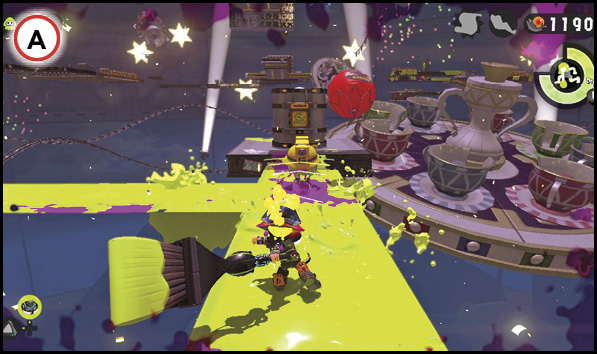
Here, a Tentakook leads you on a lengthy chase across a series of narrow, invisible paths. Don’t worry about catching up with the Tentakook. Instead, focus on inking the invisible paths. The Curling Bombs work well for creating long, linear paths of ink. The Hero Brush is also effective, but don’t roll ink here—you run the risk of falling off an edge. Instead, fling ink from side to side to define the path ahead before stepping forward. When you reach the final path, corner the Tentakook near the vault and attack aggressively with bombs or your Hero Brush. Once splatted, the Tentakook drops the key to the vault, allowing you to access the next launchpad.
 Bombs Away!
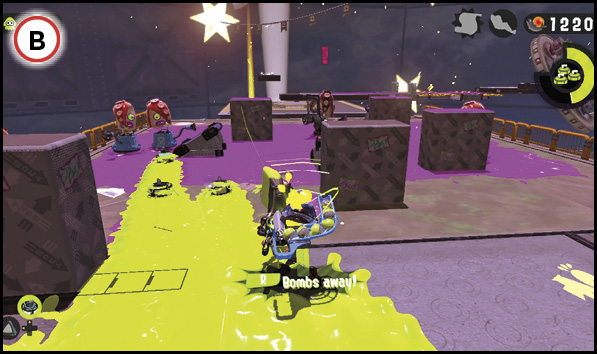
The Curling Bomb Launcher special, stashed in a nearby crate, comes in handy for panicking the Octotroopers and Shielded Twintacle Octotrooper patrolling this platform. Activate the special and fire a volley of Curling Bombs toward the Octotroopers. While the Curling Bombs are unlikely to splat many Octotroopers, they do an excellent job of spreading ink, allowing you to pursue the fleeing enemies with your Hero Brush. Once the special has been depleted, utilize the three Dash Tracks on the platform to facilitate faster movement. This is essential for flanking the Shielded Twintacle Octotrooper. Zip across the Dash Tracks while flinging ink over this enemy’s shield.
 Make it Rain!
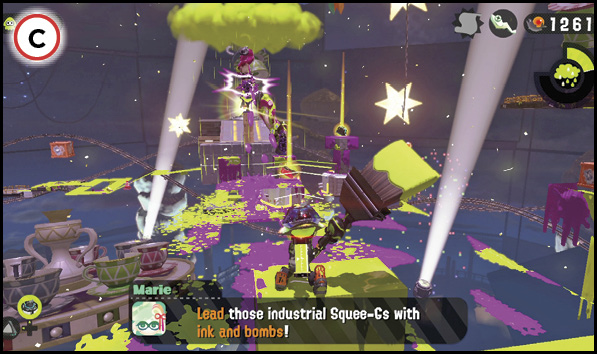
The final invisible platform, leading to the Zapfish, is guarded by two Octocommanders. Fortunately, you can utilize the Ink Storm special stashed nearby to clear a path. Stand atop the low wall and toss the Ink Storm forward, lining up your throw with the most distant Octocommander. As the cloud passes overhead, it pours ink onto the invisible platform, coating the two Octocommanders—they’re eventually splatted by the accumulating ink. Ride atop one of the Industrial Squee-Gs below to gather the surrounding items before making your way to the Zapfish.
Collectibles
Sardinium
The Sardinium is locked in a box atop this platform. Eliminate the Shielded Octotrooper here to retrieve a Splashdown special. The key to the box is held by a Tentakook patrolling a trench-like recess at the base of the platform. Circle the trench and spread ink while chasing the Tentakook. There’s nowhere to corner this Tentakook, so attack aggressively, swimming forward through your ink to move within attack range. Curling Bombs are effective for chasing the Tentakook—send a Curling Bomb one direction while you move in the other in an attempt to trap the Tentakook. Once you’ve splatted this elusive enemy, unlock the box on top of the platform to retrieve the Sardinium.
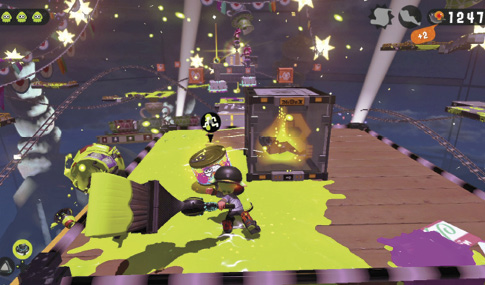
Sunken Scroll
This Sunken Scroll is located on an invisible platform directly beneath the Zapfish. While ascending the ramp toward the Zapfish, fling ink over the right side to reveal the invisible path below. Drop down onto this path to recover the Sunken Scroll. Once you retrieve it, continue inking the invisible path to return to the platform patrolled by the Industrial Squee-Gs.