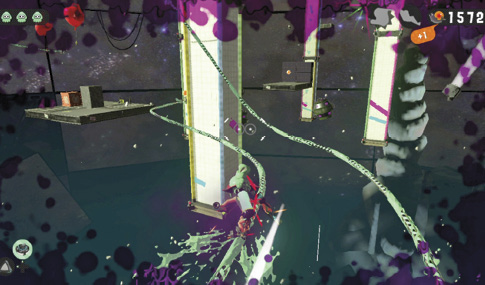
Splatoon 2 Guide Single-Player Campaign Area 05: Cephalon HQ
23: The Octogalaxy
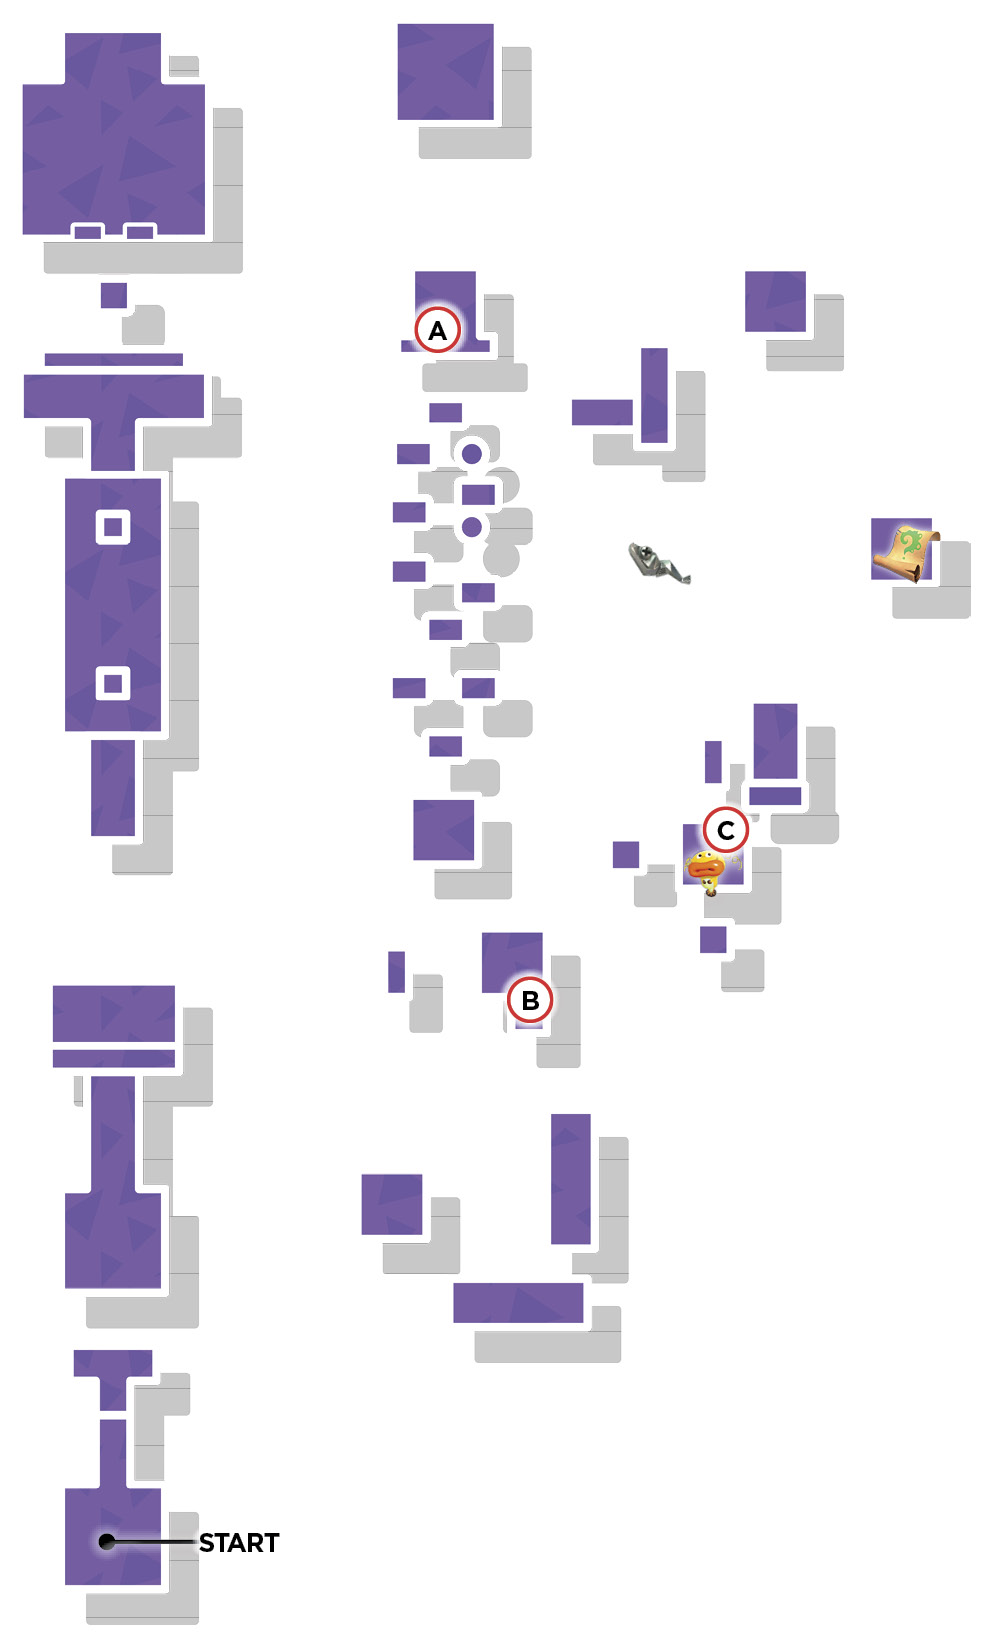
Legend
|
|
|
|
|
|
|
|
 Key Location
 Sardinium
 Sunken Scroll
 Zapfish
Lair Entrance
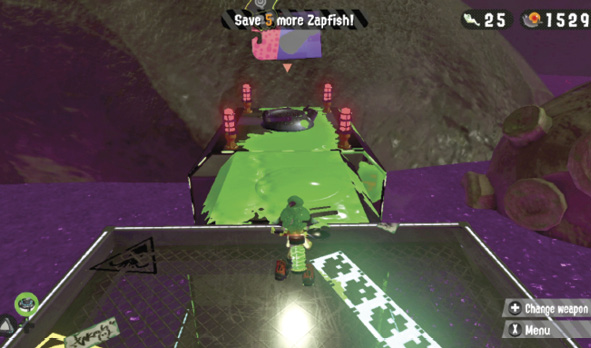
Squid-jump through the grate near the checkpoint of this platform and begin your ascent toward the lair. Ink a set of three vertical Inkfurlers and swim up to access the rotating platforms. The lair is hidden on the second rotating platform. Stay on the stationary tower and ink the rotating platforms until the lair is revealed. Even after you’ve discovered the lair, the platforms continue rotating. Wait until the lair is upright before attempting to enter.
Sheldon Request
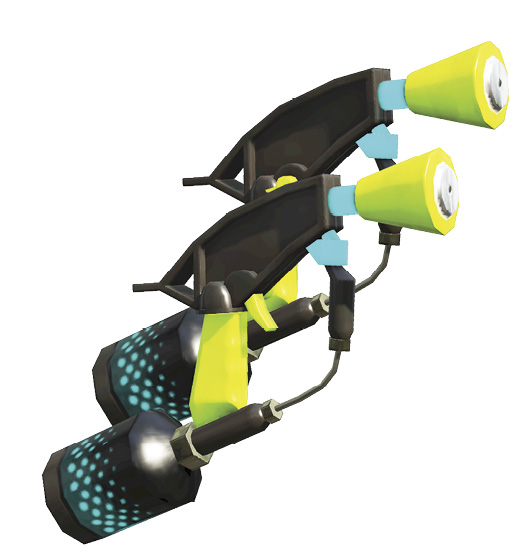
Sheldon requires a bit more data on the Hero Dualies. These rapid-firing dual-wield pistols are an excellent choice for completing this fast-moving stage, which features several Ride Rail sections. Be ready to attack enemies aggressively while using dodge rolls to evade incoming fire—while the Hero Dualies have a high rate of fire, their range is lacking. Rely on Splat Bombs to engage more distant targets.
Key Locations
 Ink Piston Evasion
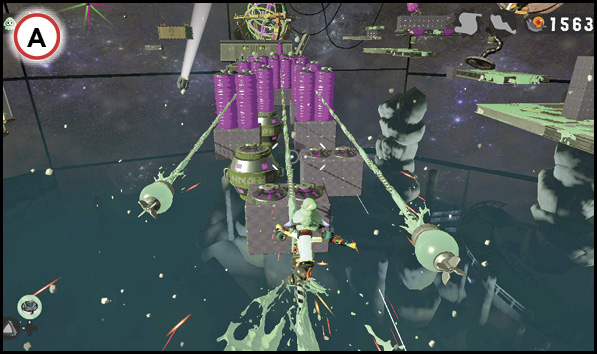
A series of Ink Pistons threatens to halt your advance here. Use the three Ride Rails to safely navigate this area, jumping from one rail to the next. Before leaving the platform, study the pattern of the extending and retracting Ink Pistons. Hop onto the center Ride Rail as soon as the nearby Ink Pistons retract. Be ready to hop to the rail on the left to avoid getting splatted by the pistons once they extend. Continue along the Ride Rails, jumping laterally to evade the extended Ink Pistons.
 Dash Track Trot
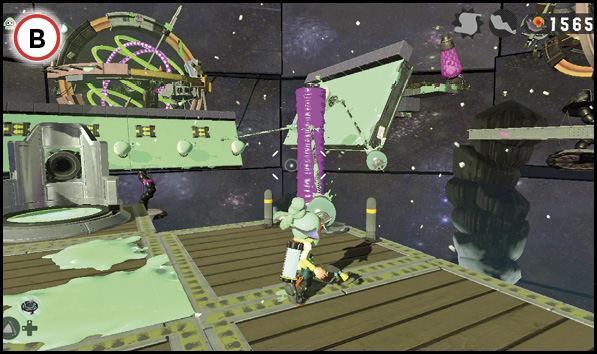
When you reach the platform with an Ink Cannon, use it to target the Balloon Fish on the two neighboring platforms—be sure the distant Octocopters are splatted as well. It’s important that both platforms are thoroughly inked before you proceed. Leave the Ink Cannon and use the nearby Ride Rails to access the first platform on the right—jump from the first rail to the one on the right to evade an Ink Piston. The first inked platform is sloped, but you can still swim along it—swim toward the next Ride Rail on the far corner. Ride the Ride Rail to the next inked/sloped platform and immediately swim across the closest Dash Track. This automatically launches you across the next three Dash Tracks, tossing you onto the next Ride Rail.
 Octosniper Splat
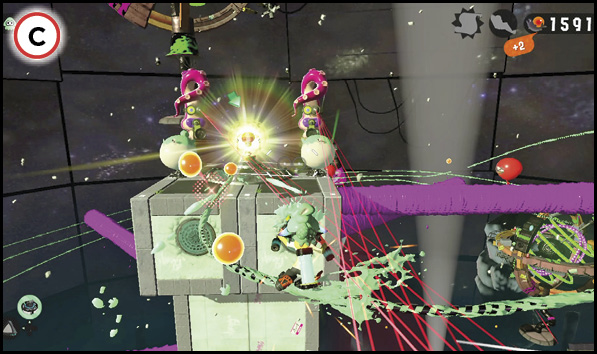
The Zapfish’s platform is guarded by two Octosnipers. As long as you keep moving on the Ride Rails, the Octosnipers aren’t a threat—you’re moving too fast. While riding the ascending Ride Rails, toss Splat Bombs toward the Balloon Fish next to each Octosniper. Simply landing one Splat Bomb near the Zapfish is enough to trigger both Balloon Fish, setting off a massive ink explosion capable of splatting both Octosnipers. If your Splat Bombs miss, be ready to shoot one of the Balloon Fish as you get closer to the Zapfish’s platform. Don’t bother trying to shoot each Octosniper individually—let the exploding Balloon Fish do the dirty work.
Collectibles
Sardinium
When reaching the checkpoint with a Dash Track, focus on the Sardinium floating in the distance. Run across the Dash Track to access the nearby Ride Rail. Two more Ride Rails appear ahead, flanking the first one—jump to the left or right to avoid the vertical Ink Piston. Once you’re beyond the piston, the Sardinium comes into clear view. Perform a couple more jumps to reach the center Ride Rail leading up to the Sardinium. Jump forward at the end of the Ride Rail to pass through a squid ring and collect the Sardinium.
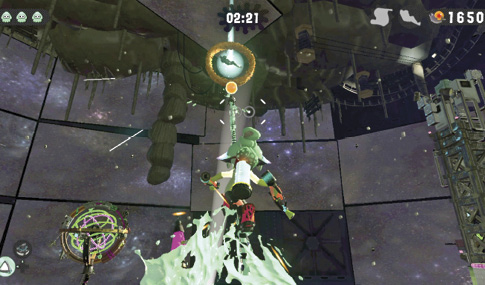
Sunken Scroll
The area near the Sunken Scroll features a set of colorful pillars fitted with extending and retracting Ink Pistons. Ride a Ride Rail toward the first column, but be ready to enter squid form to duck beneath the first extending Ink Piston. Immediately after passing the first column, leap to the adjacent Ride Rail to the right. This Ride Rail leads to a small, isolated platform guarded by a Shielded Twintacle Octotrooper. Land atop the wall in the center of the platform and fire down on this foe to circumvent his shield. Once the platform is clear, smash the nearby crate to retrieve the Sunken Scroll.