
Splatoon 2 Guide Multiplayer Maps Moray Towers
Game Modes
Turf War
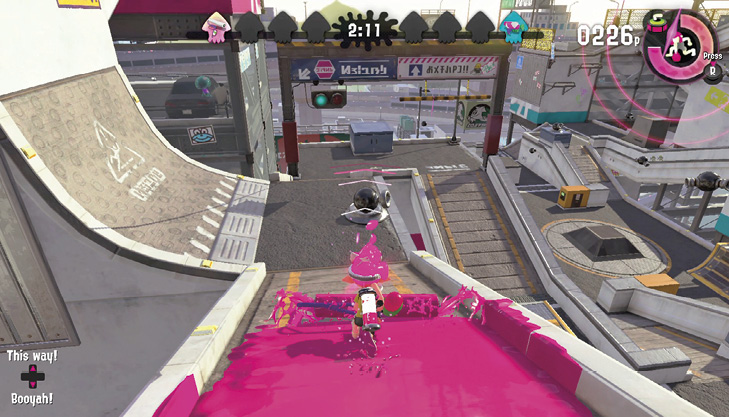
Roller-based weapons are king during Turf War. The width of most rollers is perfect for coating the various ramps. All it takes is one quick pass with a roller to completely ink a ramp. The adjoining platforms are also easily inked with roller weapons. Near the center, stand on a platform and swing your roller to fling ink onto the ground below.
- Unlike most maps, nearly 100% of this stage is up for grabs during Turf War, so don’t hesitate to ink your way deep into the opposing team’s territory. Consider waiting until the last minute of a match before making a push up the opposing team’s ramps. Keep an eye on the map—opponents might be making a similar push up your team’s ramps.
- If all the ramps on your team’s side are inked, don’t waste time running or swimming down them. Instead, leap toward the center of the stage, squid-jumping down from one ramp to the next. Make sure you jump off each ledge, rather than falling off—otherwise you’ll fall off the stage, earning a trip back to your team’s spawn point.
- Don’t overlook the narrow strips of territory on the outer edges of the center platform. These areas don’t yield your team much territory, but they can be good places to hide in your ink and replenish your Ink Tank while fighting in the center. These are also clever spots to place Squid Beakons, giving your team instant access to the stage’s center. This comes in handy for applying pressure against the opposing team’s ramps.
Splat Zones
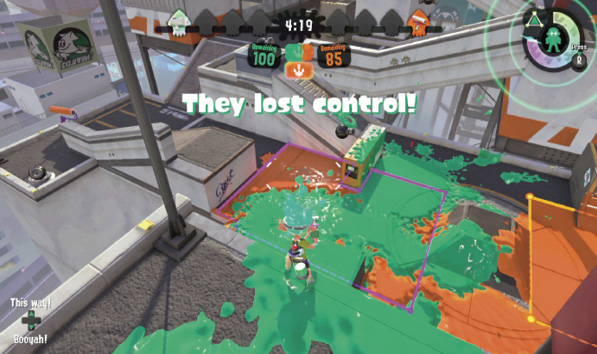
Unlike in other maps, there are two Splat Zones on Moray Towers, both situated in the map’s center—both zones must be inked to accrue points. The zones can be neutralized by inking half of either zone. By inking half of one zone from above and drawing opponents into the zone to re-ink, your team can splat the opposing team and retake both zones to maintain control.
- Rush to the center as quickly as possible to ink the two Splat Zones, then fall back and defend from the elevated platforms on your team’s side of the map. While defending from these elevated positions, you can counter any capture attempts from the opposing team.
- Consider having a player with a Splat Roller hang out in the flanks and use a Curling Bomb to ink both zones, pestering enemies as they try to capture. The Splat Roller can quickly recapture neutralized zones.
- Super Jumps are critical in this mode, especially if your team has secured both Splat Zones and begun the push up the opposing team’s ramps. Harass the opposing team as they exit their spawn point, denying them access to the Splat Zones. Consider using Squid Beakons to prevent spawn camping.
Rainmaker
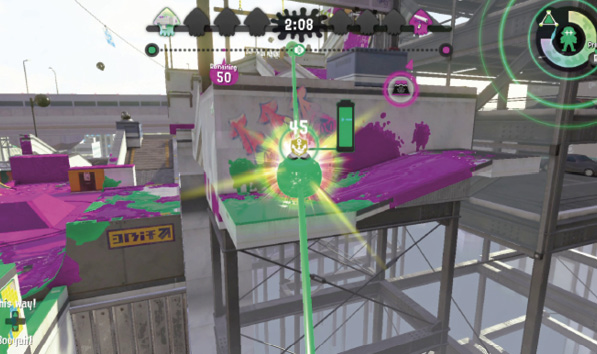
The Rainmaker is located in the center of the map—expect an early standoff as both teams attempt to secure the center before moving in for the Rainmaker. The Ink Rails offer the quickest path to capture points. Avoid trudging up the ramps whenever possible.
- The Ink Rails are essentially in the same positions, but they now flow upward, making it easier to advance toward the capture point while carrying the Rainmaker.
- Once the Rainmaker is acquired, take it around to the right and use the Ink Rail to reach the top of the lower ramp. From there, use the next Ink Rail, leading to the quarter-pipe ramp. Ink the quarter-pipe ramp and swim to the top. Finally, turn right and make a push to the capture point.
- When rushing to the capture point, squid-jump with speed off the final Ink Rail. Charge the Rainmaker while in the air and blast the quarter-pipe ramp wall to completely ink it with one shot. When you land, all you have to do is swim up the ramp and continue toward the capture point.
- The Rainmaker exhibits heavy recoil when fired, pushing you back. Make sure you’re not standing near a ledge when firing, otherwise you may fall off the stage.
Tower Control
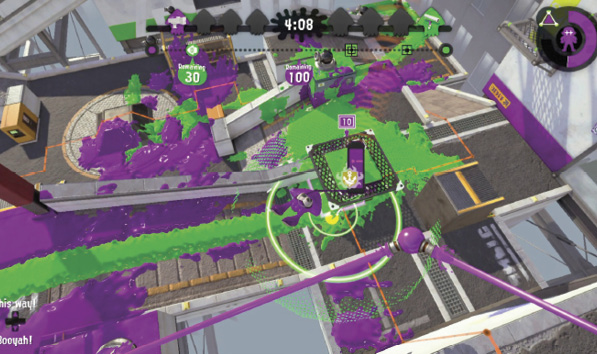
The tower starts in the center of the map, putting riders at a serious disadvantage, given the high terrain surrounding this area. The tower is particularly vulnerable when stopped at the two low-lying checkpoints. Therefore, it’s up to teammates to clear a path for the tower, harassing defenders on the ramps leading to the capture point.
- There’s a lot of opportunity for close-quarters combat in this mode, as the tower passes through very tight confines. The Hero Roller and Hero Brush are both effective.
- Use the Ink Rails to drop onto the tower. Surprise opponents this way, then smack them using a roller. The Ink Rails are configured identically to Turf War, flowing down toward the center.
- Consider having one player serve as a last line of defense. When defending, keep the tower in front of you at all times. If the tower gets behind you, it will have the height advantage. Maintain the high ground until you can claim the tower, and repel the enemy before you advance.
- The tower can be captured quickly after clearing the first checkpoint, so don’t let the opposing team advance much farther. There isn’t a lot of distance between the second checkpoint and the capture point, which means there’s little time to establish a comeback.