Splatoon 2 Guide Single-Player Campaign Area 04: Slimeskin Garrison
21: Octolings Ahoy!
Legend
|
|
|
|
|
|
|
|
|
|
|
|
|
|
 Key Location
 Armor
Armor
 Power Egg Can
 Sardinium
 Sting Ray
 Sunken Scroll
 Zapfish
Lair Entrance
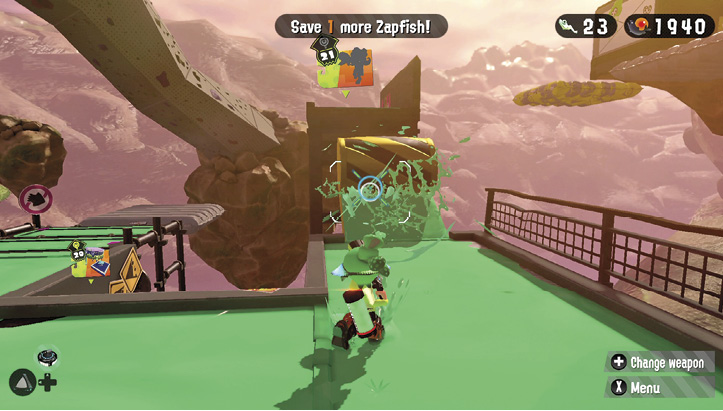
This lair is on a raised platform, requiring the traversal of an Inkfurler. Shoot the Inkfurler with your selected weapon to extend it toward the platform, then cross before it rolls back up—keep applying ink as necessary while crossing the Inkfurler.
Sheldon Request
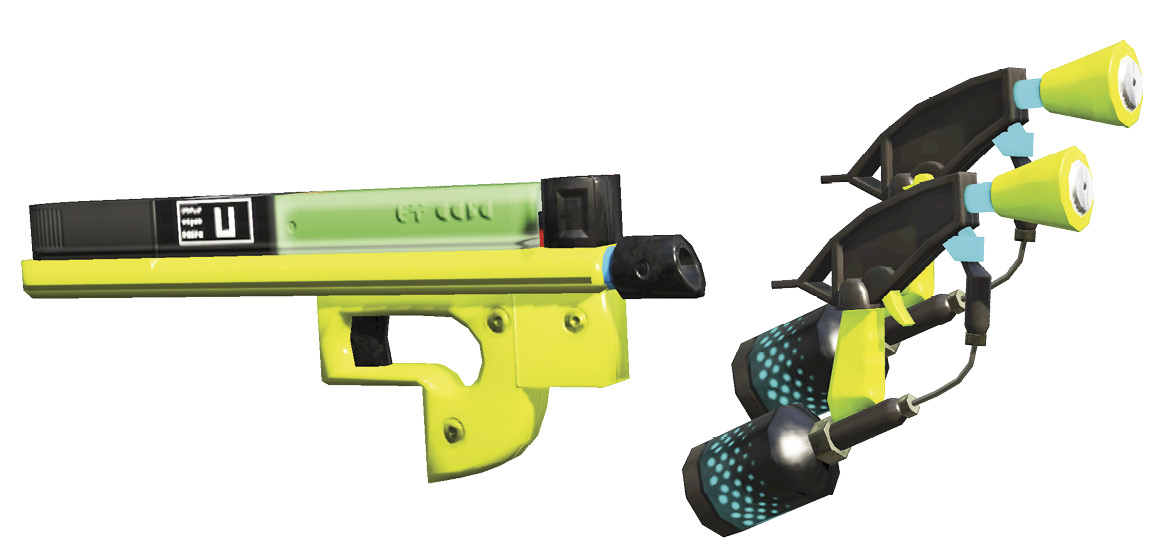
Before entering this lair, select your weapon of choice for another Octoling battle, this time set on a variant of Moray Towers. As in previous battles of this type, Sheldon has no data for you to collect, so weapon choice is entirely up to you. The Hero Shot and Hero Dualies are excellent selections for Ink Battles. Given the presence of Octosnipers on this stage, the Hero Charger is a solid option as well.
Key Locations
 Ride Rail Crossing
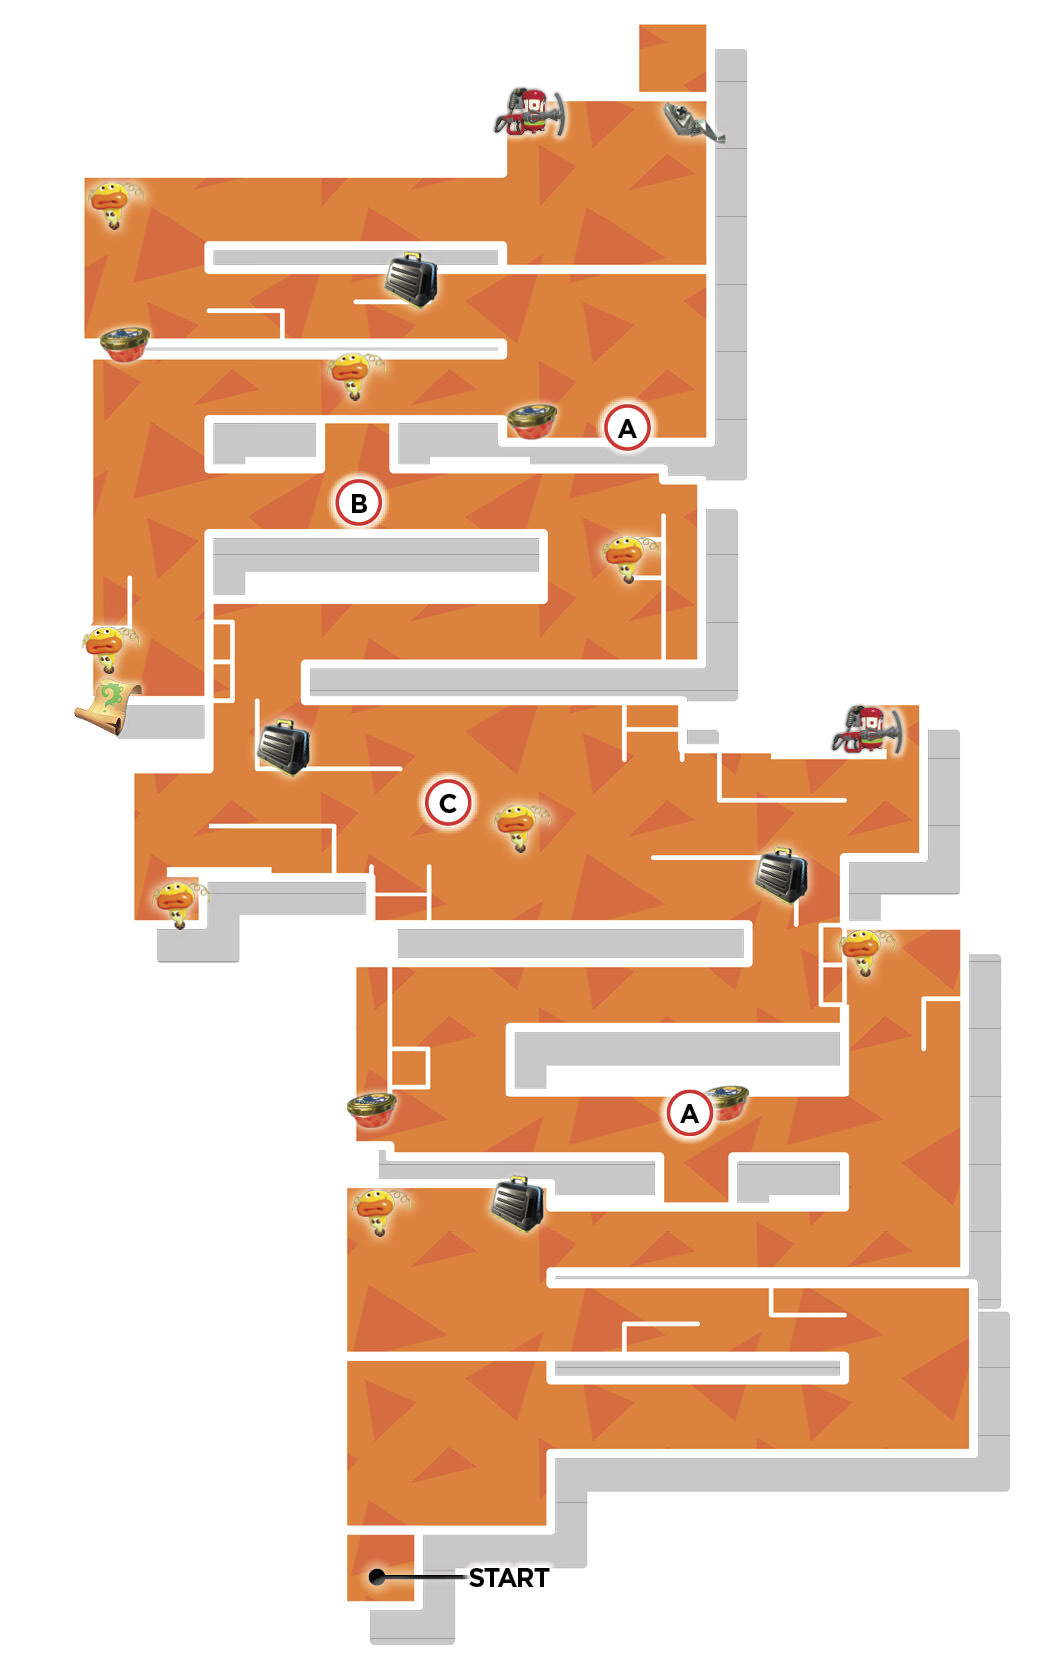
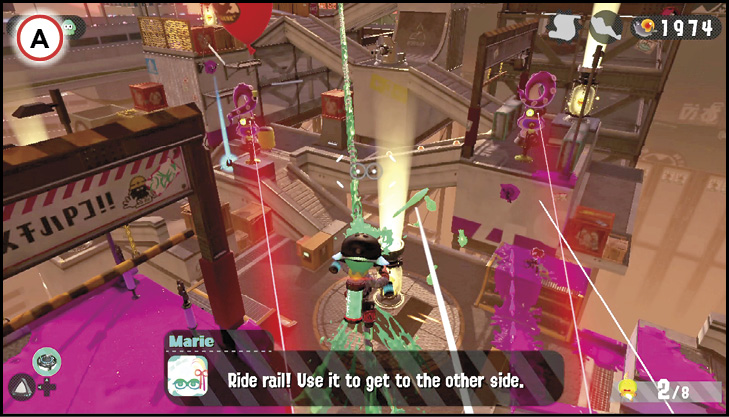
The low, center section of the stage is watched by two Octosnipers. Don’t even think about entering this area until both Octosnipers have been splatted. The Ride Rails crossing above the map are the quickest way to dispatch these dangerous foes. While riding the Ride Rails, fire down on the Octosnipers below—each Ride Rail passes directly above each Octosniper position, making it easy to rain down ink. Make frequent use of these Ride Rails, as they offer a quick way to cross the map—plus they’re a great means of escape if you find yourself overwhelmed by Octolings.
 Ink Cannon Coverage
The Ink Cannon, located on the Octolings’ side, is perfect for inking the low, center area of the map. This is also an ideal weapon for taking out the two Octosnipers, not to mention the balloons floating high above. Once the Octosnipers are out of the way, target the Sprinklers spreading ink over the center area. Also, watch for Octolings lurking about the three Mini Zapfish locations in the center. Once you’ve thoroughly inked the center of the map, make a move for the Mini Zapfish (and other goodies) before the Octolings reinforce this area.
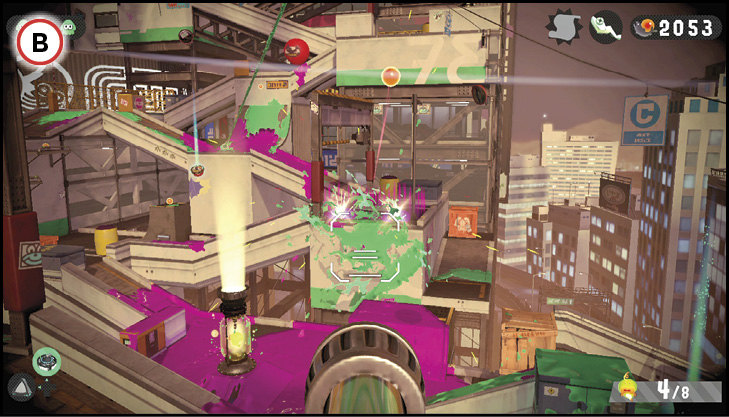
 Center Strategy
There are three Mini Zapfish located on the low, center section of the map. Normally, this would be a wise area to avoid, but freeing the Mini Zapfish is your mission. The Octolings tend to congregate around the Mini Zapfish, so expect plenty of resistance here. Before making a push into this area, eliminate the Octosnipers and use the Ink Cannon to saturate this area with ink to facilitate faster movement. Also, don’t forget to target the Sprinklers attached to the surrounding walls. If necessary, free one Mini Zapfish at a time, retreating to the periphery if you come under heavy Octoling attack. Consider using one of the Sting Ray specials to make an aggressive push into this area.
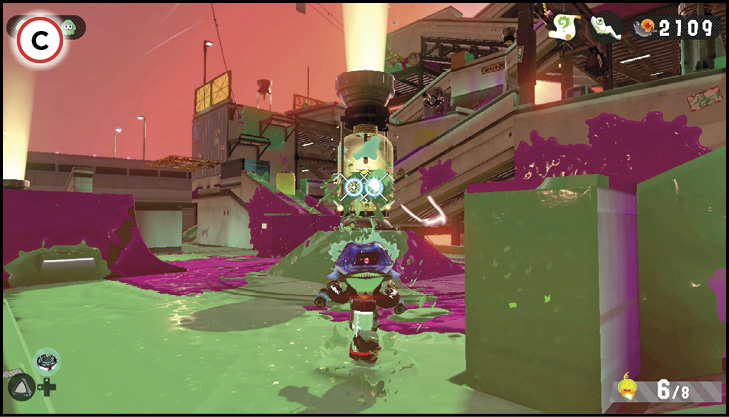
Collectibles
Sardinium
The lair’s Sardinium is stored in a crate directly beneath the Octoling spawn point. Reaching this location requires an uphill climb, usually while facing opposition. Use Curling Bombs to ink a path ahead while making conservative probing attacks on the enemy defenses. If you find yourself under heavy attack, retreat and try again later, once the Octolings have dispersed.
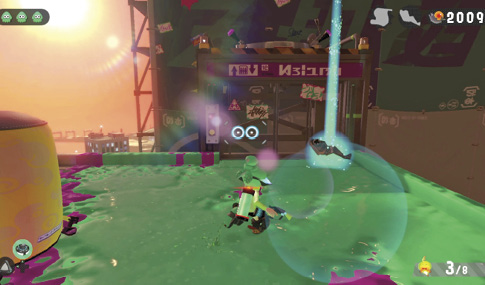
Sunken Scroll
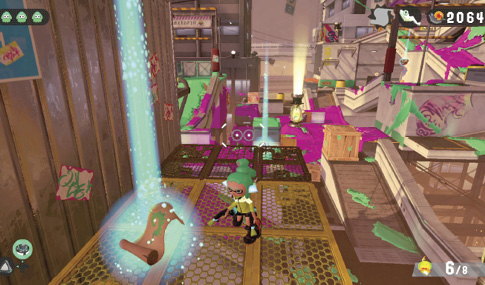
The Sunken Scroll is stored in a crate on this yellow grate. Drop down from the platform above after freeing the nearby Mini Zapfish. Needless to say, don’t go for this grate until the two Octosnipers have been splatted.