Splatoon 2 Guide Multiplayer Maps Starfish Mainstage
Key Locations
 Mainstage
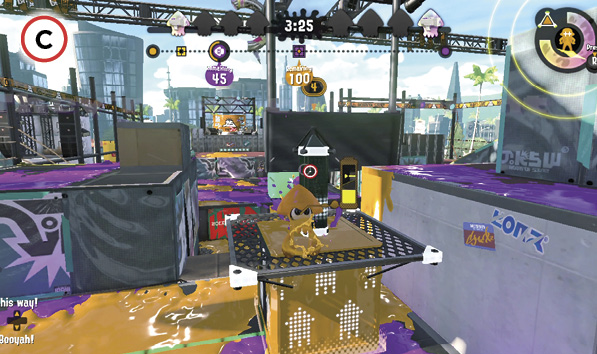
Situated in the center of the map, the mainstage sees a fair amount of action and traffic, regardless of game mode. This low, raised platform can be accessed from all directions. Don’t bother using the ramps—there are plenty of vertical surfaces you can ink and swim up. The stage itself features speakers and other equipment that come in handy for cover, but they can’t be inked. Be careful when traversing the blue grates on the perimeter of the mainstage—you can fall through if you enter squid form, potentially dropping into the water below. Still, you can access the mainstage from these narrow flanking paths. Consider standing on the platform above the side grates to get a good view of the mainstage, ideal for spreading ink and targeting opponents. Despite its central location and slight elevation, the mainstage is not very defensible since it can be accessed from multiple directions. Think twice about camping here. Instead, keep moving, patrolling the surrounding areas while making frequent passes across the mainstage.
 Safe Zones
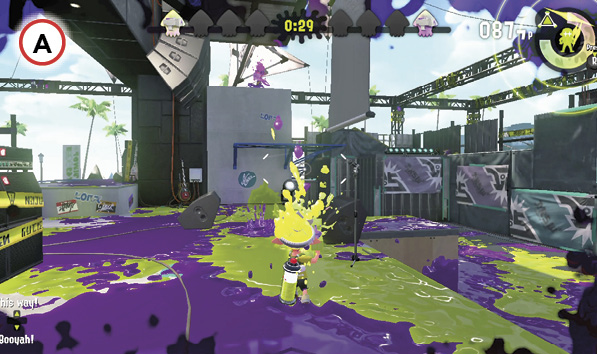
During Turf War matches, the Y-shaped elevated platforms extending from each team’s spawn point are safe zones, inaccessible by the opposing team. Don’t forget to thoroughly ink this large area, as each zone accounts for approximately 20% of the map. The right and left branches of this raised path offer quick, safe routes to the mainstage. The low area between these flanking paths is easily inked from the high ground, so be sure to get that done. While the vertical walls leading up to this area can’t be inked, watch out for opponents lobbing shots over the walls—blasters and bombs are effective for spreading ink into the opposing team’s safe zone.
 Defensive Perch
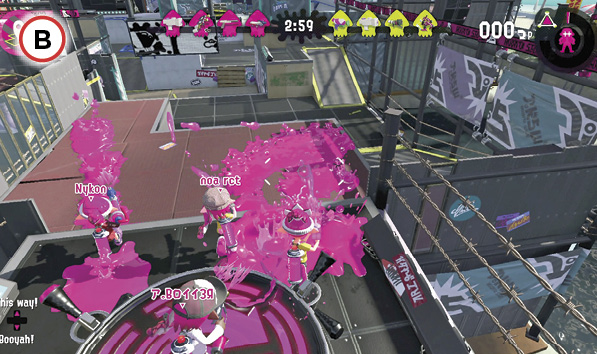
If the opposing team has locked down the mainstage, consider accessing this elevated perch outside your team’s safe zone. From here you have a clear view of the mainstage, allowing you to spread ink and harass opponents. Mid-to-long-range weapons work best, particularly if you hope to splat opponents on the mainstage. This perch is even more valuable during Tower Control matches—at the second checkpoint, the tower stops on the perch’s right side, making it easy for defenders to challenge tower riders. The tower stays within range of this perch as it advances to the third checkpoint and the capture point.