Splatoon 2 Guide Single-Player Campaign Area 04: Slimeskin Garrison
19: The Experimentorium
Legend
|
|
|
|
|
|
|
|
|
|
|
|
|
|
|
|
|
|
|
|
 Key Location
 Armor
Armor

 Jump Path
 Key
Key
 Power Egg Can
 Sardinium
 Sunken Scroll
 Ticket
 Vault
Vault
 Zapfish
Lair Entrance
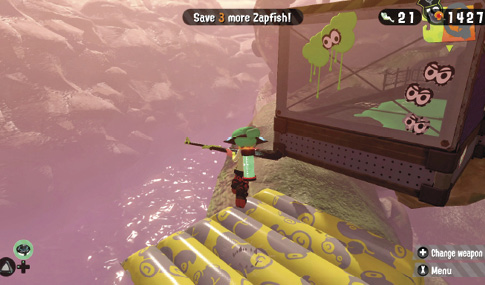
Traverse an Inkfurler and jump across the two nearby Bounce Pads to reach this isolated platform. Bounce high on the adjacent Bounce Pad to clear the wall on the edge of the platform.
Sheldon Request
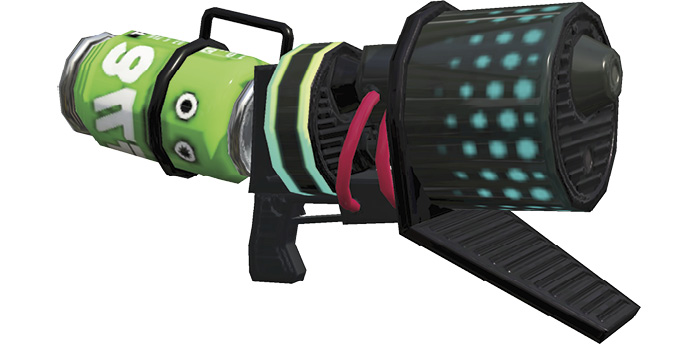
Sheldon delivers an all-new weapon before you tackle this lair—the Hero Blaster. This weapon fires an exploding ball of ink, ideal for splatting enemies behind cover, such as Shielded Octotroopers. Simply aim upward and let the exploding ball shower ink down on your foes. But this weapon has limited range, so rely on your Splat Bombs and Curling Bombs for distant engagements.
Key Locations
 Launchpad Hub
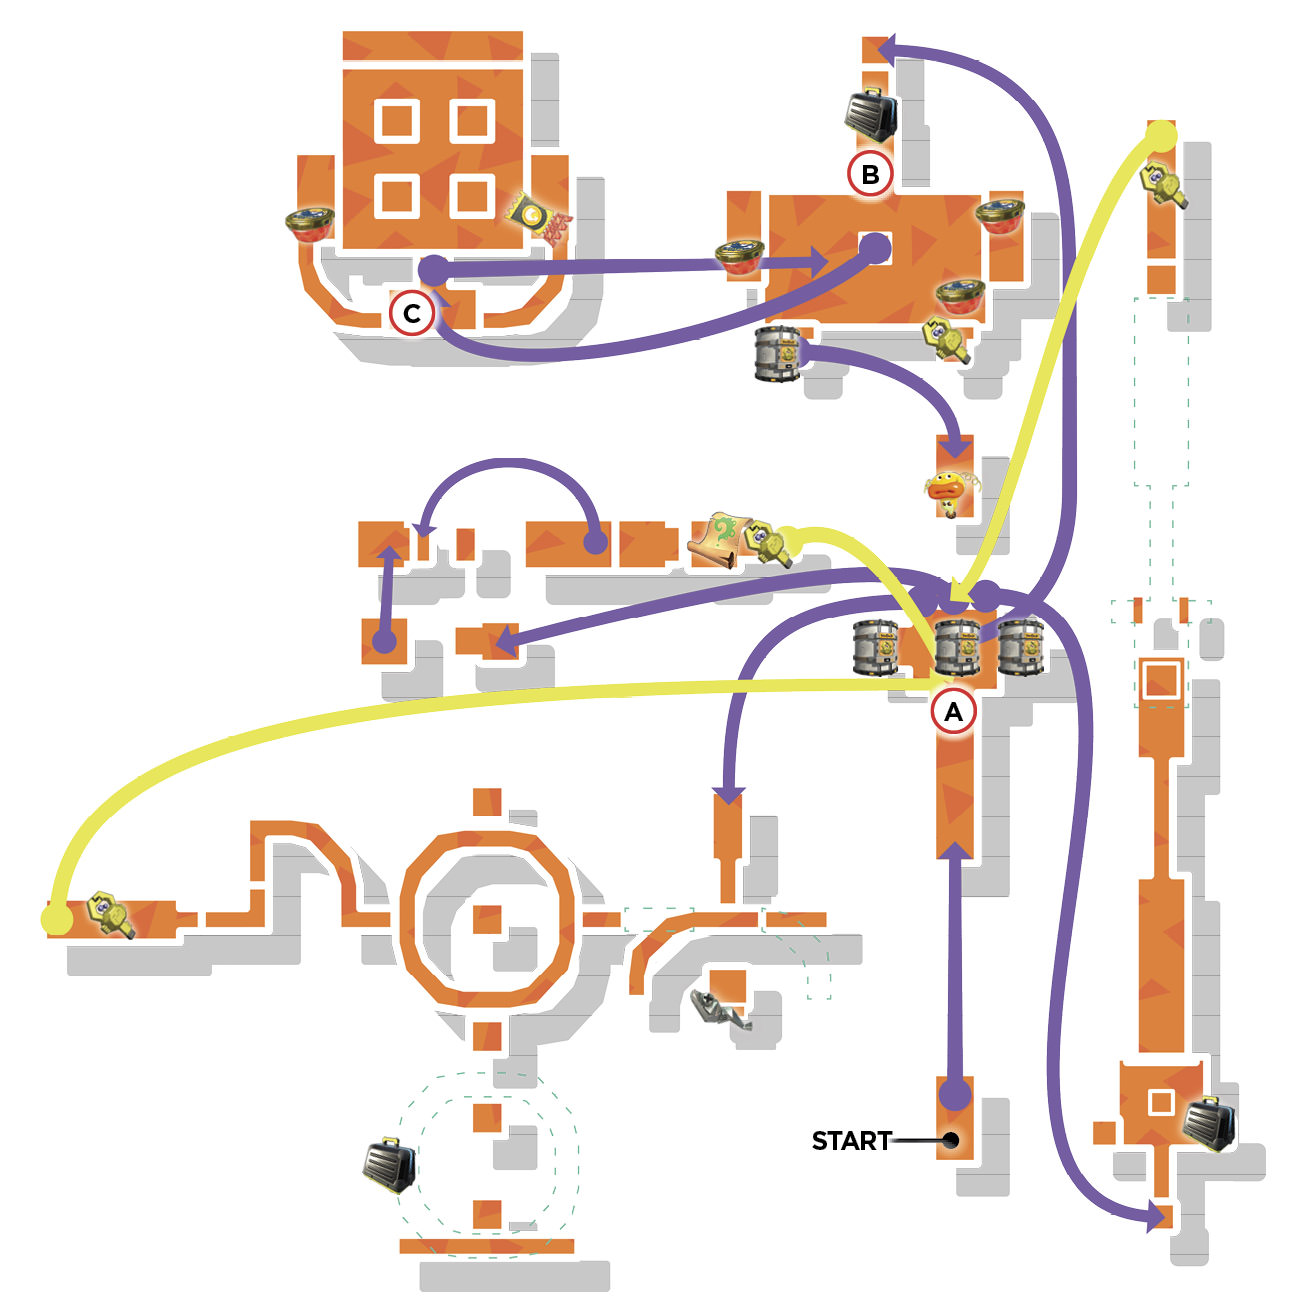
The initial platform features three vertical launchpads, guarded by a Shielded Octotrooper. Use your new Hero Blaster to splash ink above the Octotrooper’s head, circumventing the shield, to splat him. Each launchpad leads to a different area of the stage where you’re tasked with retrieving a key. The keys unlock the boxes on this platform. Each box conceals a small Splat Switch. Activate all three Splat Switches to reveal a launchpad leading to the final platform.
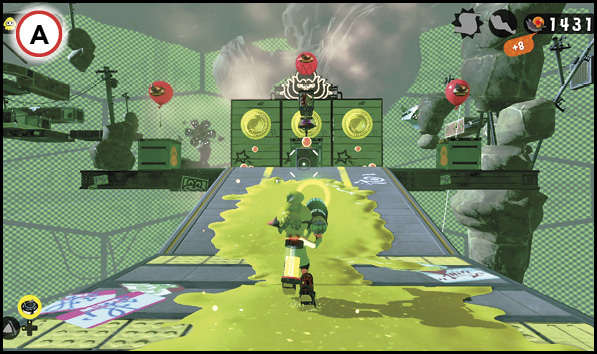
 Octotrooper Hit-and-Run
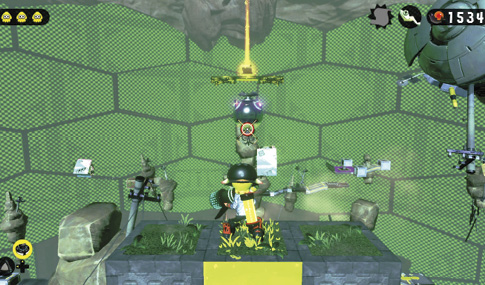
Commandeer an Industrial Squee-G on this platform to run down a swarm of Octotroopers. Ink the top of the Industrial Squee-G and hide in your ink, occasionally popping out to fire your Hero Blaster or toss Curling Bombs. Spread ink in the direction you wish your Industrial Squee-G to travel and simply enjoy the ride as Octotroopers scurry about in a panic. Watch out for the Shielded Octotrooper on a tower in the center of the platform. As you pass by, arc Hero Blaster shots above the Shielded Octotrooper’s head to deal splash damage. Once the platform is clear, gather the key—this causes more Octotroopers to appear. Hop back onto an Industrial Squee-G and run them down. The key can be used to unlock the vault, but don’t use the launchpad within the vault just yet…
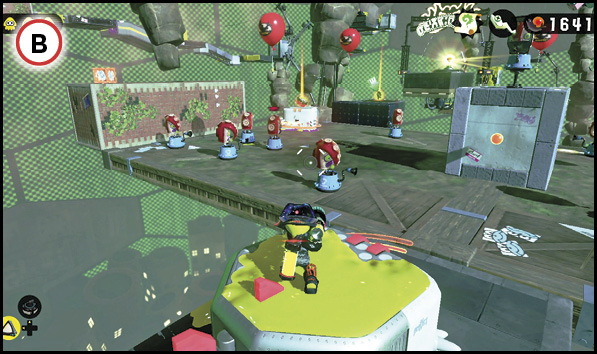
 Secret Platform
The platform with the Industrial Squee-Gs hides a secret launchpad atop the central tower, once occupied by a Shielded Octotrooper. Use this launchpad to access a hidden platform containing five Flooders. Ink a path and squid-jump across the central pillars while working your way to the far side of the platform. Here you can swim up a wall that allows you to jump onto one of the Flooders. Ride around on the Flooder and gather Power Eggs, including those stashed in crates. There’s even a ticket on the high platform to the right of the platform’s entrance. Accessing this area is purely optional, but it’s definitely worth the time and effort.
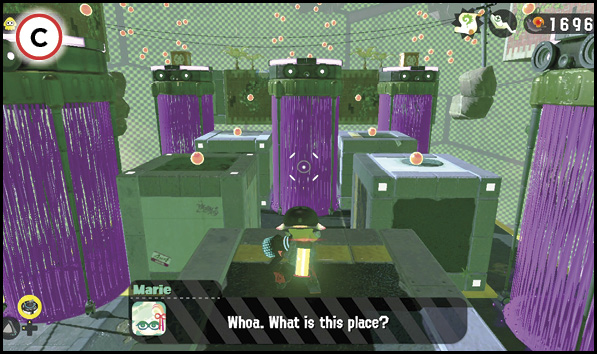
Collectibles
Sardinium
The Sardinium is located on a narrow platform behind a Splat Switch cube. After hitting the Splat Switch for the first time, move along the newly rotated, narrow platform to the left. From this angle you can hit another Splat Switch on the same cube, causing it to rotate. Ink the side of the cube and squid-jump onto the side while swimming up. Once atop the cube, you can access the platform holding the Sardinium, stored in a small orange crate.
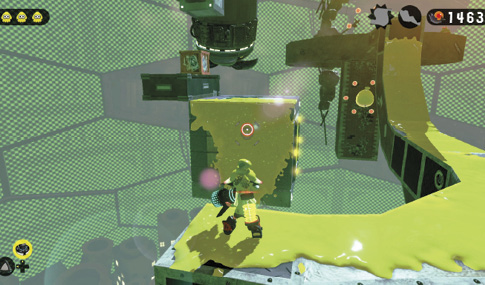
Sunken Scroll
Initially, the Sunken Scroll sits atop a high platform, just out of reach. You can cause it to drop by hitting a hidden Splat Switch. Start atop this wall, aiming toward a distant Grapplink. Shoot the Grapplink to launch yourself forward. As you fall, fire again to hit a second Grapplink, followed by a third and fourth. After striking the fourth Grapplink, turn to the left to hit a Splat Switch, which causes the Sunken Scroll to drop to a platform near this area’s return launchpad. If you miss the Splat Switch, you can use the nearby launchpad to return to the top of the wall where you started the sequence. You’ll eventually need to hit five consecutive Grapplinks to escape this area and retrieve the Sunken Scroll.