Splatoon 2 Guide Multiplayer Maps Humpback Pump Track
Key Locations
 Safe Zones
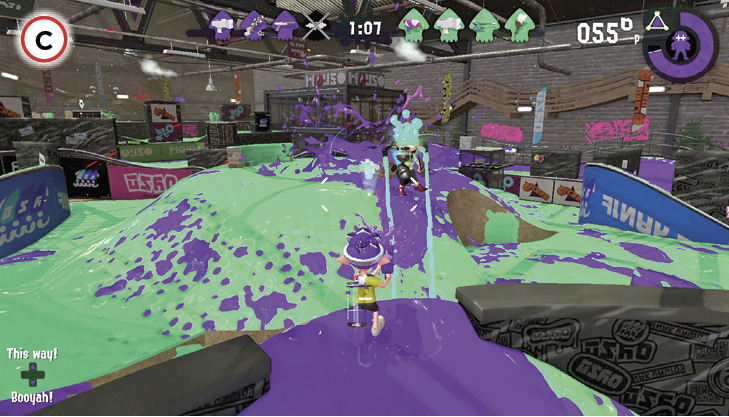
The area surrounding each team’s spawn point is very large—each side accounts for approximately 15% of the map. During Turf War matches, at least one player should focus on inking this area while the rest of the team pushes to the center. This area is largely off-limits to opponents due to the outer walls that can’t be inked. Consider this area a safe zone, where you can engage opponents in the center without fear of being flanked. Opponents can still arc ink and bombs over the walls, so don’t get too comfortable up here.
 Flanking Paths
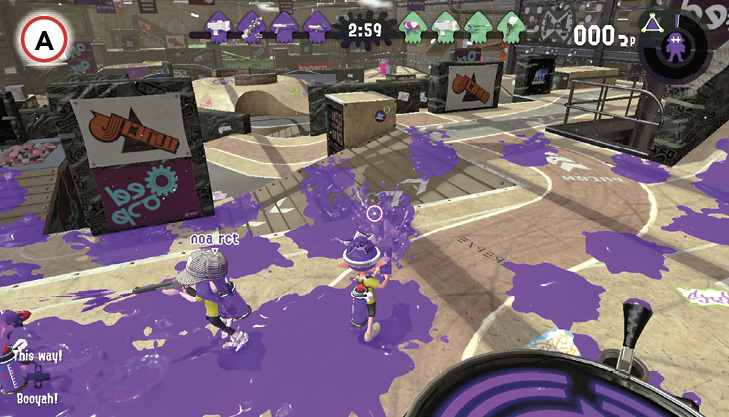
While most activity is focused on the central hill, look for opportunities to flank. The outer perimeter tracks are a great way to get around the hill without exposing yourself to heavy fire and bombs. Given the width of the track, this is a good area to patrol with a roller, particularly during Turf War matches. Once you’ve moved to a flanking position, monitor activity on the hill and consider making a push to the top. Chances are, opponents positioned on the hill are looking in the direction of your team’s spawn point—they’re probably not expecting to come under attack from the side or rear.
 Perimeter Perches
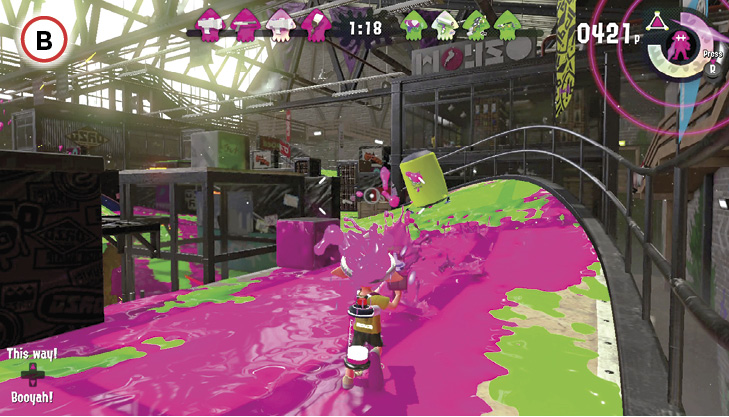
Even if your team controls the center hill, sometimes it’s easier to defend this hotspot from the perimeter. Fortunately, there’s a number of elevated perches along the outer track that offer a great view of the map’s center. When using a mid-to-long-range weapon, you can easily hit any opponents attempting to occupy the hill. Be mindful of getting flanked, as the outer track is likely to see a fair amount of traffic. Keep moving, constantly shifting from one perch to the next—stop at a perch long enough to inspect the hill before moving on.