Splatoon 2 Guide Single-Player Campaign Area 03: Beaker’s Depot
11: The Floating Garden
Legend
|
|
|
|
|
|
|
|
|
|
|
|
|
|
|
|
|
|
|
|
 Key Location
 Armor
Armor
 Jump Path
 Key
Key
 Power Egg Can
 Sardinium
 Sunken Scroll
 Tenta Missiles
 Vault
Vault
 Zapfish
Lair Entrance
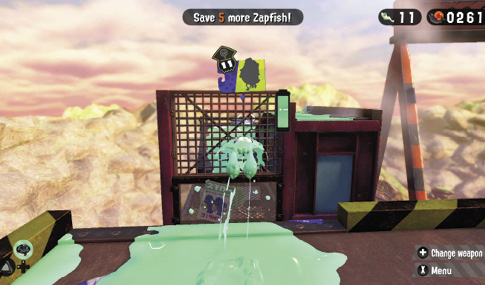
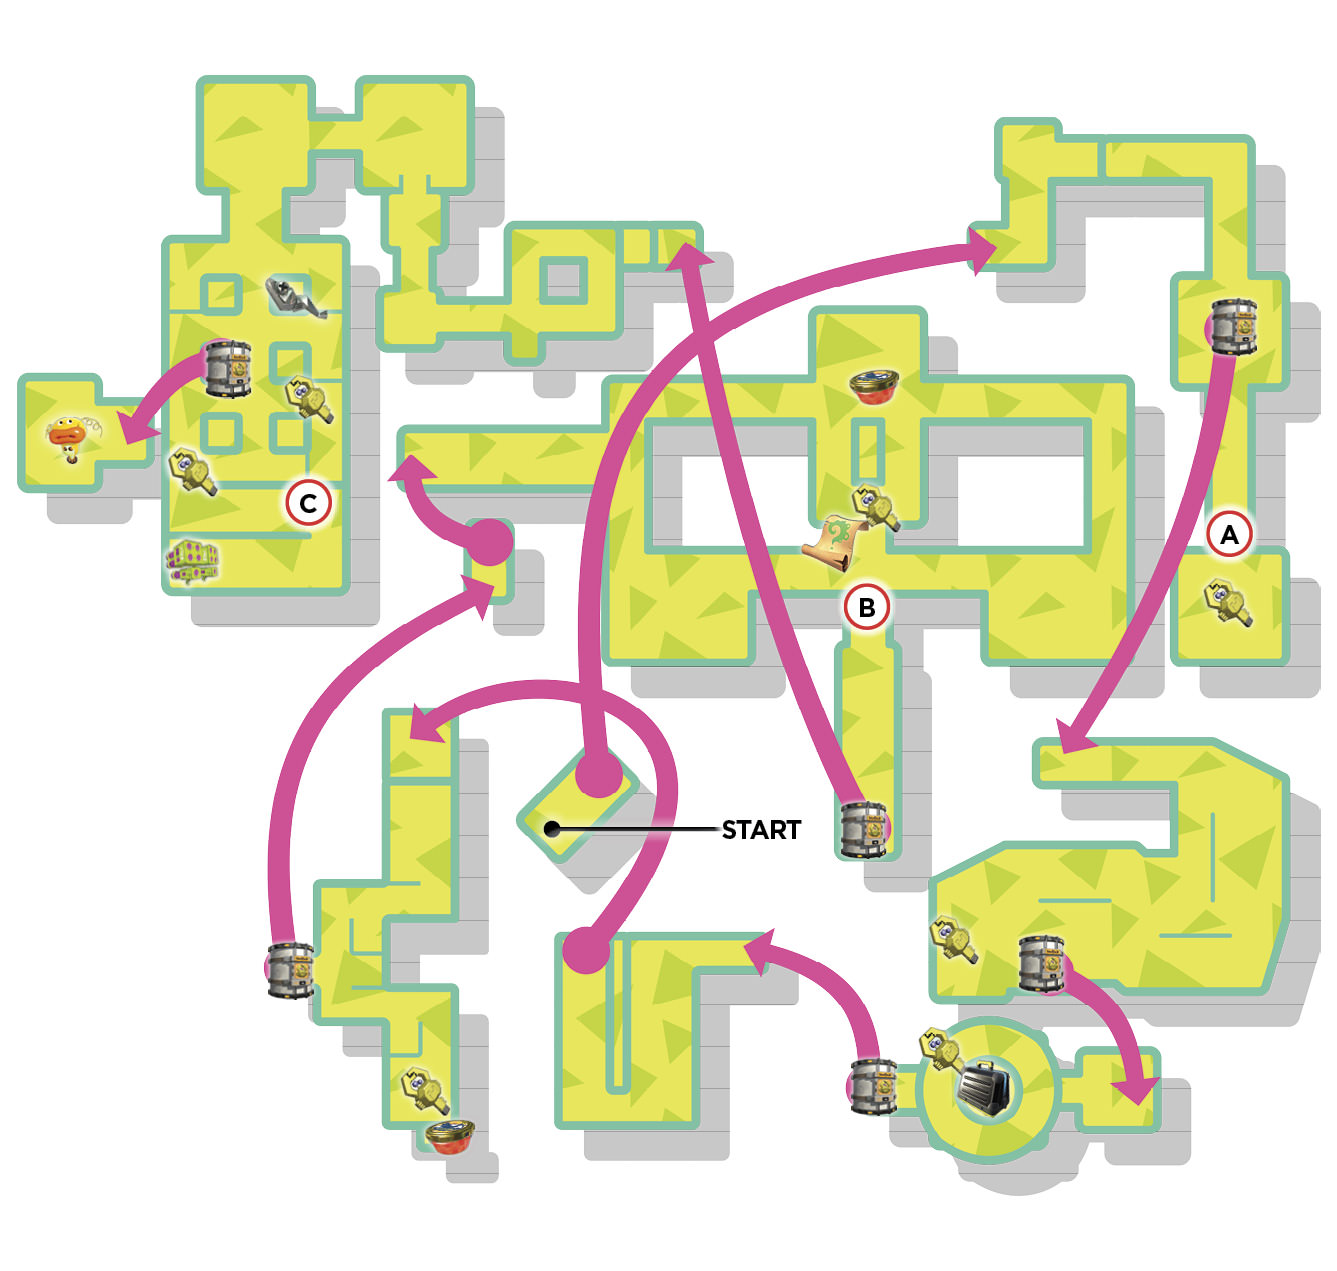
This lair is located on the platform directly to the left of the area’s entrance. Reaching the platform requires that you perform a squid jump. Start by inking the ground in front of the gap. Next, swim through your ink and jump toward the platform. Stay in squid form until you clear the vertical grate, then immediately return to Inkling form before landing. Otherwise, you’ll drop through the horizontal grate.
Sheldon Request
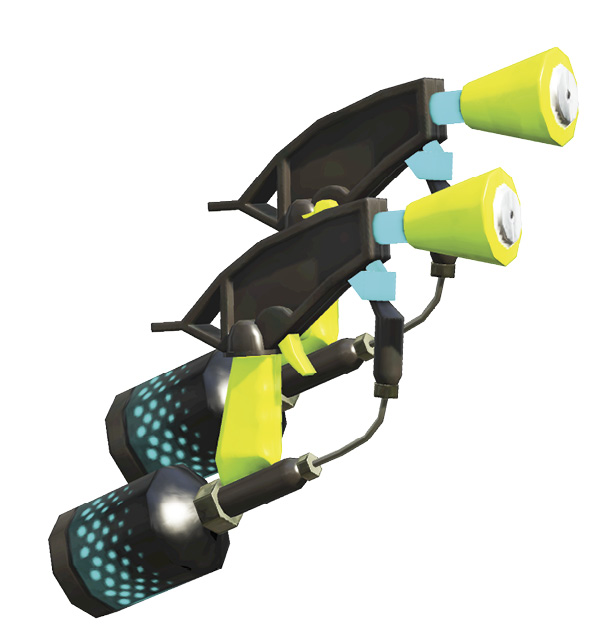
Sheldon has chosen the Hero Dualies for clearing this stage. These dual-wield pistols are great for rapidly spreading ink, but they lack the range of other weapons. Also, be careful when performing dodge rolls while firing, as you may inadvertently fall off a platform. Consider purchasing the Curling Bombs if you haven’t already; they can come in handy on this stage.
Key Locations
 Tentakook Pursuit
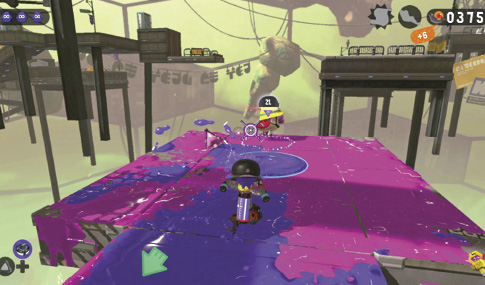
Upon arrival on this platform, you encounter a new enemy wearing a yellow hardhat. This is a Tentakook, and he’s extremely fast. Fortunately, the Tentakook isn’t very aggressive—he runs away as soon as you approach. However, he drops Splat Bombs as he attempts to escape, so watch out! Continue chasing the Tentakook across this platform until he’s cornered at the far end. At this point, keep your distance and toss Splat Bombs or Curling Bombs toward him. If the bombs aren’t effective, swim to close range and take him out with the Hero Dualies. Keep a watch for incoming Splat Bombs when attacking up close. The Tentakook drops a key to the nearby vault, allowing you to access the platform’s launchpad.
 Tentakook Round-Up
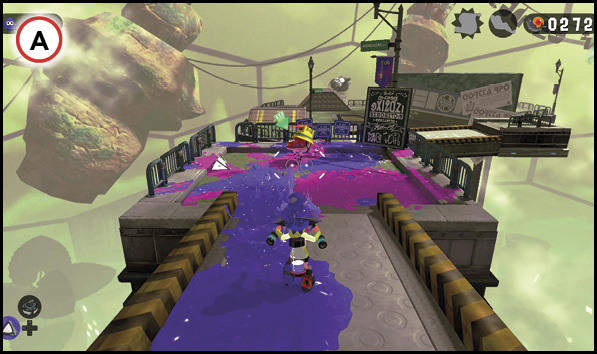
This large platform is occupied by a lone Tentakook—he’s carrying the key necessary to unlock the next launchpad. The layout of the platform gives the Tentakook plenty of opportunities to evade your advances. If you have Curling Bombs, use them to ink the narrow paths and swim after him. But even swimming doesn’t get you close enough to attack the evasive Tentakook. Instead, cut off the Tentakook’s path of escape. Chase him toward the vault, with the aim of making him commit to that path. The vault is situated on a dead end, leaving no means of escape. Close in on the Tentakook and attack aggressively to claim his key.
 Tenta Missiles Takedown
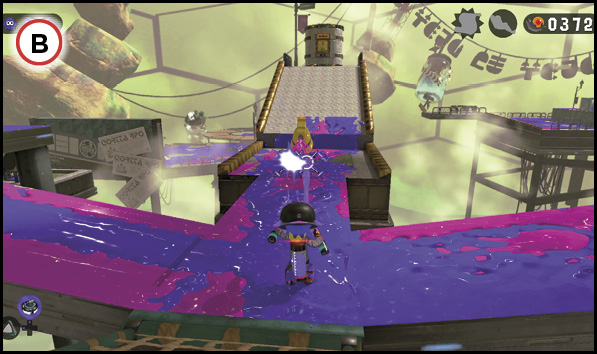
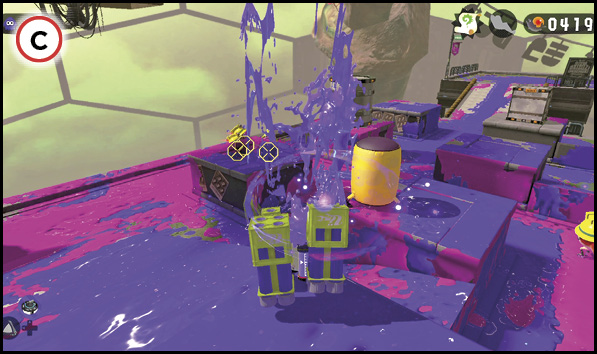
Six Tentakooks and a couple of stationary Octotroopers occupy the final platform. Two of the Tentakooks are carrying keys—one to the vault and one to the locked box containing the Sardinium. Instead of chasing down the Tentakooks one by one, carefully makes your way to the far end of the platform, eliminating the Octotroopers along the way. Smash the crate at the top of the ramp to obtain a Tenta Missiles special. Maintain the high ground and target the Tentakooks using the Tenta Missiles. Lock on to as many Tentakooks as possible before firing—these enemies tend to cluster, making them an easy target. The Tentakooks won’t have a chance to escape the missiles, which means you can wipe out the majority of these enemies with one attack. Gather the keys left behind and use them to unlock the vault and Sardinium.
Collectibles
Sardinium
The Sardinium is located in a locked box on the final platform. The key to the box is carried by one of the many Tentakooks scurrying about the same platform. Either hunt down each Tentakook one by one, or use the Tenta Missiles special to eliminate multiple enemies at once.
Sunken Scroll
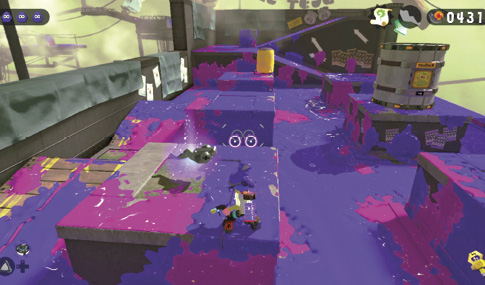
Drop through the cargo net, opposite the vault, to land on this hidden platform occupied by a single Tentakook—he’s carrying the Sunken Scroll. There isn’t much room where the Tentakook can hide, so immediately open fire before he unleashes multiple Splat Bombs. Once the Tentakook has been eliminated, gather the Sunken Scroll and use the launchpad to return to the platform above.