Splatoon 2 Guide Single-Player Campaign Area 02: Suction-Cup Lookout
04: Enter the Octohurler
Legend
|
|
|
|
|
|
|
|
|
|
|
|
|
|
|
|
 Key Location
 Armor
Armor
 Jump Path
 Power Egg Can
 Sardinium
 Sting Ray
 Sunken Scroll
 Zapfish
Lair Entrance
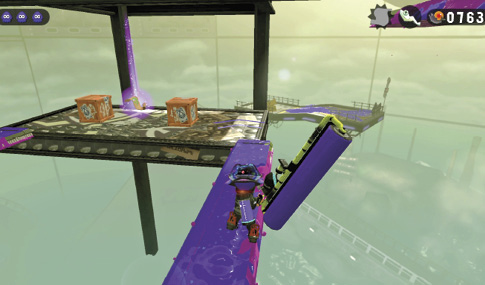
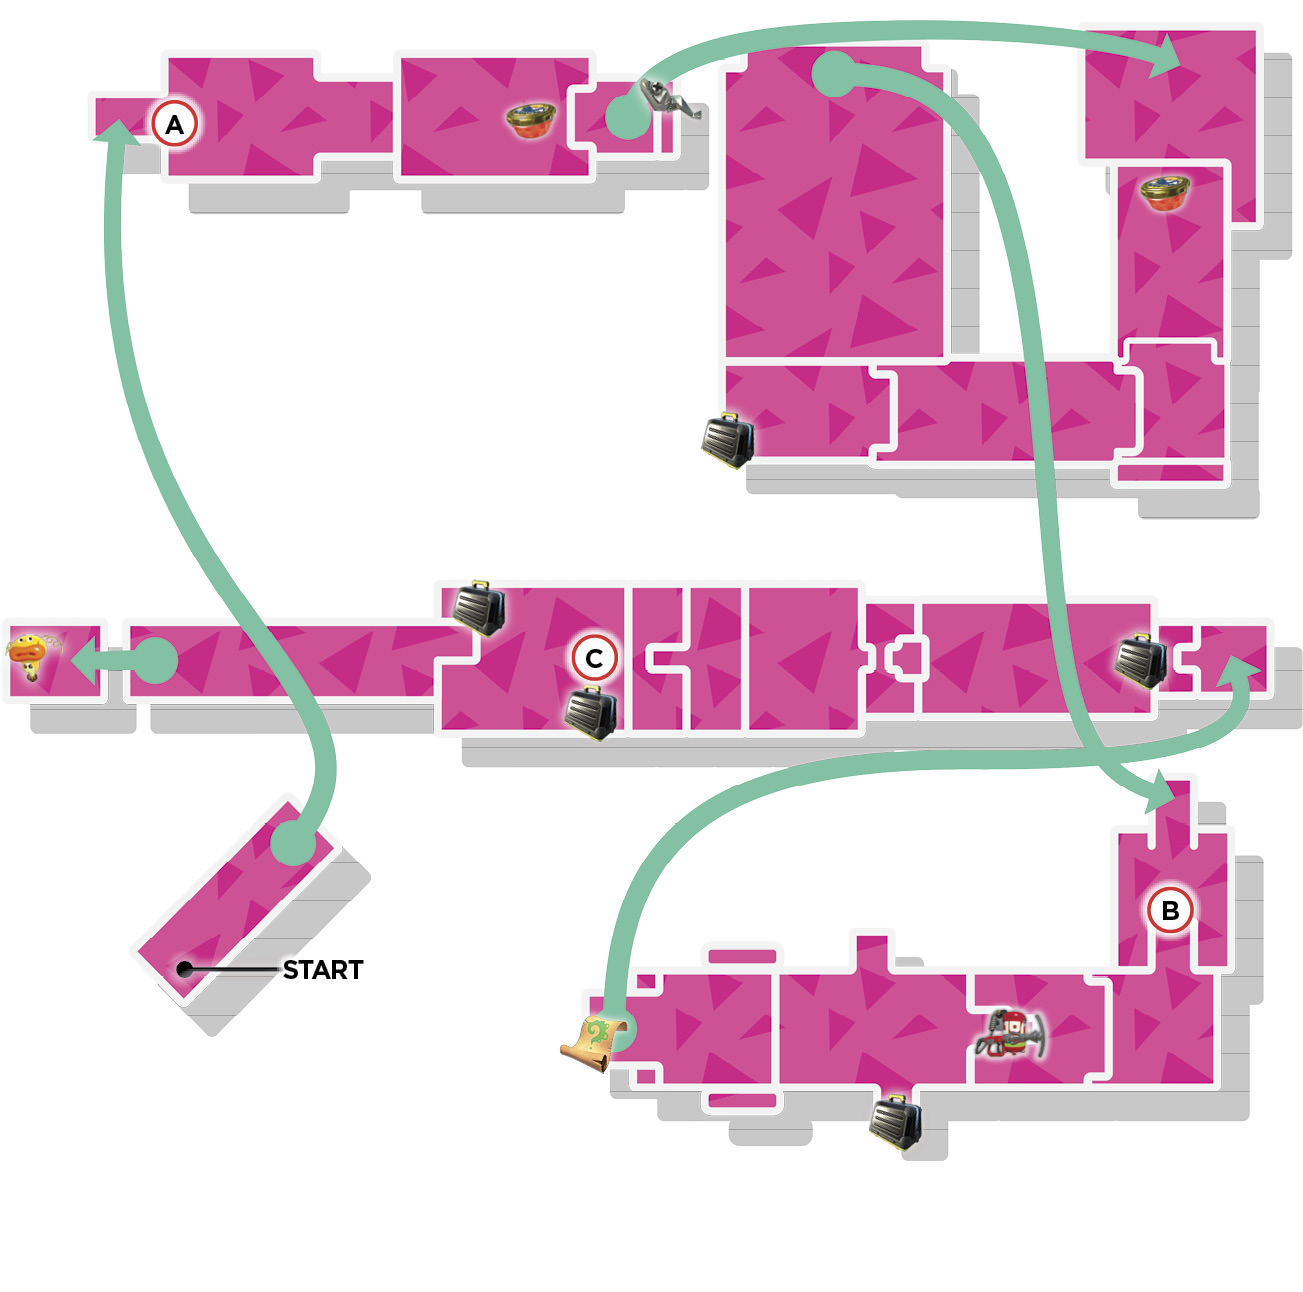
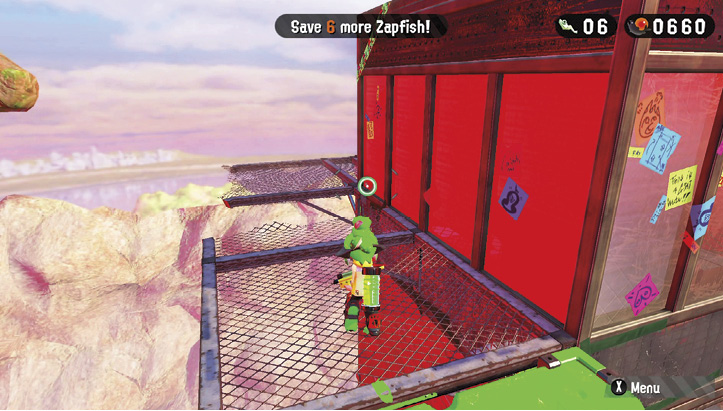
This lair is located a short distance from the area’s entrance, and reaching it requires you to ink a couple of sponges. Be careful when crossing the damaged catwalk flanking the tower platform; stay in Inkling form and simply jump over the gap. If you enter squid form, you’ll fall through the catwalk grate.
Sheldon Request
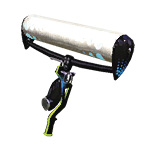
Sheldon has agreed to lend you the Hero Roller for clearing this lair. While rolling, the Hero Roller excels at spreading large swaths of ink. But keep an eye on your Ink Tank—this weapon consumes ink at a rapid pace. In addition to rolling, you can use the Hero Roller to fling big walls of ink in the direction of enemies. This works best from a height advantage.
Key Locations
 Rolling Rolonium!
The Rolonium bundles found on this platform act similarly to your Hero Roller. Simply stand behind a bundle and smack it with your Hero Roller to fill it with ink and send the bundle rolling forward at high speed, splatting anything in its path. Hide in your ink and watch the movements of the Octotroopers riding on the Spreaders. Once they’re lined up, smack a Rolonium bundle to send it crashing into the Octotroopers. The angle from which you hit the Rolonium affects the direction in which it travels, so make sure you’re squared up with the Rolonium before sending it on its way.
 Octohurler Counter
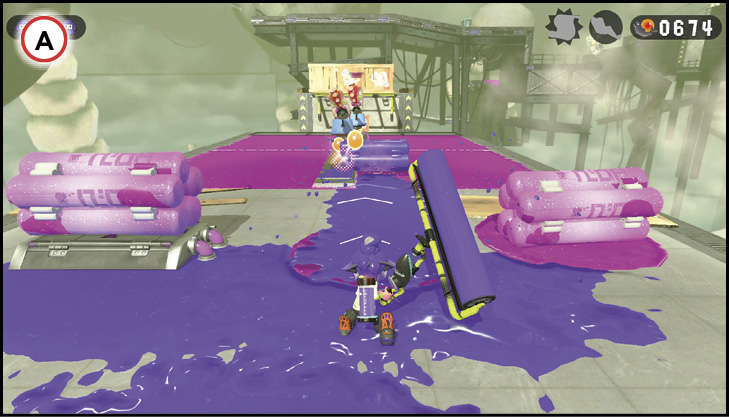
This marks your first encounter with an Octohurler. These unusual-looking enemies spit out Rolonium, coating areas with wide swaths of ink. While it’s best to avoid incoming Rolonium, you can send it back at the Octohurler by inking it with your Hero Roller. Stand in front of the Octohurler and wait for it to generate a Rolonium bundle. As the Rolonium approaches, fling ink toward it, causing it to reverse direction and smash into the Octohurler. Not only is this a good way to eliminate these enemies, it’s also a great way to spread your own ink.
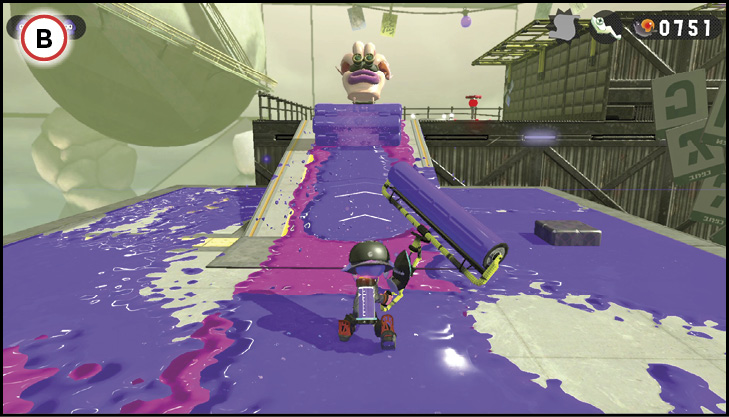
 Clear a Path!
At the final checkpoint, you’re confronted by an Octotrooper, an Octobomber, and an Octohurler, each at varying ranges—this is a good opportunity to use the Sting Ray special. Otherwise, keep your distance and avoid any incoming attacks while watching for inbound Rolonium. Ink the Rolonium, sending it toward the Octotrooper to knock it out. Ink a second incoming Rolonium bundle to launch it toward the Octobomber. Since the Octobomber is flying, the Rolonium passes beneath the enemy, dealing no damage. But the Rolonium gives you a wide swath of ink to swim through, allowing you to rush the Octobomber and fling ink at him with your Hero Roller. Finally, deal with the Octohurler riding the Spreader. Wait for him to launch another Rolonium bundle, then knock it back in his direction. The path to the Zapfish is now clear!
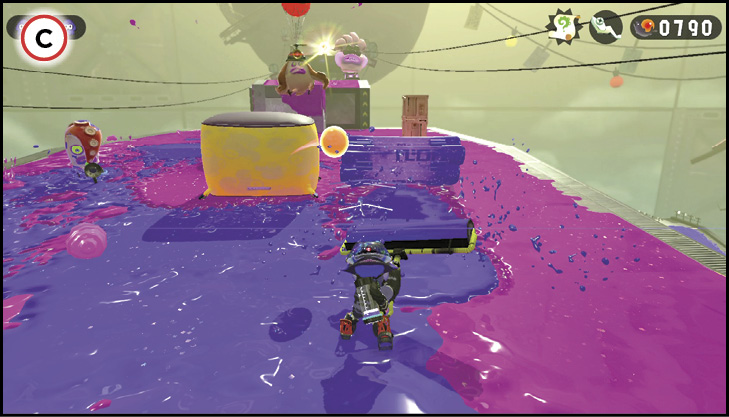
Collectibles
Sardinium
Sidestep the launchpad after encountering the first Rolonium bundles. Beyond the launchpad is a lower ledge holding two crates. Smack one of these crates to retrieve this lair’s Sardinium.
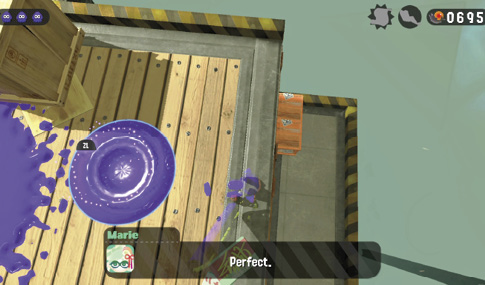
Sunken Scroll
Ink and ride one of these Spreaders, formerly occupied by an Octohurler, to retrieve this lair’s Sunken Scroll. It’s located on a well-hidden platform just beneath the launchpad platform.