Splatoon 2 Guide Single-Player Campaign Area 04: Slimeskin Garrison
20: Propellerland
Legend
|
|
|
|
|
|
|
|
|
|
|
|
|
|
|
|
|
|
|
|
 Key Location
 Armor
Armor
 Jump Path
 Key
Key
 Power Egg Can
 Sardinium
 Sunken Scroll
 Ticket
 Vault
Vault
 Zapfish
Lair Entrance
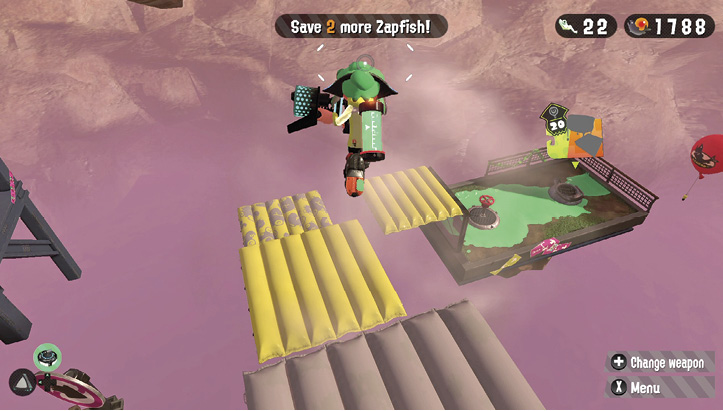
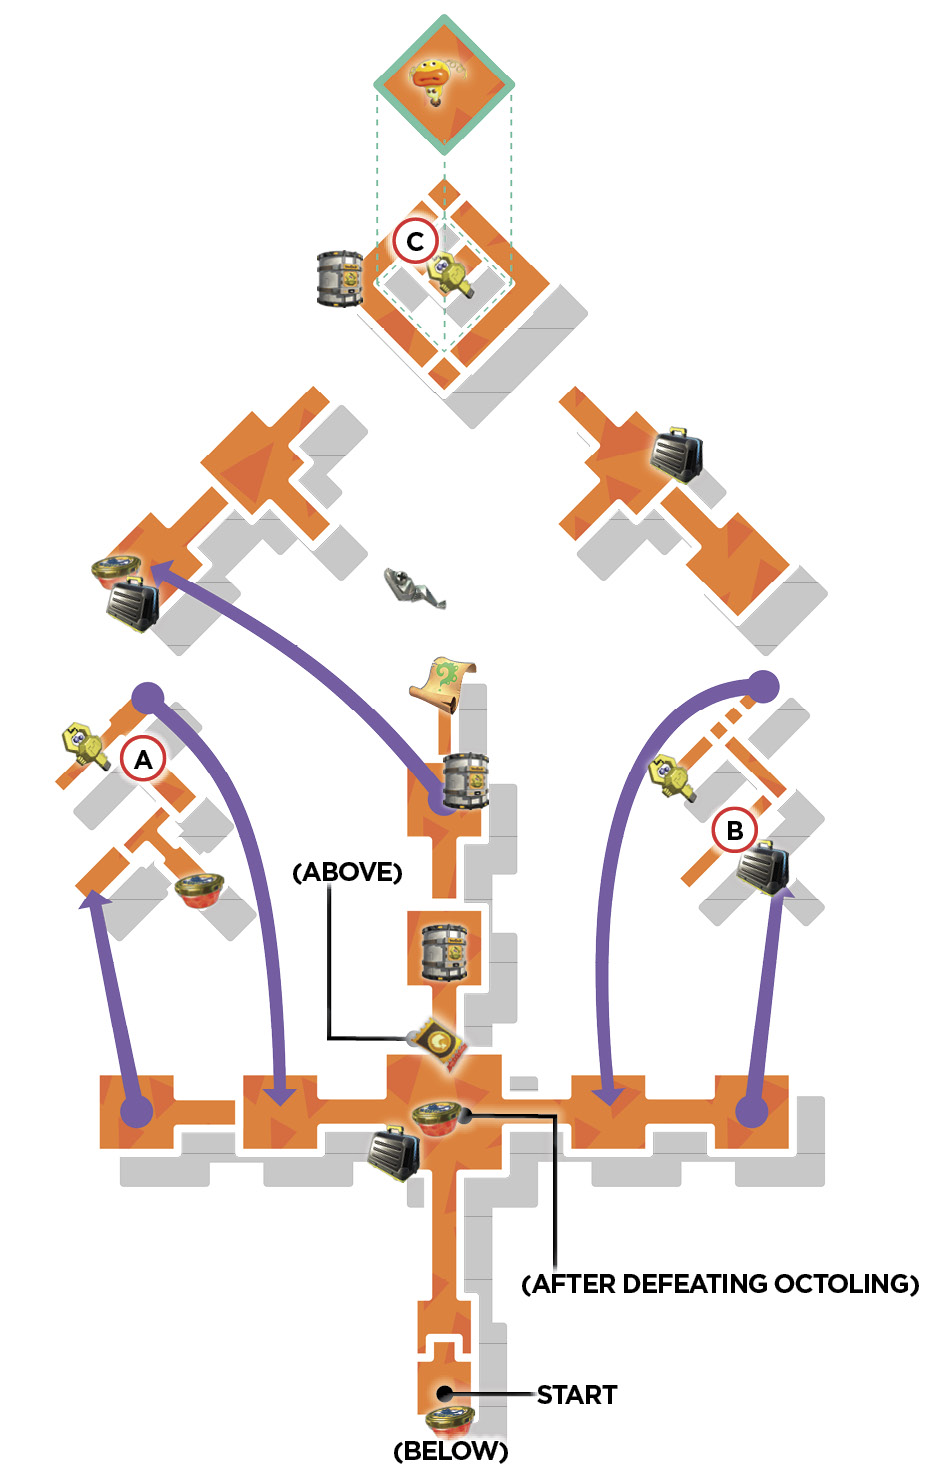
Hop across a series of Bounce Pads to reach this distant platform. Hold down B to bounce from one Bounce Pad to the next until you reach the lair. Once it’s time to exit the lair, use the nearby Gusher to return to the nearest Bounce Pad and work your way back to the central area.
Sheldon Request
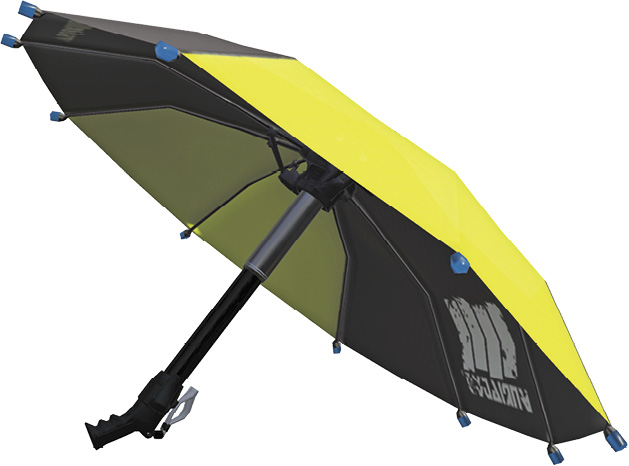
At the start of this stage, Sheldon delivers the Hero Brella, a new and unique weapon capable of blocking incoming fire. Hold down ZR to extend the umbrella-like feature and use it as a shield. Continue holding down ZR to launch the umbrella portion forward, leaving a trail of ink behind it, similar to a Curling Bomb. Tap ZR to fire a short-range blast of ink, perfect for splatting nearby foes.
Key Locations
 Flooder Key Retrieval
This key rests atop a Flooder. Fortunately, the Flooder is patrolling a Propeller. Hold this position and take aim at the propeller using the Hero Brella or a Curling Bomb. Hitting the propeller causes the lift to go down, along with the Flooder. Hop on top of the Flooder to retrieve the key, then use the new launchpad to return to the starting area, landing atop an inactive Flooder. Watch out for a few Octopods upon your return to this area. The key can be used to unlock one of the two central vaults.
 Invisible Avenues Revisited
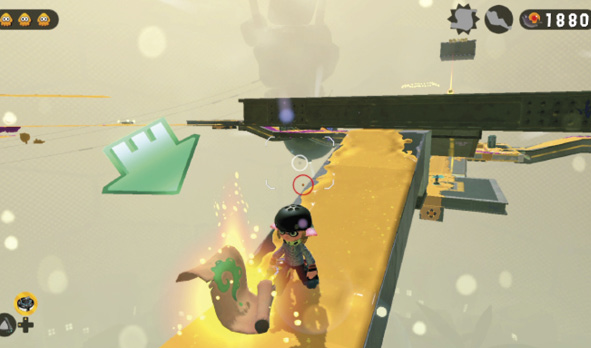
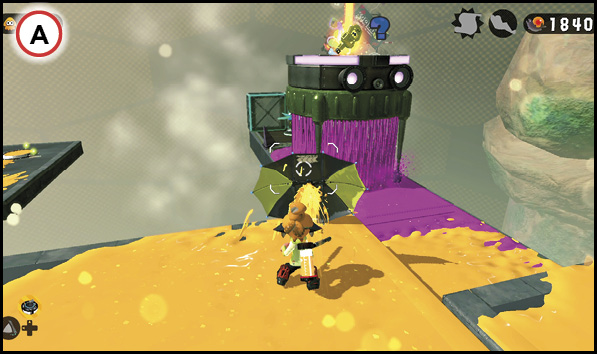
The path leading to the second key is completely invisible. Upon accessing this area, immediately begin spreading ink to find the edges of this narrow walkway. The Hero Brella and Curling Bombs are ideal for inking these invisible paths, but don’t neglect the two Octocopters hovering nearby. Deploy the Hero Brella’s shield to avoid taking damage until you’re close enough to splat these pesky foes. Methodically work your way toward the key, continually defining the path with ink. Once you’ve grabbed the key, use the new launchpad to return to the starting area. Watch out for descending Octopods upon your return.
 Propeller Management
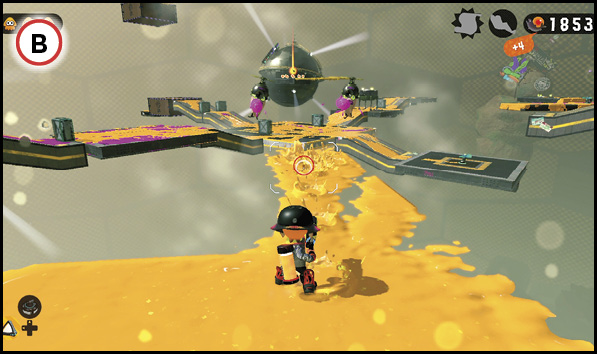
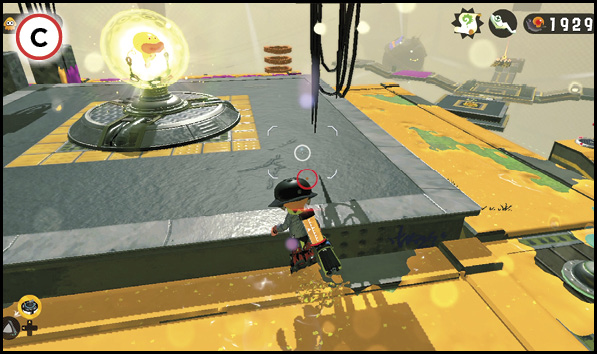
Clearing the Octosnipers from this platform causes a key to appear. Use the key to unlock the vault containing a propeller. Shooting the propeller causes the whole platform to rise. The Zapfish is located on the platform just above this position. To reach it, you must operate two Propellers simultaneously. This is a bit tricky, given the Hero Brella’s limited range. Start by standing beneath the Zapfish’s platform, and look up to spot a propeller—shoot it to cause the Zapfish’s platform to descend. Immediately move toward the propeller you unlocked and shoot it, causing the platform to rise. Before the platforms reset, jump onto the Zapfish platform to complete this stage.
Collectibles
Sardinium
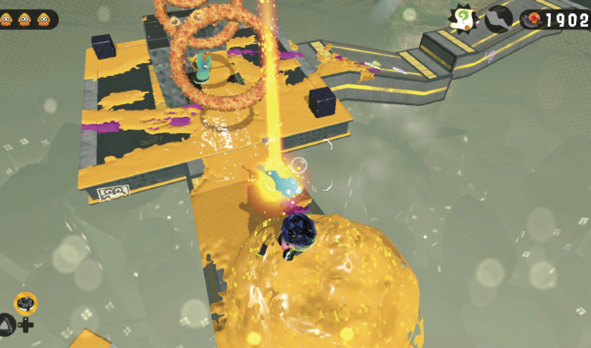
You must simultaneously move this Propeller platform and activate a Gusher to retrieve the stage’s Sardinium. Once the platform is clear of enemies, stand near the Gusher and take aim at the distant propeller, hitting it with the Hero Brella or a Curling Bomb. This causes the platform to move beneath the Sardinium. Immediately activate the Gusher and ride atop the geyser of ink as the Propeller returns to its starting point, putting you within reach of the Sardinium. Keep riding atop the Gusher to pass through three squid rings as the Propeller returns.
Sunken Scroll
After accessing the platform with the second vault, turn around and shoot the Propeller. As the lift rises, look for a small Splat Switch on the edge. Shooting this Splat Switch causes a narrow walkway to appear, beyond the second vault. Step out onto this narrow walkway to grab the Sunken Scroll.