Splatoon 2 Guide Single-Player Campaign Area 05: Cephalon HQ
27: Octoling Workout
Legend
|
|
|
|
|
|
|
|
|
|
|
|
|
|
|
|
 Key Location
 Armor
Armor
 Power Egg Can
 Sardinium
 Sunken Scroll
 Tenta Missiles
 Ticket
 Zapfish
Lair Entrance
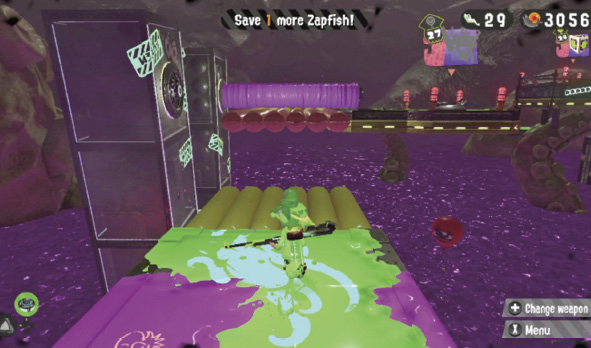
Board a saucer and ride it toward a set of towers featuring horizontal Ink Pistons. Hop off the saucer onto the checkpoint and cross toward the towers using the nearby Propeller. Wait for the first Ink Piston to retract, then jump off the Propeller to the adjacent platform. Use the Bounce Pad to jump past the second Ink Piston. The box above the third Ink Piston contains a ticket—bounce up onto the tower to retrieve it. Continue bouncing on the Bounce Pad while watching for a moving platform to the right. When the moving platform approaches, bounce over to it. The lair is hidden on this moving platform—spread some ink to reveal it.
Sheldon Request
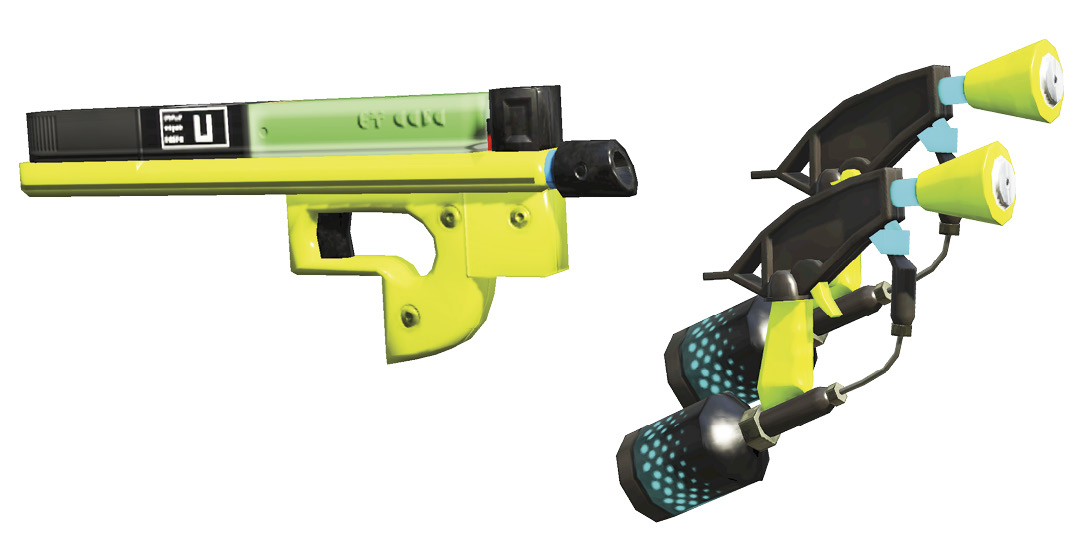
Before entering the lair, equip a weapon well-suited for Octoling battles, this time set on a variant of Musselforge Fitness. Sheldon has no specific request here, so the choice is all yours. You can’t go wrong with the Hero Shot or Hero Dualies, as they offer a good balance of damage, range, and rate of fire. If you want more of a challenge, go with the Hero Charger. This stage offers some good opportunities to test your long-range aptitude.
Key Locations
 Balloon Fish Blast
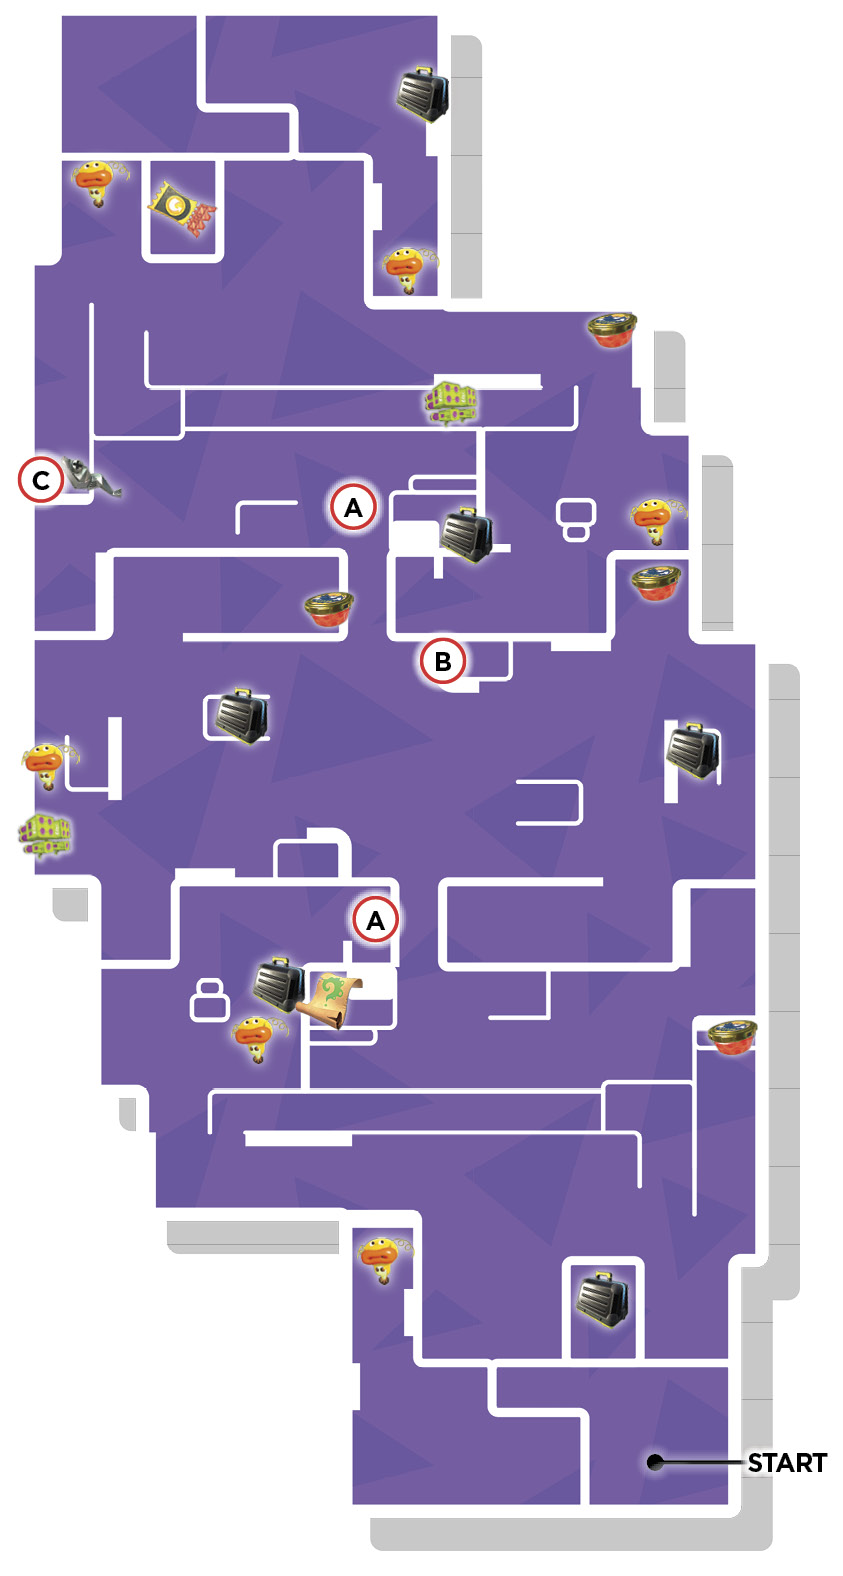
Don’t overlook the two Balloon Fish on this map. One is located beneath the catwalk near the center hill, and the other is situated on the opposite side of the hill, on the upper level. Shooting these Balloon Fish results in a massive ink explosion that spreads ink over a wide area and splats any Octolings within the generous blast radius. Octolings usually steer clear of these Balloon Fish, but you can lure them into an ambush—draw their attention, then swim toward one of the Balloon Fish. As they pursue, shoot the Balloon Fish to spring the trap.
 Muscle Mountain
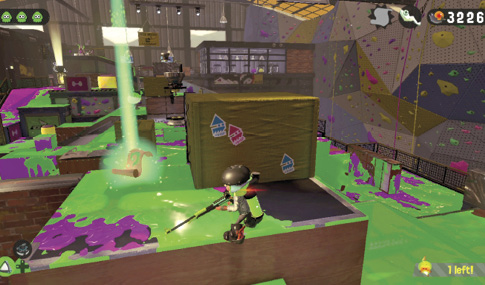
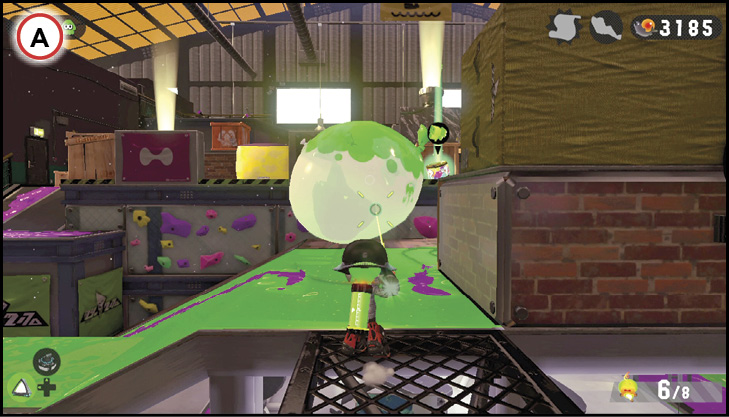
The large, elevated climbing wall in the center of the stage is a critical focal point during this battle. Take control of this position early on and use it as a central staging area while gathering the Mini Zapfish. Start by eliminating the Sprinklers on the platform’s flanks, then free the Mini Zapfish in the center—securing this Mini Zapfish makes it less likely Octolings will jump here. If you’re using the Hero Charger, this central elevated position lets you splat Octolings on the lower surrounding areas with ease. Hop to the top of the low walls to gain an even greater vantage point, but don’t hold here indefinitely. Pick off Octolings guarding the adjacent Mini Zapfish, then push forward to capture them.
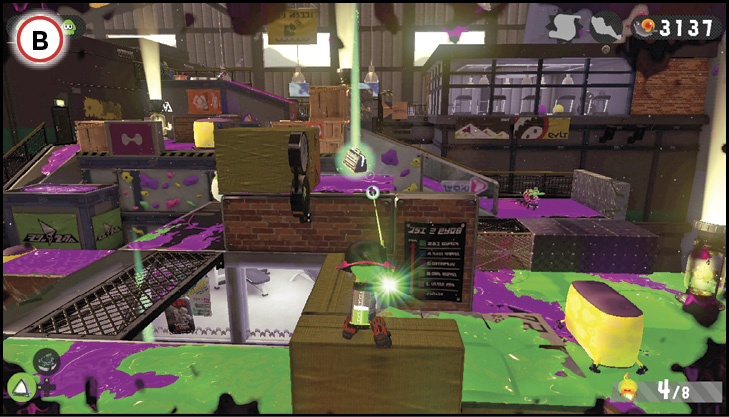
 Tenta Missile Assault
Freeing the two Mini Zapfish near the enemy base is extremely dangerous, as the Octolings hold the high ground. Before pushing into these areas, acquire the Tenta Missiles special—there are two on this map. The Tenta Missiles allow you to target any Octolings patrolling around the Mini Zapfish. When possible, climb or swim to an elevated position before activating this special. This makes it easier to spot and target Octolings, even if they’re swimming. While there may only be one Octoling around each Mini Zapfish, don’t be afraid to fire the entire volley of missiles at one target. After splatting any defenders, immediately rush forward to secure the Mini Zapfish before reinforcements arrive.
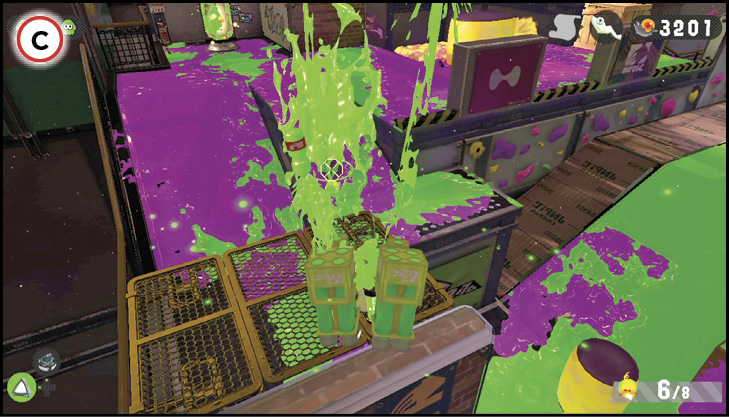
Collectibles
Sardinium
The Sardinium is stored in the large orange crate atop this elevated grate, not far from the Octoling spawn point. Target the Inkfurler at the base of the wall to extend it up to the grate. Swim up the extended Inkfurler to retrieve the Sardinium. Hold this elevated position to eliminate any nearby Octolings before moving on—this is a great sniping perch if you’re using the Hero Charger.
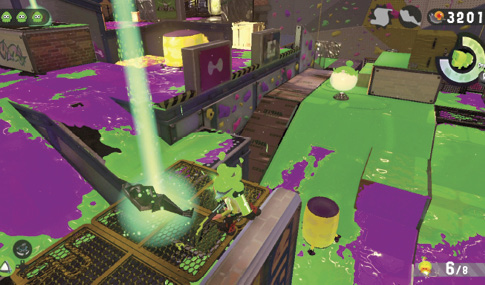
Sunken Scroll
The Sunken Scroll is concealed within an invisible crate, near this central catwalk. Ink this raised platform to make the crate appear, then destroy the crate to retrieve the Sunken Scroll.