
Equipment
Fortunately, you’re not going into battle empty-handed. You’ve been outfitted with some of the finest gear Sheldon has to offer. You can also find armor and specials hidden in crates during your journeys through each Octarian lair. Smash every orange crate you see—you never know what you might find inside.
Hero Set
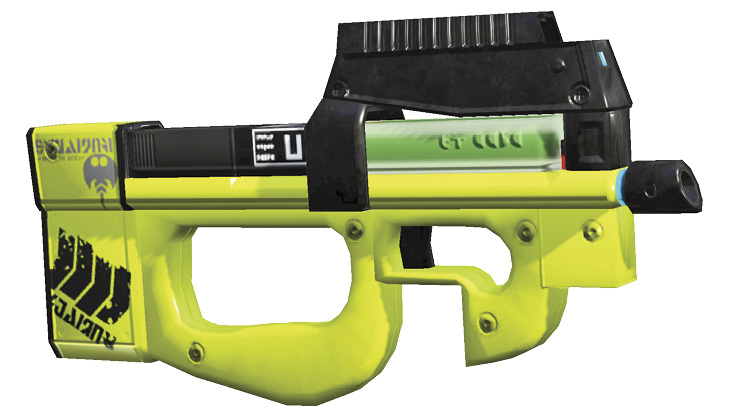
Hero Shot
The Hero Shot is provided by Marie and serves as your primary weapon for the first few stages. This is a well-balanced weapon, ideal for inking territory and splatting opponents. You can spend Power Eggs and Sardinium to increase the weapon’s rate of fire. Initially, these upgrades are quite expensive—your Power Eggs are probably better spent on increasing your Ink Tank’s capacity or unlocking Curling Bombs. But as you progress deeper into Octo Canyon, the increased rate of fire comes in handy when confronting bosses and tough enemies like Octolings, Octobombers, and Octocommanders. Keep in mind, an increased rate of fire means the weapon consumes more ink, so consider upgrading your Ink Tank’s capacity to compensate.
Upgrades
| Level | Power Eggs | Sardinium | Description |
|---|---|---|---|
|
1 |
— |
— |
Default fire rate. |
|
2 |
800 |
2 |
Increased fire rate. |
|
3 |
1,500 |
3 |
Maximum fire rate. |
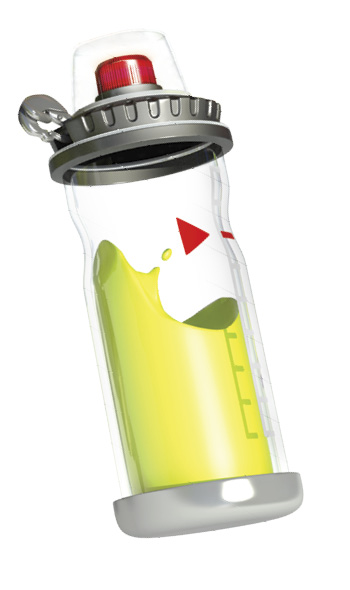
Ink Tank
Worn on your Inkling’s back, this Ink Tank supplies ink for your primary and sub weapons. The more you deploy your weapons, the more ink is consumed. The Ink Tank slowly refills over time, but you can increase the replenishment rate by swimming through your ink in squid form. The arrow icon on the side of the tank indicates how much ink your selected sub weapon consumes—take this into account before tossing a Splat Bomb, Curling Bomb, or Autobomb. Upgrading the Ink Tank increases its capacity. This is a worthwhile upgrade, so don’t hesitate to fork over the Power Eggs and Sardinium. The greater the tank’s ink capacity, the longer you can use your weapons without running dry.
Upgrades
| Level | Power Eggs | Sardinium | Description |
|---|---|---|---|
|
1 |
— |
— |
Default capacity. |
|
2 |
1,000 |
2 |
Maximum capacity. |
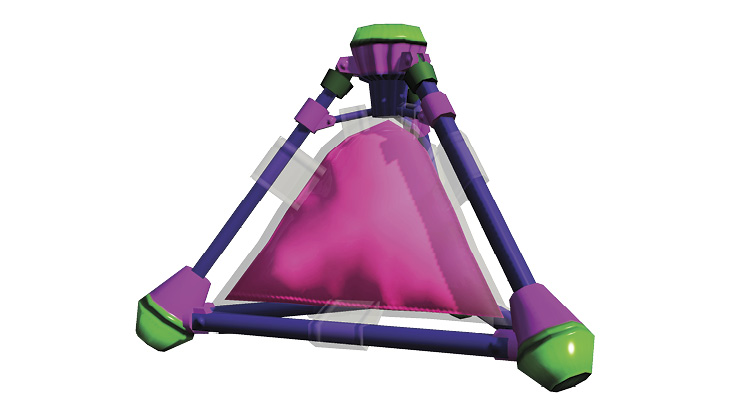
Splat Bombs
Unlock Cost: N/A
Splat Bombs are your default sub weapon and can be thrown to spread ink or splat enemies. Think of these like grenades. Hold down the R button to view and adjust the bomb’s arcing trajectory. When you’re satisfied with the flight path, release the R button to throw it. Splat Bombs utilize a delayed fuse, which allows them to bounce off walls or skip across the ground before exploding. This makes them great for engaging enemies indirectly while hiding behind cover.
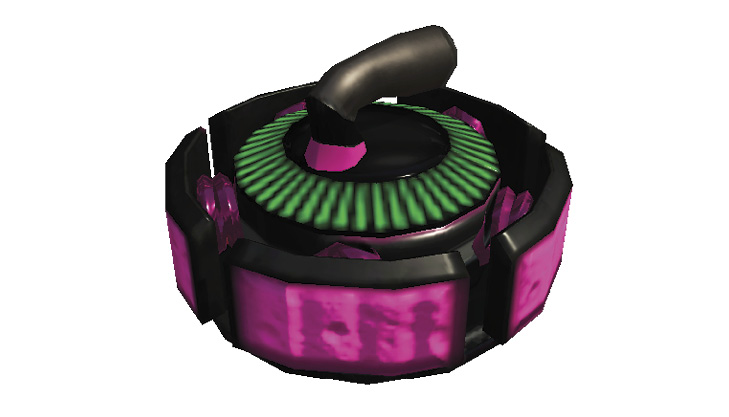
Curling Bombs
Unlock Cost: 500 Power Eggs, 2 Sardinium
Curling Bombs aren’t available at the outset of your adventure. Instead, you must purchase them with Power Eggs and Sardinium. Once you’ve fully upgraded your Ink Tank, Curling Bombs should be next on your shopping list. Curling Bombs cruise along the ground and bounce when making contact with any solid object, including Octarians. The bomb utilizes a time-delay fuse, which determines when it explodes. Tap the R button to send a Curling Bomb on a long-distance journey. Or hold down R to cook it, reducing the distance at which the bomb explodes. Beyond their explosive nature, Curling Bombs are most useful for spreading ink. When traveling along the ground, the bombs leave behind a narrow ink trail. Swim through it to stealthily move deep into enemy territory without being spotted.
Autobombs
Unlock Cost: 500 Power Eggs, 2 Sardinium
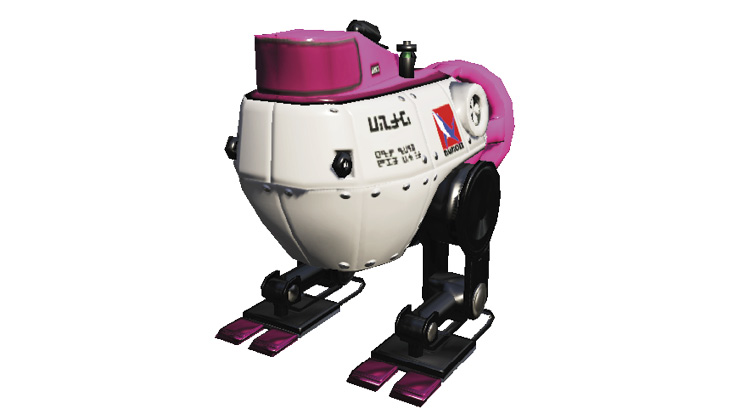
Autobombs are the most unique sub weapon of all, utilizing an internal homing system capable of automatically tracking down and detonating next to targets, maximizing damage output. Like Curling Bombs, Autobombs aren’t available at the start. You can unlock them once you’ve accumulated a modest amount of Power Eggs and Sardinium. Autobombs are tossed, just like Splat Bombs. But when the Autobomb lands, it automatically homes in on the closest enemy before detonating, dealing massive damage and spreading ink over a wide area. These bombs are extremely helpful when you’re pinned down behind cover by Octocommanders or Octosnipers. Simply toss one of these bombs in the direction of your oppressive foe and let the Autobomb do the rest.
Sheldon’s Weapons
After you complete the third lair, Sheldon joins your crusade against the Octarians. He offers to lend you some experimental weapons so he can collect field data on their performance. He’s handpicked weapons for each lair and boss fight, with the exception of the four Octoling battles. This means you must complete these lairs with Sheldon’s weapons of choice. Each weapon can be upgraded once, costing 3 Sardinium and 1,500 Power Eggs. These same weapons (and the Hero Shot) can be unlocked for use in multiplayer Ink Battles, but you need to complete every lair and boss battle with each weapon.
Sheldon’s Requests
| Name | Unlock Location | Description | Upgrade Description | |
|---|---|---|---|---|
|
|
Hero Roller |
Lair 4 |
Roller weapon based on the Splat Roller. |
Increases power when flinging and rolling. Also increases speed at which you fling. |
|
|
Hero Dualies |
Lair 5 |
Dualie weapon based on the Splat Dualies. |
Increases fire rate. Watch your ink consumption! |
|
|
Hero Charger |
Lair 6 |
Charger weapon based on the Splat Charger. |
Reduces charge time and allows you to execute a full-charge attack even faster. |
|
|
Hero Slosher |
Lair 10 |
Bucket-like weapon based on the Slosher. |
Increases fire rate. Watch your ink consumption! |
|
|
Hero Splatling |
Lair 13 |
Charged Splatling weapon based on the Mini Splatling. |
Reduces charge time and allows you to execute a full-charge attack even faster. |
|
|
Hero Blaster |
Lair 19 |
Increases fire rate. Watch your ink consumption! |
|
|
|
Hero Brella |
Lair 20 |
Unique weapon featuring a protective umbrella shield. |
Increases Hero Brella protection and shortens Hero Brella recovery time. |
|
|
Hero Brush |
Lair 22 |
Roller weapon based on the Octobrush. |
Increases fling speed and power. Also increases run speed while inking. |


Armor
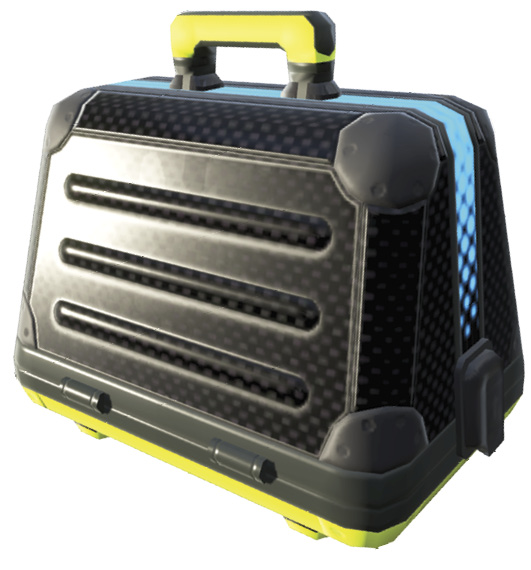
Next to Power Eggs, armor is the second most common pickup you’re likely to find in orange crates. Simply make contact with this briefcase-like object to equip armor. Not only does this change the appearance of your Inkling, but it also allows you to take more damage without getting splatted. If you take heavy damage while wearing armor, the armor is destroyed, breaking to pieces—but it’s better than getting splatted. You can equip up to three pieces of armor at a time—the second and third pieces alter the appearance of your Inkling.
Specials
Specials are uncommon, but when available, they give your Inkling a significant tactical advantage, ideal for making offensive pushes. While armor is always active when equipped, you must activate specials. Do this by clicking down on the Right Control Stick. You can only carry one special at a time. Picking up a new special replaces the one currently equipped, so make a habit of using a special before grabbing a new one.
Tenta Missiles
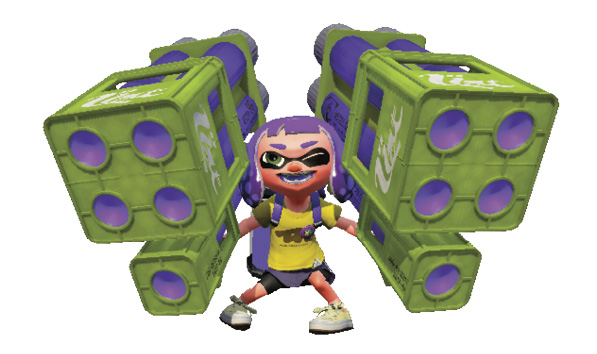
When this special is activated, a wide aiming reticle appears in the center of the screen, prompting you to select targets. Squeeze as many enemies into the reticle as possible before firing off a barrage of homing missiles. The missiles impact on the targets from a high angle, spreading ink and splatting any Octarians within the overlapping blast radiuses. This special is designed for taking out multiple targets, so look for clusters of Octarians to engage.
Splashdown
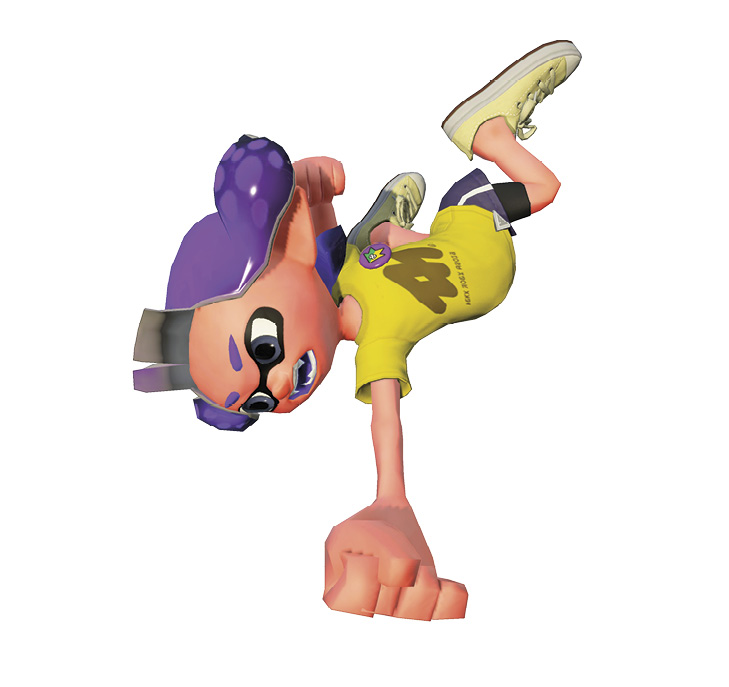
With Splashdown, your Inkling delivers a powerful downward ground pound, spreading ink over a wide radius. This is an excellent way to splat multiple enemies at once, but you need to get close, as the blast radiates outward from your point of impact. For best results, drop down from a high platform, toward a cluster of enemies, and activate Splashdown in midair, just before hitting the ground. If there are no high perches to take advantage of, spread ink near your intended targets and swim forward, triggering Splashdown as soon as you’re within range of the special’s devastating blast.
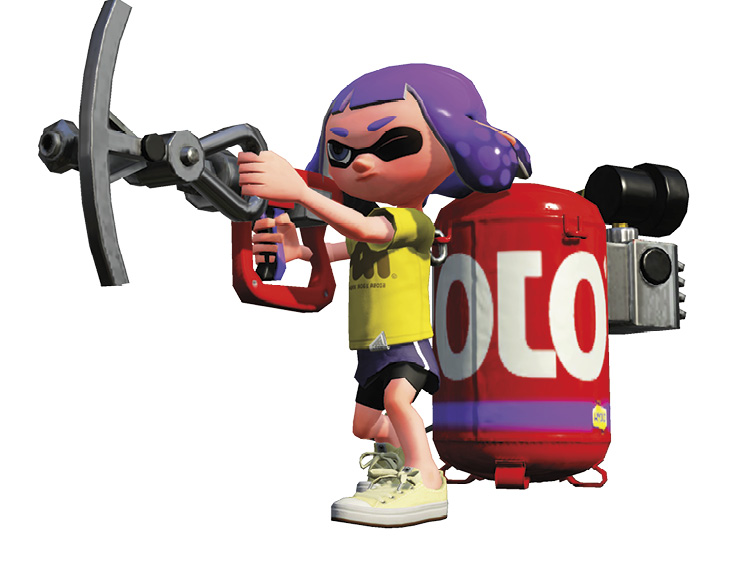
Sting Ray
The Sting Ray fires a powerful, narrow beam of ink capable of passing through solid objects. For best results, line up your target before activating this special, as it’s difficult to aim once the Sting Ray is activated. Hold down ZR to fire the weapon continuously. Release ZR to temporarily cease fire, allowing you to acquire a new target before firing again. When you release ZR, the Special Gauge continues to deplete, so don’t waste time. Use this weapon to engage distant threats, even if they’re partially obstructed by cover—the Sting Ray can pass through any object, so there’s nowhere to hide.

Bomb Launcher
There are two types of Bomb Launcher in the single-player campaign: the Splat Bomb Launcher and the Curling Bomb Launcher. Activating this special allows you to continually deploy bombs, similar to Bomb Rush from the original Splatoon. While the special is active, these sub weapons consume no ink, so don’t let this opportunity go to waste. If you want to spread ink over vast distances, use Curling Bombs to send trails of ink in all directions. If you’re on the attack, use Splat Bombs to overwhelm Octotroopers, Octolings, and other enemies in your path.
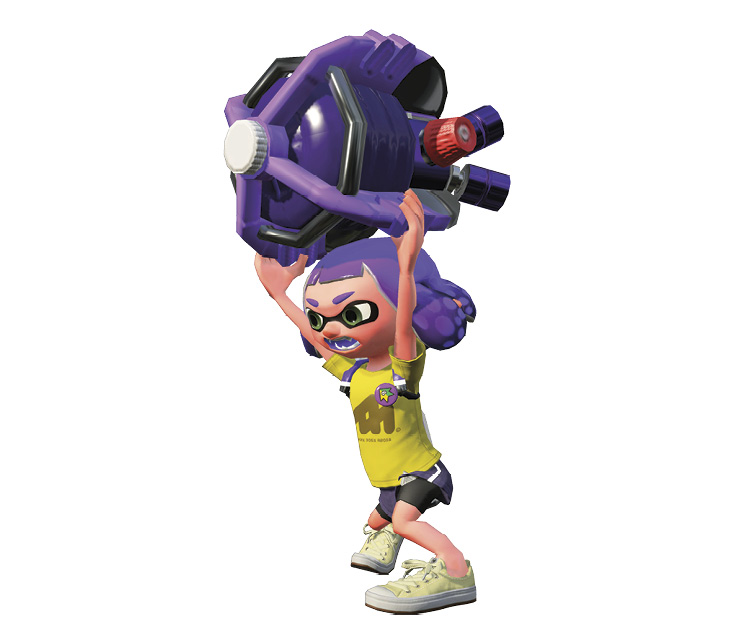
Ink Storm
There’s nothing like the smell of fresh ink falling from the sky! This special is tossed like a Splat Bomb when activated. But instead of exploding, the device summons a cloud of ink overhead. The cloud continues in a linear path, moving in the same direction in which the special was thrown. Ink Storm is best reserved for when you’re facing large groups of Octarians. The falling ink droplets inflict minimal damage, but the damage is cumulative. As ink accumulates, enemies eventually succumb to exposure, resulting in some spectacular splats.