Splatoon 2 Guide Single-Player Campaign Area 05: Cephalon HQ
24: Transfer Junction
Legend
|
|
|
|
|
|
|
|
|
|
|
|
|
|
|
|
|
|
 Key Location
 Armor
Armor
 Jump Path
 Key
Key
 Power Egg Can
 Sardinium
 Sunken Scroll
 Vault
Vault
 Zapfish
Lair Entrance
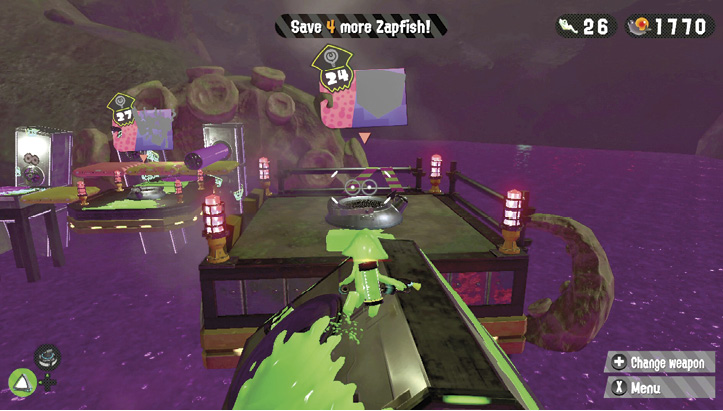
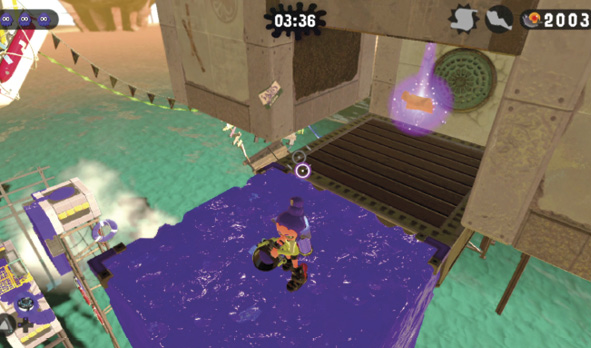
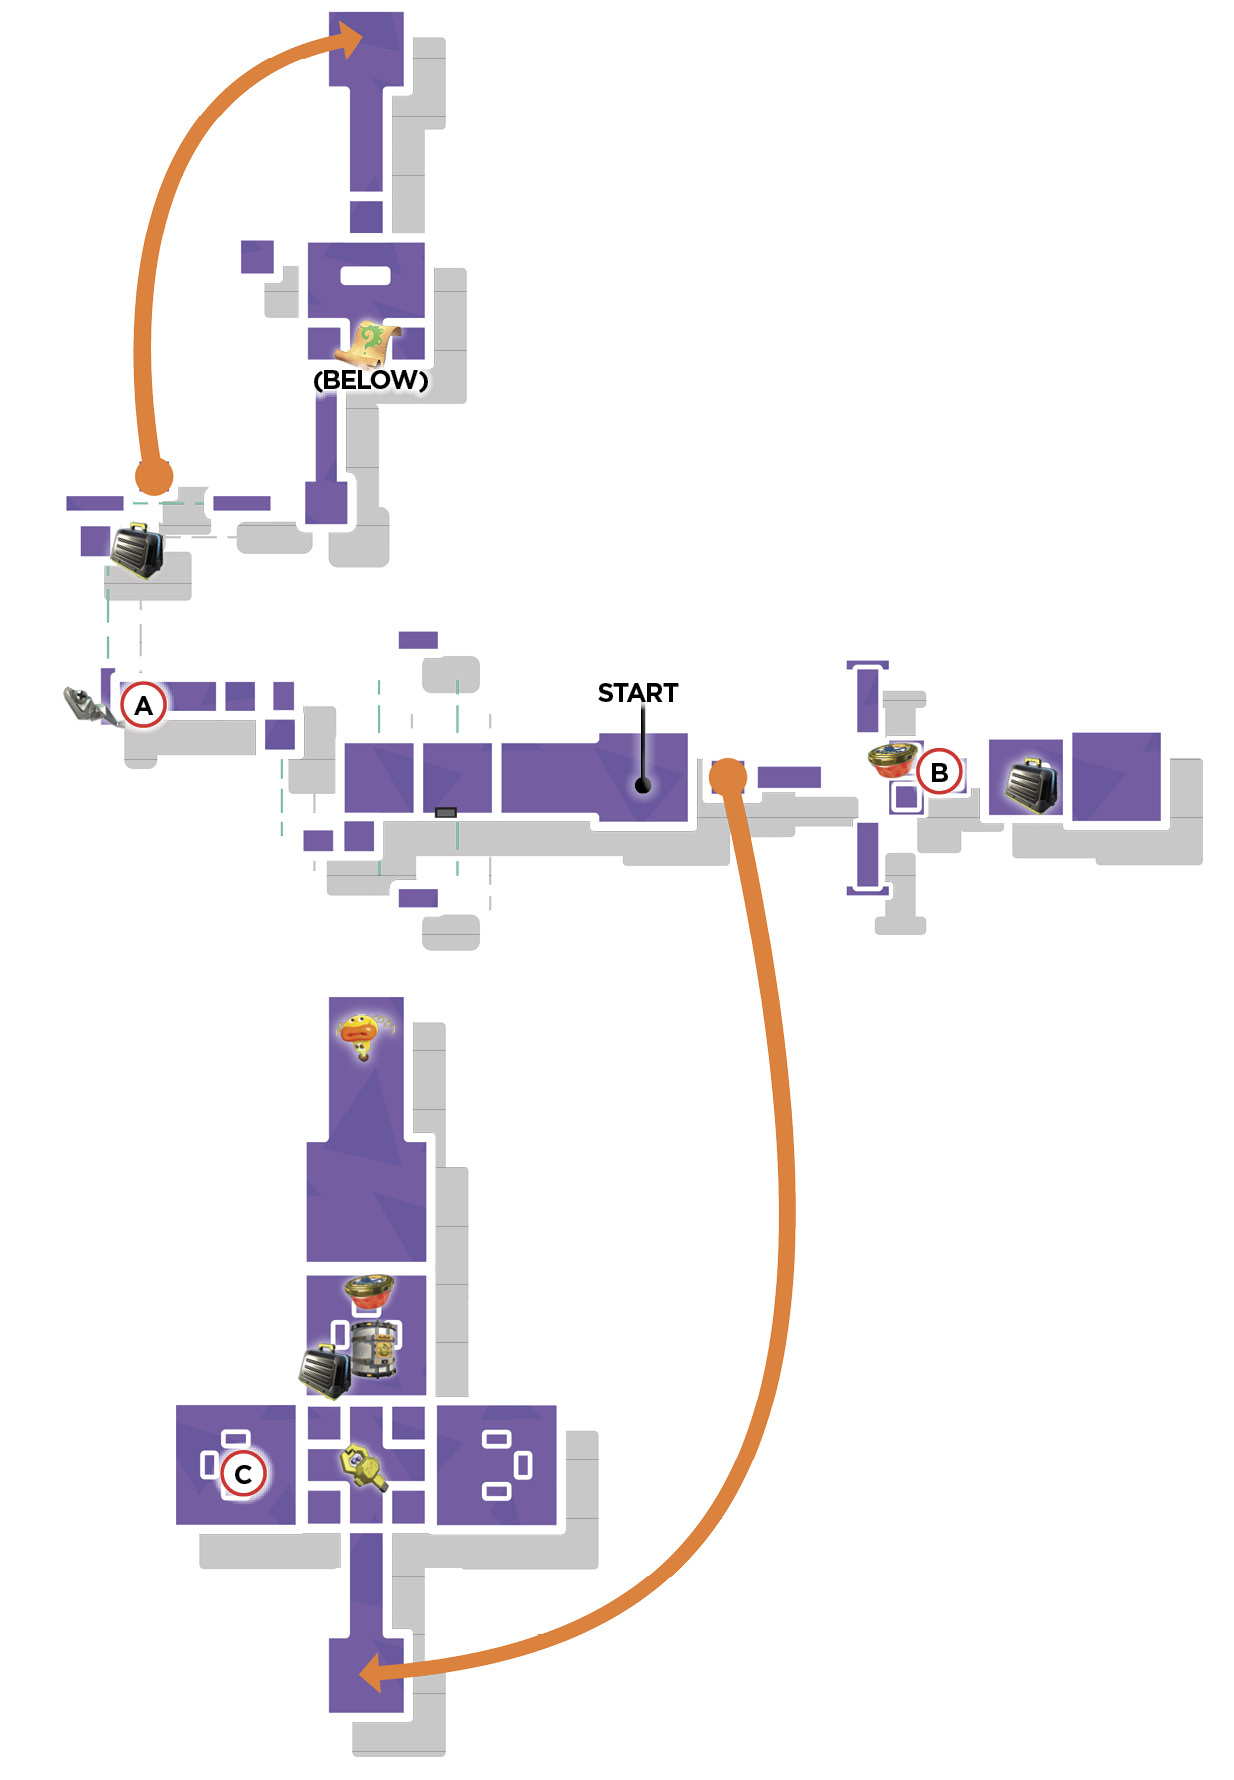
Ride a saucer toward the checkpoint adjacent to a Propeller equipped with a Dash Track. Shoot the Propeller to make it move, then run across the Dash Track to reach a distant, moving platform, also equipped with a Dash Track. Ride the moving platform until its Dash Track is aligned with a distant Dash Track, then rush forward to launch yourself onto a large stationary platform. Ink your way toward the lair’s entrance, crossing a rotating platform along the way.
Sheldon Request
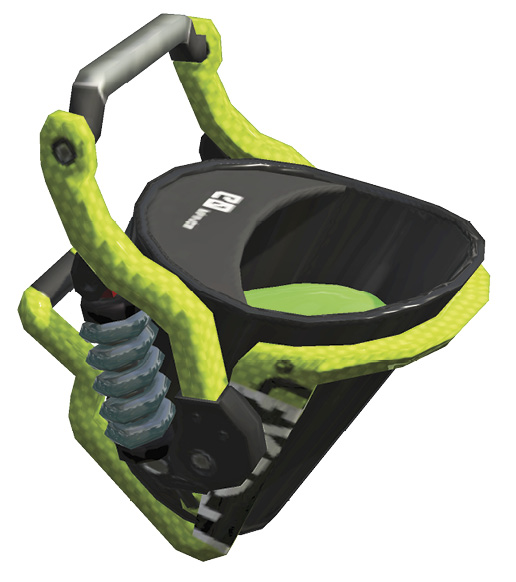
Once again, Sheldon needs you to collect more data on the Hero Slosher. This bucket-like weapon excels at spreading large volumes of ink, particularly when dousing areas from an elevated position. But the Hero Slosher lacks range, so look for opportunities to ambush unsuspecting Octarians—stealthily swim to close range, then SPLAT!
Key Locations
 Vertical Swim
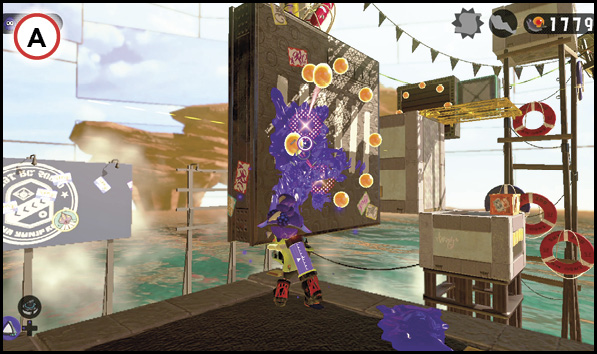
Up to this point, crossing the moving platforms has been relatively easy. But traversing this moving wall is trickier and tests your swimming skills. Start by inking the side of the wall as well as the area around your feet. When the wall approaches, squid-jump onto its inked side. Upon making contact, stay in squid form and swim up. Gravity instantly starts pulling you down, so continually swim upward to avoid falling off. Stay on this vertical surface until you can jump over to the next platform on the right. The Sardinium is positioned on the opposite side of this wall, so don’t leave just yet—ink and swim along the back side to retrieve the Sardinium.
 Quick-Step Splat
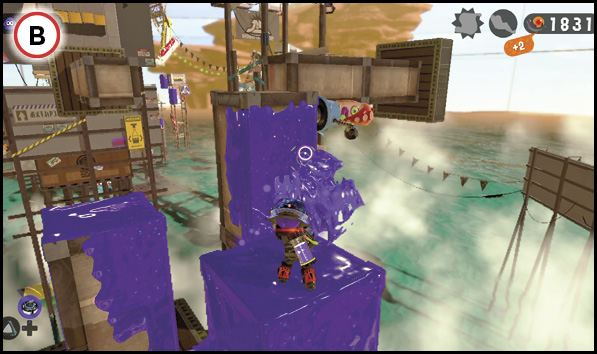
Crossing this area requires you to negotiate a series of narrow, quick-moving platforms occupied by a few Octotroopers. The first three pillar platforms move vertically, abruptly ascending and descending, like pistons. Ink the side of the first pillar and swim to the top before flinging ink at the surrounding Octotroopers—maintaining the high ground is critical. Hop across the nearby pillars and target the Octotroopers on the next set of horizontal platforms. Stay on top of one of the ascending/descending pillars while flinging ink and tossing bombs at the Octotroopers. Once the Octotroopers have been splatted, collect any Power Eggs (and the Power Egg Can below) before accessing the nearby launchpad.
 Key Release
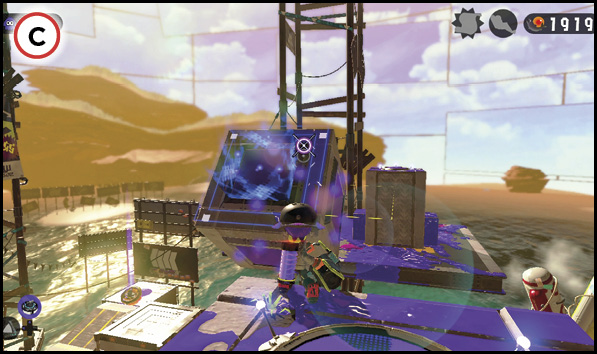
To reach the Zapfish, you must unlock a vault containing a Splat Switch. The key to the vault is held in the rotating cube above—you must ink all six sides of this rotating cube. Clear the enemies from the raised, flanking platforms to extend pillars overlooking the cube. Ink the sides of the pillars and swim to the top. From these two elevated positions you can fling ink toward the rotating cube. Hit all six Splat Switches attached to the rotating cube to release the key. Grab the key and use it to unlock the vault. Ink the Splat Switch within the vault to extend a new platform leading to the Zapfish.
Collectibles
Sardinium
The lair’s Sardinium is hidden along the back side of this moving platform. After inking and traversing the front side of the platform, hop to the adjoining platform and turn around to spot the Sardinium. As you did with the front side of the platform, thoroughly ink the back side and squid-jump onto the side to retrieve the Sardinium. Stay in squid form until you can jump back onto the stationary platform.
Sunken Scroll
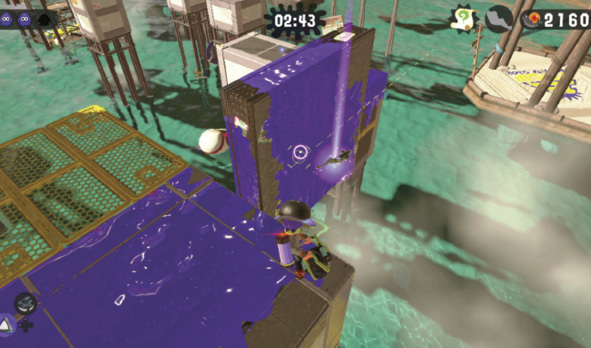
Eliminate the Octotroopers on this platform, then peer over the edge to spot a sponge below—ink the sponge to expand it. Drop down onto the sponge and turn around to locate the Sunken Scroll hidden within this alcove beneath the platform.