Splatoon 2 Guide Single-Player Campaign Area 01: Tentakeel Outpost
03: Sunset Octocopter
Legend
|
|
|
|
|
|
|
|
|
|
|
|
|
|
|
|
|
|
 Key Location
 Armor
Armor
 Jump Path
 Power Egg Can
 Ride Rail
 Sardinium
 Sunken Scroll
 Sting Ray
 Zapfish
Lair Entrance
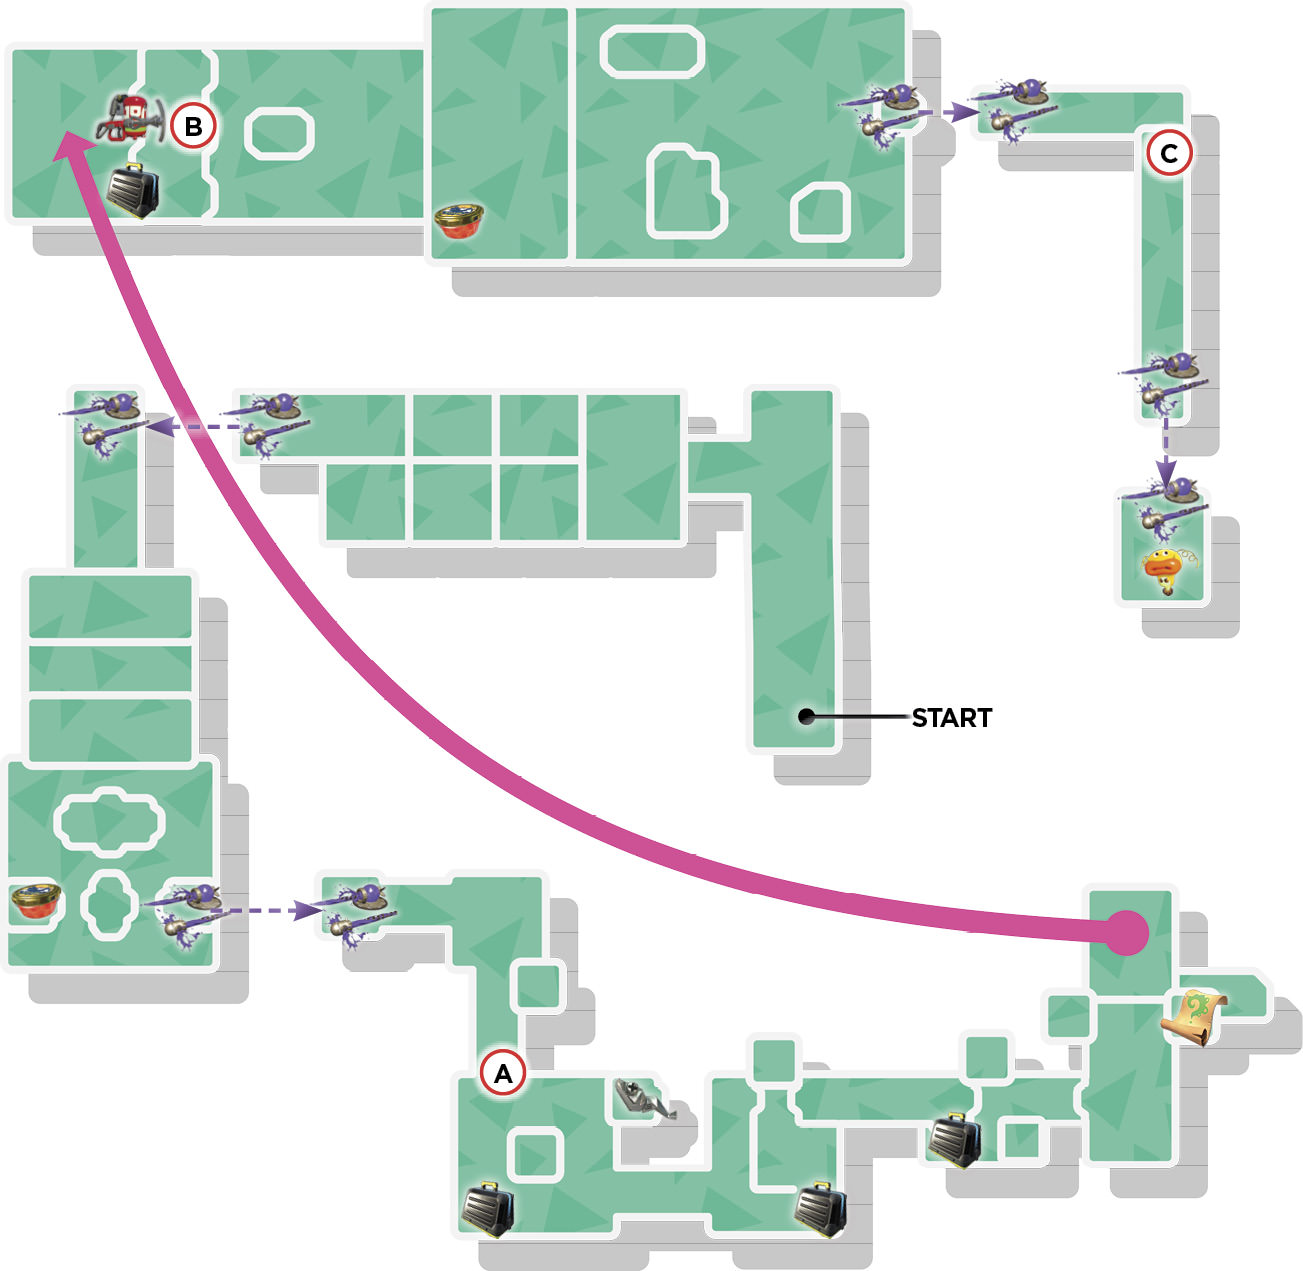
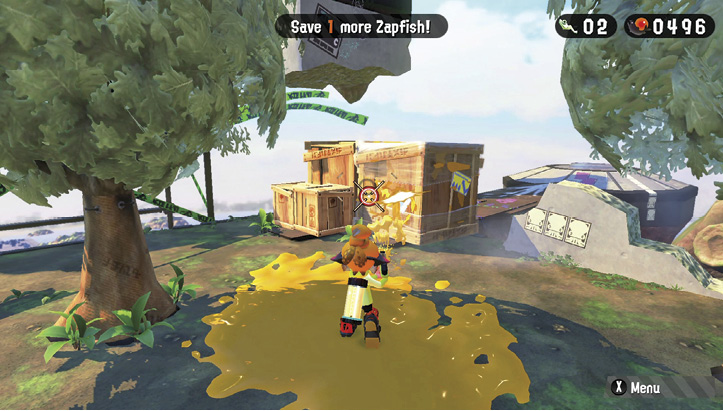
A cluster of wooden crates blocks the path to the third and final lair. Use your Hero Shot and Splat Bombs to clear a path, then ink the invisible entrance to gain access to the lair.
Sheldon Request
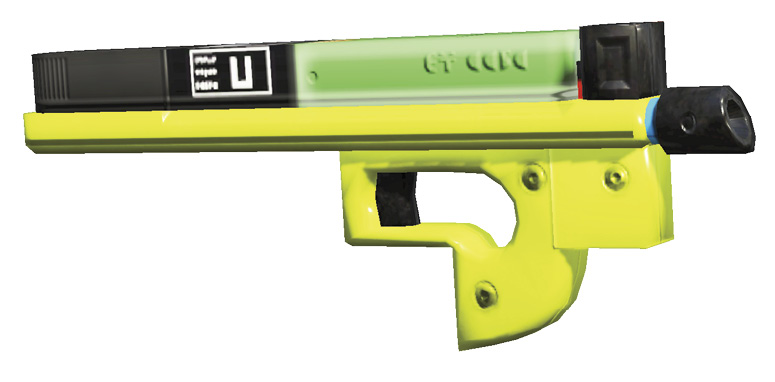
Sheldon has yet to make any special requests, so go ahead and enter the lair with your Hero Shot—it’s more than capable of handling the challenges awaiting you. Later, you can return to this lair and attempt to clear it with other weapons you’ve unlocked.
Key Locations
 Ink Piston Hazard
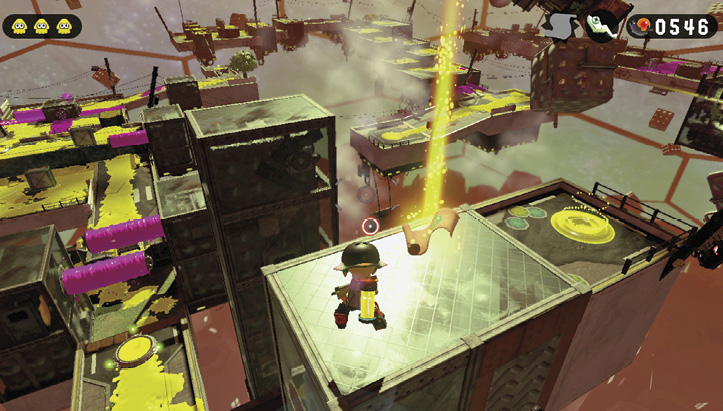
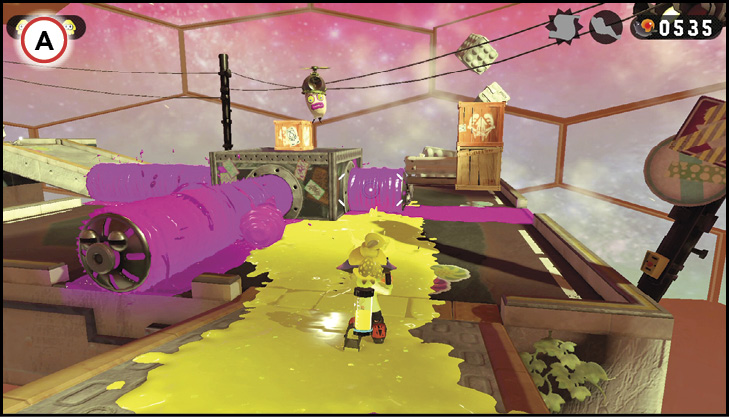
As you traverse this platform, Marie warns you to avoid contact with these Ink Pistons. These are essentially rollers that extend and retract, leaving behind thin lines of ink. Wait for the Ink Pistons to retract, then ink a path ahead, careful to swim past each piston before it extends. But don’t get too distracted by the Ink Pistons—there are also troublesome Octocopters patrolling above this area.
 Sting Ray Sniping
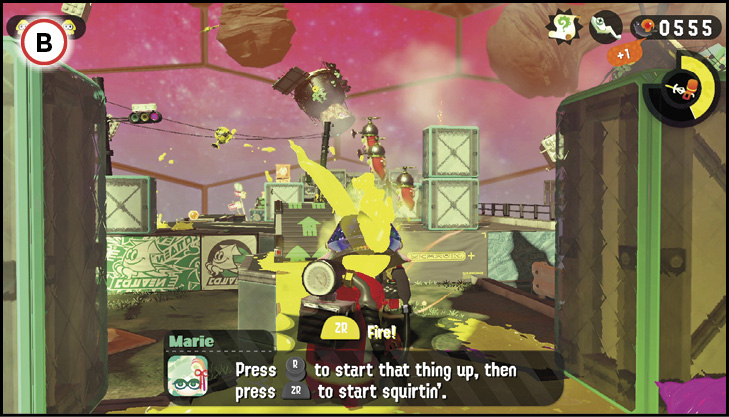
A formation of four Octocopters attempt to block your advance on this platform. Instead of rushing and targeting them one by one, use the nearby Sting Ray special to take them out from long range. The Sting Ray fires a powerful stream of ink with incredible range. This allows you to wipe out all four Octocopters without exposing yourself to incoming fire. Wait until the Octocopters are straight ahead before activating the special. While powerful, the Sting Ray is difficult to aim once it’s been activated, making lateral adjustments tricky. Keep firing until the Octocopters are eliminated—or until the Sting Ray runs out of ink.
 Dash Track Escape
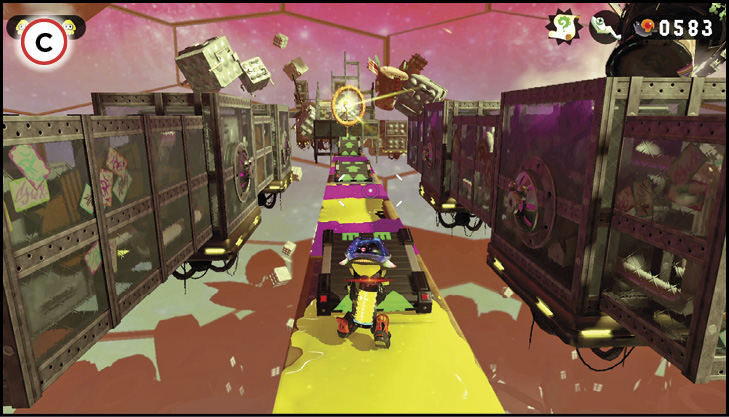
An array of Ink Pistons flanks this final path leading to the Zapfish—you must use the three Dash Tracks to run this gauntlet. Take a moment to watch the pattern as the Ink Pistons extend and retract—there’s a brief moment when none of the Ink Pistons are extended. Ink the ground in front of the nearby Dash Track and wait for the nearby Ink Pistons to retract. Immediately swim forward onto the first Dash Track. If you time it right, you’ll automatically skip across all three Dash Tracks, avoiding contact with the Ink Pistons.
Collectibles
Sardinium
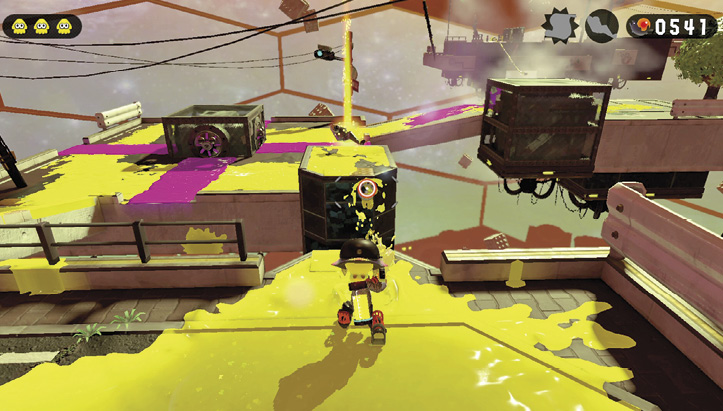
After clearing the first area of Ink Pistons, shoot a crate on this isolated platform to reveal this lair’s Sardinium. Squid-jump toward the platform from this direction to retrieve it.
Sunken Scroll
Before using the launchpad on this platform, turn to the right and climb to the top of this tall pillar, using the Dash Track on the far side. Ink the wall below the Dash Track, then swim up to launch yourself to the top of the pillar, grabbing the lair’s Sunken Scroll.