Splatoon 2 Guide Multiplayer Maps Sturgeon Shipyard
Key Locations
 Drawbridges
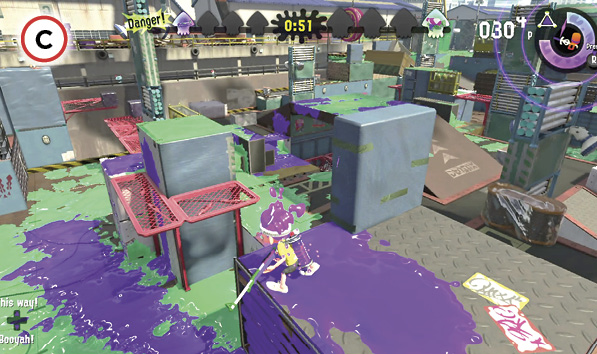
This map features four drawbridges that automatically lower and rise at 16-second intervals. Two of these drawbridges are located near each of the spawn points, and the other two flank the center bridge. The outer bridge sets are synchronized, rising and lowering at the same times—also true for the two central drawbridges. The decks of the drawbridges are inkable and count toward your team’s total ink coverage during Turf War matches; each drawbridge accounts for roughly 1% of the map. Swim to the tops of the bridges when they’re raised to get a sweeping view of the surrounding areas. Take this moment to spread ink or splat opponents scurrying about below. When raised, the central drawbridges offer excellent defensive positions during Splat Zones.
 Hot Zones
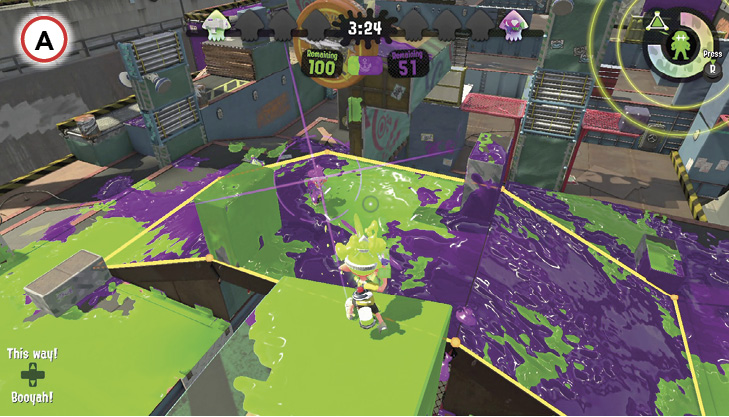
Compared to some maps, the center isn’t as hotly contested, particularly during Turf War matches. Since there are no safe zones, most of the map can be inked. As a result, Inklings tend to spread out in an effort to cover as much territory as possible. However, the low-lying areas surrounding the central bridge usually see the highest traffic. Players often circle the bridge, giving the center a racetrack feel. Use the sponge in your team’s low-lying area to quickly transition to the adjacent elevated platforms and grates—you can’t expand the sponge on the other side of the map, but you can shrink it. The ramps leading out of these low areas can’t be inked, so make sure you have ample time to run across—scan for nearby opponents before making a move. A tunnel runs beneath the central bridge, but it can’t be inked, so avoid the grated path here.
 Perimeter Perches
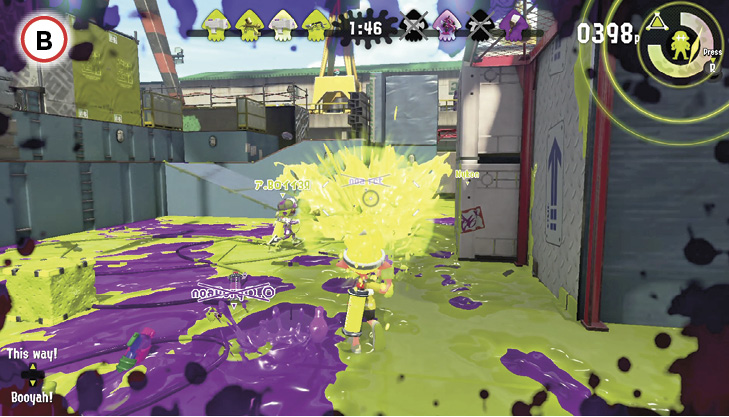
Ascend the tower structure just beyond the outer drawbridge to get a great view of the map—this is a popular sniper perch. From here you can cover the adjoining low-lying area as well as contest traffic near the central bridge. Whether or not you’re gunning for opponents, this is a good place to stop and spread ink. Use a long-range weapon, like the Splat Charger, to reach out from this perimeter position. The same tower can be accessed on the opposite side of the map when making a push toward the opposing team’s base.