Splatoon 2 Guide Single-Player Campaign Area 04: Slimeskin Garrison
18: Towering Heights
Legend
|
|
|
|
|
|
|
|
|
|
|
|
|
|
|
|
 Key Location
 Armor
Armor
 Jump Path
 Power Egg Can
 Sardinium
 Sunken Scroll
 Ticket
 Zapfish
Lair Entrance
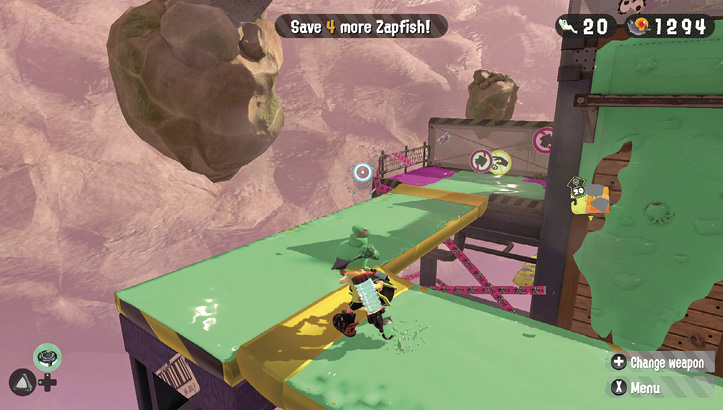
Ink and traverse a pair of Inkfurlers to reach the tower housing this lair. Once across the Inkfurlers, ink the side of the tower and swim to the top to access the lair.
Sheldon Request
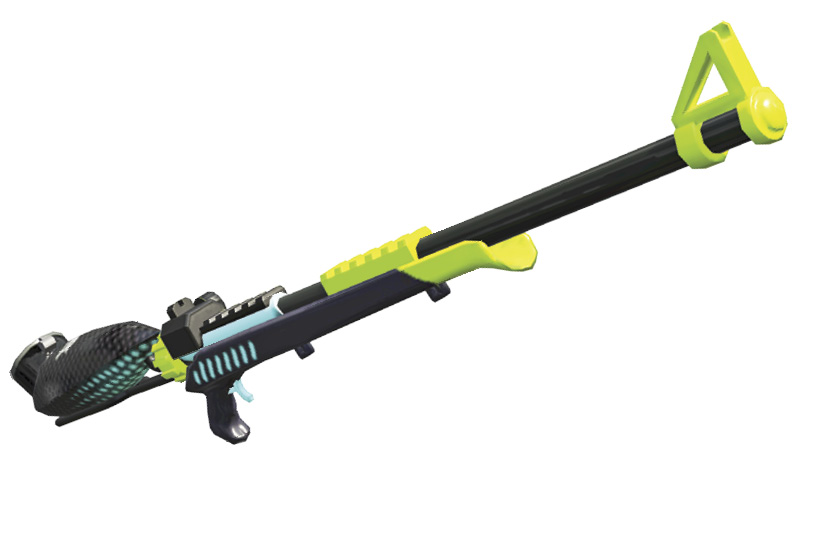
Sheldon still needs to collect a bit more field data on the Hero Charger. Hence, this is the weapon he’s chosen for you during this stage. The Hero Charger is well-suited for this level, allowing you to make some critical long-range shots. It’s also great for inking the stage’s narrow paths.
Key Locations
 Tower Ascent
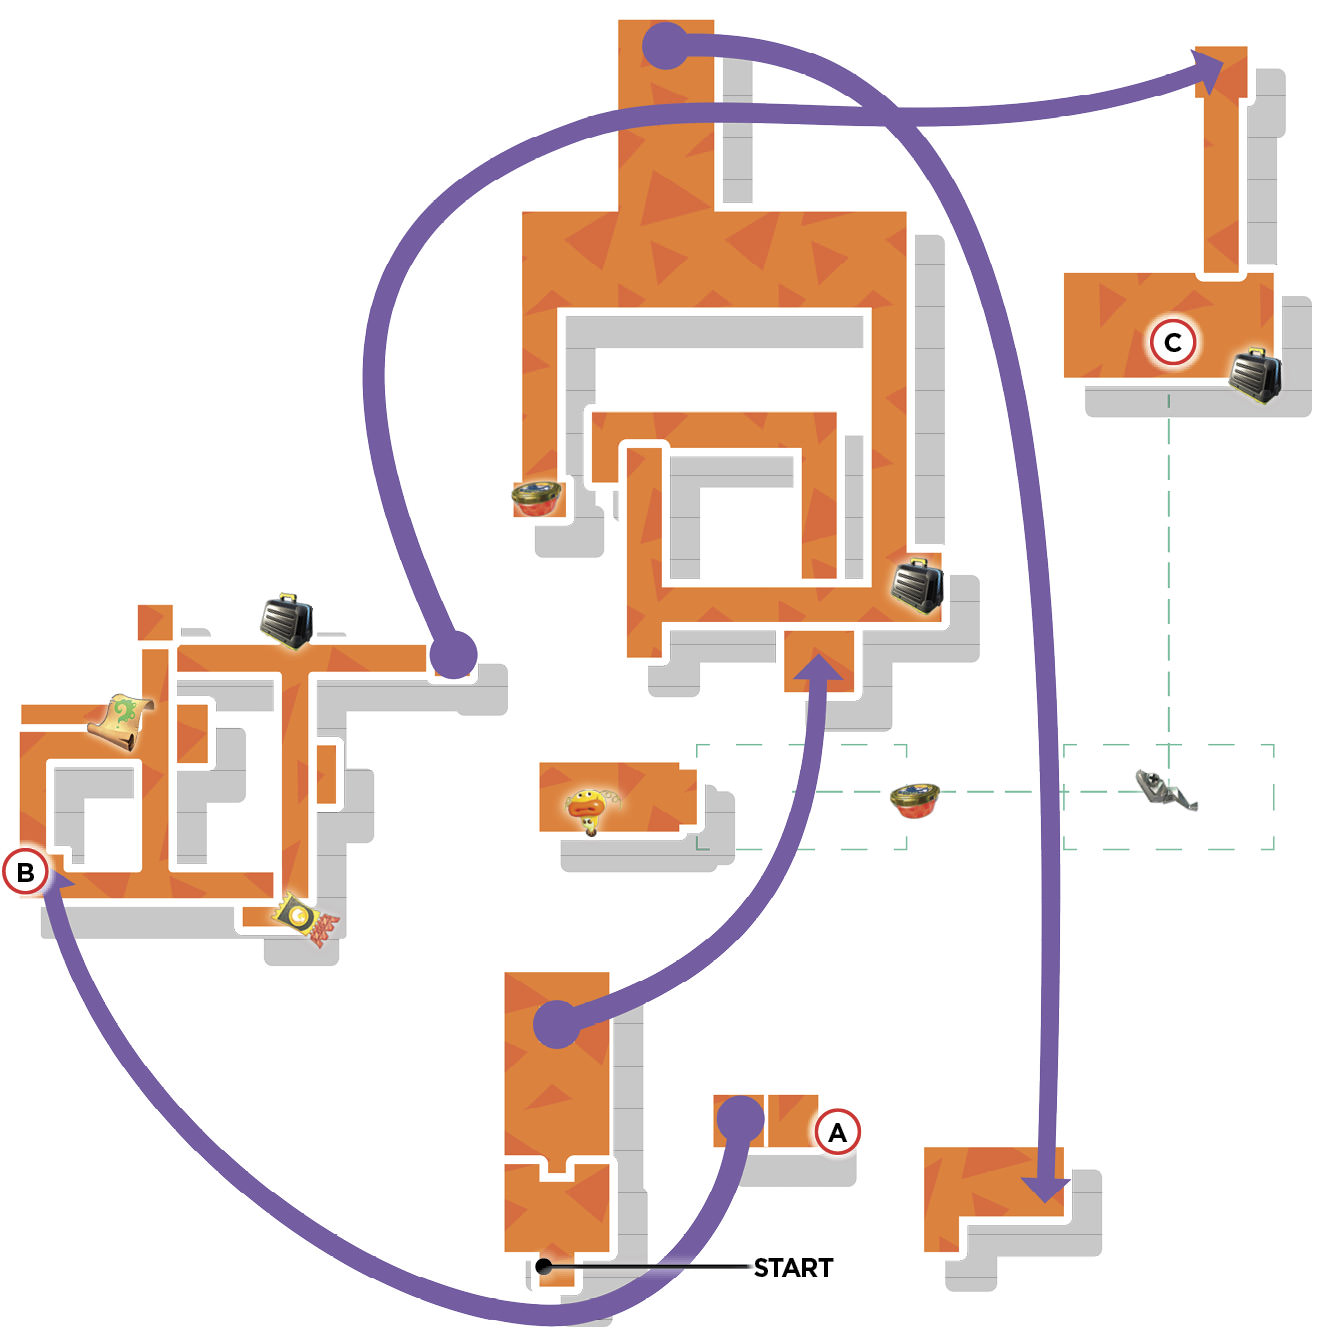
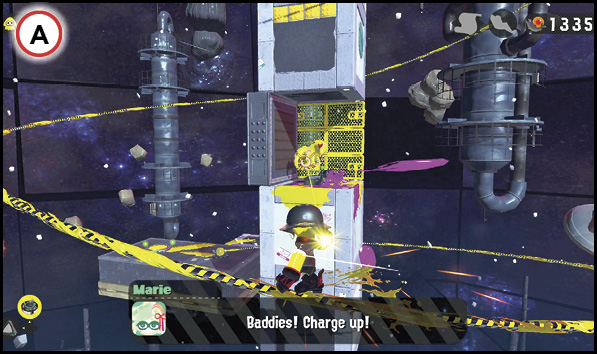
While riding this spiraling Ride Rail upward, take aim at the tower in the center to engage a series of three Twintacle Octotroopers. Each enemy is positioned within a protective alcove in the tower. Charge your Hero Charger and fire at each enemy as they come into view—splatting a Twintacle Octotrooper nets you three Power Eggs. Your weapon can fire through the yellow vertical grates, so don’t hesitate to take the shot. At the top of the Ride Rail, jump through the squid ring to access the next launchpad atop the tower. If you miss this jump, you’ll continue along the Ride Rail, heading downward to the starting position, which means a lengthy ride back to the top.
 Octosniper Countersnipe
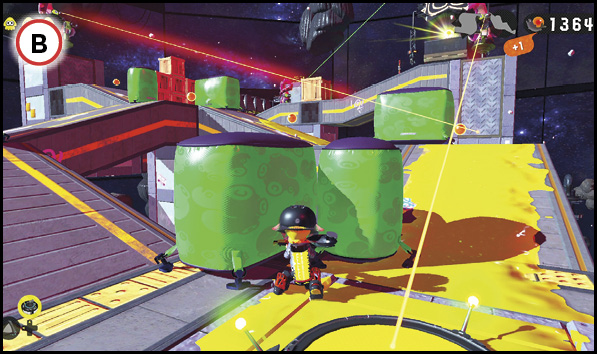
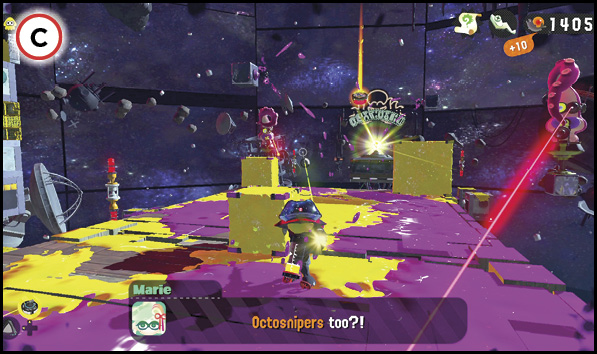
This platform is occupied by three Octosnipers, each defending from a raised platform. You need to advance on each Octosniper before they’re within range of your Hero Charger. Spread ink and swim from one piece of cover to the next. Don’t attempt to attack while the Octosniper’s targeting lasers are red. Instead, wait for them to turn green, which indicates a passive, searching mode. This allows you to step out of cover and fire a charged shot before the Octosniper can get off a shot of his own. For best results, wait until an Octosniper is looking away from your location before you attempt to take a shot.
 Running the Gauntlet
Reaching the Zapfish requires riding this moving platform equipped with three sponges. Ink the sponges before dropping onto the platform. As soon as you land, the platform begins moving and you come under attack by two Octocopters. They’re soon followed by Octotroopers and Twintacle Octotroopers, dropping down from balloons. Eliminate each pair of enemies as they appear to avoid getting overwhelmed. Next, watch out for the red targeting lasers of two Octosnipers. Hide behind the center sponge to avoid getting hit, while looking for opportunities to countersnipe using your Hero Charger. As you pass by the Octosnipers, there are also two Sprinklers spreading ink from above. Take out the Sprinklers quickly to prevent them from shrinking your sponges. When the platform finally stops, you can walk off and retrieve the Zapfish.
Collectibles
Sardinium
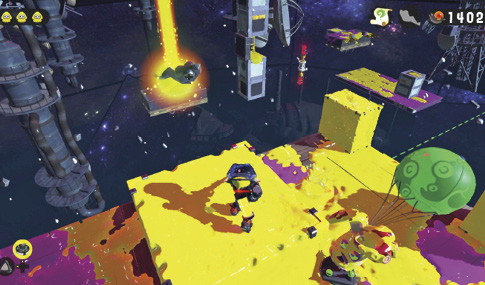
You only have a brief chance to retrieve this lair’s Sardinium while riding the moving platform toward the Zapfish. Position yourself atop the center sponge as the platform begins a 90-degree turn. It’s important to keep the sponge fully expanded and filled with ink. Otherwise you won’t be able to reach the Sardinium floating above the platform. Do your best to eliminate all nearby enemies to prevent them from inking (and shrinking) the sponge. Stay on top of the sponge to retrieve the Power Egg Can farther down the moving platform’s path.
Sunken Scroll
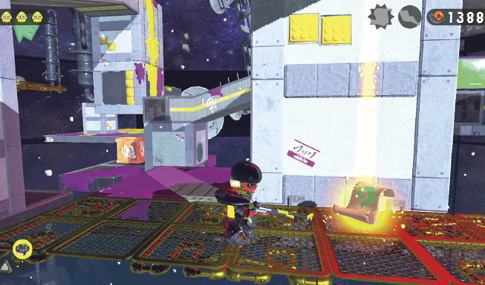
After clearing out the three Octosnipers, drop down to this grated platform. Here you find a small crate containing the lair’s Sunken Scroll. While you’re down here, take note of the large orange crate on a neighboring platform—it contains a ticket.