
Splatoon 2 Guide Multiplayer Maps Inkblot Art Academy
Game Modes
Turf War
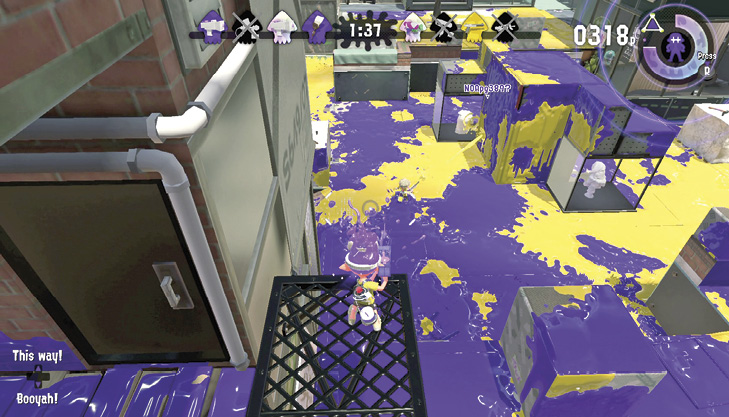
The central tower isn’t the only worthwhile elevated position. Swim up to this grate, near the statue, to rain ink down on the surrounding area. If you’re equipped with a long-range weapon, you can even splat opponents traversing the central plaza.
- The area around your team’s spawn point accounts for nearly 17% of the map’s inkable surface, so don’t neglect it. However, this area can be breached by opponents swimming up the wooden wall to the left of the statue—this wall is located beneath the black grated platform. While such infiltrations are rare, be prepared to counter attacks and reclaim territory.
- The low-lying park beyond the left-hand alley sees little use and can be inked to give your team an edge. This is also a good flanking route when attempting to access the central plaza.
- The central tower is critical for flinging ink all over the central plaza, particularly when using the Splattershot in conjunction with the Splashdown special.
- Infiltrate the opposing team’s safe zone at the end of the match to spread ink near their spawn point. Be sure to ink their side alley, where they’re least likely to spot you.
Splat Zones
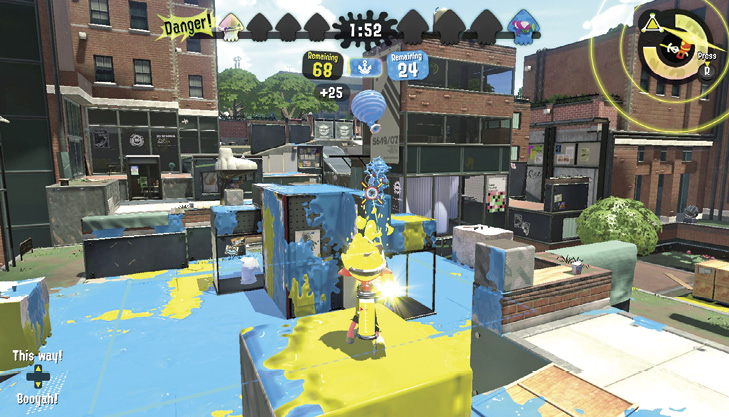
While inking the Splat Zone is the objective, don’t be surprised if sniper duels break out between Inklings on the central tower and the peripheral perches. Sharpshooters are essential for chasing opponents off the tower. Only then is it safe to secure the Splat Zone.
- The top of the tower in the center does not count toward the Splat Zone, which means you cannot break enemy control by splatting the top of the tower. The zone appears large, but only the ground-level surfaces count toward securing the Splat Zone.
- The top of the tower is a great place from which to defend the Splat Zone, but opposing snipers can shoot across the zone from the perches overlooking this area. Inklings atop the central tower are very exposed.
- Use the marble blocks on either side of the zone for cover while defending. Consider making dashes across the zone, up and over the tower, while transitioning from one marble block to the next. Stay on the move, but don’t go too far.
Rainmaker
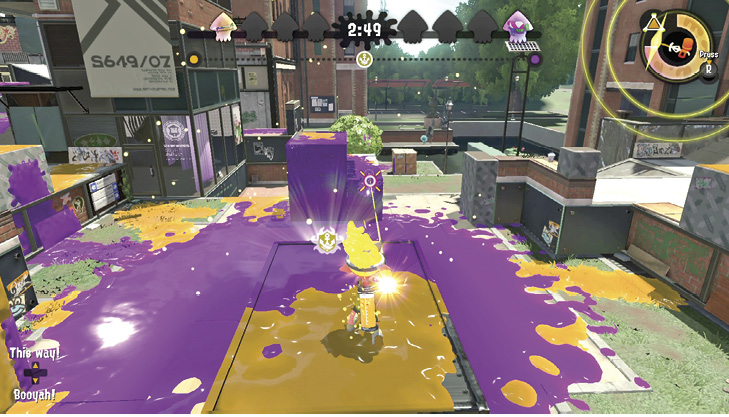
The Rainmaker sits in the center of the wide-open central plaza. Don’t make a move for the Rainmaker until you can secure the plaza’s perimeter. Otherwise you’ll likely be splatted by opponents camped nearby. This can lead to a tense standoff at the beginning of a round. Who will be the first to make a move?
- During Rainmaker, the central tower is replaced with two towers, one on each side of the plaza. Acquire an elevated position and focus your firepower on popping the Rainmaker’s bubble before making a push for the weapon.
- Swim up the large wall to the left of the Rainmaker to access the opposing team’s capture point. Ramps leading up to the capture point make entering the safe zone easier. But some ramps can’t be inked, making for a slow and somewhat vulnerable advance.
- The capture point is best defended from atop the statue or black grate nearby. Hide in your ink, then pop out and surprise your opponents with bombs or a well-timed Splashdown.
Tower Control
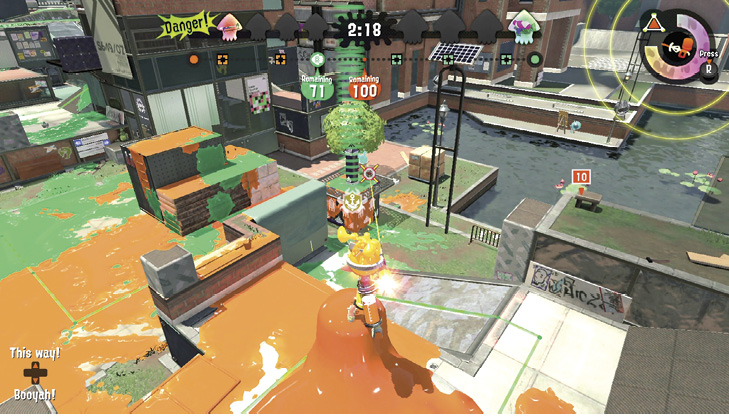
Surrounded by elevated platforms and perches, the tower riders are always vulnerable, particularly as they hit the two checkpoints. To avoid getting picked off by sharpshooters, send teammates forward to engage and harass defenders.
- In Tower Control, the layout of the map is similar to Rainmaker, featuring an open plaza, with the tower starting in the center. Expect an early standoff as both teams vie for control of the plaza before making a move for the tower.
- Defend from the statue or the black grate, near the tower capture point. These elevated positions offer a great view of the approaching tower, particularly if you’re equipped with a long-range weapon.
- The Splat Charger is a great choice for defense. If the opposing team takes the tower, immediately fall back to the statue or black grate and open fire on the tower riders. The Sting Ray special comes in handy for clearing the tower, capable of shooting through the tower’s center post.