Splatoon 2 Guide Multiplayer Maps The Reef
Key Locations
 Bridge
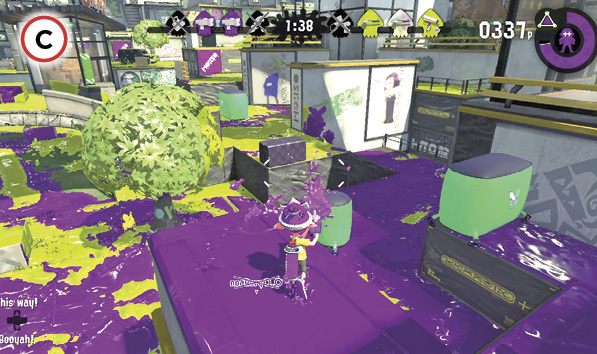
The bridge is the focal point of heavy fighting during all game modes. As the highest perch in the center, the bridge offers an excellent view of the surrounding low-lying areas. This makes it ideal for spreading ink around the periphery. While holding the bridge, make sure to ink every surface, including the railings on the side. If you’re not careful, opponents can ink and swim along the railings before launching a surprise attack. If the opposing team holds the bridge, avoid the tunnel beneath it. The walls here can’t be inked—opponents firing from above can effectively cut off your path of escape. The low areas on the sides of the bridge are best avoided as well. While the bridge is strong defensively, watch for flanking attacks. It’s relatively easy for opponents to slip in behind you, so keep scanning for movement while holding this position.
 Spawn Safe Zone
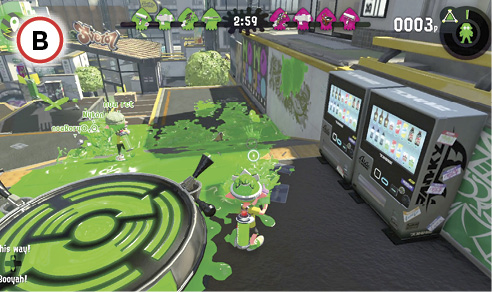
During Turf War matches, the large elevated area around each team’s spawn point is completely inaccessible by the opposing team. The perimeter walls of this area cannot be inked, preventing opponents from swimming up and infiltrating. Think of this area as your team’s safe zone, allowing you to exit your spawn point without fear of coming under immediate attack. This area is large, so don’t forget to ink it—it accounts for approximately 24% of the map! While the rest of your team pushes toward the bridge, consider holding back and securing this territory while charging your special. Once this area is inked, don’t worry about revisiting; it’s unlikely to be inked by your opponents. However, you may need to apply touch-ups along the perimeter, as opponents can still fire and toss bombs up and over the walls.
 Flanking Route
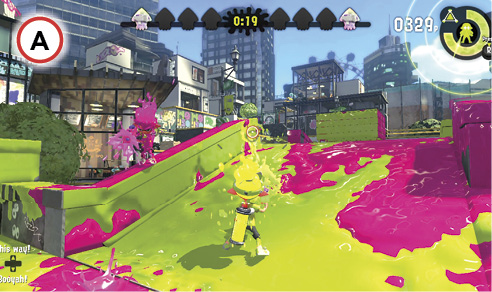
Frontal attacks on the bridge are extremely challenging, especially if the opposing team has it locked down. Instead of pushing directly toward the bridge, look for flanking opportunities. After spawning, stay along the right side of the map and carefully cross through the low center to reach this ramp. From here you can attack the bridge from behind, taking opponents by surprise. Be mindful of this approach while defending the bridge. Consider placing Ink Mines or Splash Walls along the adjoining ramp to deter such sneak attacks.