
Red Faction: Armageddon Guide Walkthrough Ruin Mode
Maps
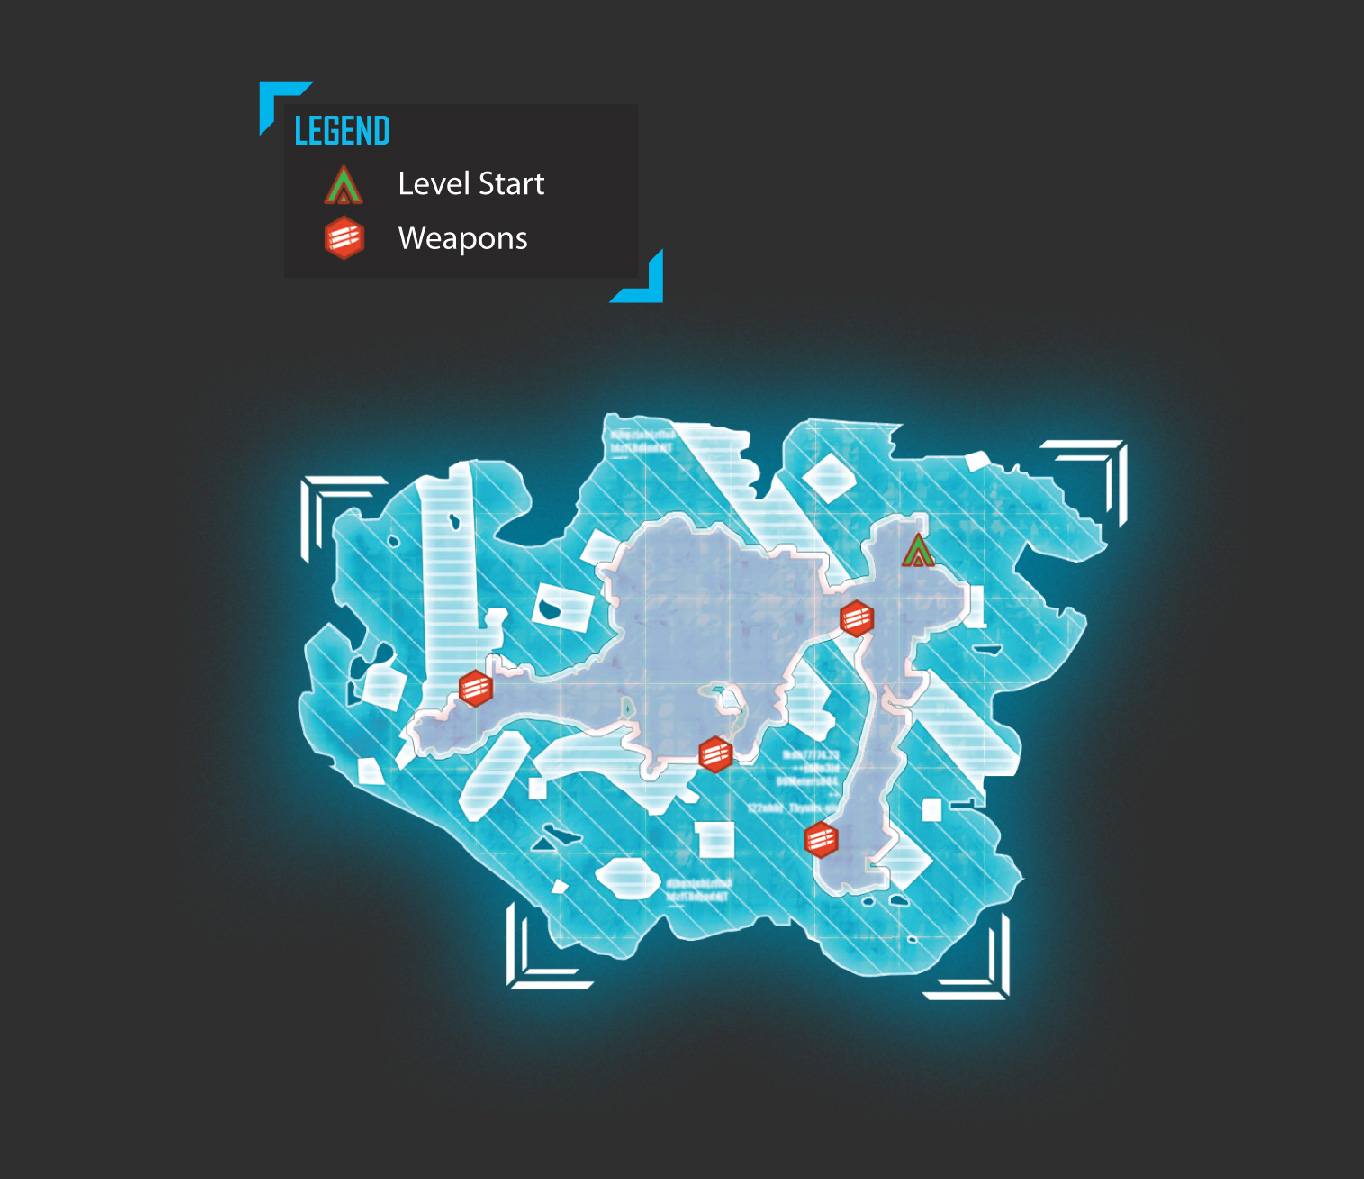
There are five maps in Ruin Mode, however, only Junction is available at the start. While playing in Challenge mode, you must beat Junction's par score to unlock the next map.
Continue beating the par score for each map to unlock more maps. In this section, we take a close look at each map as well as offer some tactics for beating each map's par score in Challenge mode.
Junction
Par Score: 12,000,000
Unlocked Reward: Desolation Map
Recommended Weapon: Plasma Cannon
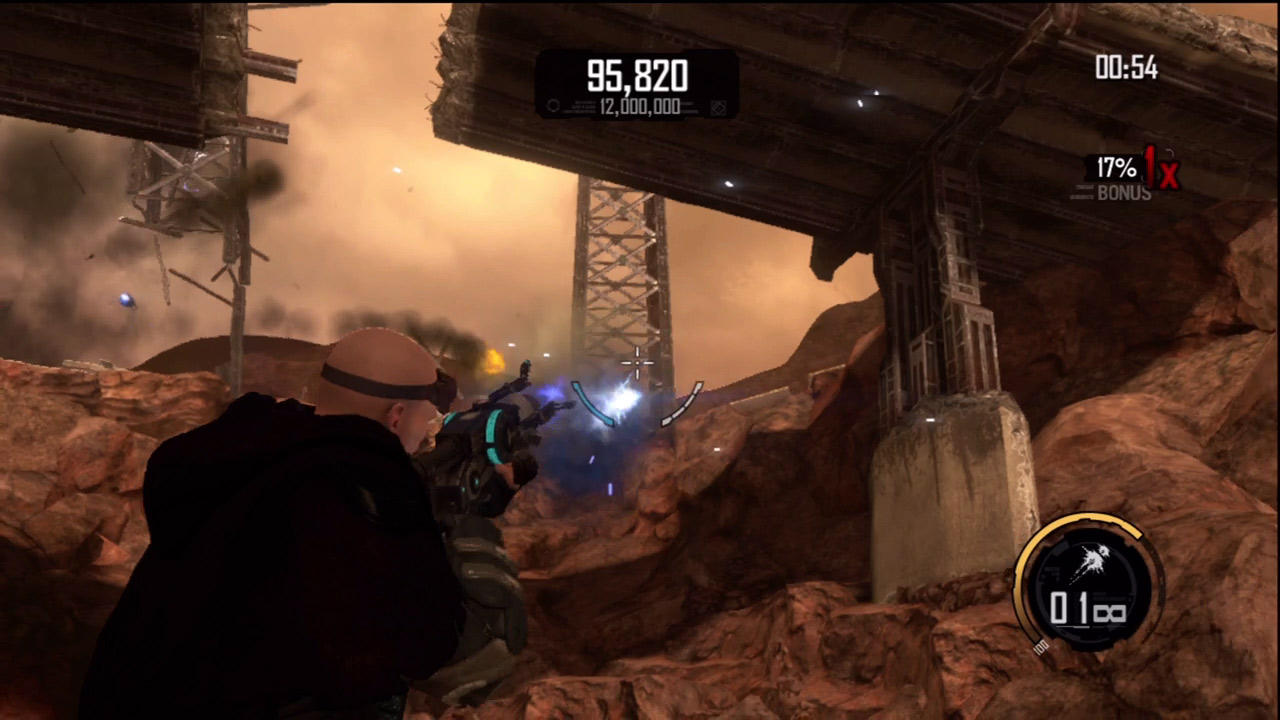
As soon as the round begins, turn around and attack the two distant solar towers as well as the nearby overpass. All it takes is one shot with the Plasma Cannon to topple each tower—and don't forget to hit the red tanks between the two towers as well. The damaged overpass is also a source of some good points.
Blow away the two vertical supports propping up each section of roadway to make the overpass sections collapse. Eliminating these targets should only take a few seconds, but it's a great way to boost the bonus multiplier to 2X.
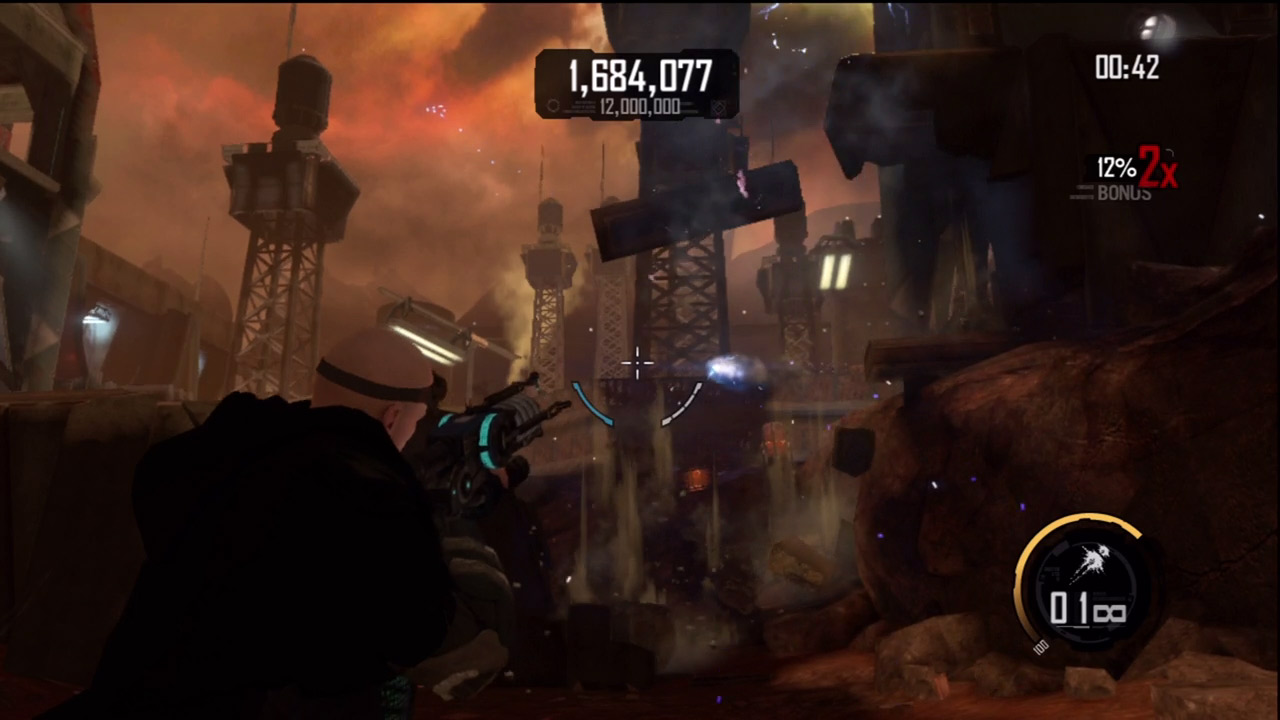
Next, turn around, facing the wall. Line up your next Plasma Cannon shot so it passes through the wall and continues into one of the nearby solar towers. Toppling the various solar towers here nets you big points and keeps the bonus multiplier at 2X. One Plasma Cannon shot fired at the base of each tower is sufficient.
So take aim, fire, and then immediately take aim at the next tower. Any hesitation causes the bonus multiplier to drop, seriously hampering your final score. Keep the towers falling, one after another. Most of the towers are also surrounded by explosive barrels and tanks. These smaller objects are worth points too, so be sure to destroy them all.
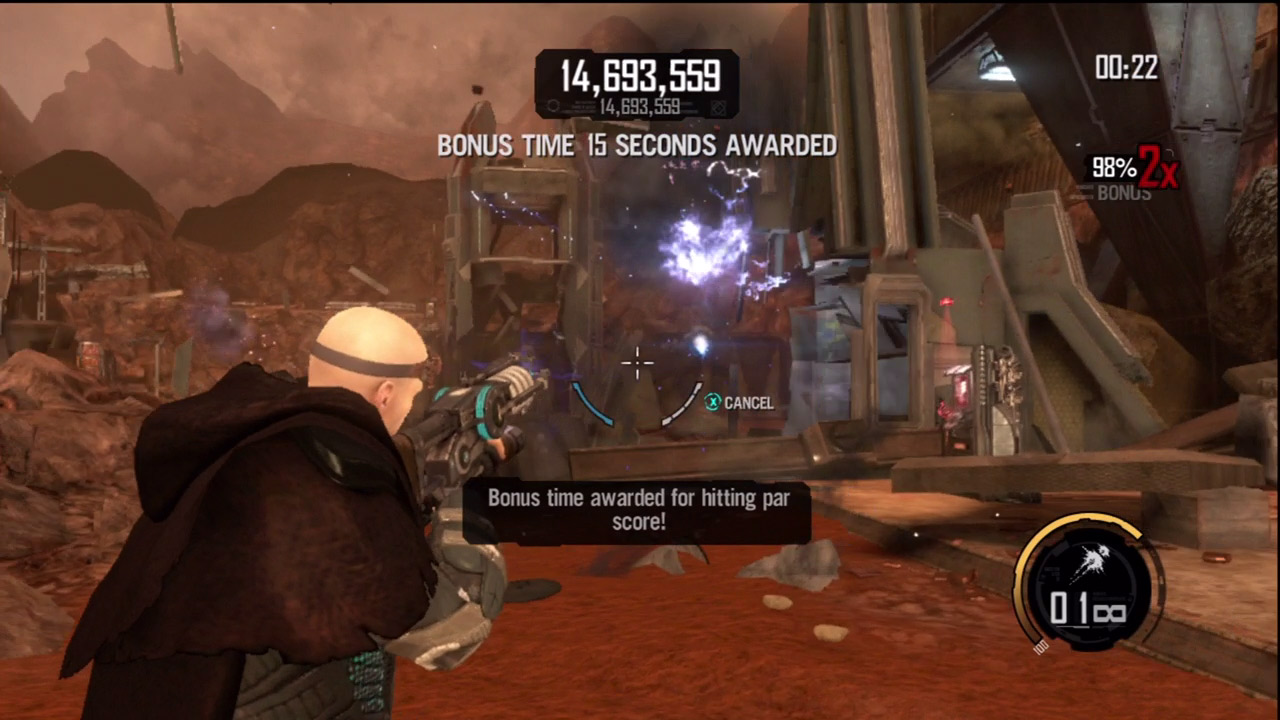
If you toppled the solar towers in quick succession, your score should already exceed the par score, giving you 15 more seconds to dish out some damage. Quickly survey the surroundings and target anything left standing. The wall and guard towers near the starting position offer up some easy points, but don't take long to pick out your targets.
It's important to keep the bonus multiplier at 2X, so keep the destruction rolling even as you scour for more targets. Top the par score of 12,000,000 points to unlock Desolation—a new map for you to demolish.
Desolation
Par Score: 8,000,000
Unlocked Reward: Eviction Map
Recommended Weapon: Plasma Cannon/Singularity Cannon
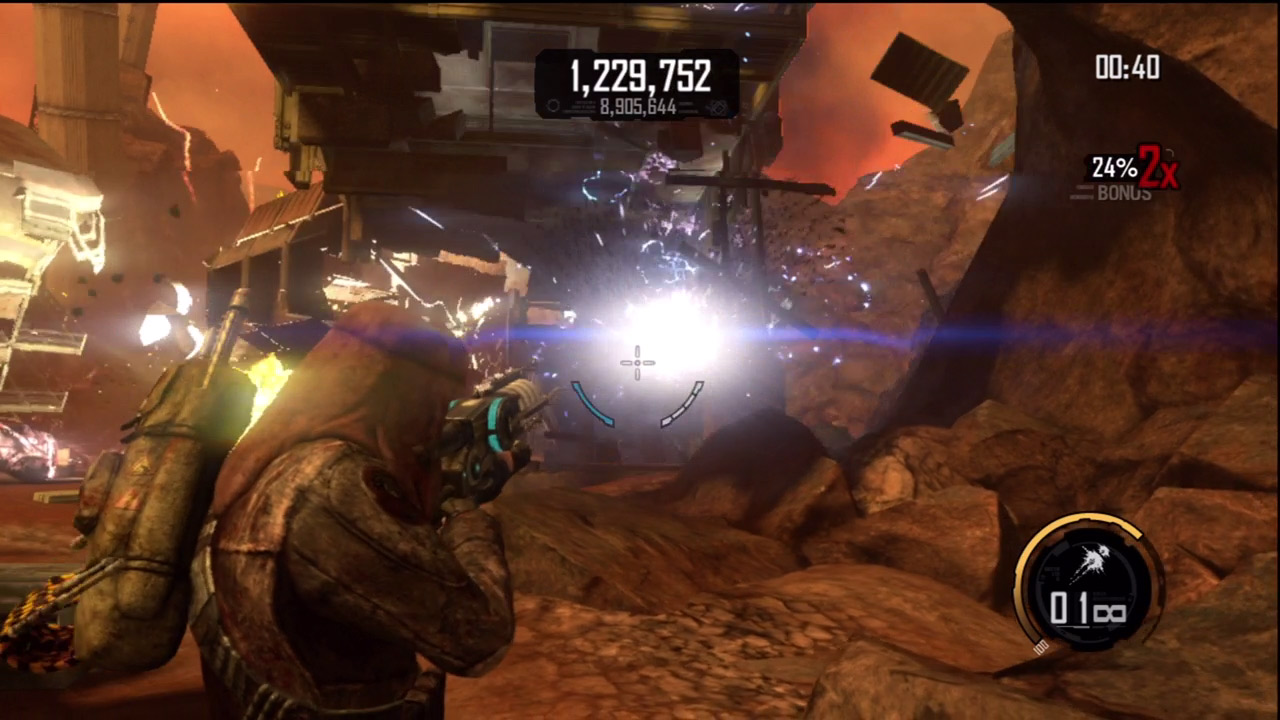
At the start of the round, turn around and take out the solar tower behind you. Next, face the weapons locker and begin driving plasma bolts through the large buildings flanking the path ahead. The Plasma Cannon is perfect for demolishing these large buildings. Simply wipe out the lower walls and let gravity do the rest. This is a great way to boost the bonus multiplier to 2X.
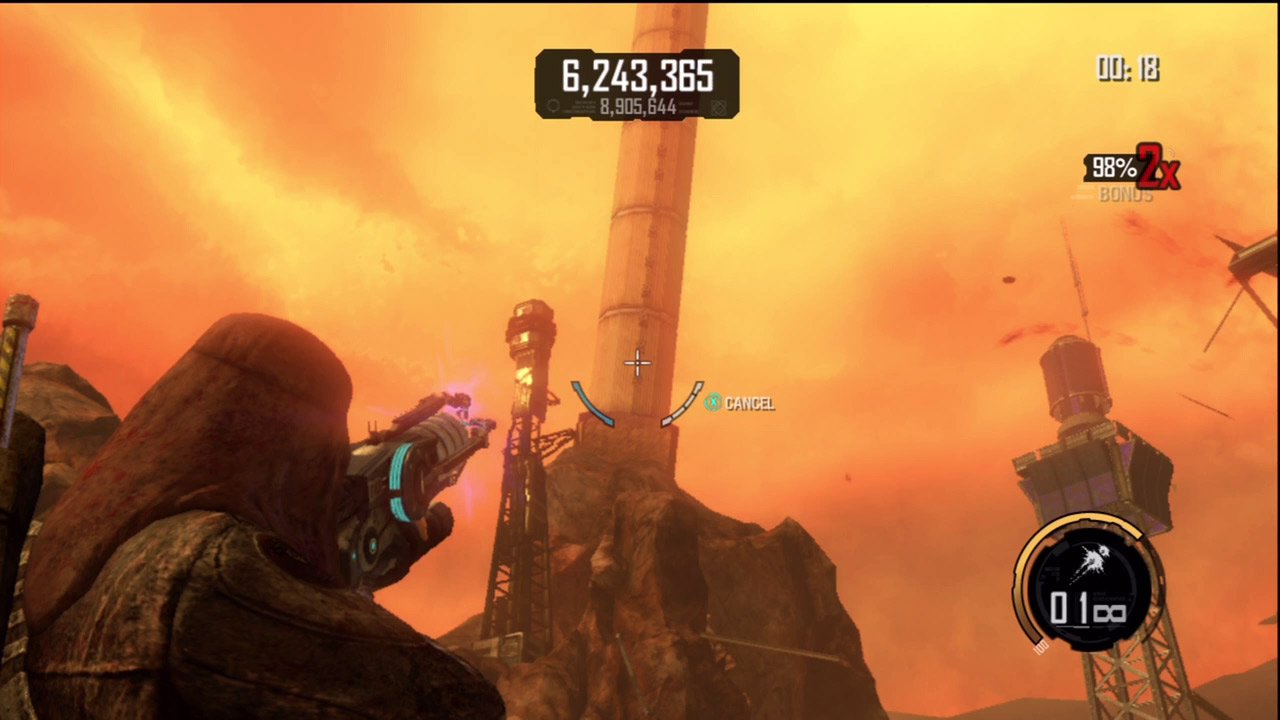
In addition to a few solar towers, this map also features several massive cylindrical tower-like structures dotting the horizon. To maximize destruction, aim for the base of these towers. The Plasma Cannon's bolts can completely annihilate the base, causing the rest of the tower to come tumbling down. As soon as you send one bolt zooming toward a tower's base, pull the trigger and target the next tower. Instead of admiring the destruction, keep shooting and destroying towers to maintain your 2X bonus multiplier.
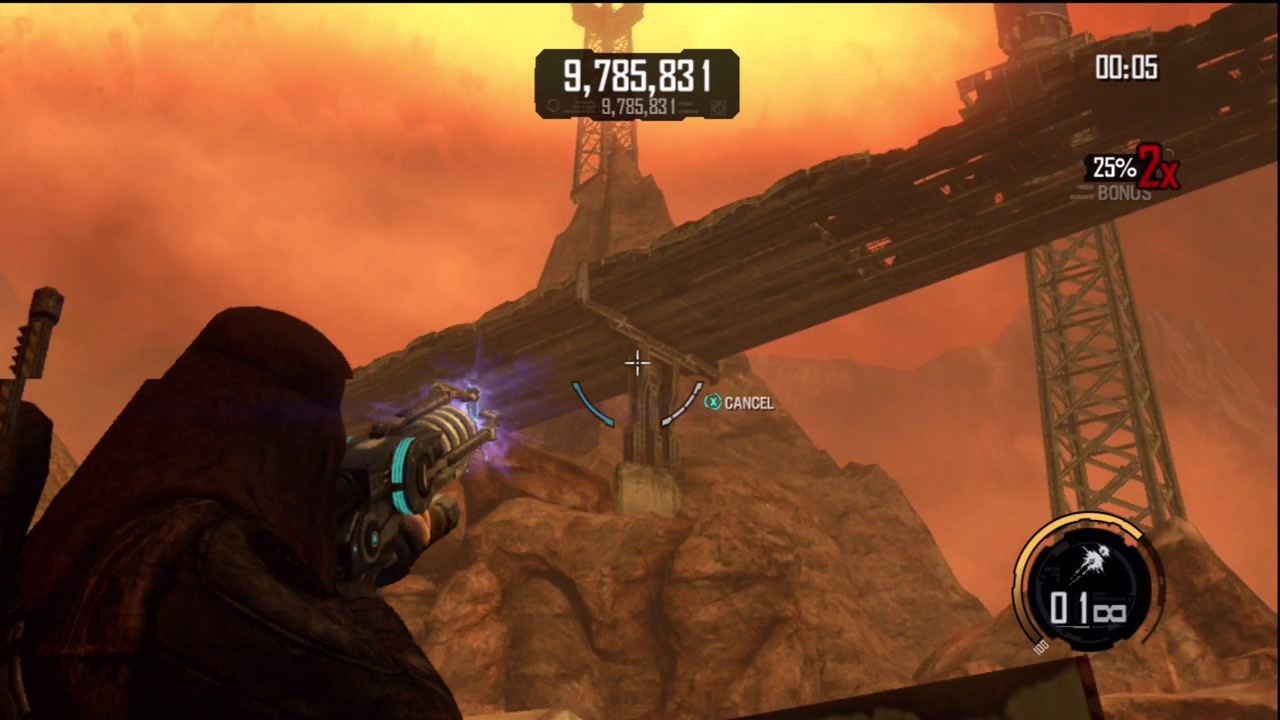
As time winds down, turn toward this massive elevated roadway, not far from the starting position. This precarious roadway is propped up by one single vertical support. Take careful aim at this support to cause the whole roadway to come tumbling down. It isn't worth a ton of points, but the destruction caused with one plasma bolt is impressive. Finish the round by targeting any remaining targets and structures. If you exceed the par score you unlock the Eviction map.
Eviction
Par Score: 6,000,000
Unlocked Reward: Abandoned Map
Recommended Weapon: Plasma Cannon/Singularity Cannon
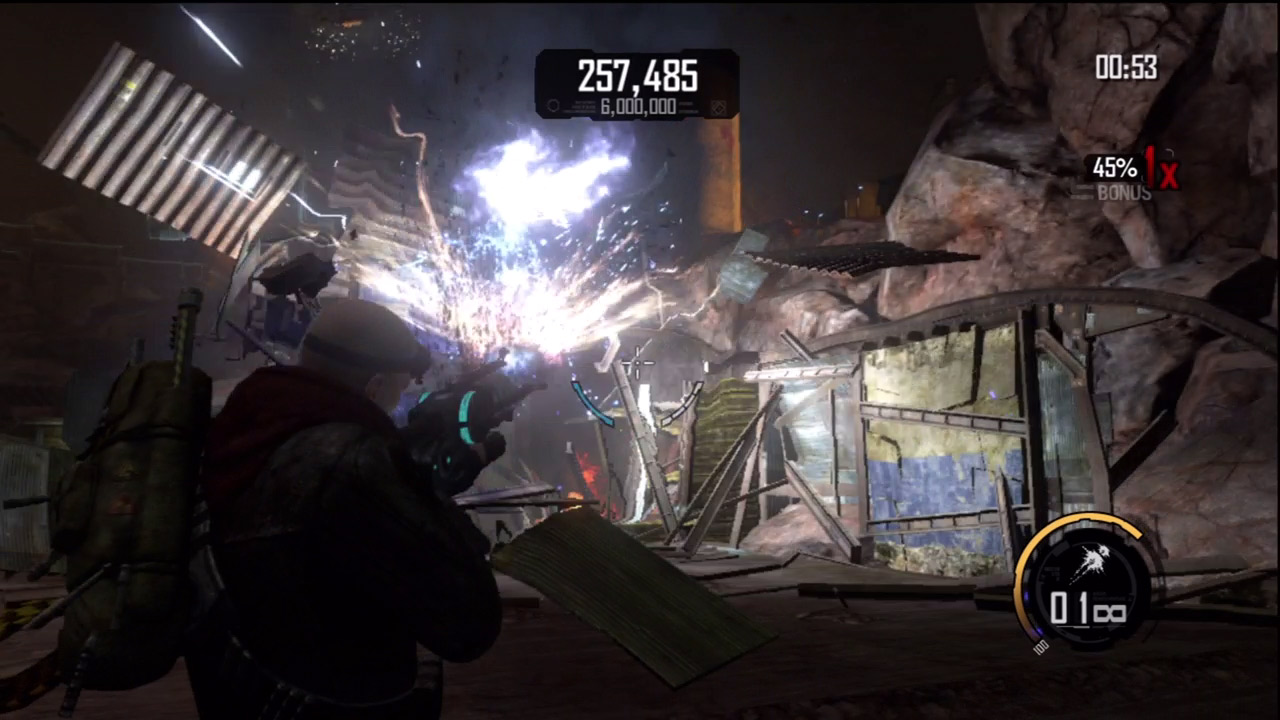
The mining camp is filled with tons of flimsy structures constructed from scraps of sheet metal. Both the Plasma Cannon and Singularity Cannon can inflict a ton of damage here, but the Plasma Cannon has a slight edge due to its better penetration. At the start of the round, cut loose with your weapon of choice.
Target the structures on the cavern's floor, but don't forget about the buildings lining the upper level. Most of the structures contain (or are adjacent to) explosive barrels. Instead of targeting each barrel individually, simply line up your shots so your plasma bolt travels through these objects on the way through a structure.
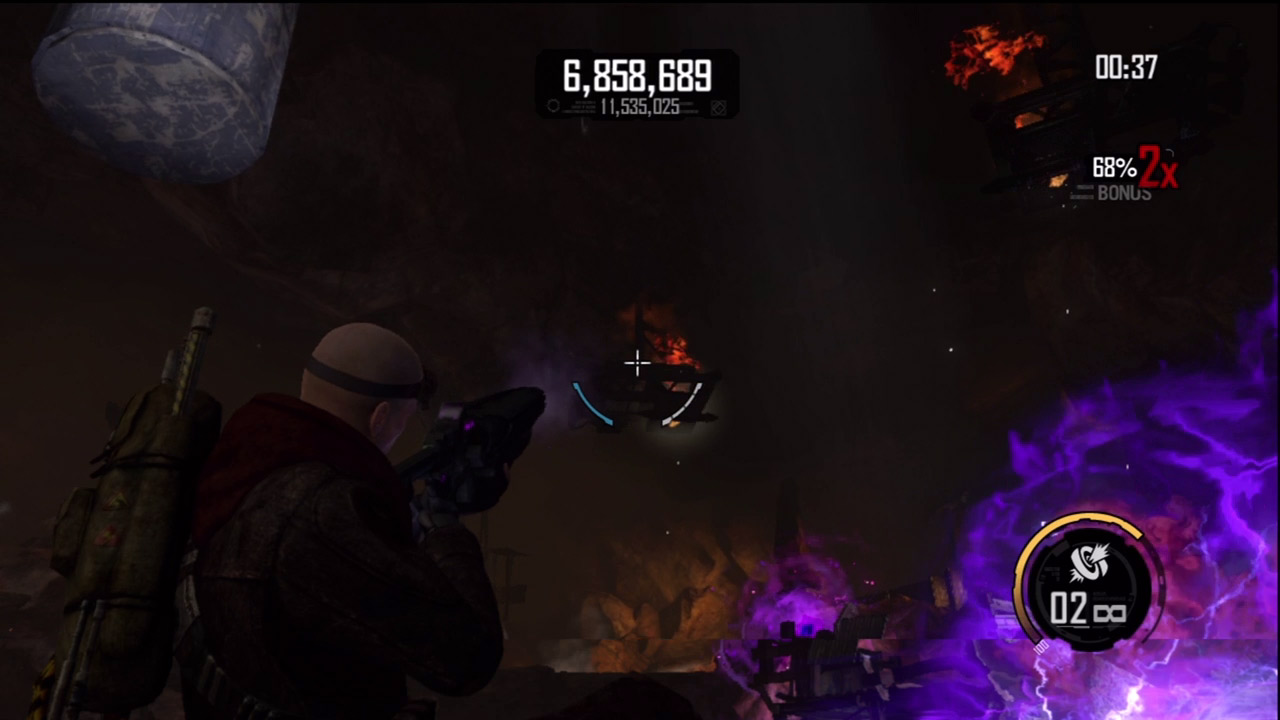
Don't forget to look up. In the first chamber there are several platforms and a storage tank suspended from the ceiling. Hit each of these structures with a single shot from the Plasma Cannon or Singularity Cannon to take them out. Individually these objects aren't worth a ton of points, but destroying them helps you maintain the bonus multiplier.
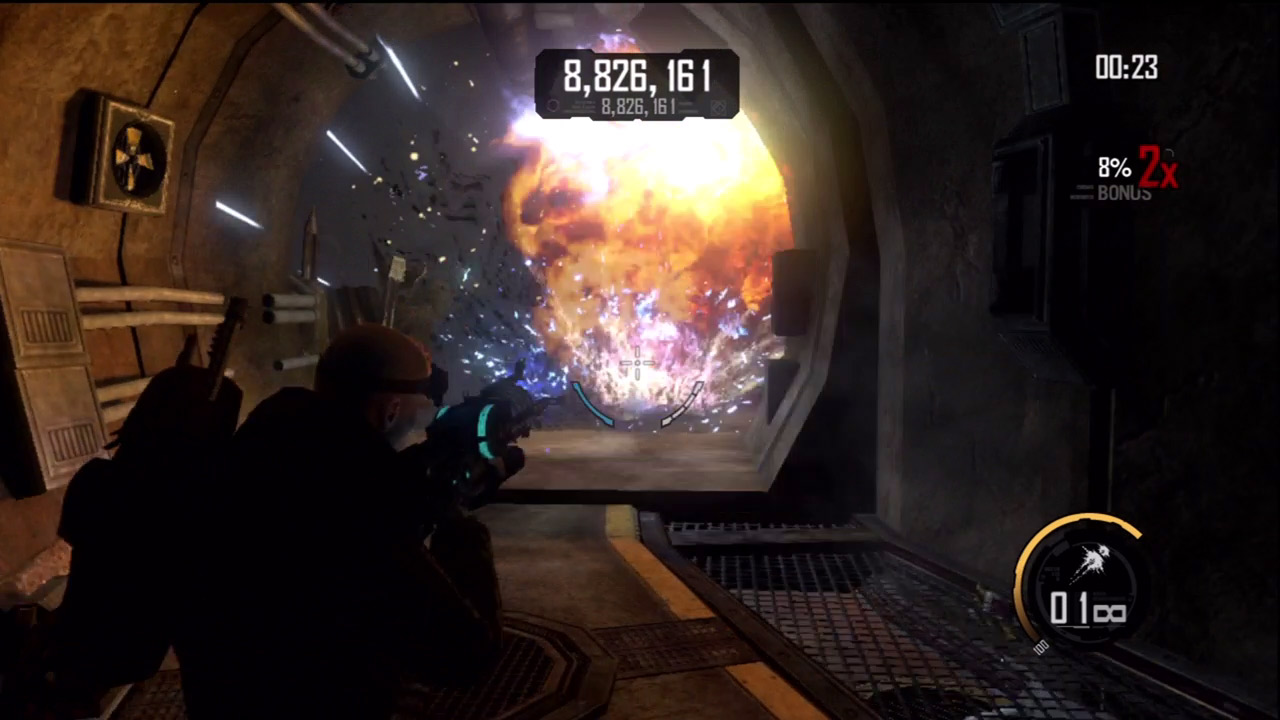
Once you've laid waste to the structures in the first chamber, turn toward this tunnel. Before entering the tunnel, fire a shot to detonate a line of explosive containers—simply hitting one sets off the rest like a string of firecrackers. Inside the next chamber there are more flimsy structures to target. Plow through each of the targets using the Plasma Cannon and keep shooting until time runs out. Beating the par score here unlocks the Abandoned map.
Abandoned
Par Score: 12,000,000
Unlocked Reward: Frontier Map
Recommended Weapon: Plasma Cannon
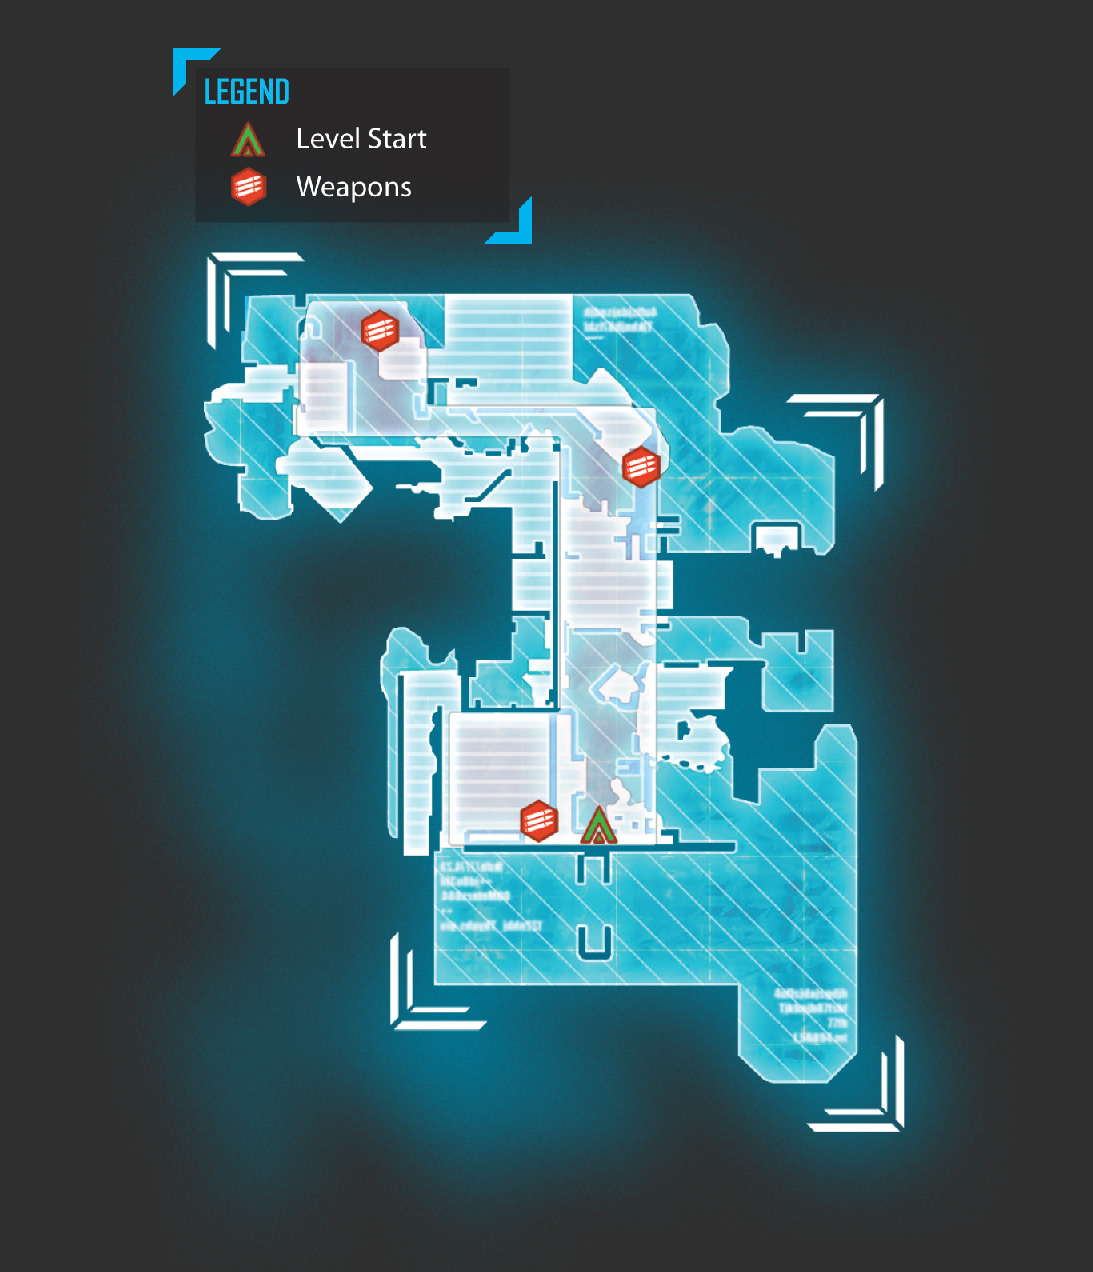
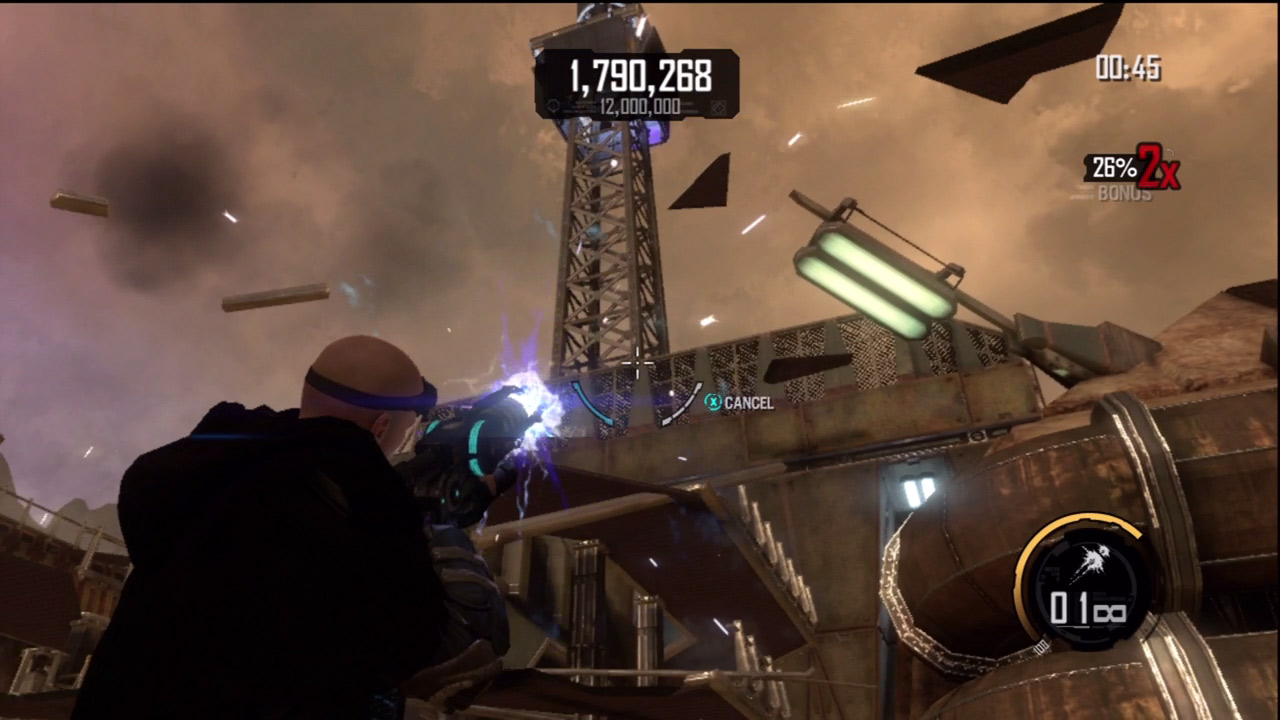
This industrial area features a mix of towers, buildings, and roadways that are best demolished with the Plasma Cannon. At the start of the round, stay put and target the structures nearby. Pay particular attention to the building and tower on the left.
The Plasma Cannon is ideal for punching through the thick structure, awarding you points as the plasma bolt travels through each wall and floor. Keep hitting this building until it completely collapses, then focus your fire on the tower above—one hit to the base will send it crashing to the ground.
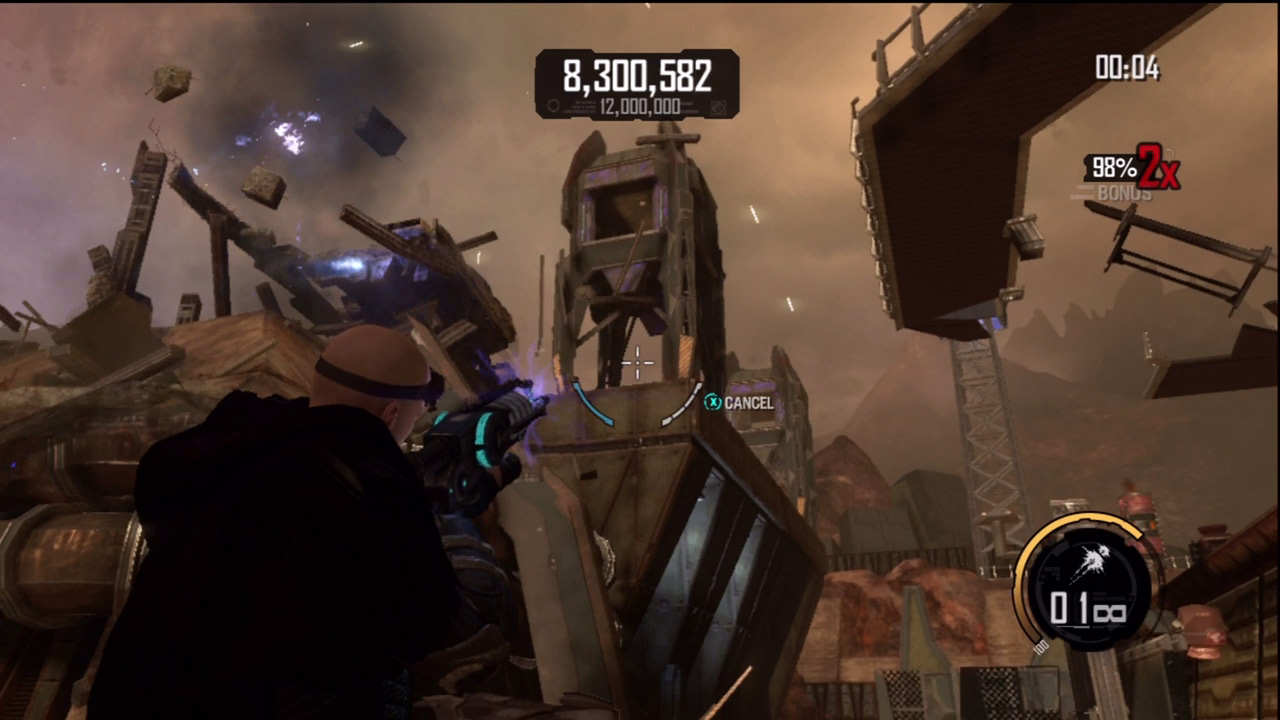
Next, charge forward while firing plasma bolts at the walls, pipes, and the guard tower ahead. As the path turns to the left, focus your fire on the catwalk system, the damaged overpass, and the towers above. There are plenty of targets in this dead-end area that are easy to overlook if you loiter around the starting point too long.
You really need to take out as many of these targets as you can to maintain a 2X multiplier and exceed the par score. Take careful aim at each target, fire a plasma bolt, and then find a new target to demolish.
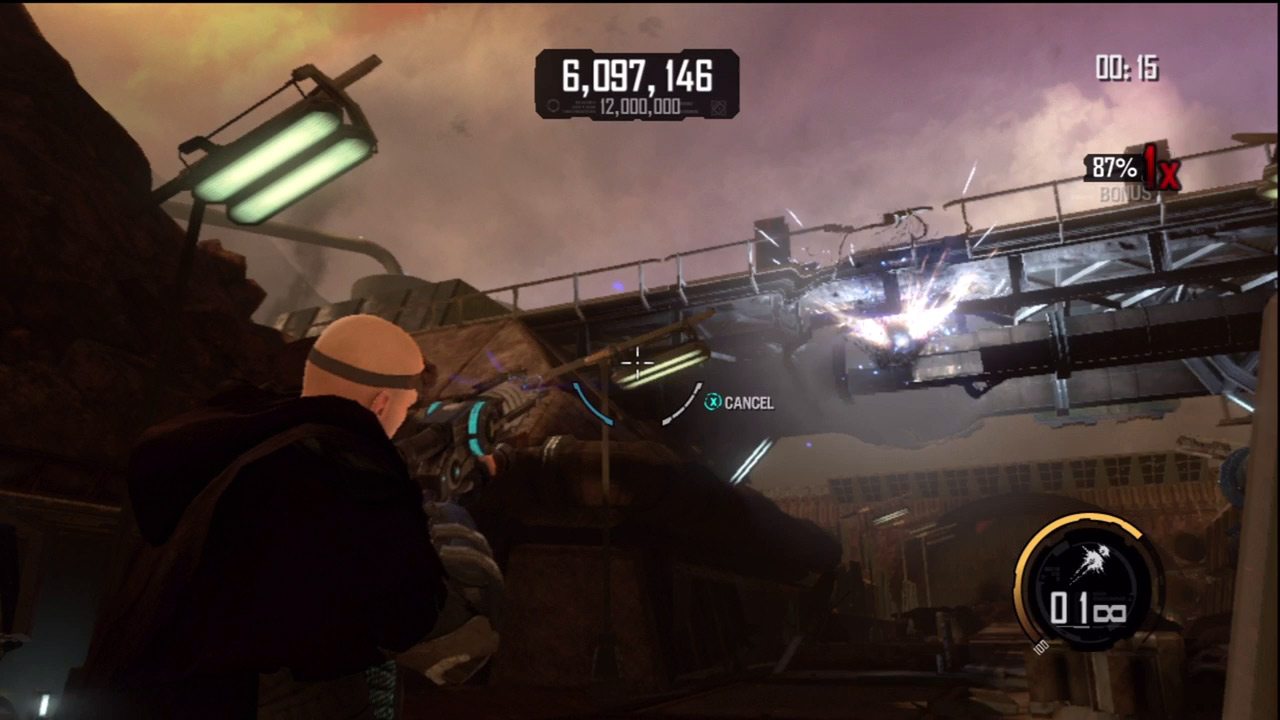
If you've destroyed most of the large structures, turn to the bridge suspended above the center of the map. Use the Plasma Cannon to slice through the left and right flanks of the bridge to cause the roadbed to drop.
Spend the remainder of the time hunting down any surviving structures or explosive tanks. Even piles of rubble can be targeted to earn more points and maintain your bonus multiplier. If you manage to beat the par score, you unlock the Frontier map.
Frontier
Par Score: 7,500,000
Unlocked Reward : LEO in Free Play
Recommended Weapon: Plasma Cannon/Magnet Gun
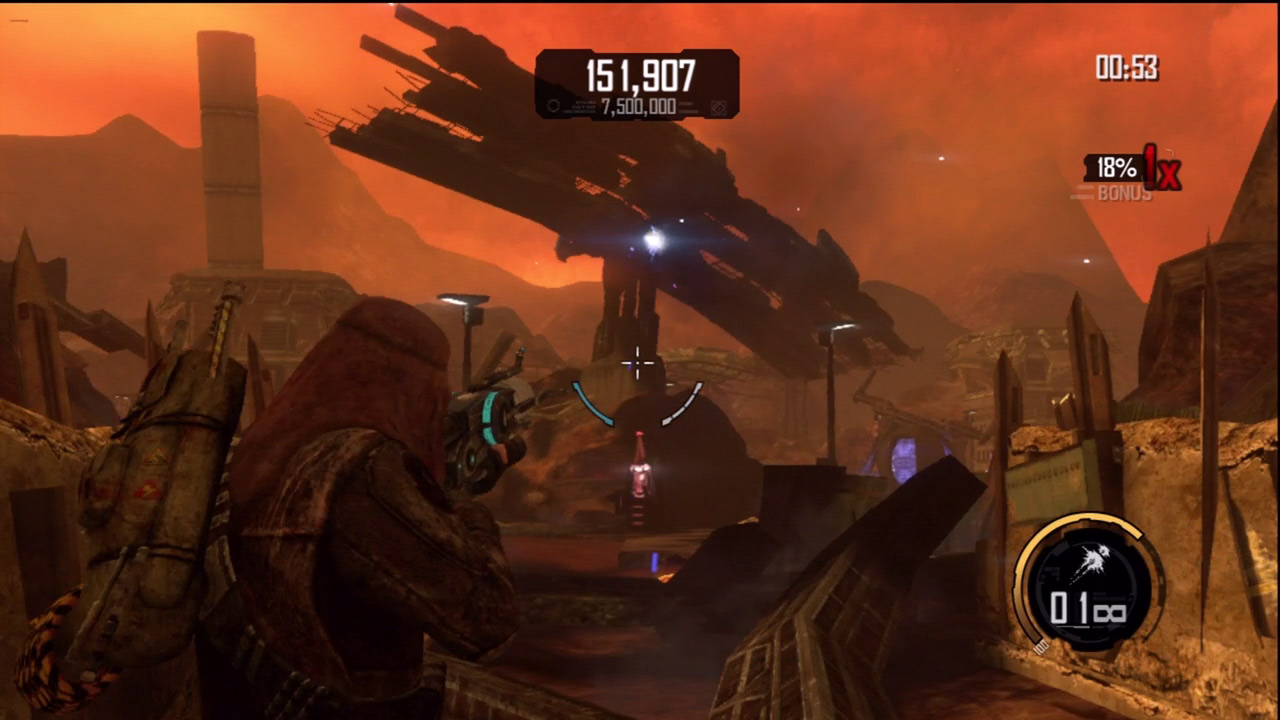
The structures on this map are quite spread out, so prepare to do some walking. However, before moving too far, look up and demolish the damaged roadways above the starting position. You can also demolish the distant overpass by knocking out the single vertical support beam propping it up—this is a great way to initiate a 2X multiplier.
Once these roadways are destroyed, move forward a few paces and turn to the right to destroy a couple of buildings, launching plasma bolts through their walls until they come toppling down.
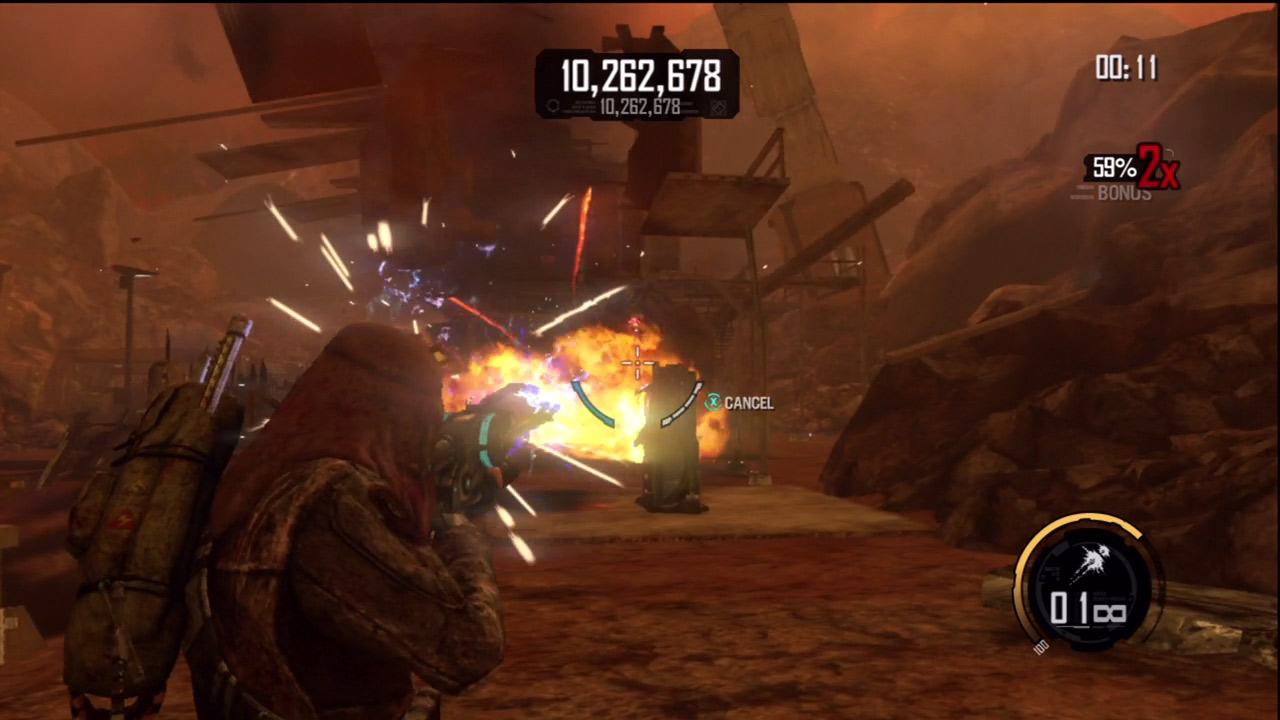
As long as you maintain the 2X multiplier, achieving the par score isn't difficult. But you need to keep dropping structures, so move out until you spot a few more buildings at the T-intersection ahead. Hold at the intersection and turn to the right and left to target the separate clusters of buildings.
Line up your Plasma Cannon shots so the bolt passes through as many structures as possible. Also, don't forget to hit the large cylindrical towers scattered around the rim of the canyon. One shot to the base of these structures is enough to send them tumbling down.
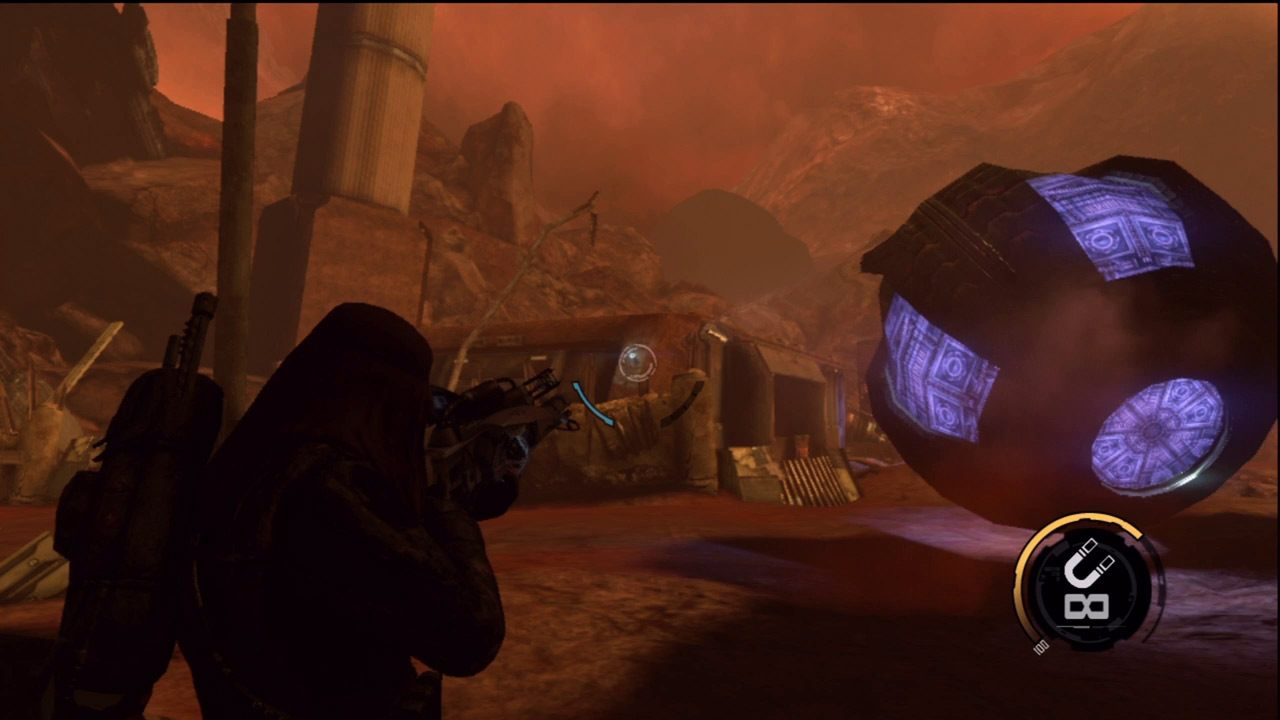
This map also features three massive ball-like objects. By using the Magnet Gun, you can toss these objects around the map, smashing them through buildings and other structures. For best results, attach a magnet to the ball, then attach an anchor to a distant structure you wish to demolish. Give the ball enough space to pick up speed and momentum before crashing into a structure.
If a ball gains enough speed, it may keep rolling, smashing through multiple structures. However, if the ball picks up too much speed, it may roll completely off the map and out of play.
This tactic works well in Free Play, but the Magnet Gun is a bit too slow and cumbersome to be very effective in Challenge mode, making it difficult to establish and maintain a bonus multiplier. If you do manage to top the par score in Challenge mode, you unlock the LEO Exo suit for use in Free Play mode on all maps.