Prima Games eGuides
primagames.com Browse Redeem a code Help
Red Faction: Armageddon eGuide
Sign in My Guides

Sign in or create an account

We'll email you a link. No password needed, and if you don't have an account yet, the link makes one.

By creating an account or signing in, you agree to our Terms of Service and Privacy Policy.

Have a password?

Had an account on the old eGuides site, or a code from a printed guide? Help and troubleshooting

Sign in with a password

By signing in, you agree to our Terms of Service and Privacy Policy.

Check your email

A sign-in link is on its way. It works once and expires in 15 minutes. Open it and you're in, with an account if you didn't already have one.

Contents

  • Essentials
    • Universe
      • The Revolutionary History of Mars
      • Science, Technology, and Culture in Red Faction
      • The Characters of Red Faction: Armageddon
      • Comic Book Prequel
    • Armory
      • Weapons
      • Pre-Order/DLC Weapons
      • Vehicles
      • Upgrades
    • Enemies
      • Adam Hale's Cultists
      • Creatures of the Plague
    • Compendium
      • Red Faction Retrospective
      • Audio Logs
      • Cheats Menu
  • Walkthrough
    • Campaign
      • Prologue
      • Armageddon
      • The Terraformer
      • Dig Site
      • We're Not Alone
      • Outbreak
      • Road to Bastion
      • Bastion Defenses
      • Water Supplies
      • Ice Mines
      • Infection
      • On The Run
      • The Red Faction
      • Relay Stations
      • Heavy Metal
      • The Temple
      • Must Go Faster
      • Marauder Defenses
      • Older Enemies
      • Air Support
      • The Road Less Traveled
      • Knock, Knock
      • The Lair
      • Last Chance
      • Epilogue
    • Infestation
      • Getting Started
      • Infestation Missions
    • Ruin Mode
      • Getting Started
      • Maps
  • Multiplayer
    • Battlegrounds Basics
      • Getting Started
      • Vehicles
      • Pick-Ups
      • Training Missions
    • Battlegrounds Training Levels
      • Level 1: The Quick and the Dead
      • Level 2: Gunslinger
      • Level 3: Standoff
      • Level 4: Metal-Storm
      • Level 5: Badlands Bushwhack
      • Level 6: Snatch and Grab
      • Level 7: Hard Targets
      • Level 8: The Briar Patch
      • Level 9: Badland Showdown
      • Level 10: Wheels of Fire
      • Level 11: Toxic Takedown
      • Level 12: Collateral Damage
      • Level 13: Cold Day in Hell
      • Level 14: Quick and Dirty
      • Level 15: Hothouse
      • Level 16: Final Fury
    • Mulitplayer
      • Game Modes
      • Maps
      • XP and Ranks
      • Player Titles
      • Awards

Red Faction: Armageddon Guide › Essentials › Armory

Vehicles

In addition to a variety of weapons, Darius also has limited access to a select number of vehicles during his quest to halt the Plague. Each vehicle responds to a set of intuitive controls, making them easy to pilot and engage enemies.

Although each vehicle has varying amounts of armor and shielding, none of them are indestructible, so don't let their powerful weapons create a sense of overconfidence.

Regardless of which vehicle you are piloting, approach each engagement with caution and constantly monitor the status of your vehicle's shields, indicated by the blue meter in the bottom right corner of the screen.

Like the weapons, each vehicle has its own strengths and weaknesses. Review the profiles below to get a better understanding of what you can expect from each vehicle.

Mining Exo

Terrain: Light, Urban

Utilities: Heavy Construction, Mining, Bomb Disposal

Manufacturer: Darius Mason

Range: 12 km

Seating: One (Pilot)

Armament: Magnet Gun

STATS

Speed
Firepower
Armor

Heavily armored but incredibly slow, the Mining Exo is designed for dangerous condition exploration and mining.

Field Notes

The Mining Exo was designed for excavating and mining jobs deep beneath the Martian surface. Its armor is more suited to withstand falling debris and minor cave-ins than sustained hostile fire. Darius has fitted this Exo with his own creation: the Magnet Gun. The Magnet Gun is an incredibly useful tool during excavation jobs, allowing Darius to move massive amounts of debris with minimal effort. Furthermore, the Magnet Gun can be used to launch objects at high velocity, effectively using any piece of debris as a makeshift wrecking ball. Your time with the Mining Exo is extremely limited, so you will face no significant threats or challenges with it.

LEO Exo Suit

Terrain: All

Utilities: Assault, Recon

Manufacturer: Red Faction

Range: 20 km

Seating: One (Pilot)

Armament: .50 caliber machine gun, heat-seeking rockets

STATS

Speed
Firepower
Armor

The LEO was built by the Red Faction to give individual soldiers the capability to engage multiple enemies at once. The combination of heat-seeking rockets, a .50 caliber machine gun, and enhanced strength give the driver a considerable advantage during firefights.

Field Notes

The LEO Exo suit is built for battle, so put it to use at every opportunity. The suit's shielding and armor is capable of withstanding some brutal punishment, but it's not invincible. Keep a close eye on the blue shield meter in the bottom right corner of the screen. As the shields begin to drop, either seek cover or eliminate all hostiles, giving the shields enough time to replenish. For the LEO, its offense is its best defensive feature. The rapid firing .50 caliber machine gun is capable of ripping most enemies apart with a few quick bursts. For more durable targets, fire the heat-seeking rockets. Three rockets are fired at a time, each capable of tracking a different target. This can be useful when confronting large groups of ravagers or creepers. The rockets are also great for dishing out heavy damage to tougher enemies like monoliths and berserkers. The LEO can also perform a shoulder bash attack, ideal for plowing through tight clusters of enemies or structures.

LEO Achievements and Trophies

Icon Name
Description
Gamescore
Trophy
Crusader Kill 175 enemies while in the LEO exoskeleton. 15 Bronze
Oooooh
Yeah!
Kill 5 enemies with one LEO shoulder bash. 10 Bronze

SHIVA

Terrain: All

Utilities: Artillery, Recon

Manufacturer: Marauder

Range: 200 km

Seating: One (Pilot)

Armament: Dual shoulder-mounted cannons

STATS

Speed
Firepower
Armor

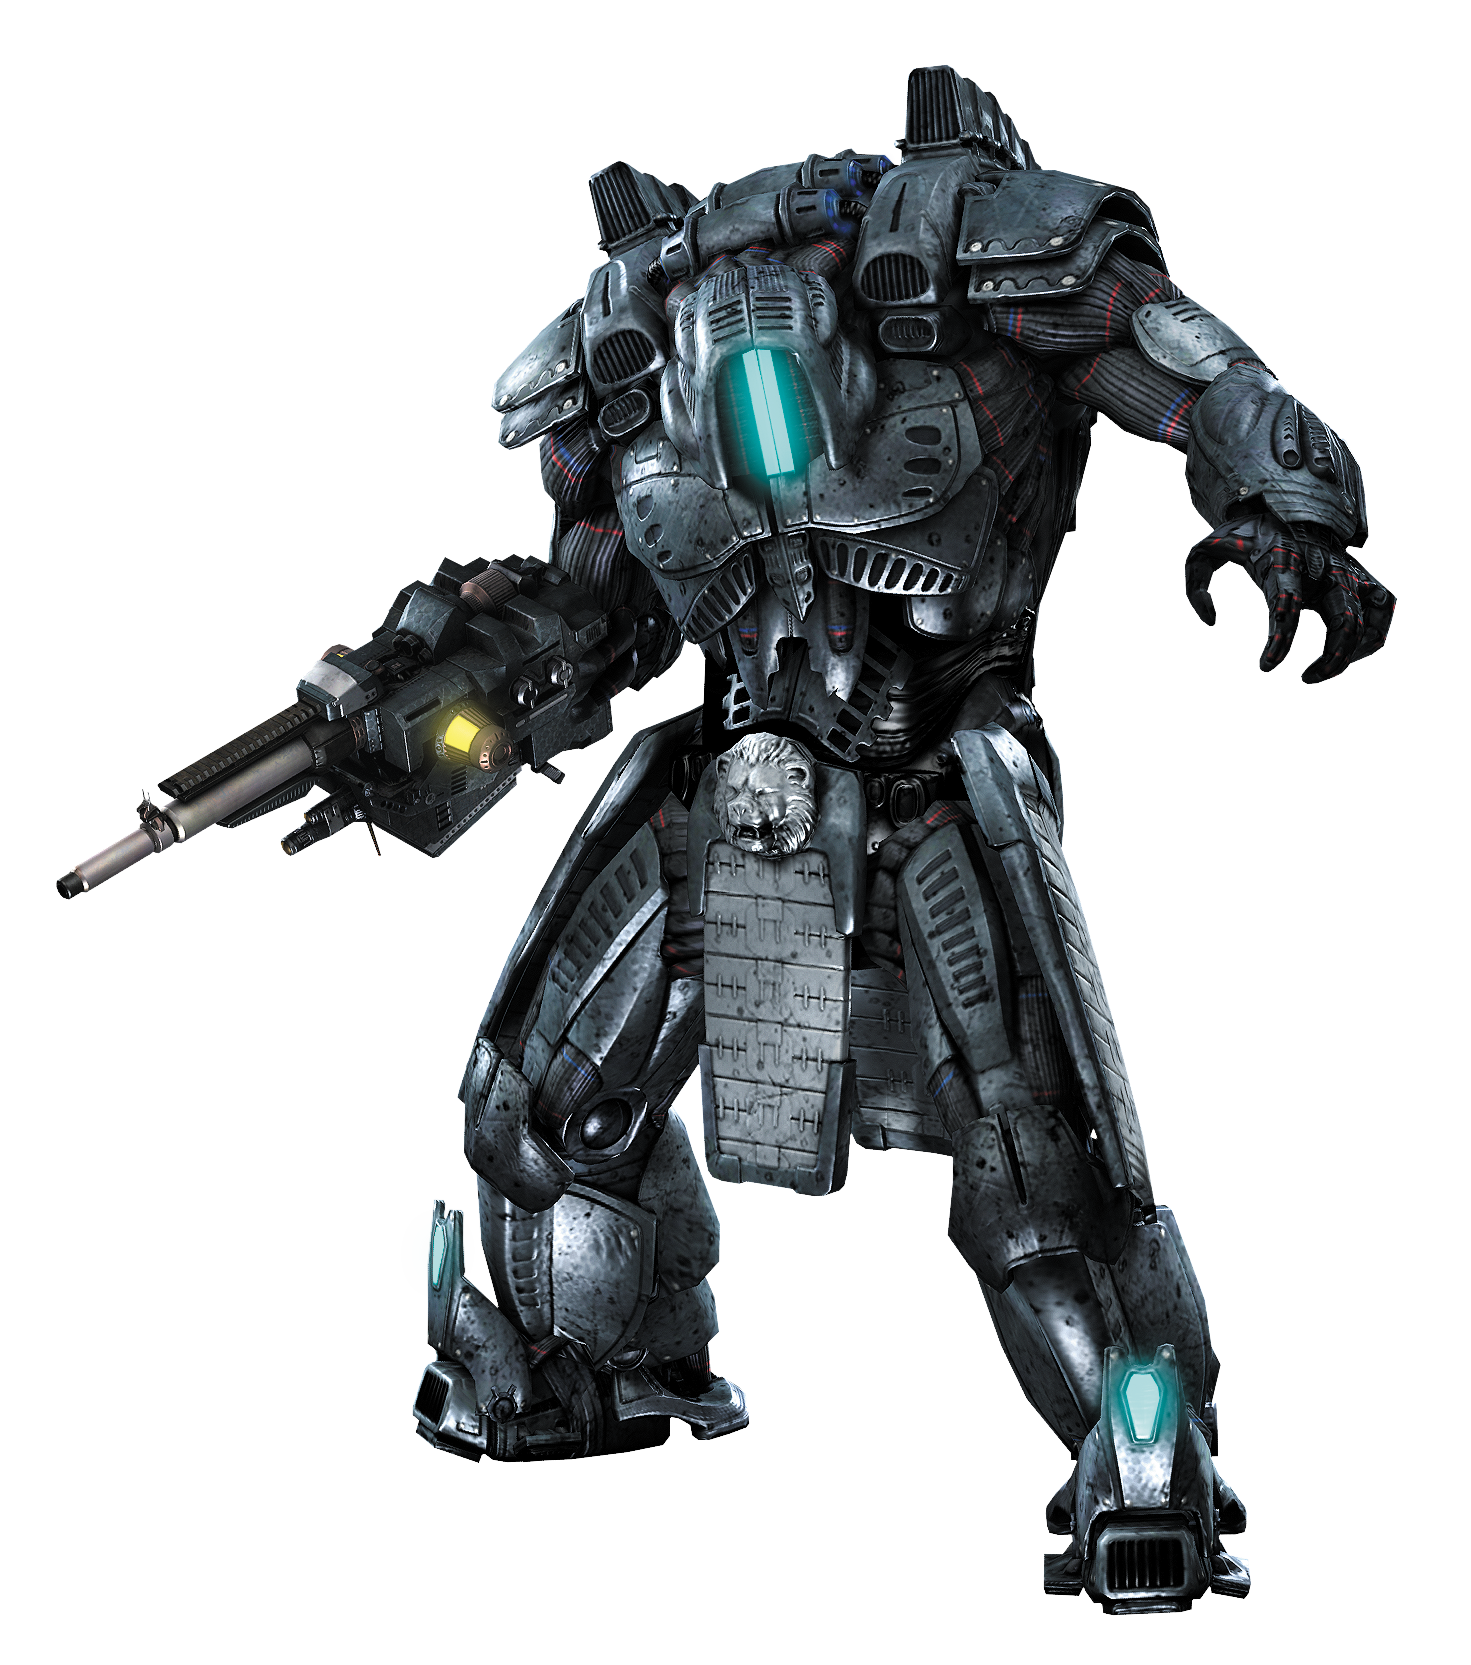
Alternately known as the Marauder SHIVA (Solo Hostile Infantry Vehicle and Artillery). The Marauders, impressed by the Red Faction-created LEO, came up with this unique combination of artillery suit and recon device.

The SHIVA's gyros and servers add to the pilot's strength, agility, and armor without detracting from long-range maneuverability.

Its expense and difficulty of use have made its use necessary only under the strictest of circumstances.

Field Notes

You can't pilot the SHIVA, but you do need to be familiar with it. Several SHIVA units have fallen into the hands of Adam Hale's Cultists, posing a serious threat to Darius.

The SHIVA lacks shielding and is most vulnerable to explosive weaponry such as the Plasma Cannon or Rocket Launcher.

Alternatively, target explosive objects next to the SHIVA to inflict heavy damage.

But be ready to dodge the incoming blasts fired from its shoulder-mounted cannons—as soon as you see the purple, glowing projectile headed your way, immediately leap out of the way.

The Scout Walker is incapable of dodging such attacks, so it's best to take out SHIVA units as fast as possible.

Marauder Scout Walker

Terrain: All

Utilities: Combat

Manufacturer: Marauder

Range: 120 km

Seating: 2 (Pilot and passenger)

Armament: Chain lightning beams, convergence laser

STATS

Speed
Firepower
Armor

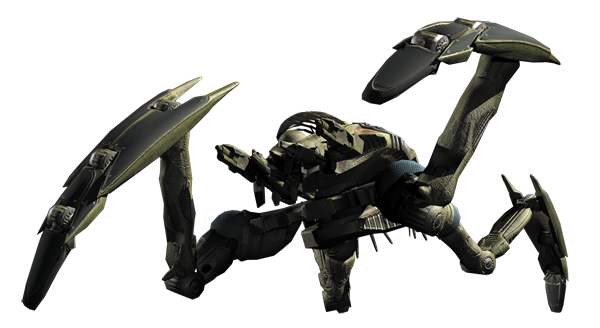
A smaller version of the heavy Marauder Walker, the Scout Walker is faster and still armed with powerful weapons. Where it does not compare to the Heavy Walker is in its armor and shielding.

Field Notes

The Scout Walker is much more nimble than the Mantis Heavy Walker, but it is still rather cumbersome and slow when compared to the Exo suits.

Still, the added shielding and armor is a welcome trade-off, particularly when facing large concentrations of hostile units.

Pay close attention to the walker's shields, indicated by the blue meter surrounding the health meter in the bottom right corner of the screen.

As the shields become depleted, consider retreating, giving them a few seconds to recharge before resuming combat. The walker's chain lightning beams operate similar to the Arc Welder.

Simply hold down the trigger for a bolt of electricity that arcs across multiple targets—this is ideal for taking out large groups of infantry.

For heavier targets like structures and enemy walkers, use the powerful convergence laser. Keep the reticle focused on your target as the lasers converge, setting off a massive explosion.

Like the Mantis and Inferno GX, the Scout Walker is equipped with a visualization mode optics package, highlighting the heat signatures of targets. This makes it much easier to identify targets on the planet's dusty surface.

Martian Drive-by

To earn this achievement/trophy you must kill 100 enemies with the Scout Walker. As long as you eliminate every enemy you encounter during the two Scout Walker levels, you’ll have no problem pulling this off.

Mantis Heavy Walker

Terrain: All

Utilities: Heavy Construction, Mining, Bomb Disposal, Heavy Combat

Manufacturer: Marauder

Range: 50 km

Seating: 2 (Pilot and passenger)

Armament: Homing missiles, napalm laser

STATS

Speed
Firepower
Armor

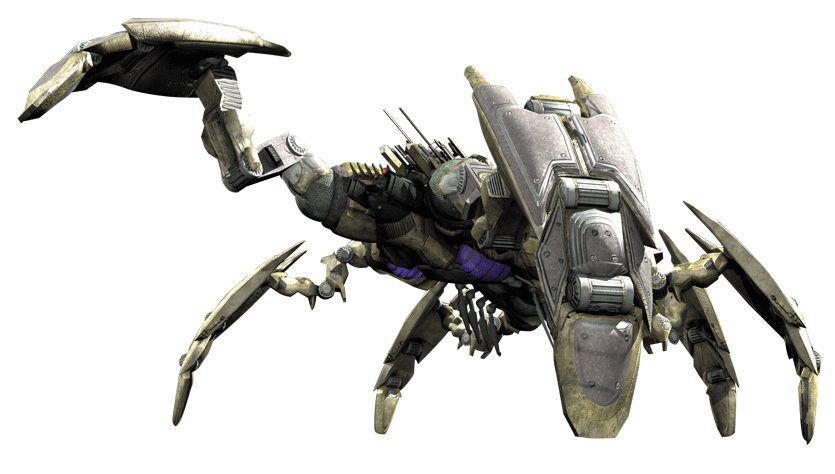
A rare form of walker designed by the Marauders for heavy assault actions. As its name states, this walker's six legs allow for safety redundancies due to combat destruction, wear and tear, or difficult terrain.

Marauder engineers coupled the walker's missiles and a napalm laser with an underbelly-mounted repulsor field generator. This made the walker nearly impenetrable at the price of velocity.

Field Notes

What the Mantis lacks in speed, it makes up for in firepower and durability. When properly functioning, the walker's shields are virtually impenetrable.

Even the strongest attacks barely make a dent in the shield's blue meter, shown in the bottom right corner of the screen.

However, if the shields are offline, the Mantis is rather vulnerable, causing all subsequent damage to be dealt to the hull.

Hull damage cannot be repaired. The walker's size and slow speed make it an easy target for enemies to hit, so instead of trying to evade incoming fire, use the walker's weapons to annihilate the opposition.

The walker's primary weapons are homing missiles. These rapidly fired missiles have limited tracking ability, homing in on targets and exploding upon contact with any surface.

For greater damage output, use the devastating napalm laser to ignite a large area with a massive plume of fire.

To deal with enemies at close range, use the walker's slam attack to squish enemies loitering beneath the Mantis.

During instances of low visibility, activate the visualization mode to highlight the heat signatures of your targets.

Exterminator

You must destroy at least 100 pods during the Mantis Heavy Walker level to earn this achievement/trophy. To better identify the pods clinging to the cavern walls and ceiling, activate the walker’s visualization mode. The walker’s homing missiles are more than adequate for targeting and destroying these pods.

Inferno GX

Terrain: Air

Utilities: Aerial Combat, Transportation

Manufacturer: Marauder

Range: 240 km

Seating: Three (Pilot and two passengers)

Armament: Rapid-fire cannon, Blossom missiles

STATS

Speed
Firepower
Armor

Originally developed for travel above the surface, the Inferno GX has been heavily modified by the Marauders for underground flight.

Force shielding protects it from lava flows and the occasional wall collision while the Blossom missiles let it remove any obstacles.

Field Notes

The Inferno GX flyer is a fast and agile craft with a surprisingly robust mix of offensive options. The rapid-fire cannon is the flyer's primary weapon, best deployed against light threats such as ravagers.

If you need to inflict heavier damage, fire the Blossom missiles. Shortly before one of these missiles reaches its target, it splits into five separate warheads, with the individual contrails resembling a blossom.

The warheads then impact over a large area, ideal for bringing down large structures. While the Inferno GX is well armed, it suffers from relatively weak shielding and armor.

Sustained fire from ravagers and other hostile units can greatly weaken the shields, so keep an eye on the shield meter and be prepared to retreat to a safe location while the shields regenerate.

In addition to enemy fire, watch for falling debris while piloting the flyer through the Marauder caves—blast any objects hanging from the ceiling, let them fall, and then fly forward.

Like the walkers, the Inferno GX is equipped with a visualization mode, making it much easier to spot pesky ravagers clinging to cavern walls and ceilings.

Hit'N'Run

During the Inferno GX sequence, fl y low and run down at least one ravager with the fl yer. Ravagers are easiest to hit when standing on fl at platforms or bridges. Don’t try to smack them while they’re hanging onto a cavern wall. The enemy must be killed by the impact of the collision to unlock this achievement/trophy, so make sure you’re moving at considerable speed.

Keep reading with a free account

The first 3 sections of Red Faction: Armageddon are open to everyone. An account opens the rest of it, and every other guide in the archive. It's free, and there's nothing to buy.

Bought guides on the old Prima Games site? Your account and every guide you own moved here, so there's nothing to buy again. Sign in.

Create a free account Or browse our free guides

PreviousPre-Order/DLC Weapons NextUpgrades