
Red Faction: Armageddon Guide Walkthrough Campaign
Must Go Faster
| Icon | Name | Description | Gamerscore | Trophy |
|---|---|---|---|---|

|
Martian Drive-By | Get 100 kills in the Marauder Scout Walker. | 15 | Bronze |

|
Must Go Faster | Travel to the Marauder homelands. | 15 | Bronze |
Objectives
Get to the Marauders
Destroy the Generators
Get to Kara’s Homeland
New Objective: Get to the Marauders
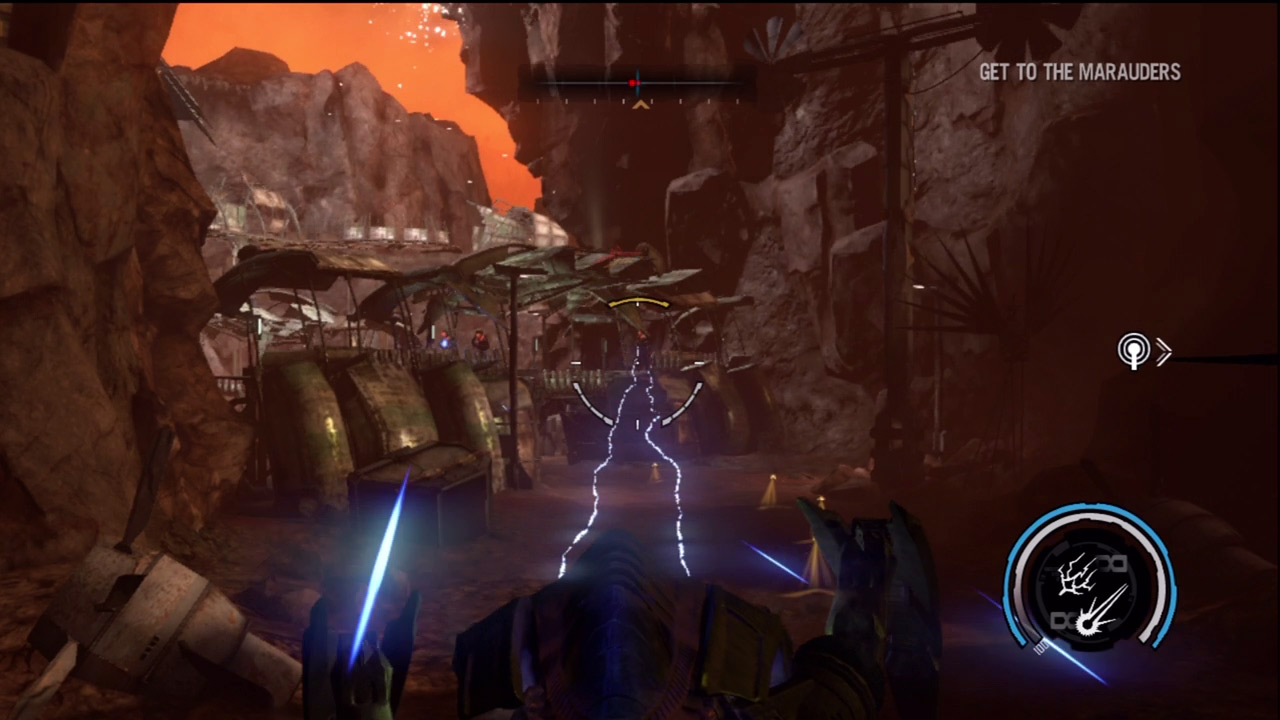
Following the escape from the temple, Kara is determined to get to the Marauder archives. Ultor scientists knew about these creatures, so perhaps their mainframe may contain more information on eradicating them? But the path through Bradbury Canyon won't be easy—the cultists have established several defensive positions ahead. Fortunately, you have the firepower of the Scout Walker at your disposal. Approach the first structure and pick off the cultists using the chain lightning beams. If structures get in your way, simply blow them to bits with the convergence laser.
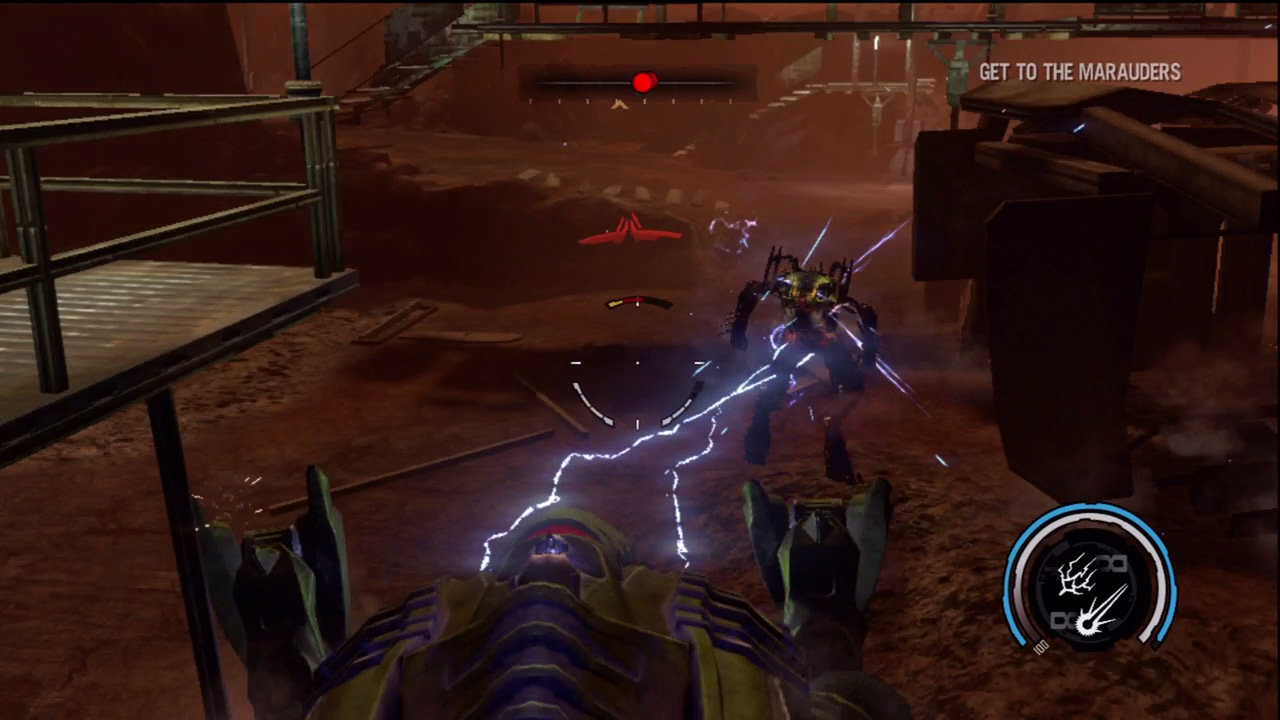
Deeper in the canyon you're assaulted by a few SHIVA units. Avoid engaging these SHIVAs simultaneously, as their energy weapons can deplete your walker's shield quickly. Instead, when you see large red dots on the compass, stay put and let them come to you. This allows you to single out each SHIVA, engaging one at a time. If necessary, backtrack and use the metal structures for cover to avoid getting hit by the other SHIVA units. If the SHIVA units get close enough, use the walker's devastating melee attack to finish them off.
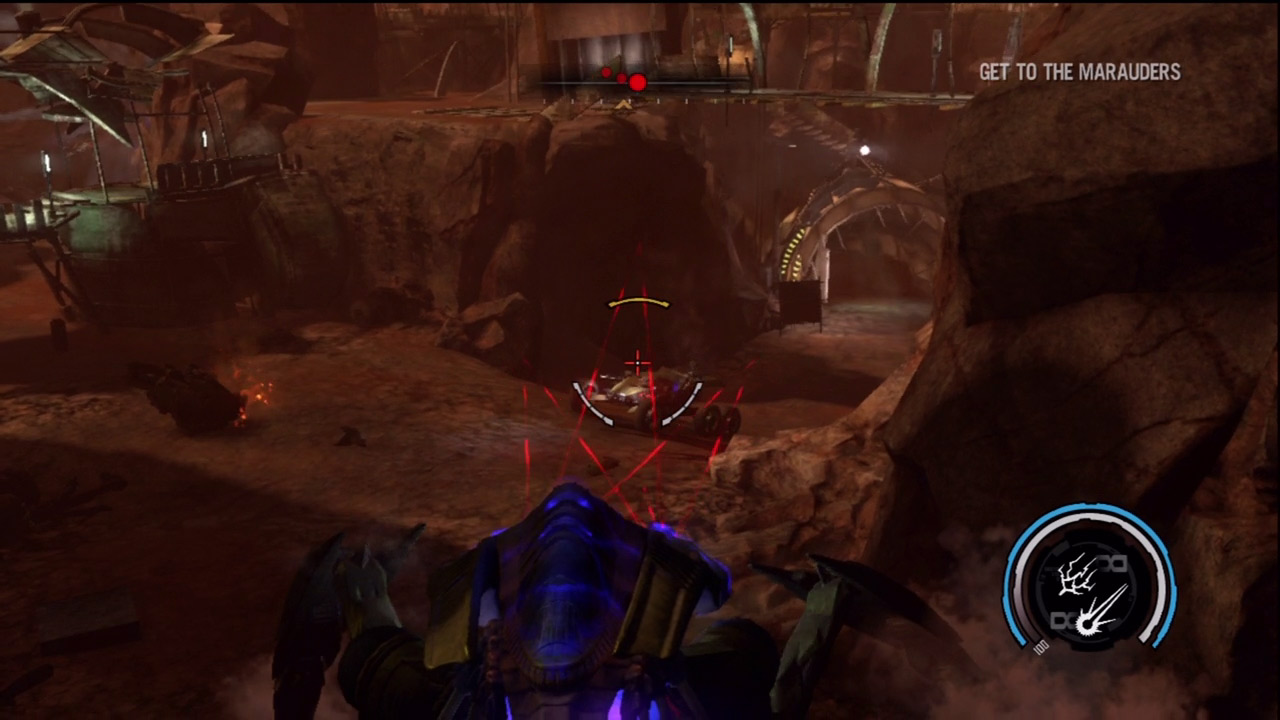
Beyond the first group of SHIVA units are a few cultist scout cars. These vehicles are armed with powerful energy weapons capable of quickly eating through the walker's shields. Attack these vehicles aggressively using the convergence laser. As with the SHIVA units, minimize your exposure to these vehicles to avoid taking heavy fire. Instead, creep around cover, engaging one scout car at a time.
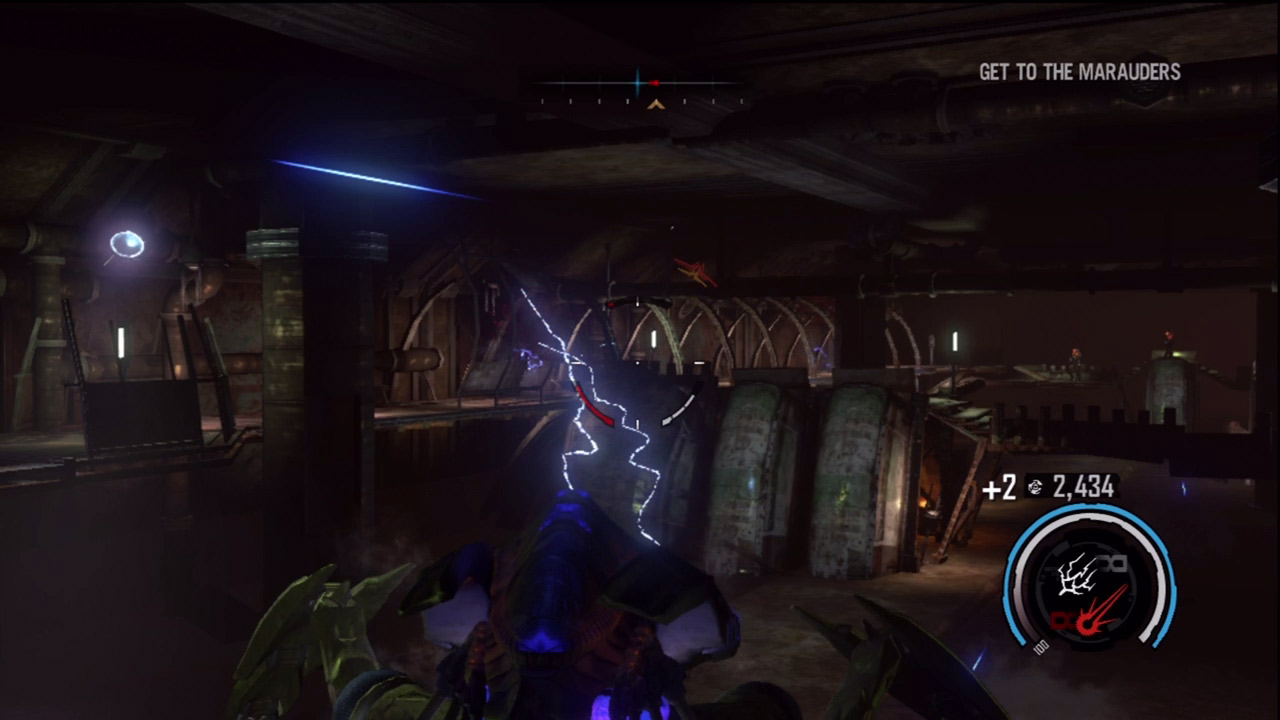
Blast your way past more cultists, SHIVAs, and scout cars on your way to a wide tunnel carved out of the rock. The tunnel is filled with metal make-shift structures, seemingly blocking your path. But your walker can easily crash through the rickety structures. As you advance through the tunnel, monitor the compass for enemy contacts and wipe out every cultist you encounter. With the exception of a SHIVA guarding the tunnel's exit, the threats you face here are minimal, so feel free to plow ahead.
New Objective: Destroy the Generators
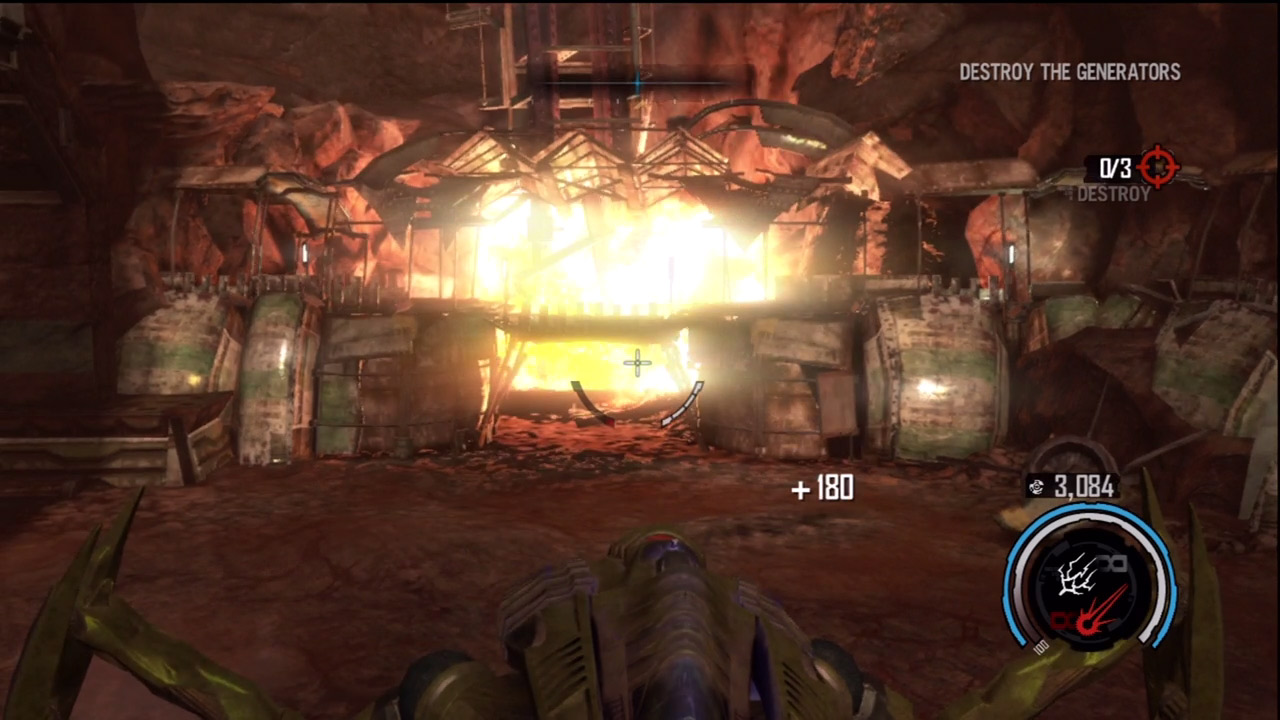
Outside the tunnel you're ambushed by more cultists. Wipe them out and press forward until you spot a force field blocking the entrance to another tunnel. The force field is powered by three solar towers nearby. Before targeting the towers, clear the area of all hostile units, including a few scout cars. Once the area is clear, locate the towers, marked by red brackets on the HUD. Using the convergence laser, target the vertical supports at the base of each tower until each one comes crashing down. Once all three towers are destroyed, the force field disappears, clearing a path into the next tunnel.
New Objective: Get to Kara's Homeland
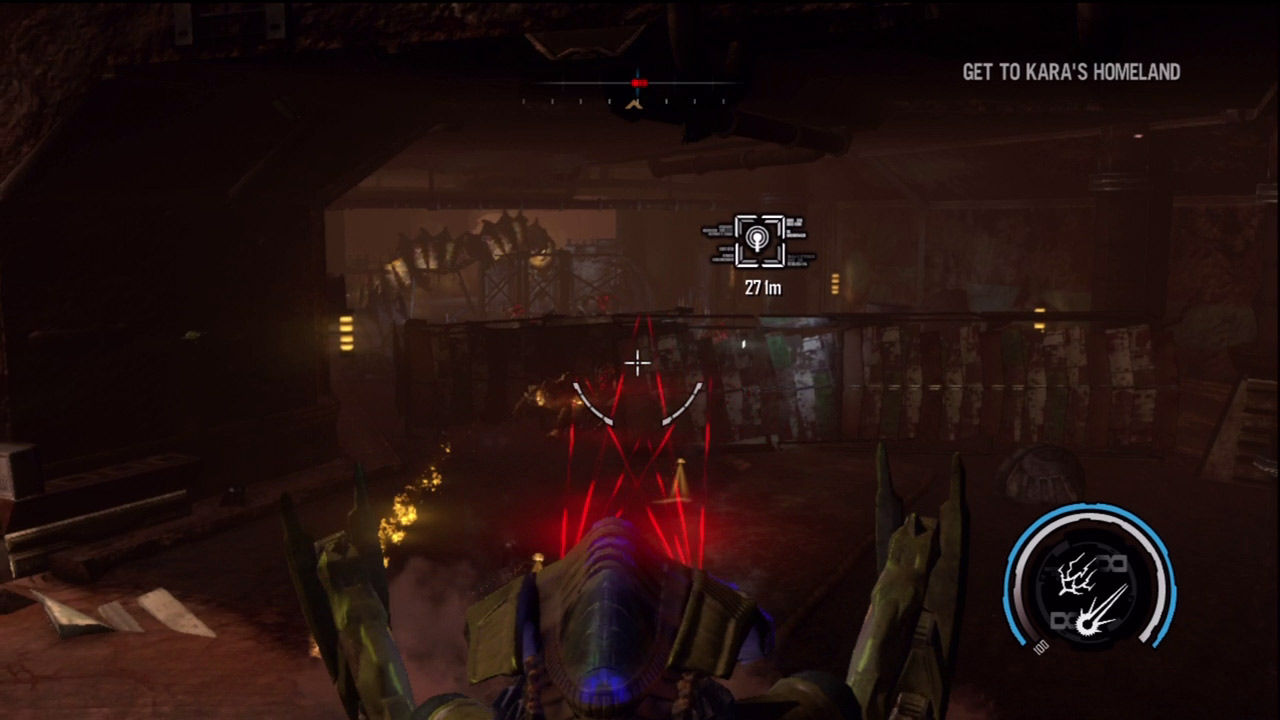
It soon becomes clear why the force field was in place. Only a few meters into the tunnel you're attacked by several ravagers and a couple of berserkers. Hit the berserkers with the convergence laser and then follow up with the chain lightning beams if necessary. If the berserkers get close enough, use the walker's melee strike to finish them off. The ravagers pose little threat, so don't worry about targeting them until the berserkers are down. The structures in the tunnel have been infected. Clear a path using the convergence laser.
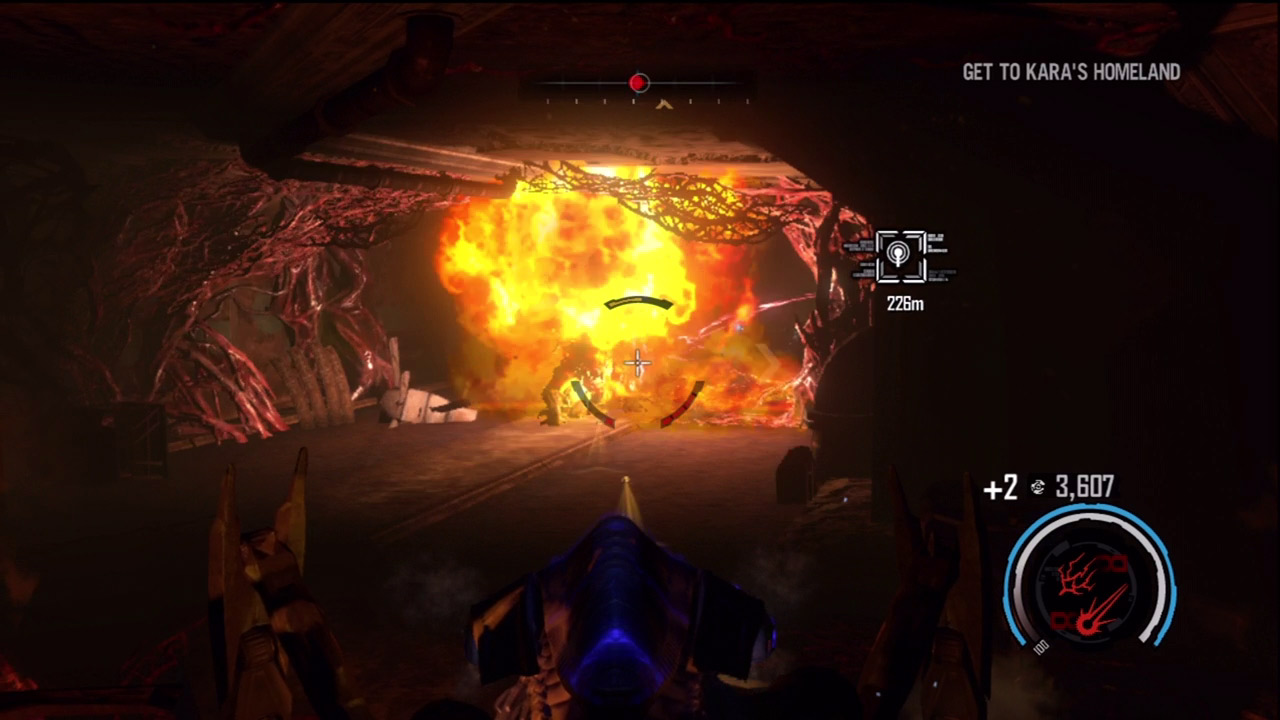
Deeper in the tunnel you come under attack by a behemoth. Keep your distance from this creature and open fire with the convergence laser. While the laser recharges, attack the behemoth with the chain lightning beams. Alternate between these two weapons until the behemoth is dead. The behemoth can take a lot of damage, so keep firing. If necessary, backpedal through the tunnel to keep your distance. Once the behemoth is down, eliminate any pesky ravagers in the area before advancing into the cavern ahead.
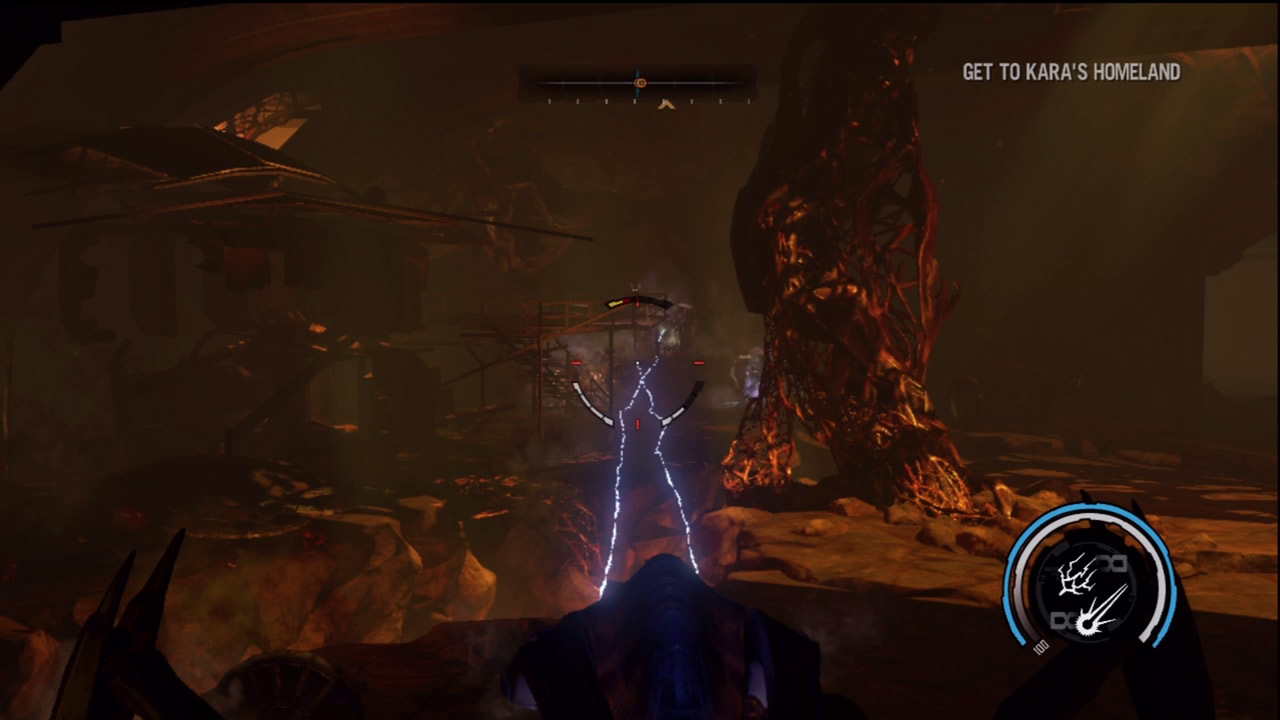
As you near the cavern, notice the pod icons appearing on the compass, but don't worry about them for now. Instead, focus on the two berserkers charging toward your walker. A couple of well-placed shots with the convergence laser should be enough to explode them before they get too close for comfort. With the berserkers eliminated, hunt down the pods in this cavern and rupture them with the chain lightning beams. You don't want these pods spawning creatures behind you.
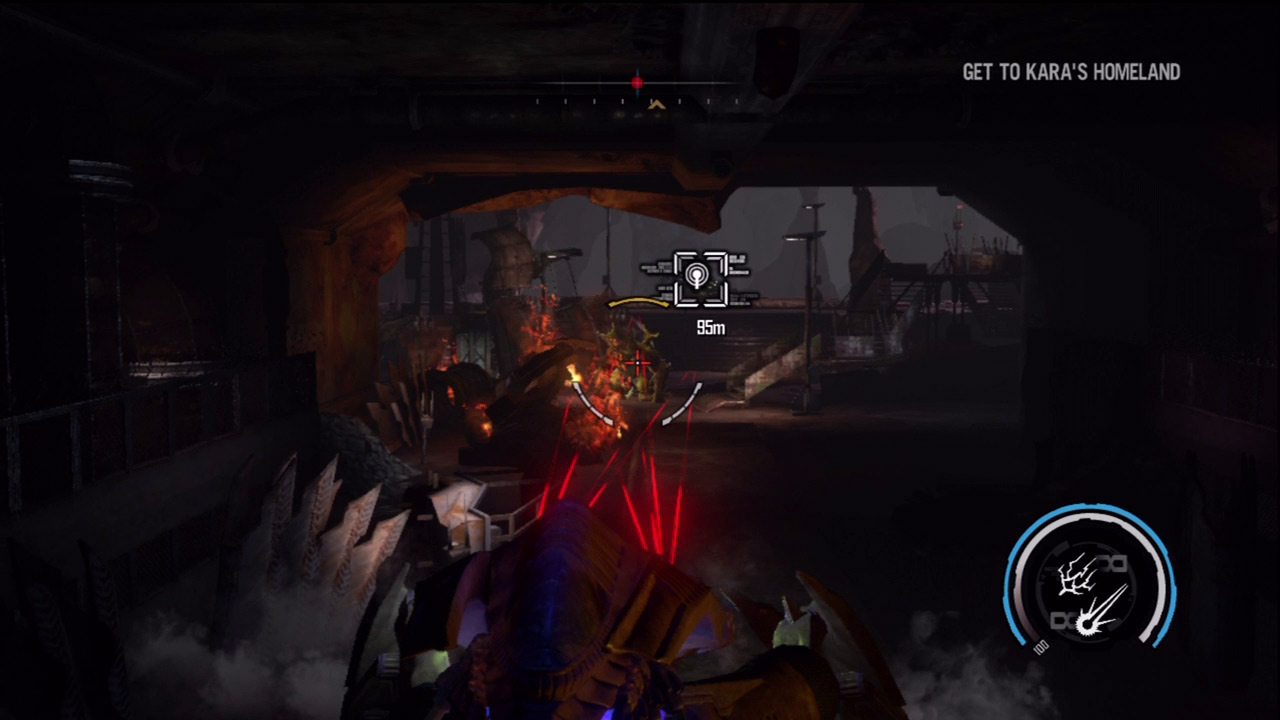
The exit of the tunnel is just ahead, but the landing pad ahead is guarded by two behemoths. Hold inside the tunnel and target the behemoths with the convergence laser. In between each laser shot, engage the massive creatures with the chain lightning beams. To avoid their incoming projectile attacks, side-step to the left, taking partial cover behind the wall at the tunnel's curve. If the behemoths continue advancing, backpedal all the way to the previous cavern while returning fire. Keep your distance and keep shooting until both behemoths fall to the ground. When the path ahead is clear, proceed to the landing pad beyond the tunnel's exit. Kara says the flyer on the pad can take them the rest of the way.