
Red Faction: Armageddon Guide Walkthrough Campaign
Relay Stations
| Icon | Name | Description | Gamerscore | Trophy |
|---|---|---|---|---|

|
Salvager | Find 200 piles of salvage. | 20 | Bronze |
|
Weather the Storm | Destroy the Jamming Devices. | 15 | Bronze |
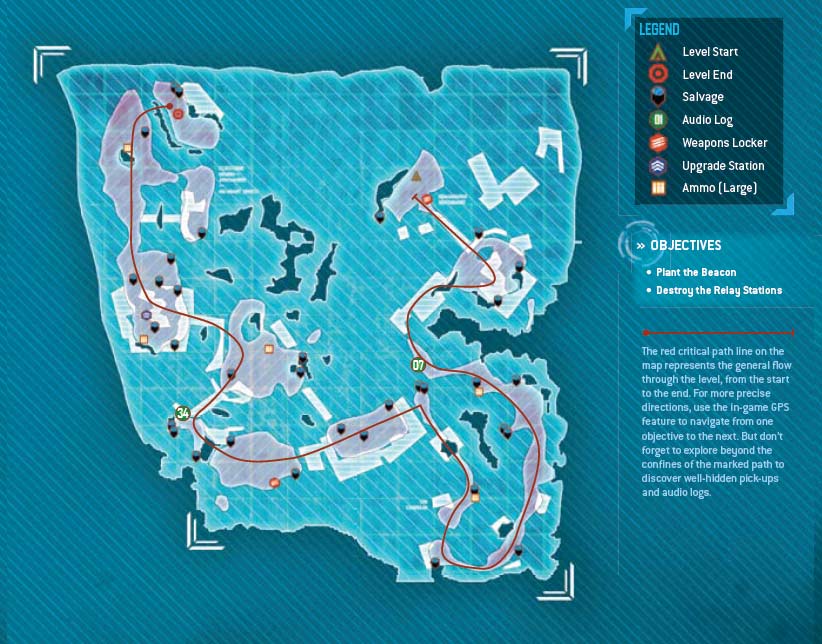
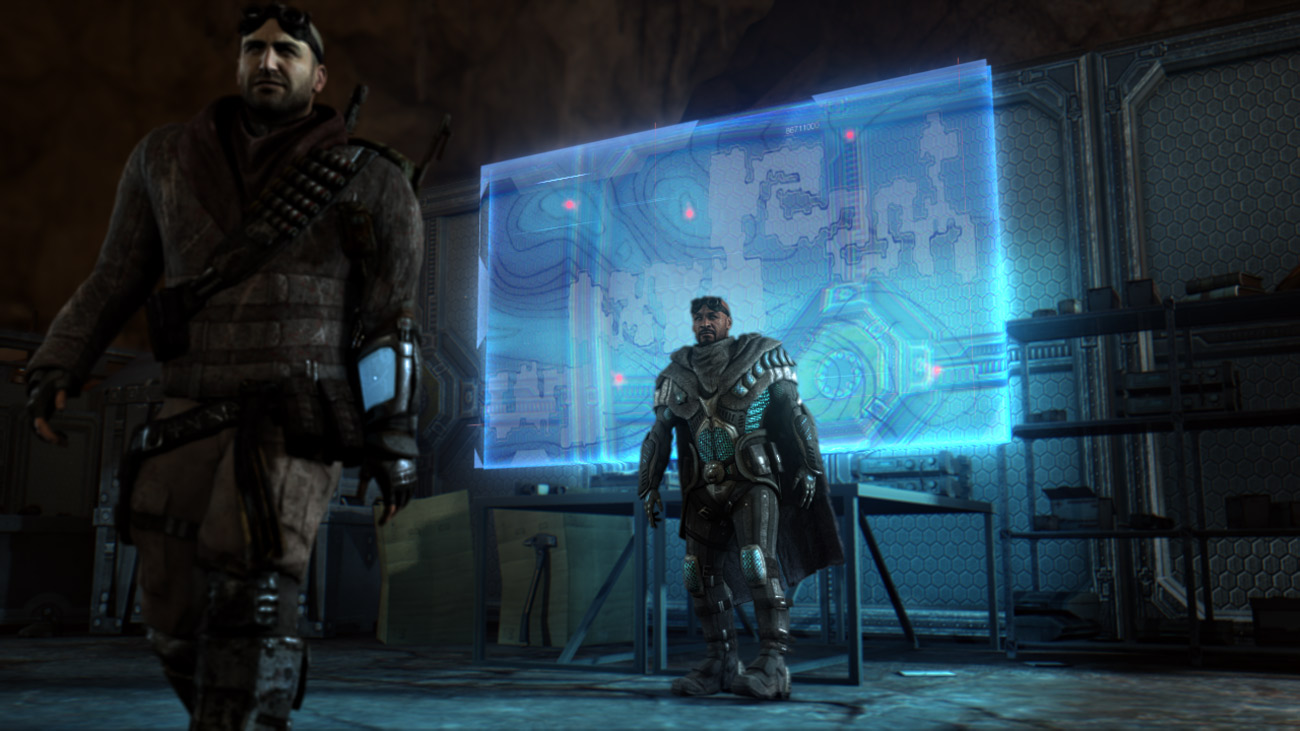
The cultists have established a network shroud, making it impossible for Red Faction to track their movements. Sergeant Winters needs Darius to destroy a set of relay stations in an effort to break the shroud. Since Darius is not a Red Faction soldier, Winters can't order him to do anything, but Darius volunteers for the mission. The sooner they break through this shroud, the sooner they can get to Adam Hale.
New Objective: Plant the Beacon
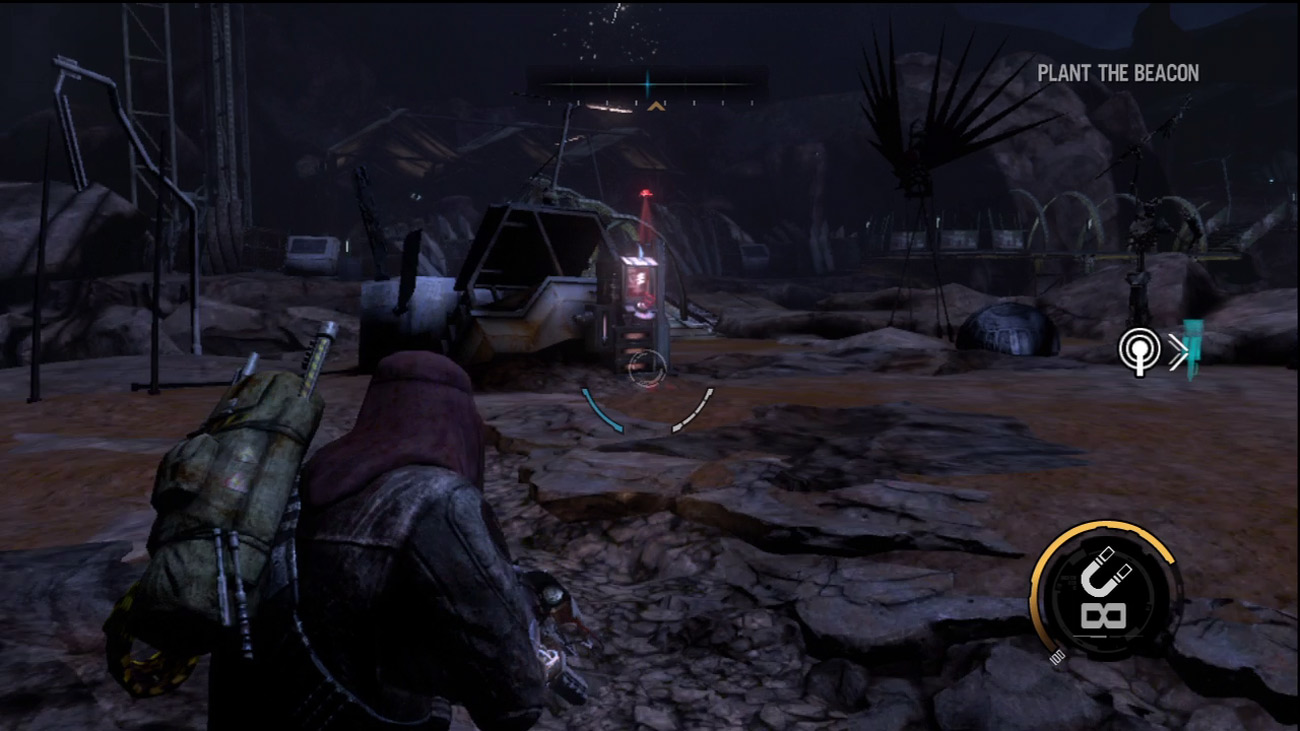
Before planting the beacon at the start of this mission, visit the nearby weapons locker to adjust your load-out. For this mission, consider bringing along the Rocket Launcher, Magnet Gun, Nano Rifle, and Assault Rifle—later you'll swap out the Assault Rifle for the Rail Driver. Once you've outfitted yourself, move to the spot marked on the HUD and install the beacon. The beacon allows you to get a reading on the locations of the relay stations the cultists are using to create the network shroud.
Relay Station 1
New Objective: Destroy the Relay Stations
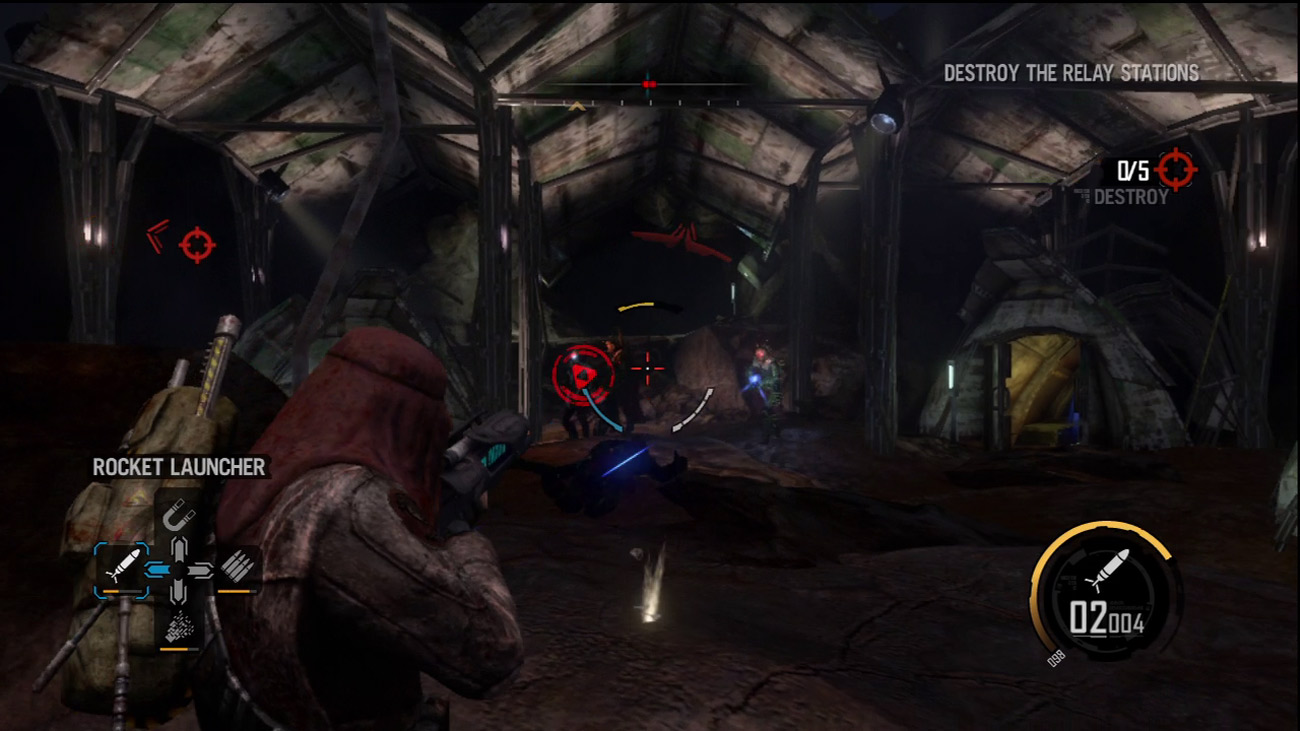
The first relay station is located across the bridge from the spot where you planted the beacon. Cross the bridge and prepare to fight off a few cultists. Your Assault or Nano Rifle make quick work of these enemies. If the group of cultists bunch up, hit them with your Rocket Launcher. Keep up the attack until all enemy contacts disappear from your compass. Now turn to the relay station tower, marked on the HUD. Dismantle the tower using the Magnet Gun.
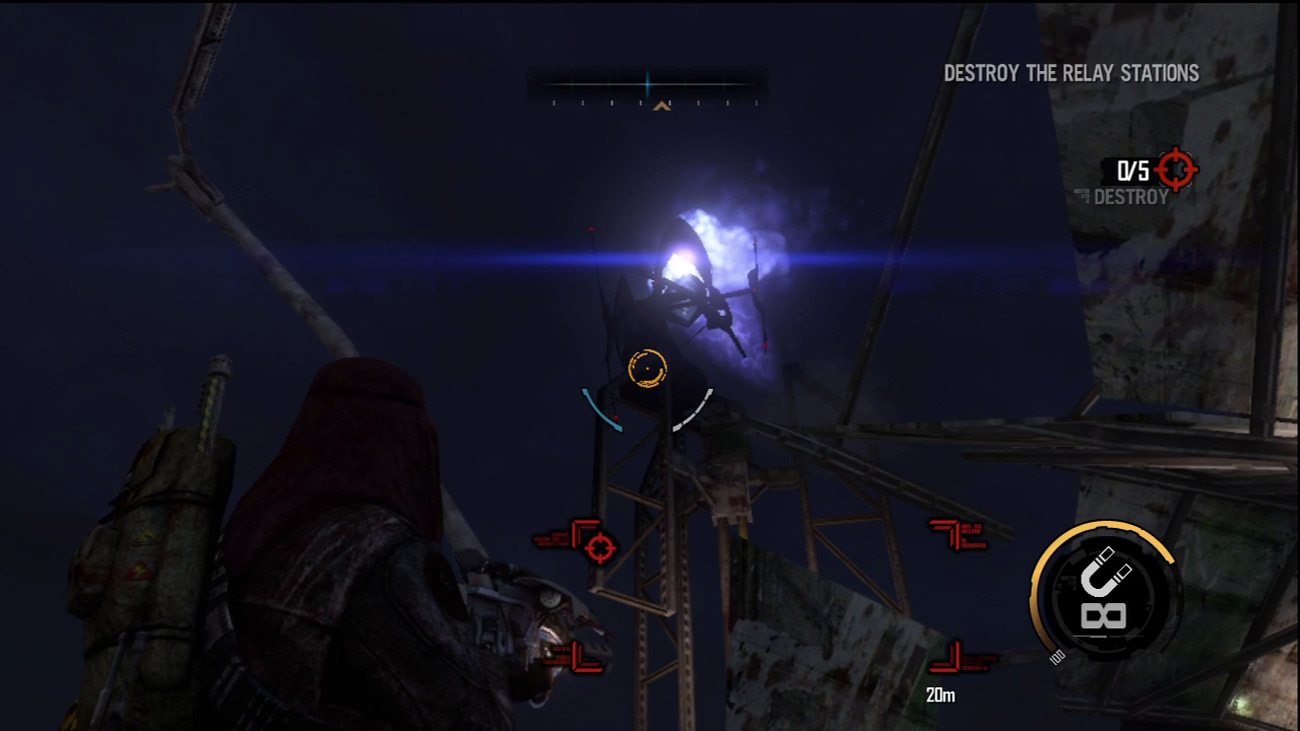
Keep stripping away pieces of the tower until it is completely destroyed. One down, four more to go. Before leaving this area, search for ammo and salvage among the tower wreckage and within the domed hut-like structures.
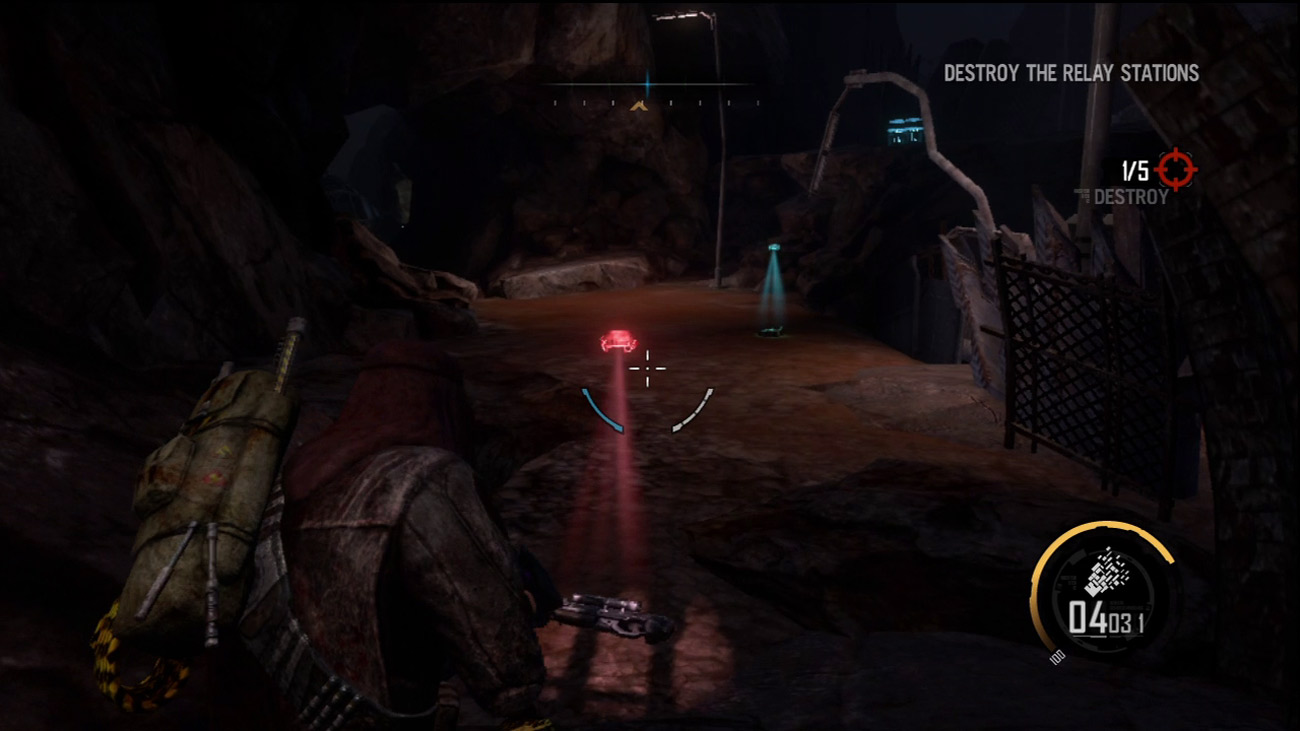
Follow the GPS markers to advance toward the next relay station. After crossing a bridge, pick up the Rail Driver on the ground—drop your Assault Rifle in exchange for this powerful weapon. The Rail Driver is a high-powered rifle equipped with a biometric scope, making it easy to identify hostile targets at long range. Grab the rifle and continue toward the second relay station.
Gonna be hard not to shoot the bastard in the back of the head. . . but at least the Masons are finally gonna get what's coming to them.
Relay Station 2
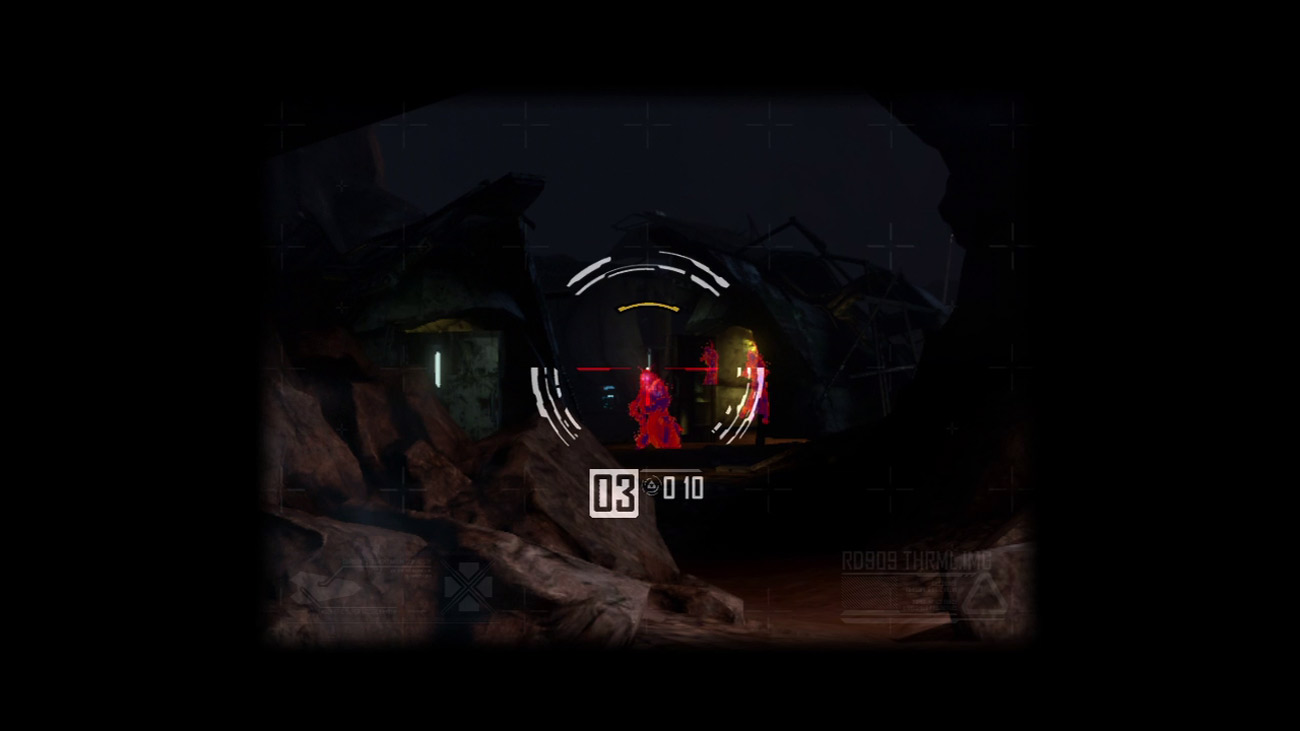
After picking up the audio log, several cultists appear on your compass. Equip the Rail Driver and take aim toward the encampment ahead. Aiming the Rail Driver brings up the weapon's scope view. Not only does the scope magnify targets, but it also highlights the heat signatures of organic entities, even if they're behind light cover. For best results, aim for your target's head to score an instant kill. If you miss, the weapon is semi-automatic, allowing you to fire a quick follow-up shot. But if you begin taking heavy return fire, consider stowing the Rail Driver for now and finish off the rest of the cultists with your Nano Rifle.
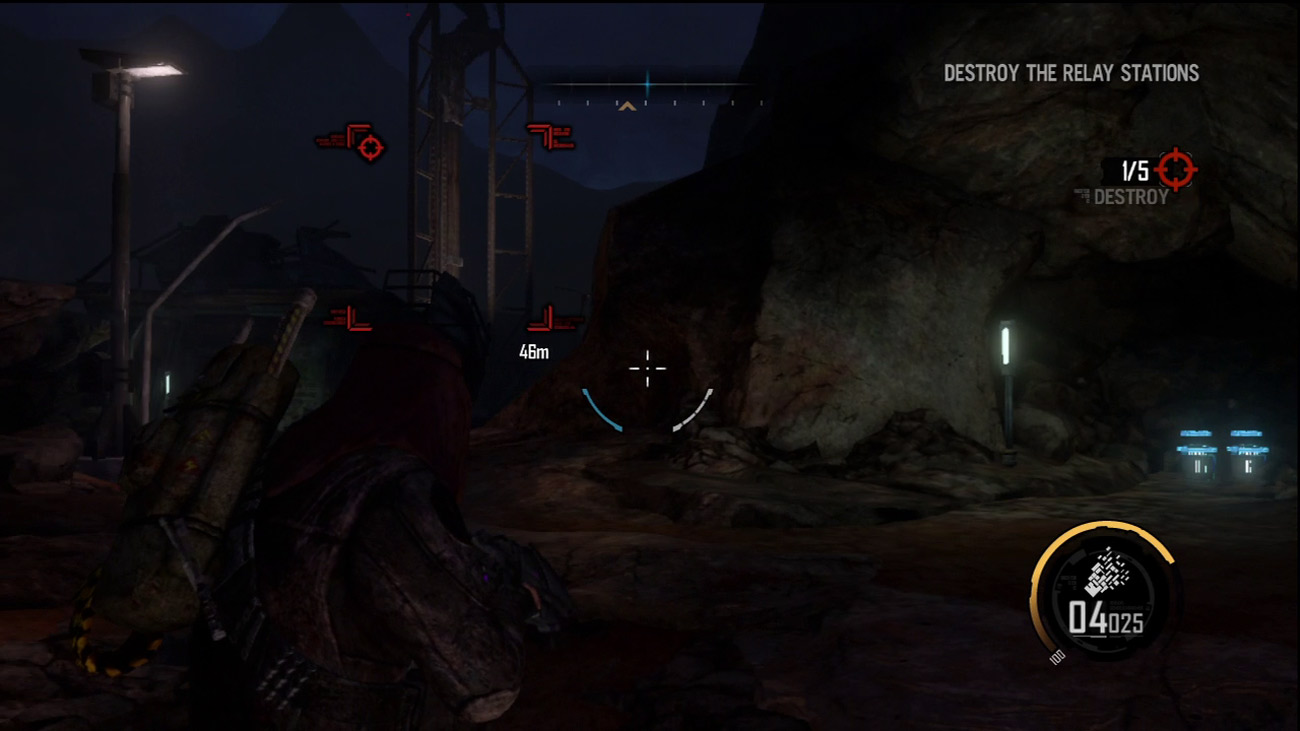
Cautiously advance into the encampment and finish off any remaining cultists in the area. Also search each hut along the main path for ammo and salvage. As you near the second relay station, S.A.M. warns that weather patterns are highly unstable in this area. Suddenly, a small tornado touches down and tears the relay station apart. In the aftermath, watch out for falling debris, as pieces of the tower come crashing back to the ground. Consider taking cover in the rocky alcove to the right where you can also grab a couple of salvage containers. Stay put until the dust settles.
Relay Station 3
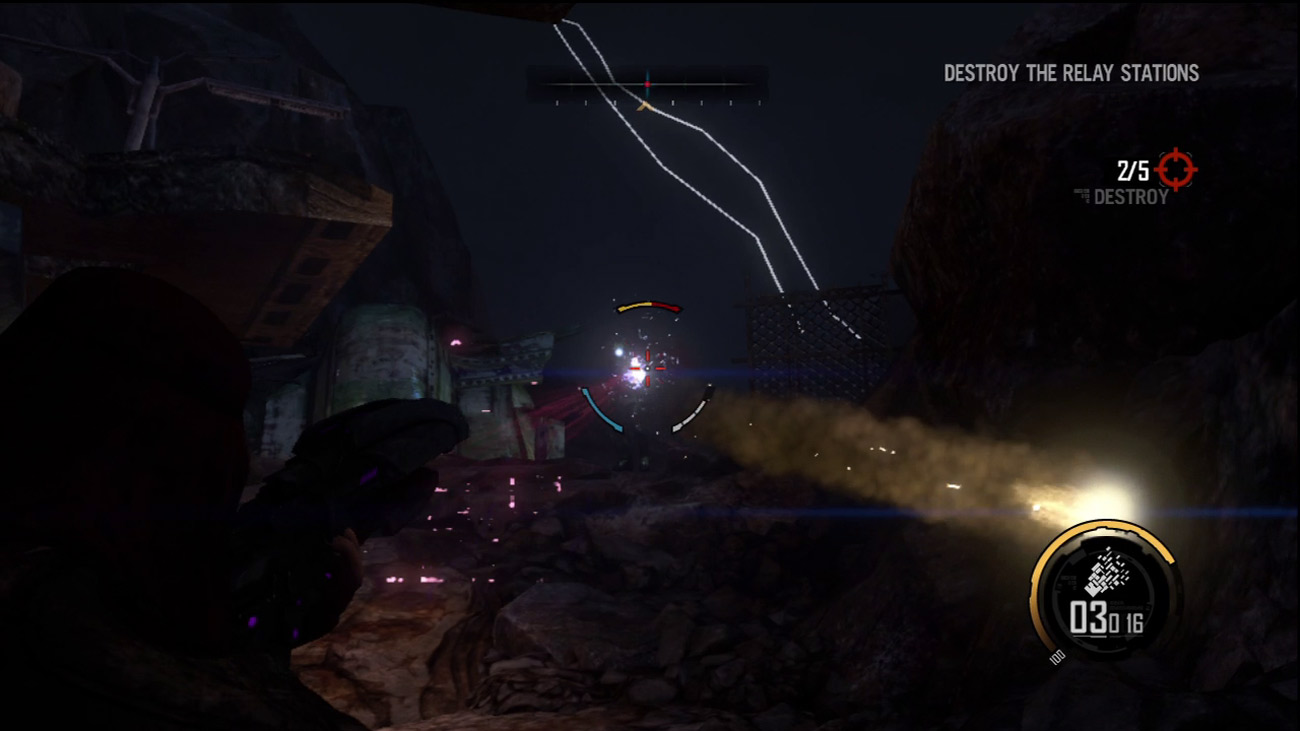
Beyond the collapsed second tower, fight your way past a few more cultists. One of the cultist officers is armed with a rocket launcher, so be ready to dive out of the way. Return fire with your Nano Rifle or Rocket Launcher to eliminate this threat as quickly as possible. As usual, search the path and surrounding structures for ammo and salvage. Also, be mindful of the weather and watch out for falling rocks in the canyon ahead.
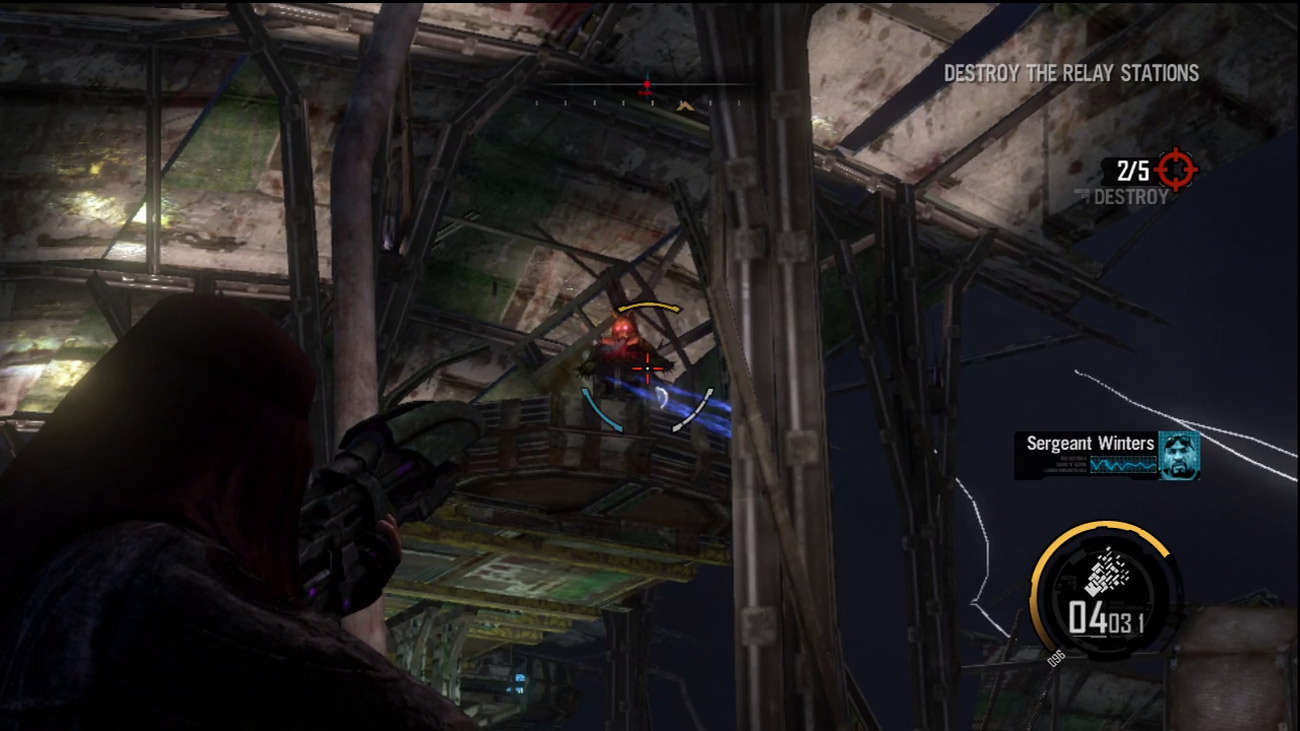
As you near the third relay station, a cultist manning a turret positioned on a high structure to the left attacks. Either kill the gunner or destroy the flooring beneath his feet with your Nano Rifle, causing the cultist to fall to the ground and making him much easier to kill. Another turret is positioned on the lower level of this structure. Either pick off the gunner or annihilate the turret entirely with your Nano Rifle. More cultists attack ahead, including one armed with a shotgun and another with a grenade launcher. Blast the shotgun-toting cultist before he gets close enough to cause heavy damage. Then pick off the cultist launching grenades by hitting him with the Rail Driver.
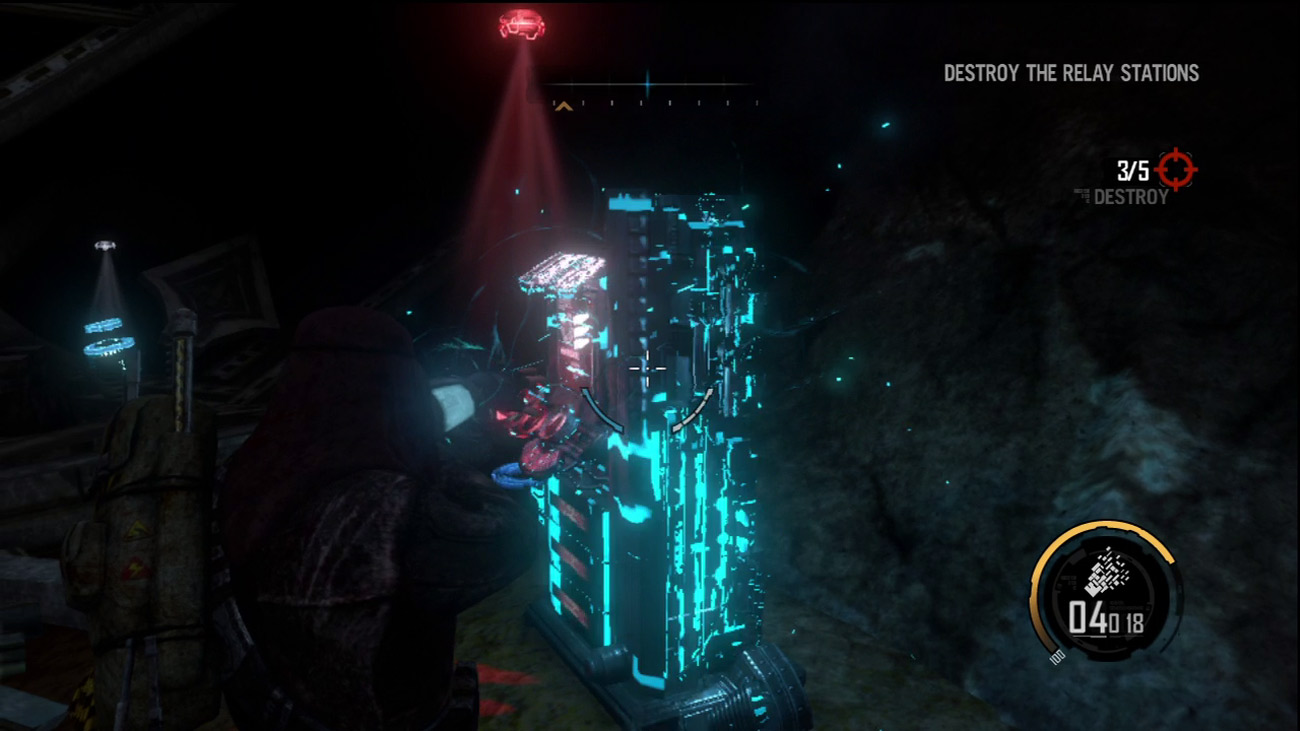
At the third relay station, you may come under fire by cultists on the distant platforms. Use your compass to zero in on their approximate locations, then peer through the Rail Driver's scope to pinpoint their exact positions. Eliminate the hostiles until the compass is clear of red dots. At this point, turn to the third relay station and dismantle the tower using the Magnet Gun. Following the destruction of the third tower, repair the weapons locker at the tower's base. Feel free to change up your weapon load-out, but keep the Rocket Launcher and Nano Rifle for now. Search the surrounding area for salvage and ammo, then follow the GPS markers toward the bridge leading to the next relay station.
Relay Station 4
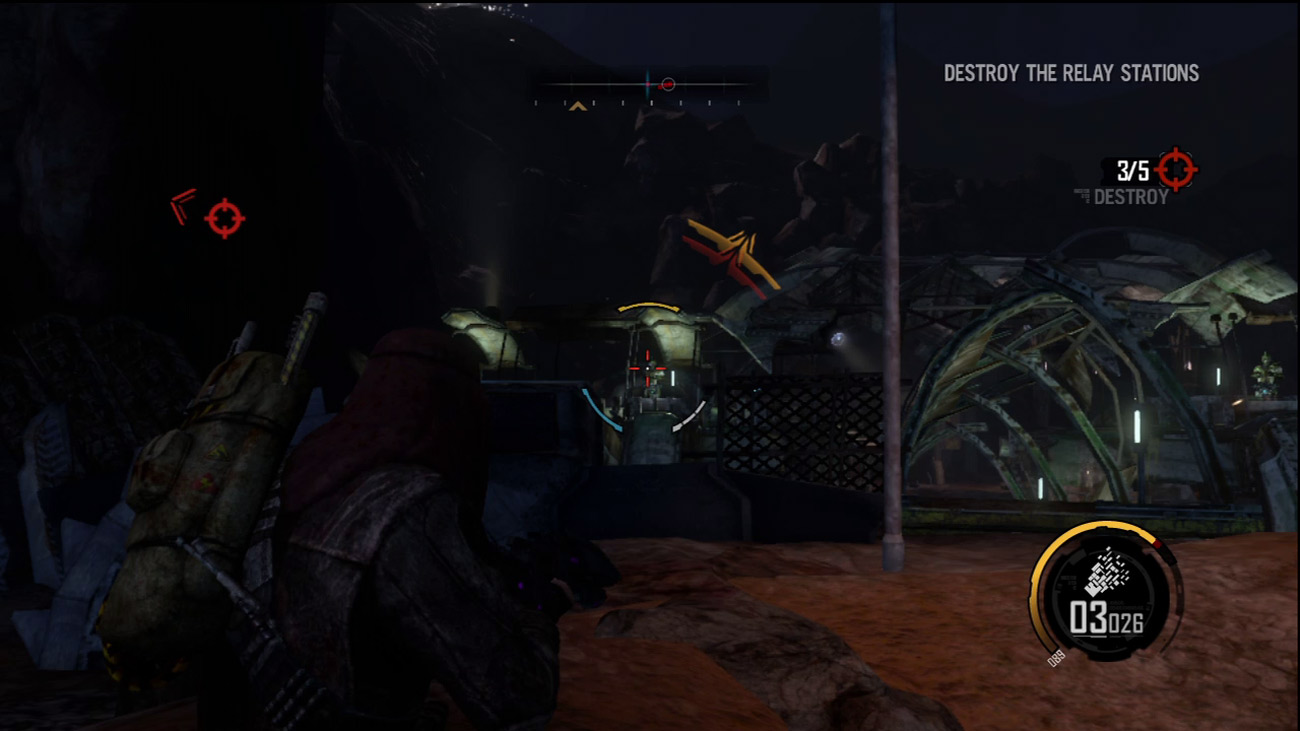
The next relay station is located directly across the next bridge. As you approach the tower, you come under attack by more cultists to the left. Two of the cultists man turrets, capable of dishing out heavy damage. If necessary, seek cover in one of the huts to recover.
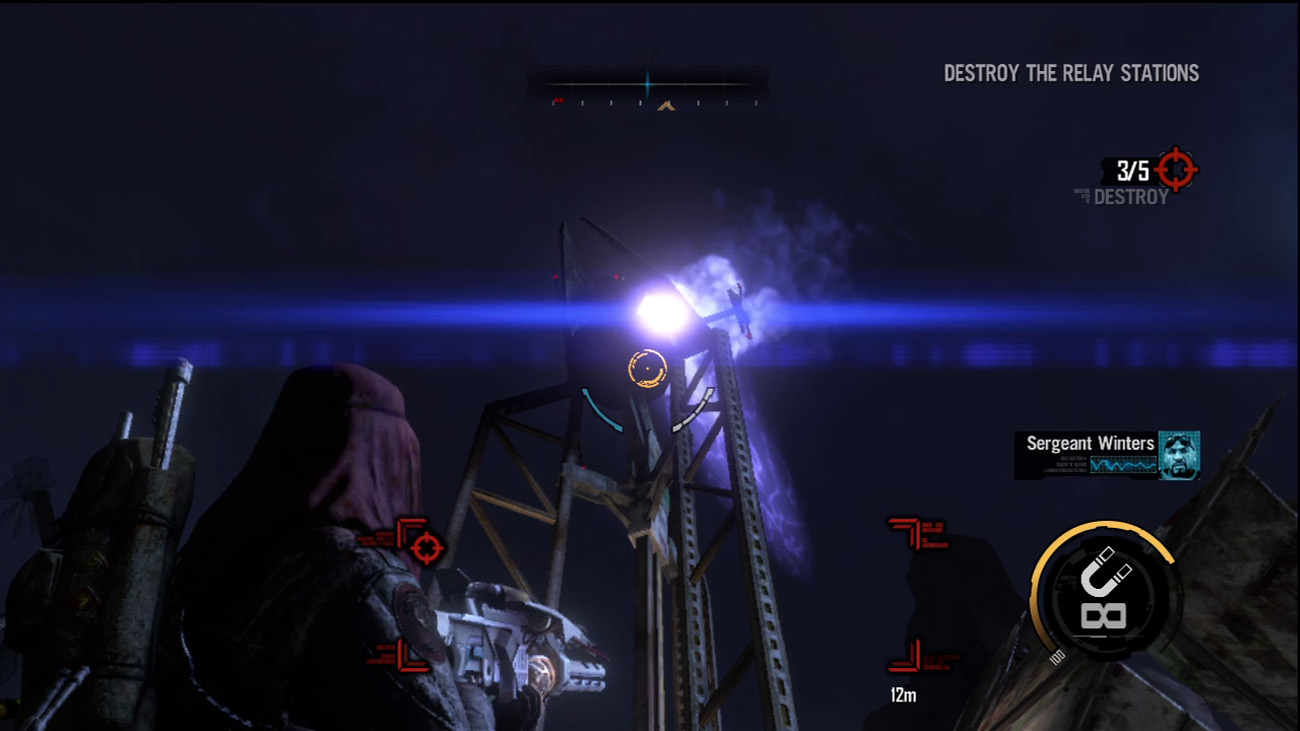
Target the gunners with your Nano Rifle or Rocket Launcher to quickly silence the turrets. Once the turrets are down, watch for more cultists coming across the adjacent bridge. Blast them with your Nano Rifle or finish them off with melee strikes if they continue their advance. You may not be able to eliminate all the cultists from this position, so before moving out, turn to the fourth tower and tear it apart with the Magnet Gun. Also, scour the nearby huts for ammo and salvage before moving out.
Relay Station 5
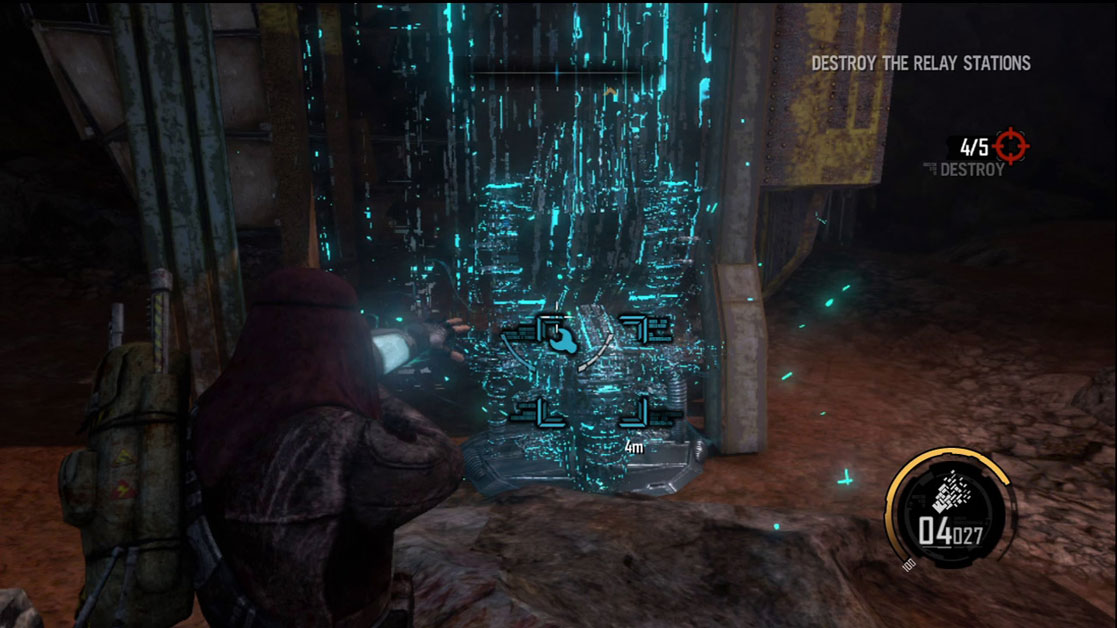
As you cross the bridge to the next area, watch out for damaged sections resulting from the fire fight with the cultists. Repair any damaged pieces of the bridge as you cross and watch for more cultists hiding among the structures ahead. Use the Rail Driver's scope to pinpoint their locations and engage them at long range. At the base of the large structure on the opposite side of the bridge is a damaged upgrade station. Repair the upgrade station and then take a moment to spend some of your hard-earned salvage.
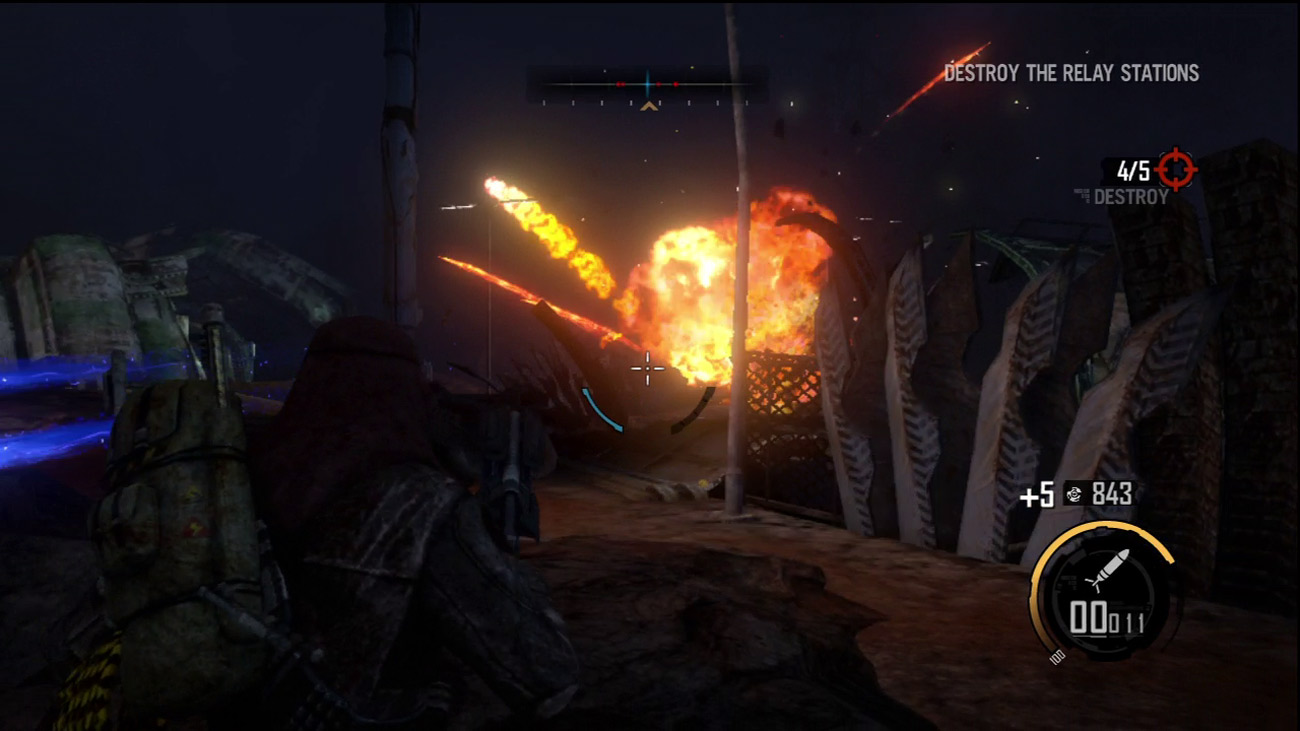
The final relay station is heavily defended by a large contingent of cultists, including one operating a SHIVA Exo suit. Before they notice your presence, thin out the resistance by sniping cultists with the Rail Driver. But you can't remain covert forever. Once they begin counterattacking, locate and target the SHIVA with the Rocket Launcher—all it takes is a few hits to bring down this threat. Once the SHIVA is destroyed, eliminate the remaining cultists using your Nano Rifle or the Rail Driver.
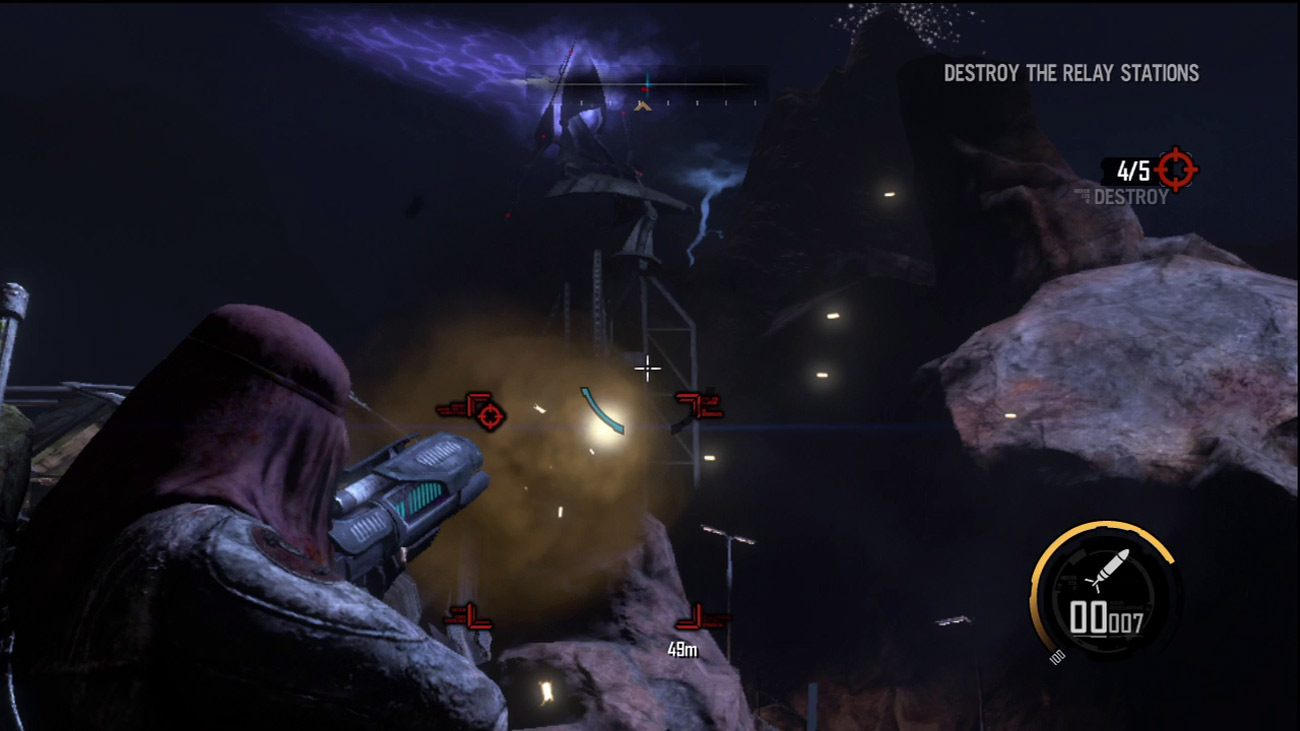
The final relay station can be destroyed from long range using the Rocket Launcher. Target the base of the tower with a couple of rockets to knock it down. But if you want to gather ammo and salvage near the tower, you must cross the nearby bridge. While scouring the area for pick-ups, watch out for any remaining cultists that may have survived your initial attack. Once you're finished gathering ammo and salvage, press the button shown on screen to complete the mission.