
Red Faction: Armageddon Guide Walkthrough Campaign
Water Supplies
Level Achievements and Trophies
| Icon | Name | Description | Gamescore | Trophy |
|---|---|---|---|---|
|
What is Best in Life? | Perform melee finishers on 25 creepers. | 15 | Bronze |
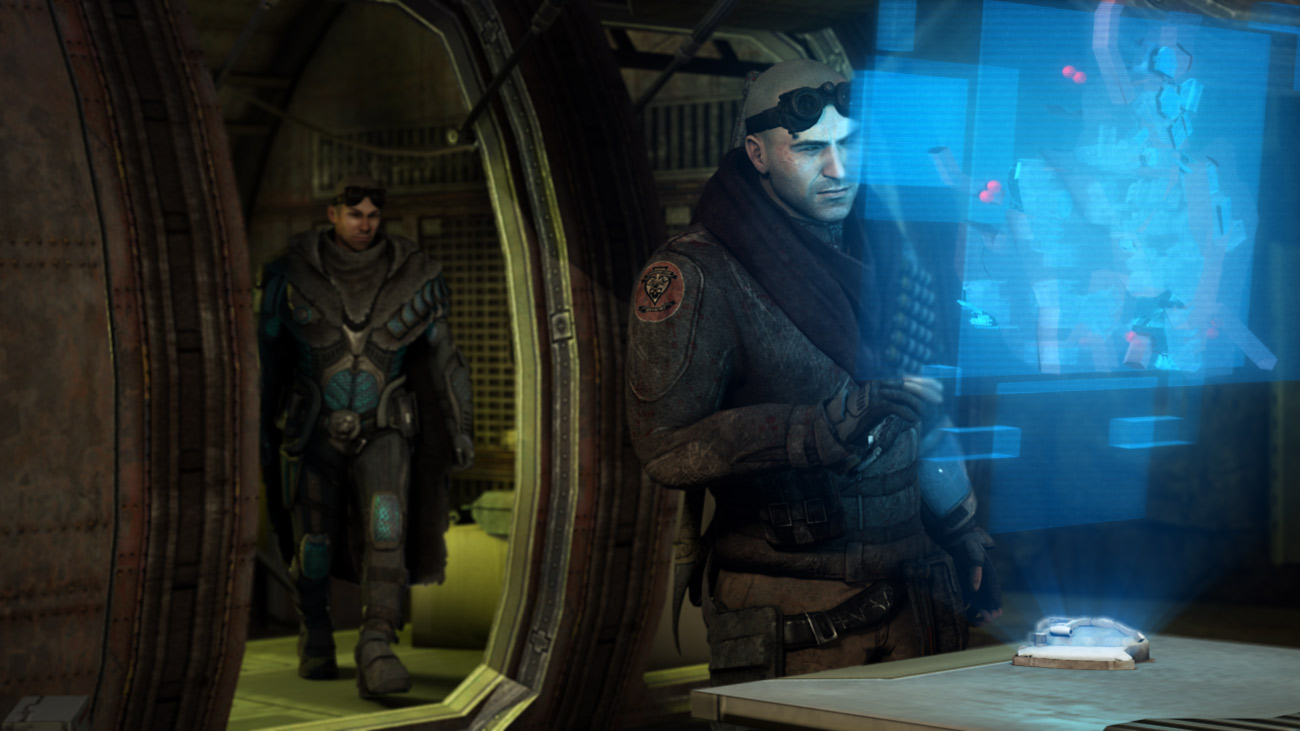
Darius returns to Bastion with the power cells needed to operate the defensive auto-turrets, but there are other problems. The colonists are becoming agitated over the lack of food and water. The Red Faction commanding officer takes Darius aside and admits that all the water is gone. Two days ago the alien creatures destroyed the water pumps. He worries that if the pumps aren't fixed soon the colonists may riot. Darius understands and agrees to check out the water pumps.
New Objective: Find the Water Pumps
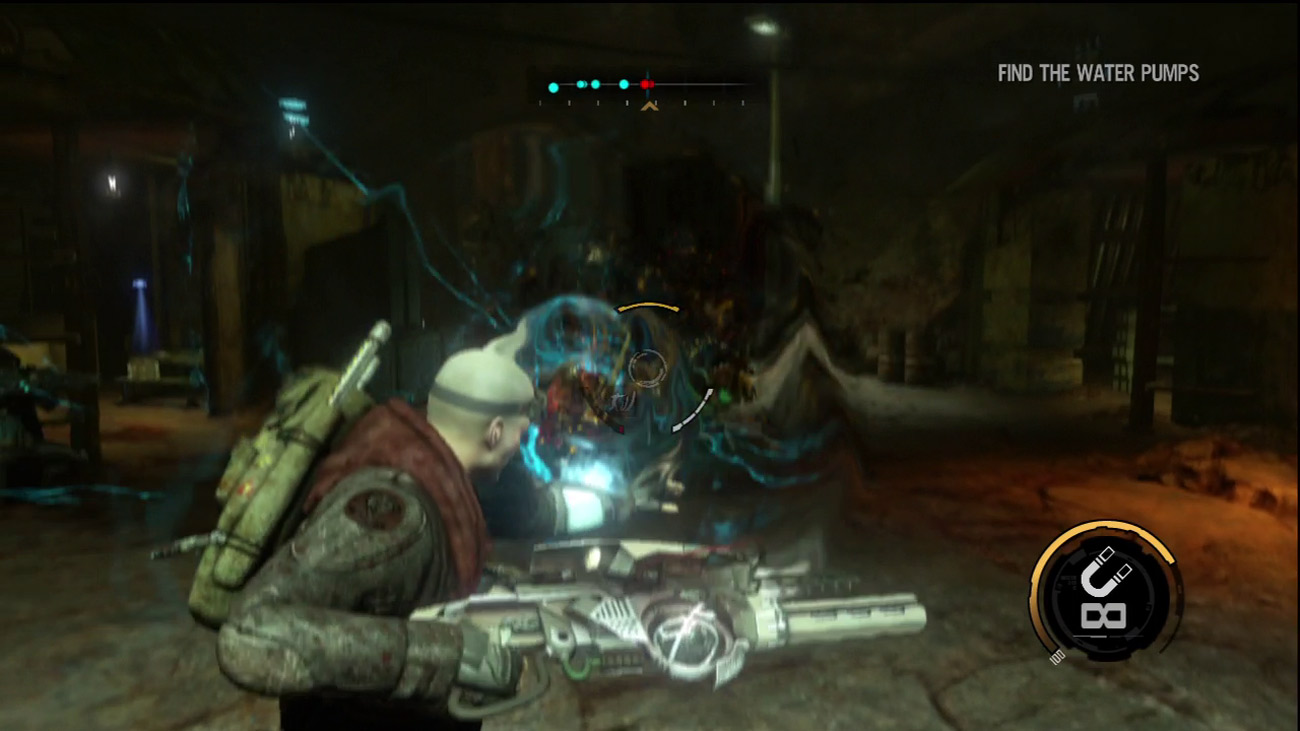
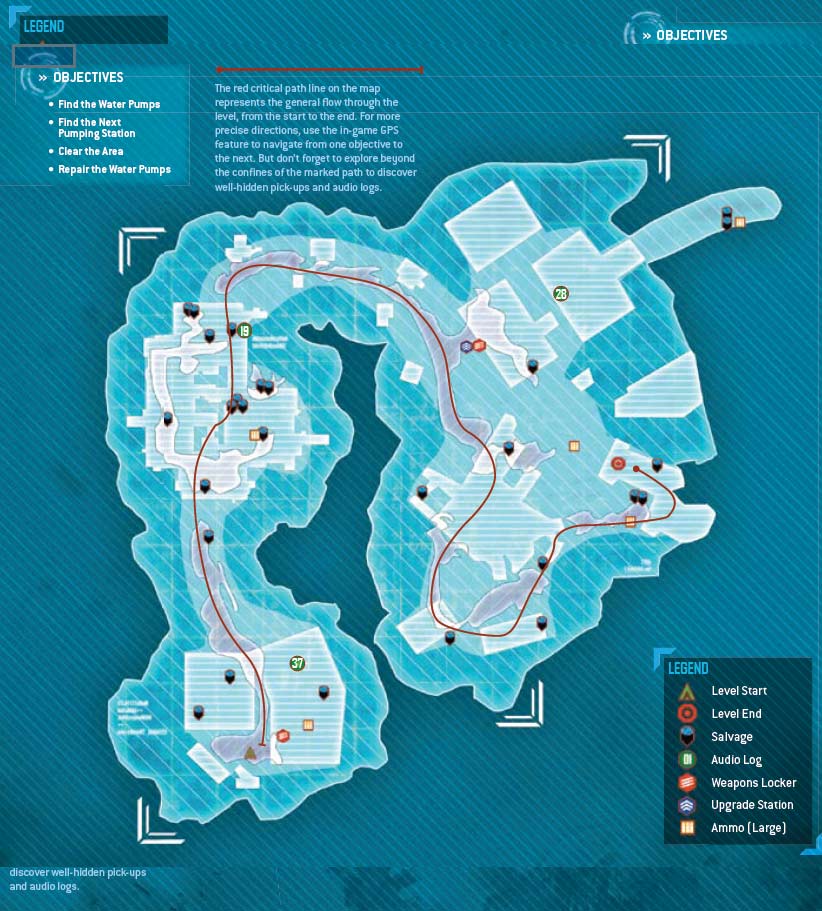
As soon as you enter the tunnel system, several colonists come under attack by a large group of creepers. Rush to their defense, either by shooting the creepers with your Assault Rifle or by knocking them back with the Nano Forge's Impact capability. Once you've defeated the creepers, take a moment to gather ammo and salvage from the nearby structures. There's also a weapons locker on the right side of the tunnel. For now, bring along the Assault Rifle, Magnet Gun, and any other two weapons of your choice.
Follow the GPS markers down the tunnel. Along the way, swap out one of your backup weapons for the Nano Rifle lying on the ground. The Nano Rifle performs similar to the Assault Rifle but uses nanites to disintegrate targets.
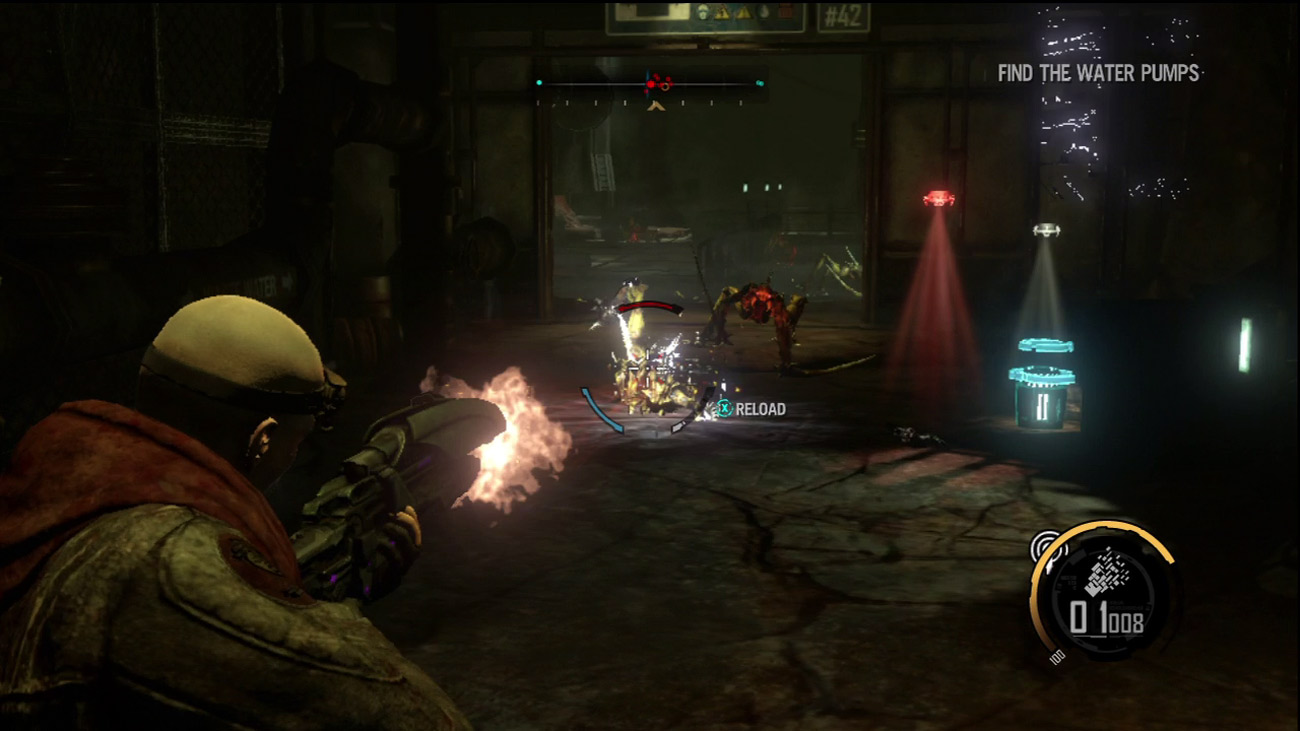
Try out the Nano Rifle on the creepers in the next chamber. All it takes is one hit from the Nano Rifle to kill a single creeper. But ammo for this weapon is somewhat limited, so don't use it all up.
Instead, take out a few creepers and then eliminate the rest using Impact or Shockwave. The first set of water pumps are located in the next chamber, along with plenty of creepers.
Pumping Station #42
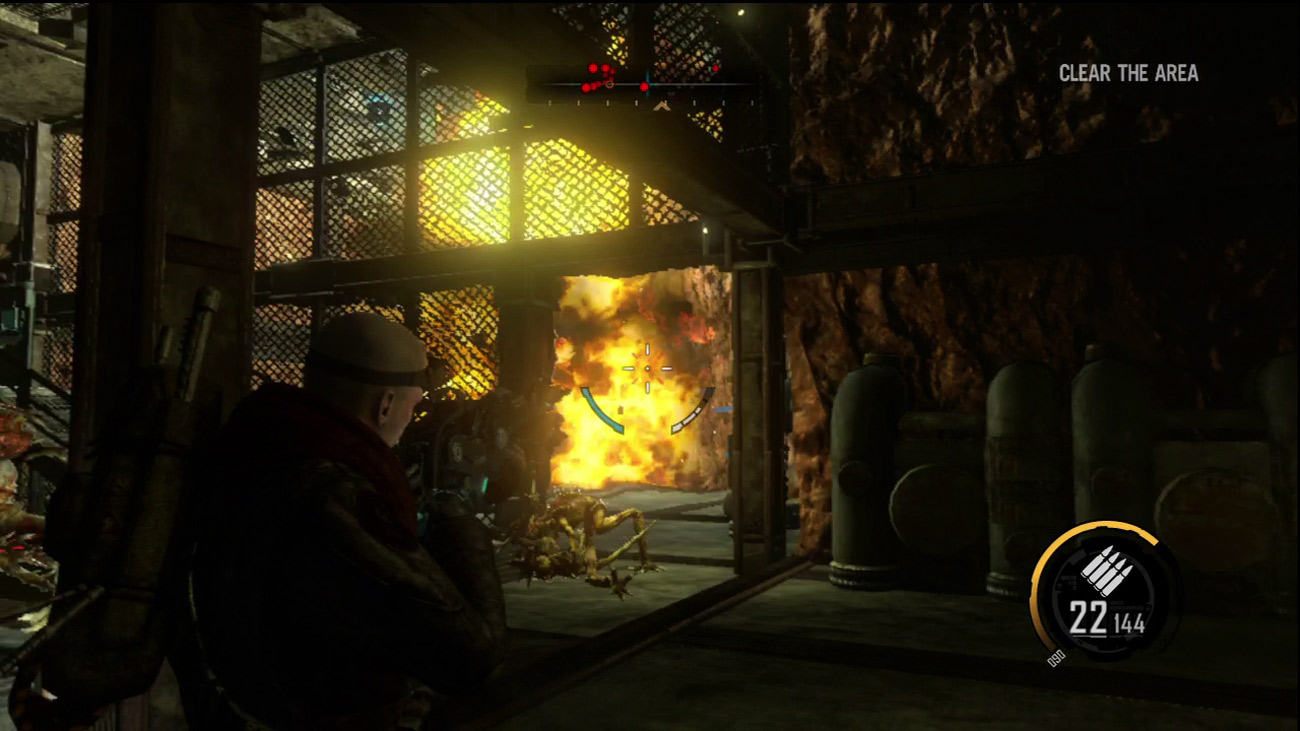
The next area is swarming with creepers. These creatures just keep appearing, spawned from pods on the lower level. Take out the creepers that get in your way and then proceed downstairs, following the GPS markers toward the first set of water pumps. Before repairing the pumps, eliminate the nearby pods. One of the pods can be destroyed by shooting the adjacent red storage tanks. The ensuing explosion vaporizes the pod and leaves behind plenty of salvage. The creepers down here are joined by a few ravagers. Just keep moving and shooting while proceeding from one pod to the next. Eliminate the second pod with the Nano Rifle, destroying it with only two quick shots.
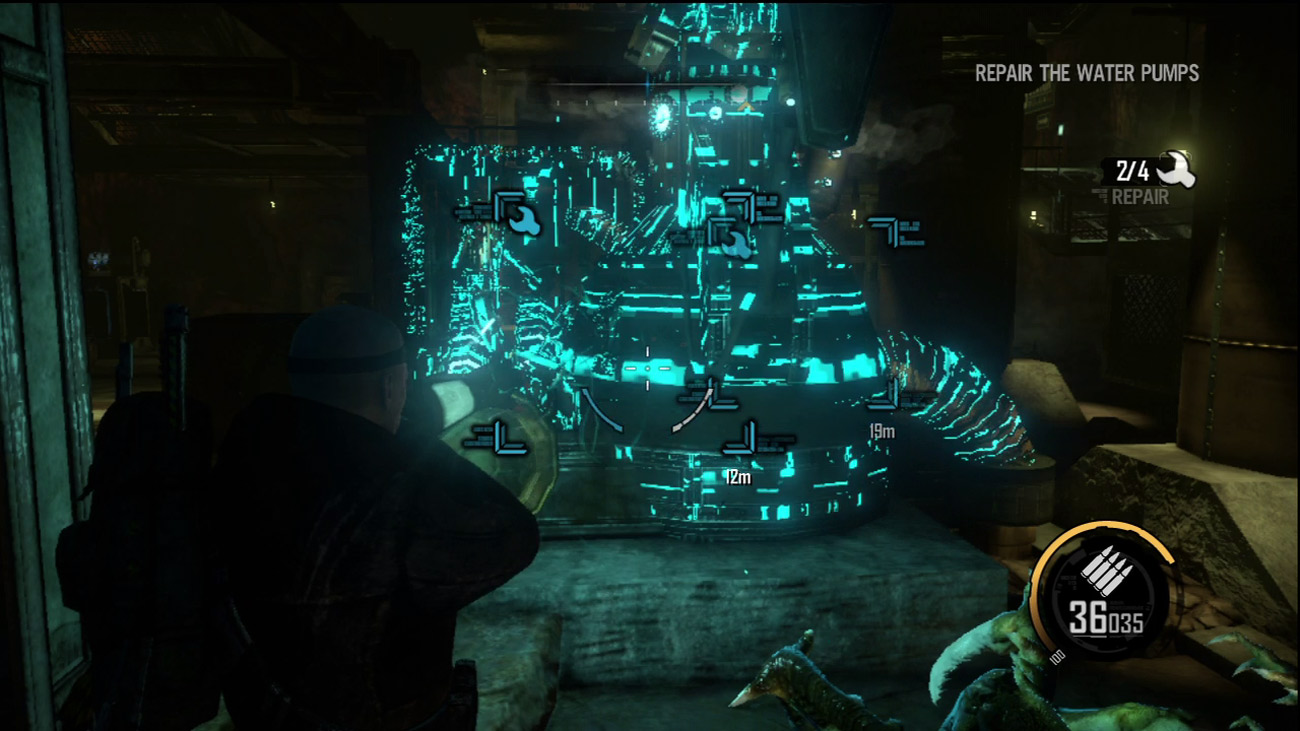
Once the pods are destroyed, finish off the remaining creepers and ravagers, then repair the first set of water pumps. There are four destroyed pumps in this area. Use your repair capability to get all four pumps back online. Corporal Hoddle, back at Bastion, acknowledges that the water is flowing, but there's something wrong with it—the water is dirty. They'll continue running diagnostics on the water purification stations while you repair the rest of the pumps. Before heading back upstairs, scour the bottom floor for ammo and salvage. While heading upstairs you may need to repair the ramps and catwalks that may have been damaged during your fight against the creepers and ravagers. Watch your step and beware of damaged sections.
New Objective: Next Pumping Station
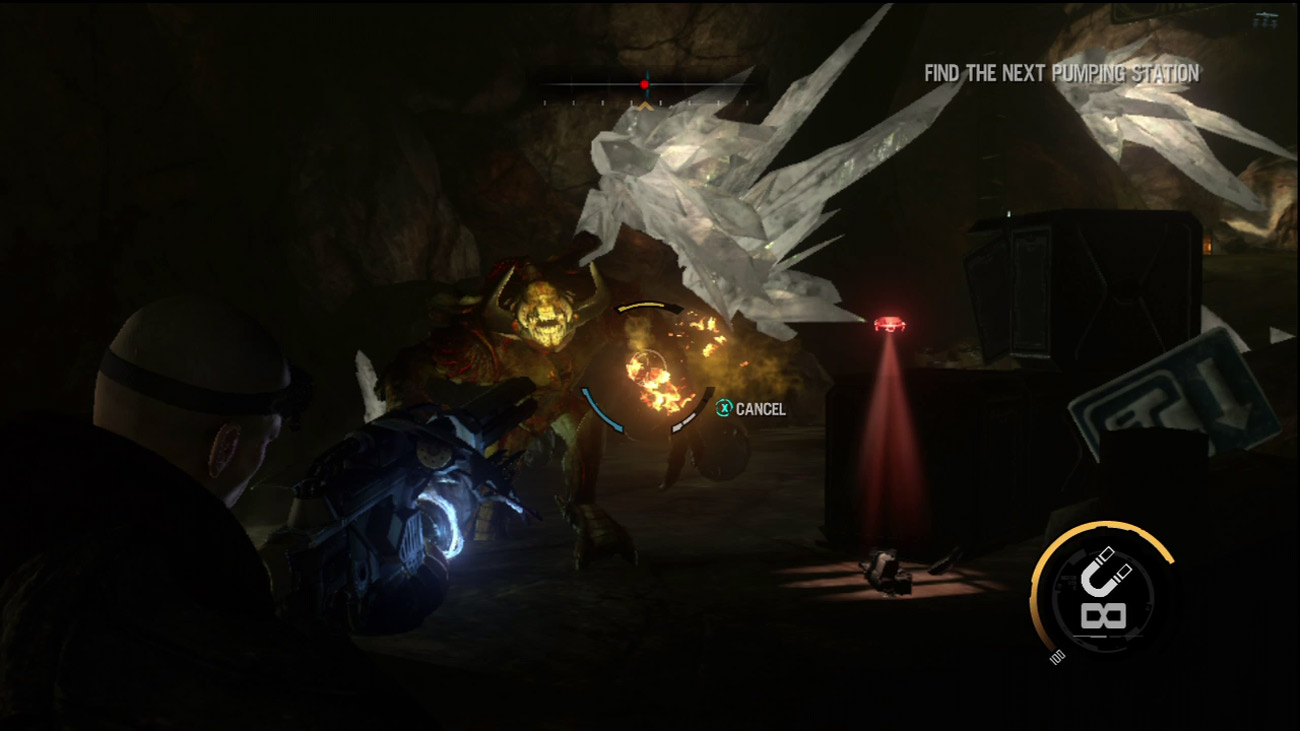
The GPS markers lead you into a tunnel lined with crystals. There's also something else at the end of the tunnel-a yellow berserker. This yellow berserker is similar to the green berserker, but launches explosive yellow pulses of energy in your direction that explode on contact. On the floor of this cavern is a Charge Launcher, however the Nano Rifle is the best way to dispose of this enemy. Keep blasting the berserker until it explodes—just make sure you're a safe distance away when this happens. If the berserker gets too close for comfort, knock the creature back with Impact or your Magnet Gun.
Monorail Station
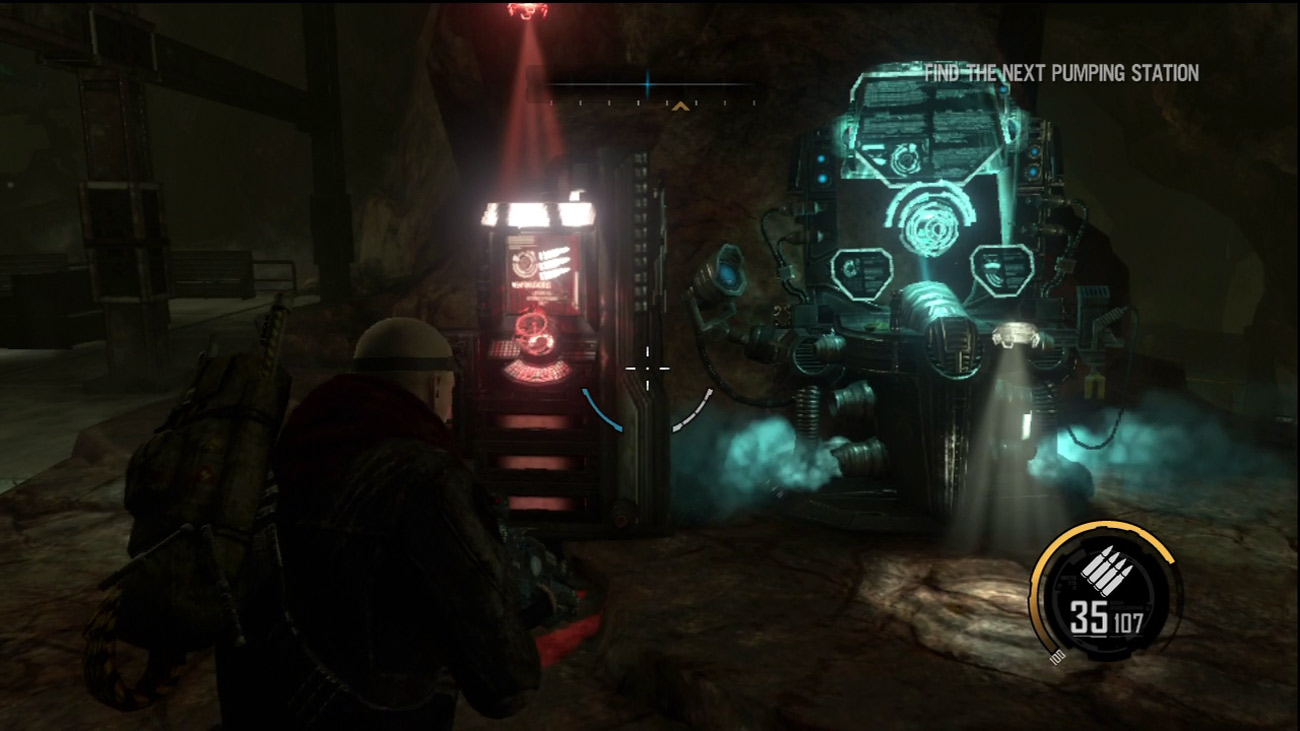
Just ahead is an abandoned monorail station. Take a moment to access the upgrade station and weapons locker here. By now you should be close to owning most of the tier 1 upgrades, but the tier 2 upgrades are now available as well. Purchase the Autopsy upgrade in tier 2 as soon as you can. This upgrade rewards you with salvage for every enemy you kill. The salvage is automatically added to your total—there's nothing you need to pick up. Over time, the Autopsy upgrade easily pays for itself, allowing you to buy other upgrades at a quicker pace. As for weapons, keep the Assault and Nano Rifles in your arsenal. Fill out the remaining two weapon slots with any weapons of your choice.
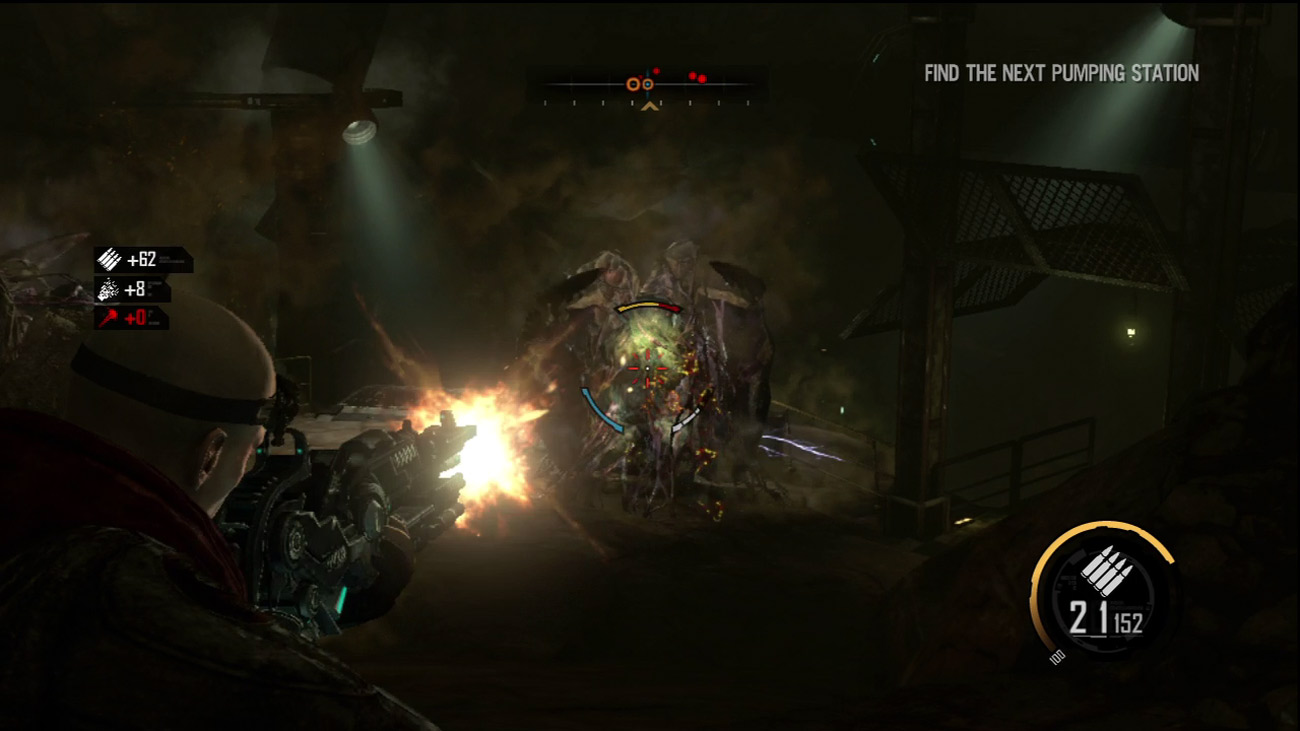
After leaving the monorail station, proceed across a narrow footbridge. At the far end of the bridge is another pod. Blast it with your Nano Rifle or Assault Rifle before it can spawn more creepers. Three more pods cling to the walls of the cavern on the narrow path leading down to the next pumping station. Fight your way through the swarms of creepers and destroy the pods as quickly as possible.
Pumping Station #78
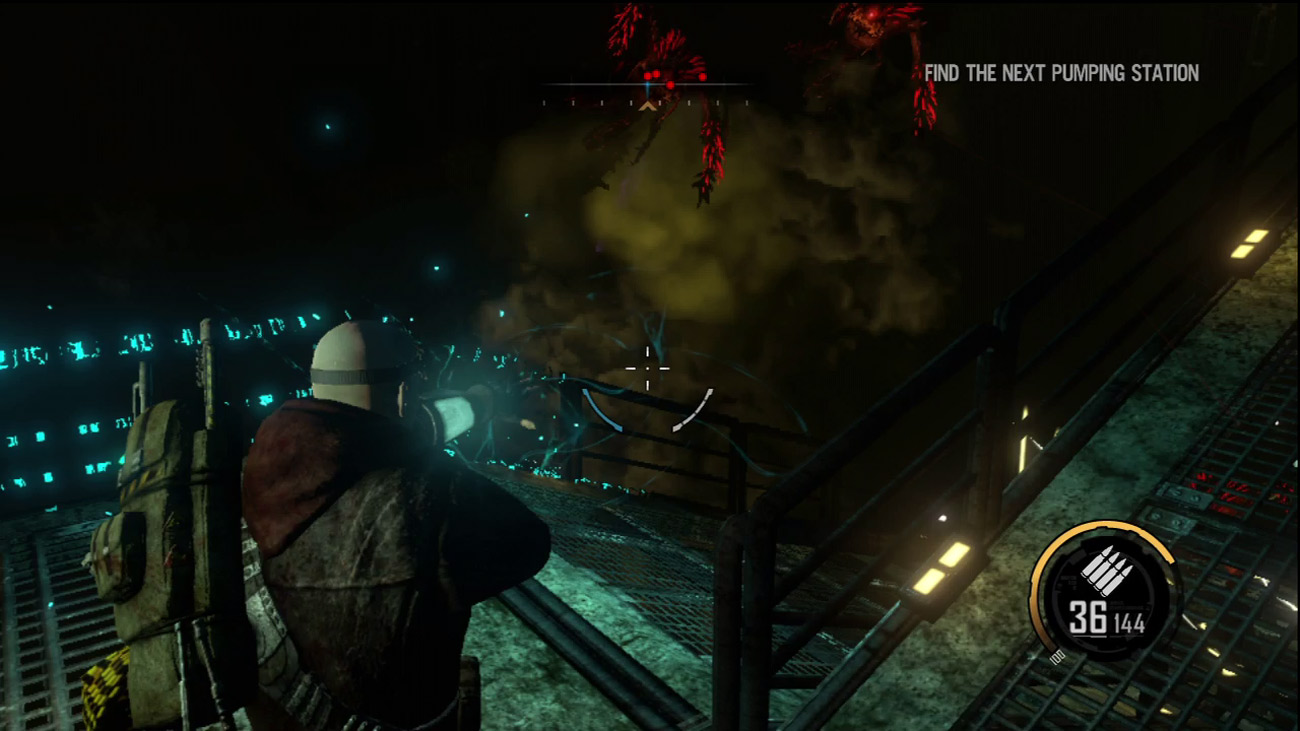
The catwalk system ahead is damaged and must be repaired as you advance down toward the pumping station. As you descend deeper into the cavern, several ravagers materialize on the surrounding walls. Instead of moving and shooting, hold your ground and eliminate each ravager as it comes into view. If you're not careful, you may accidentally step off the damaged catwalk. If you must move, watch where you're stepping to ensure there's a solid structure beneath your feet. Eliminate all the ravagers you encounter during the descent. You don't want them chasing you all the way down.
New Objective: Clear the Area
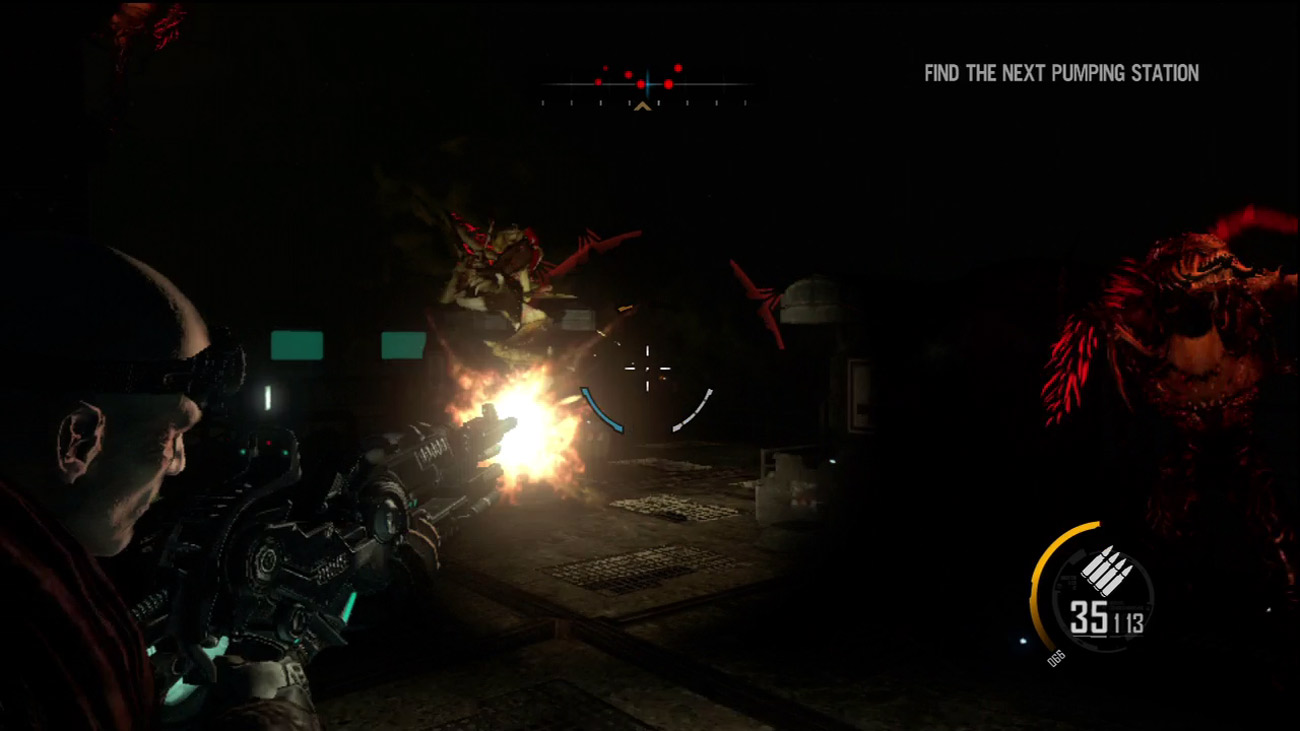
When you reach the bottom of the catwalk system, all hell breaks loose with ravagers attacking from all directions. To make matters worse, it's dark. Rely on your compass to keep your bearings and zero in on the locations of the ravagers. The Nano Rifle is the quickest way to dispatch these enemies, but your ammo probably won't hold out for long—be ready to switch to a different weapon, like the Assault Rifle or Magnet Gun. Although it's dark, you're on solid ground, so don't be afraid to move around. This makes you a tougher target to hit for the ravagers shooting at you from the cavern's walls. If you find yourself surrounded and hit with melee strikes, use Impact or Shockwave to give yourself some breathing room. Keep up the fight and hunt down every last ravager to complete the objective.
New Objective: Repair the Water Pumps
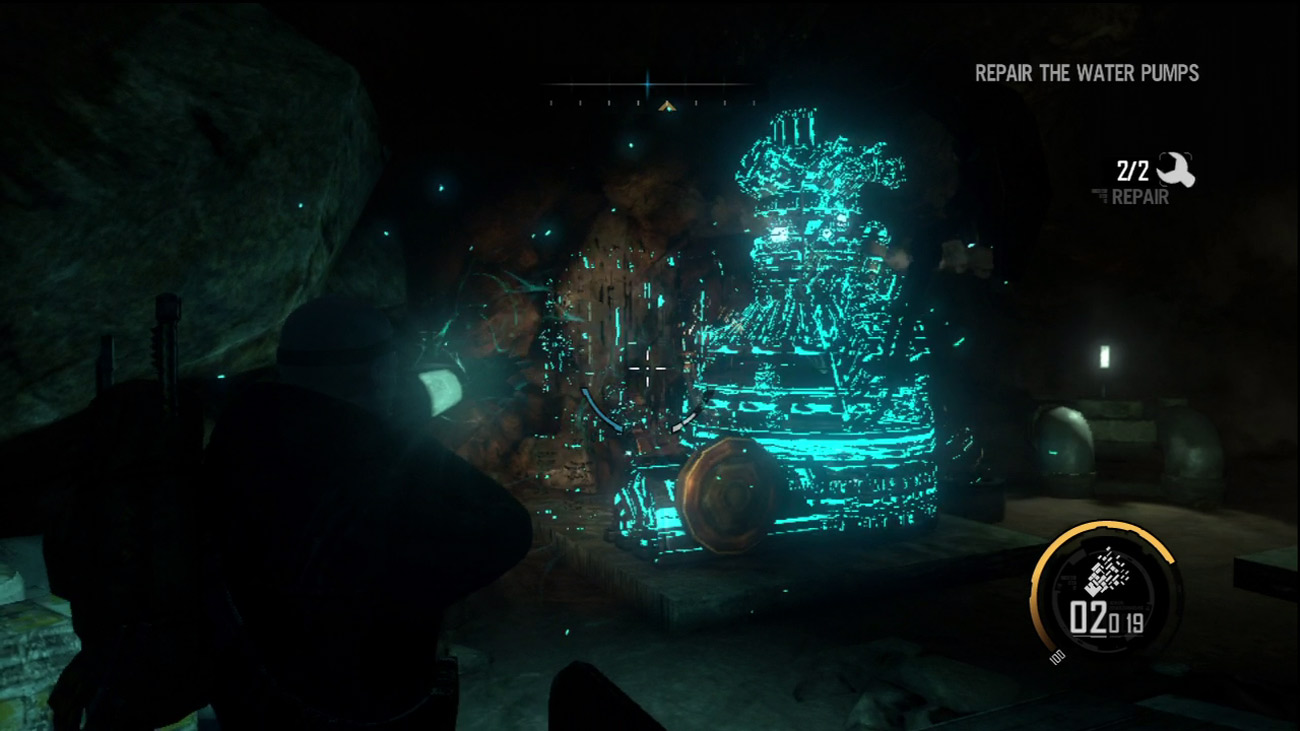
Following the fight with the ravagers, locate and repair the two damaged water pumps. After completing the repair work, Darius checks in with Corporal Hoddle to see how things are working. Hoddle is currently investigating the problem with their water treatment plant called Deep Freeze 2—apparently there's some problem at the plant. But Hoddle's transmission suddenly fades out. S.A.M. is unable to reestablish the comm-link but reports that Deep Freeze 2 is located in the cave system below. Despite S.A.M.'s warnings, Darius is determined to assist Hoddle's team at Deep Freeze 2. Advance down the adjacent tunnel as indicated by the GPS markers. At the end of the tunnel, interact with the hatch in the floor to descend to the lower cave system.