
Red Faction: Armageddon Guide Multiplayer Battlegrounds Basics
Training Missions
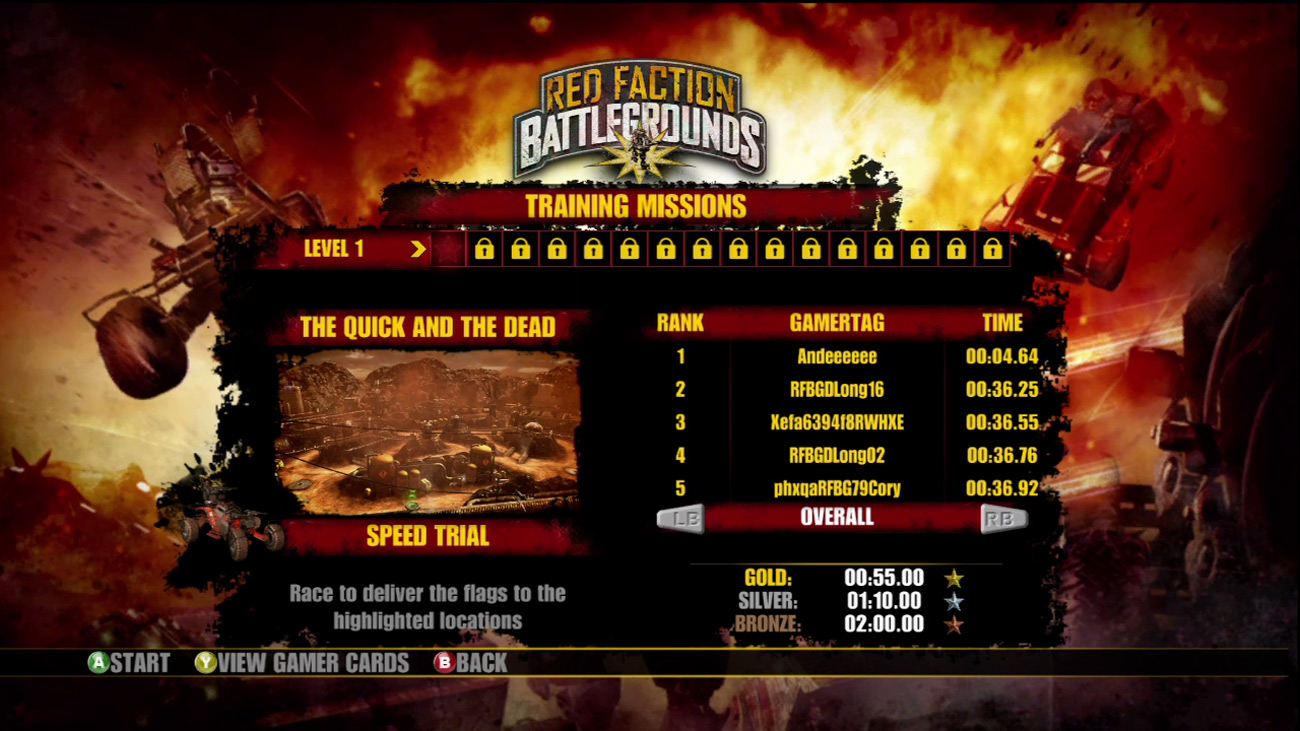
You must complete the 16 training missions in order—earn at least a bronze star on one mission to unlock the next.
Before jumping online and pitting your skills against friends and others in the community, it’s strongly recommended to play through at least some of the training missions.
By playing these missions, you can familiarize yourself with the different vehicles and maps. Your efforts in these missions also earn you experience, allowing you to rank up and unlock new vehicles and upgrades.
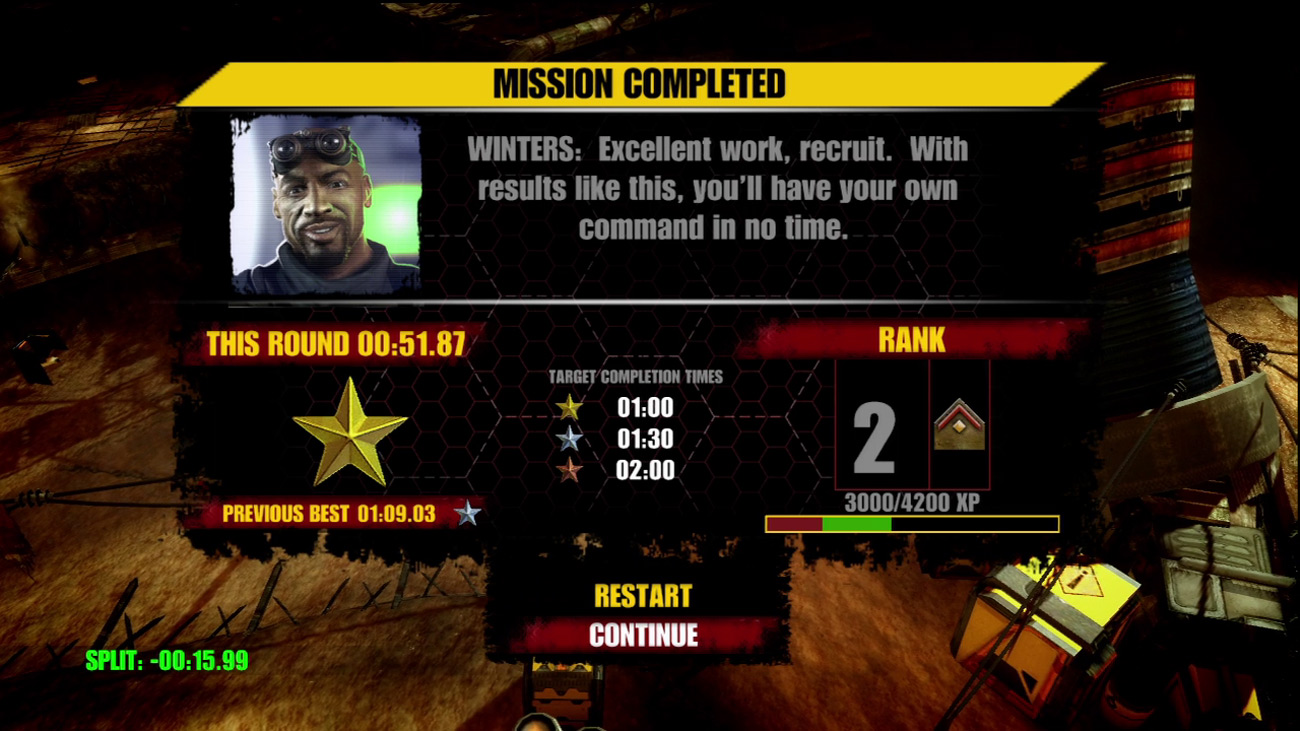
Sergeant Winters is happy when you earn gold stars in training missions. The experience points are welcome too.
The training missions aren’t simple. They’re designed to test and improve your skills in a variety of timed challenges. At the end of the mission you can be awarded a bronze, silver, or gold star based on your timed performance.
If you completely fail, you earn no stars at all and must replay the mission until you at least earn a bronze star to continue to the next mission. Experience points are also rewarded at the end of a mission, scoring 500 points for each star earned.
If you earn a gold star, the silver and bronze stars are also awarded, resulting in a 1,500 point total. Or if you earn a silver star, the bronze star is also awarded, netting you 1,000 points total. Pay close attention to the completion times of each mission and do your best to earn a gold star.
Mission Modes
There are four different types of training missions, each requiring you to perform a specific task within a certain amount of time. Here’s a quick look at the different mission modes, as well as some helpful tips to give you the upper hand.
Speed Trial
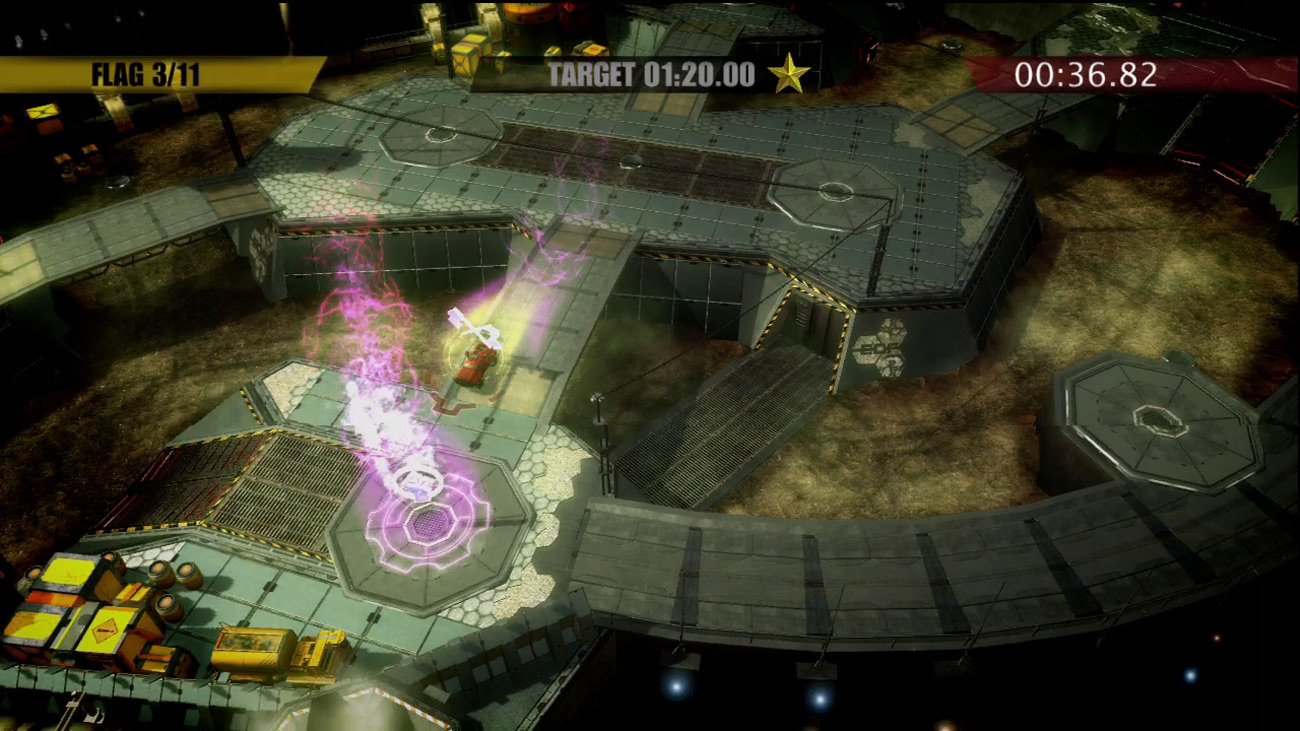
In Speed Trial missions you must collect a series of flags and drop them off at predetermined bases. To get a decent time, learn the route. The flags and targets are always in the same place.
Once you know where they’re going to appear, you should be able to plan your route and perfect your racing line. Keep moving and anticipate any turns—the vehicles slide when turning, so make sure you turn early and let momentum carry you into the flags.
This allows you to cut off some of the corners and improve your time. Speed Boost pick-ups should be used carefully. Judge when is the best time to collect them—which may not necessarily be the first time you drive past them.
Shooting Range
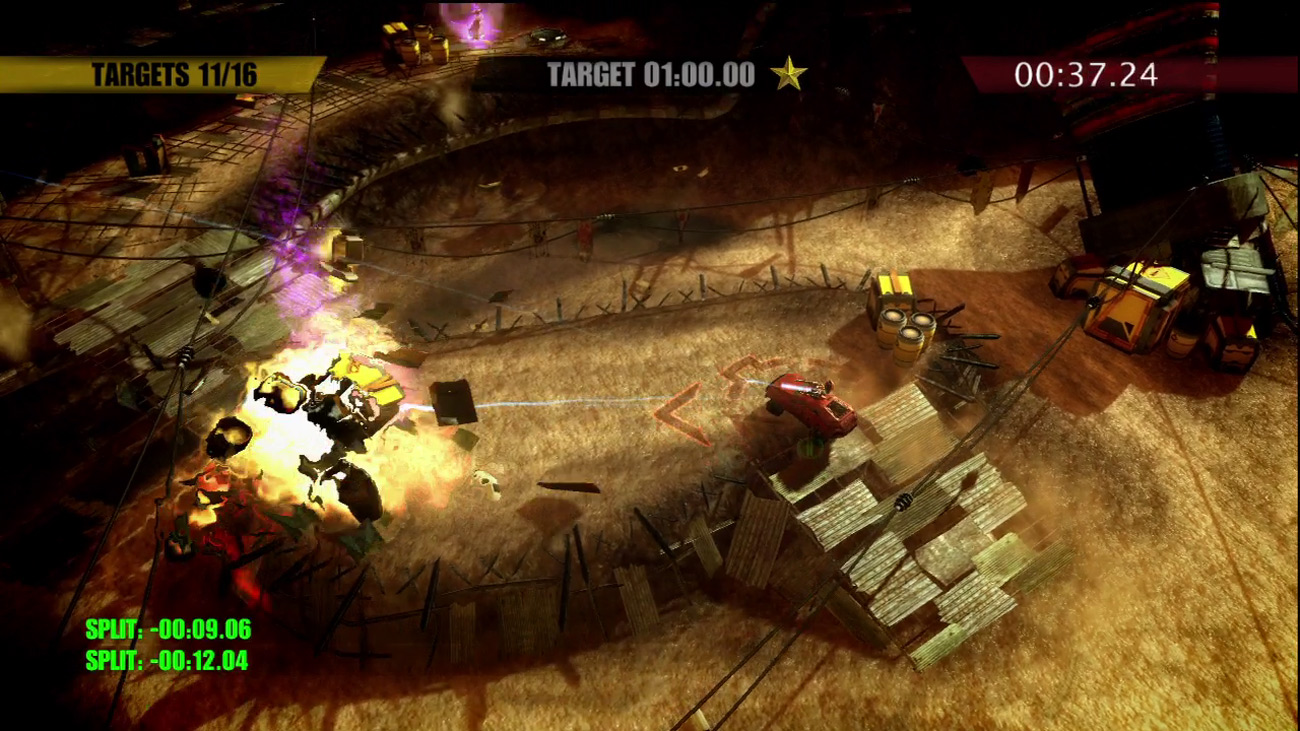
Shooting Range missions require you to destroy a number of explosive mines. Positioning is all important here. Learn where the mines are going to appear and position your vehicle not just for the current mine, but for the next one too. At the same time, keep your distance from the exploding mines.
Driving straight into an explosion can destroy your vehicle, forcing you to wait several seconds before you can respawn.
Annihilate
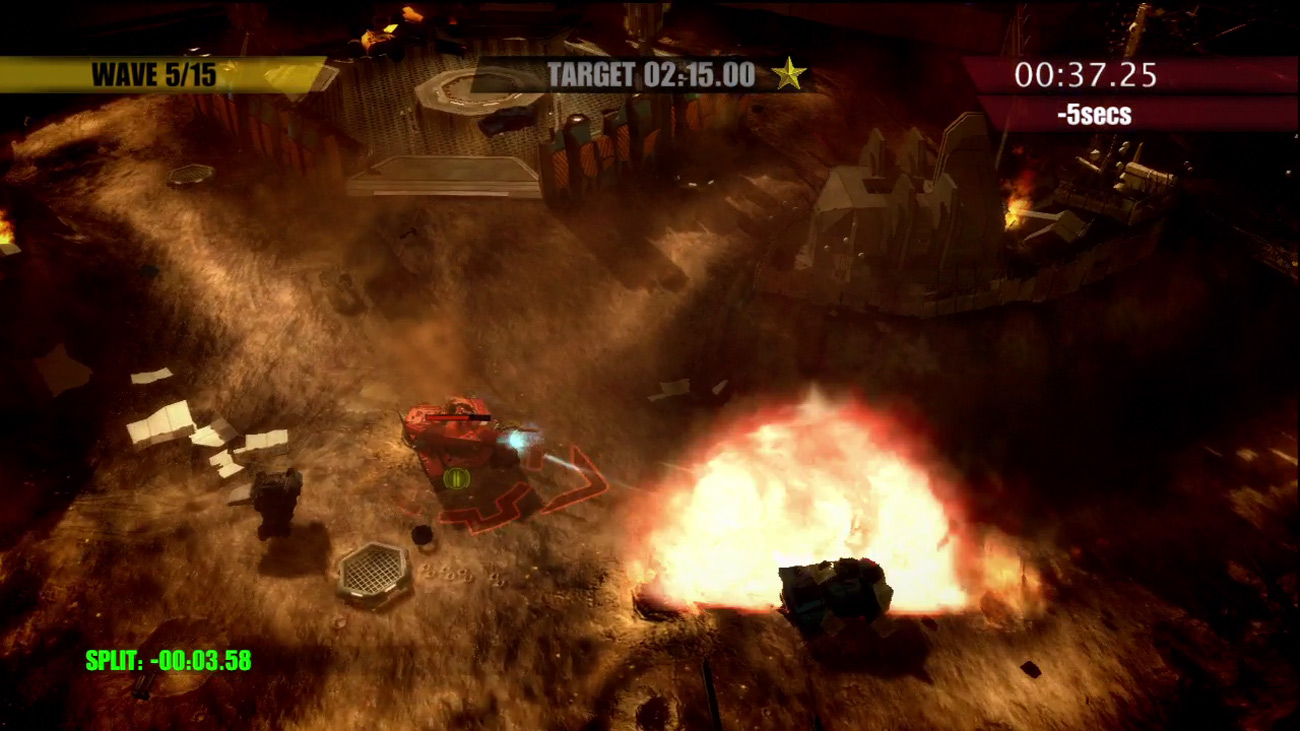
Annihilate missions are all about offense, requiring you to destroy multiple waves of enemy vehicles as quickly as possible. The enemies and pick-ups always follow the same pattern. Sometimes it is best to leave pick-ups until later when you really need them.
Try to get behind the enemies where possible—you’ll be able to destroy them more quickly if you shoot the weaker rear armor. Proximity Mines and Remote Mining Charges are extremely helpful, but use Singularity Bombs carefully.
Singularity Bombs take a while to explode, which could end up wasting time, but if you manage to destroy three or four enemies at once, it’s well worth it!
Also, use the explosive containers to get triple or quad kills. Triggering a Reconstructor will get them all back too, giving you a chance to do the same thing again. You’ll get a time bonus for destroying more than one target simultaneously:
– 5 seconds off your time for a double kill
– 10 seconds off your time for a triple kill
– 15 seconds off your time for a quad kill
Survival
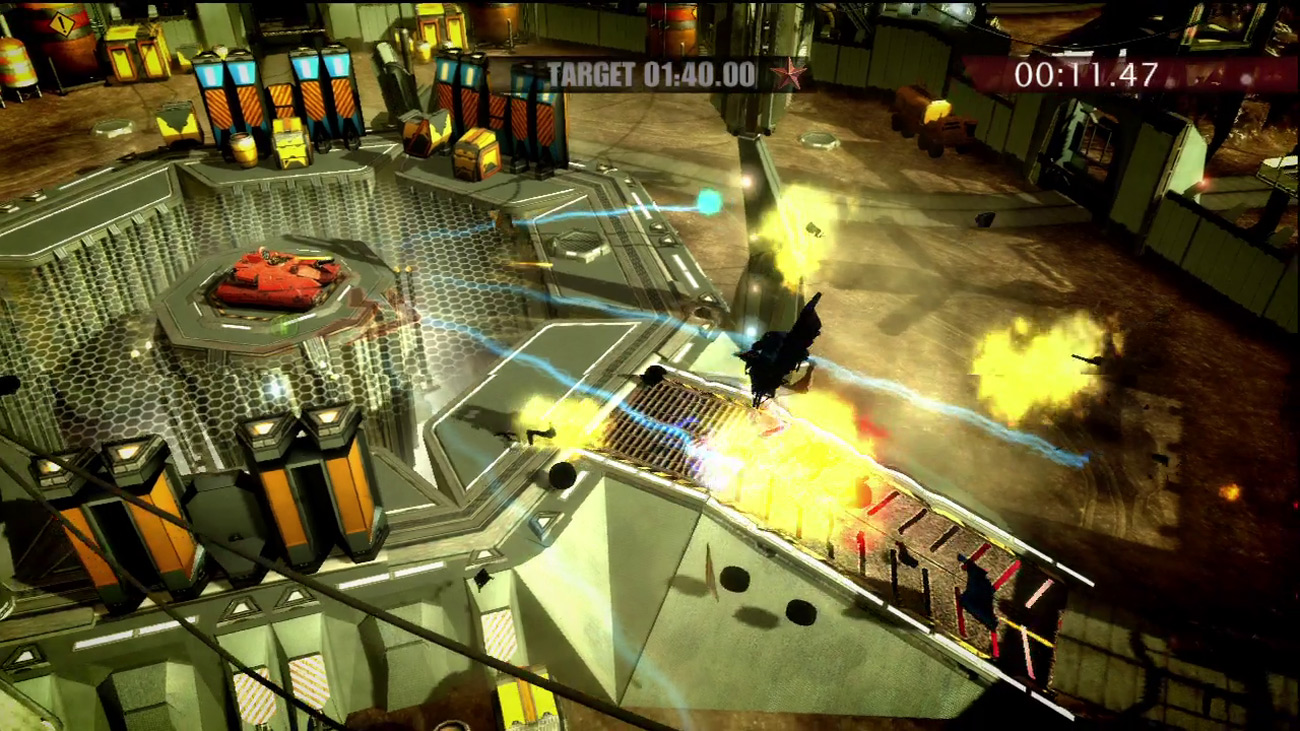
Survival is the opposite of Annihilate, requiring you to stay alive as long as possible. There’s two different ways of playing this. For the first method, you can focus on killing all the enemies and netting as many multi-kill time bonuses as possible.
The enemies do get harder to kill as time progresses though, and more of them spawn. You’ll get a time bonus for destroying more than one target simultaneously:
+ 5 seconds to your time for a double kill
+ 10 seconds to your time for a triple kill
+ 15 seconds to your time for a quad kill
Another approach is to just avoid combat. This is quite easy at first, but definitely gets tricky as time progresses. For the best time possible, don’t collect Repair pick-ups as soon as they appear—wait until you really need them.
The same goes for Armor Boost pick-ups. On some of the maps, you can find good defensive locations that you can protect with Proximity Mines or Remote Mining Charges.