Red Faction: Armageddon Guide Walkthrough Campaign
Armageddon
| Icon | Name | Description | Gamerscore | Trophy |
|---|---|---|---|---|

|
Unto the Breach | Gain entry into the Terraformer. | 15 | Bronze |
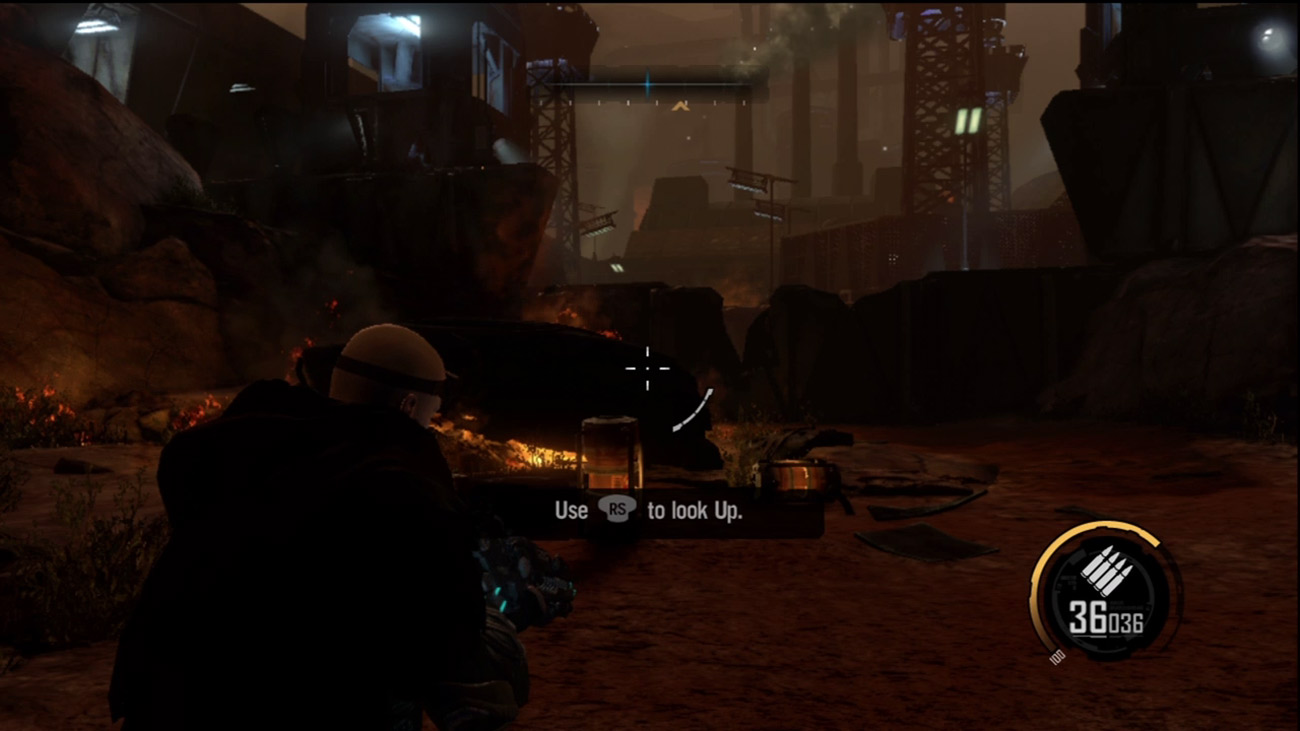
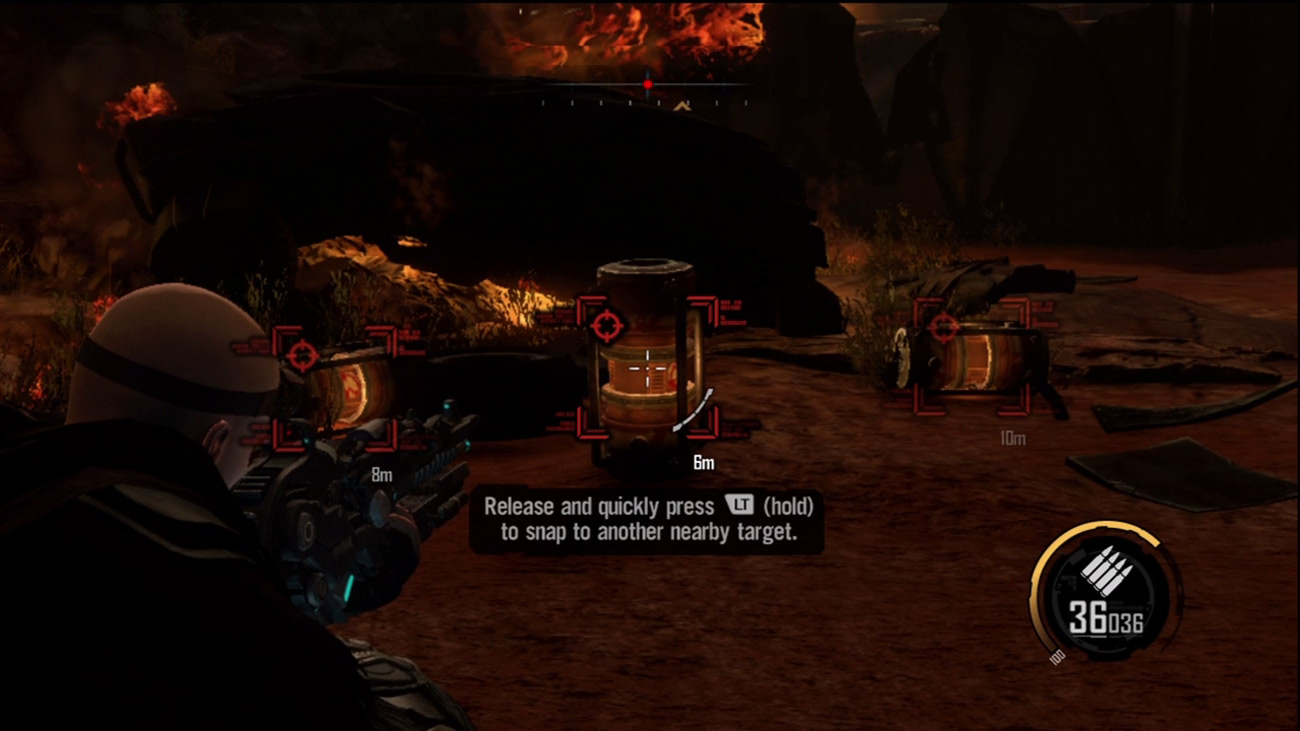
As Darius recovers from the crash, his Situational Awareness Module (S.A.M.) assesses his vitals. This gives you the opportunity to familiarize yourself with the basic controls. When S.A.M. advises you to look up, follow the on-screen directions to complete the task. Next, S.A.M. must assess Darius' combat reflexes. Take aim at the barrel straight ahead by pressing the aim button. Then press and release the aim button a few more times to snap your aim across three different barrels. During combat, this aim assist function is great for engaging multiple targets.
Once you've completed these basic tasks, S.A.M. informs you that the Nano Forge is currently offline due to the crash. It will take a few minutes to come back online while S.A.M. reboots the system.
New Objective:
Break the Wall
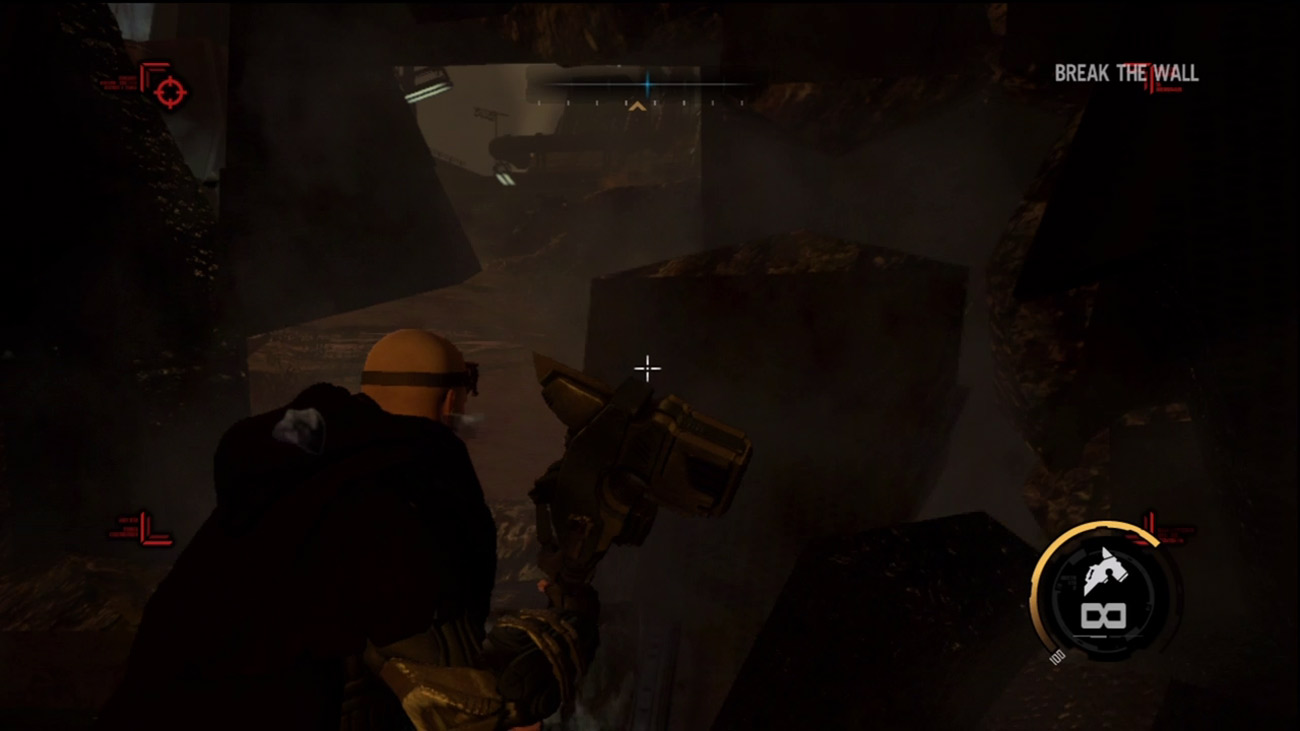
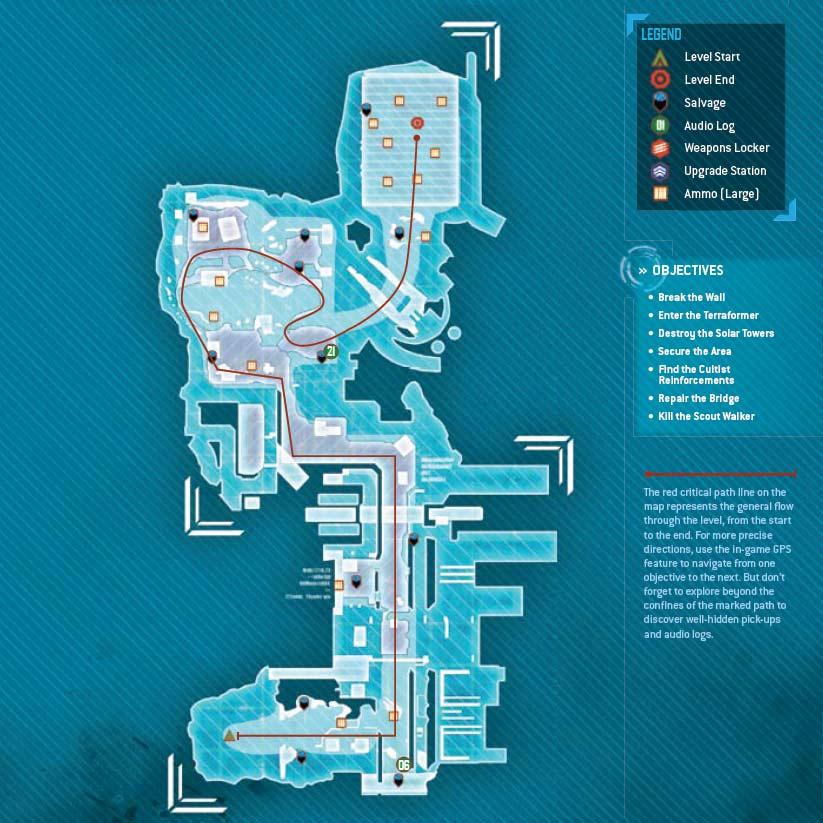
Darius is only a few meters away from the Terraformer compound, but a large wall prevents him from gaining access to the facility. Equip the Maul and move toward the wall marked on the HUD by red brackets. The Maul is a massive hammer-like instrument capable of smashing most objects. The wall doesn't stand a chance. There are two types of swings you can perform with the Maul. By pressing the standard fire button, Darius performs a wide horizontal swing from right to left. Pressing the aim button causes Darius to perform a powerful vertical swing, raising the Maul over his head and bringing it downward with great force. While dismantling the wall, experiment with these two different swings. Both can be useful for dismantling structures like this wall. The Maul is equally effective in close combat, dealing massive damage to enemies unlucky enough to be within its striking range. On the other side of the wall you can find an ammo pick-up for your Assault Rifle. Ammo is spread throughout each level, so be sure to keep well stocked throughout your adventure.
New Objective:
Enter the Terraformer
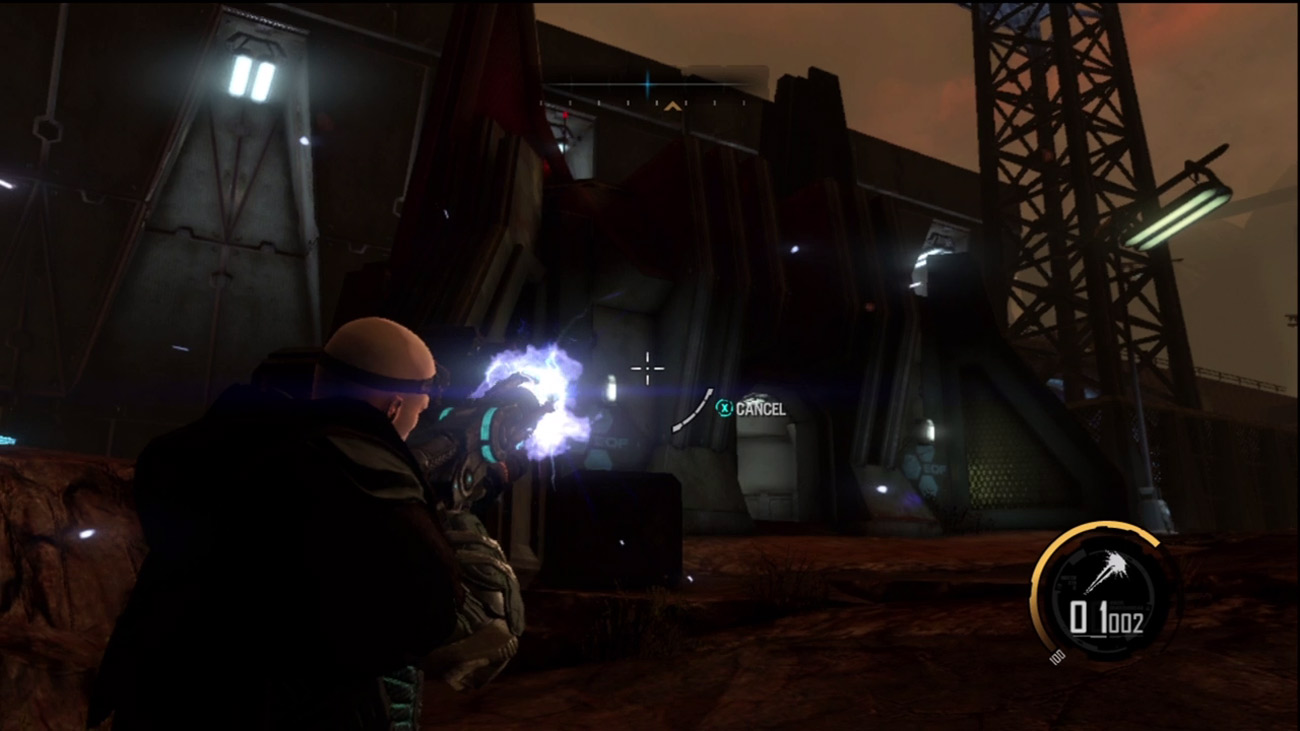
A few paces beyond the wall, the Plasma Cannon is added to your inventory. This destructive weapon is perfect for laying waste to structures and armored targets. Take a moment to blast some holes in the surrounding structures. To fire the weapon, you must first charge it by holding down the fire button. This causes the cannon to build up energy. When you're ready to fire, release the fire button to send a devastating bolt of plasma at your target of choice. Inside the structure on the left you can find more ammo for your Assault Rifle.
New Objective:
Destroy the Solar Towers
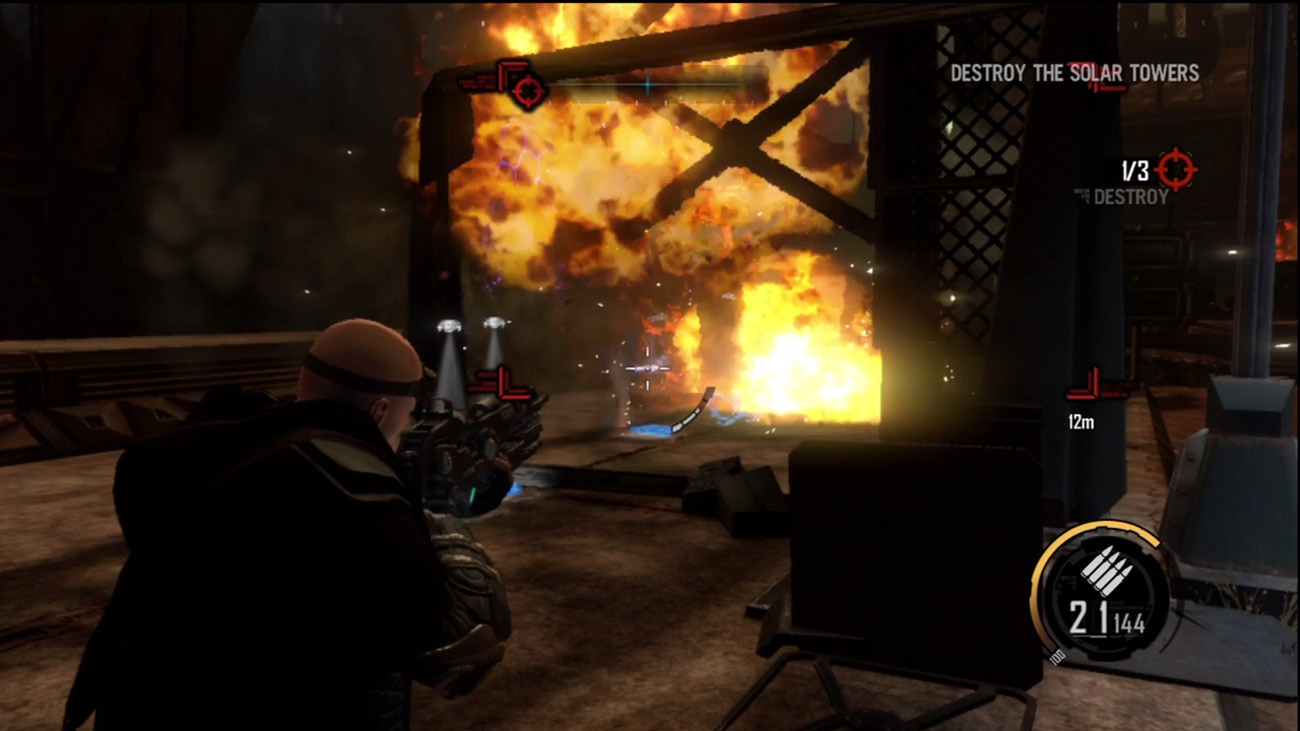
When you're finished playing with the Plasma Cannon, advance along the path ahead. Darius discovers that the door ahead is blocked by an energy shield. S.A.M. suggests destroying the nearby power sources to deactivate the shield generator. There are three large solar towers powering the shield, and many ways to topple them. The easiest way is by shooting the red barrels next to the towers using your Assault Rifle. The barrels explode, knocking out the tower supports and causing them to topple. Alternately, you can use the Maul or Plasma Cannon to target each tower directly. As you can see, there are many ways interact with the environment, so get creative. Once all three towers are destroyed, the energy shield is deactivated, allowing you to pass through the next passage.
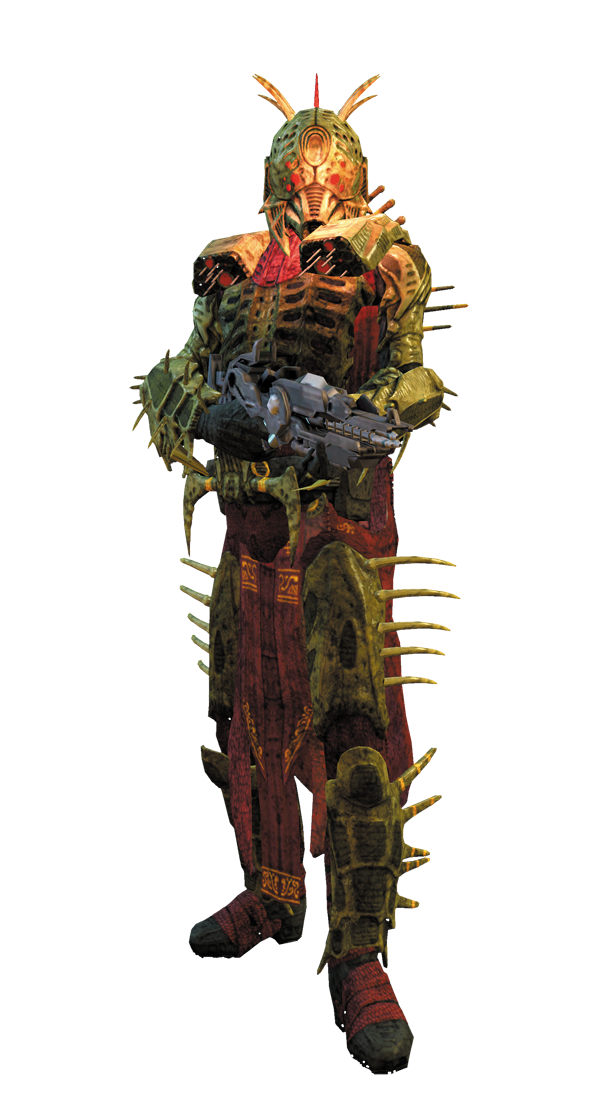
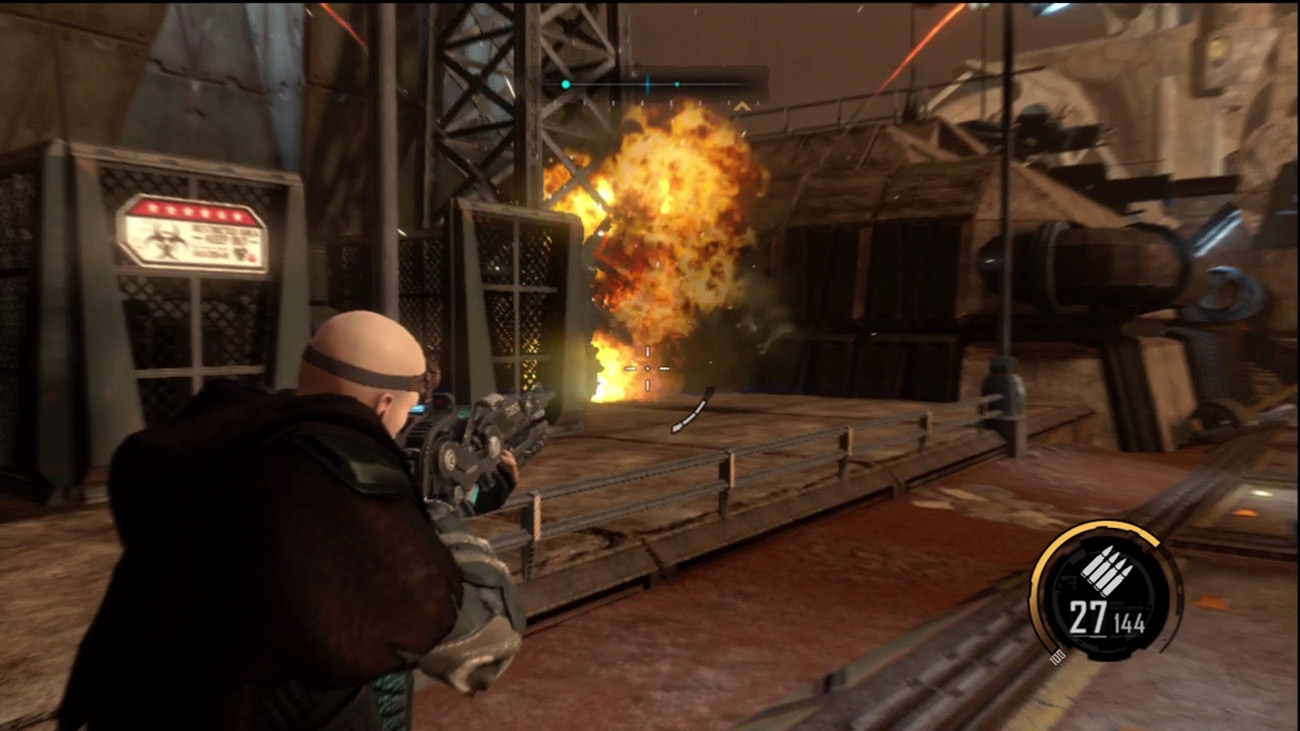
Red Faction forces have breached the Terraformer facility. Following an incoming air strike on a distant bridge, rush toward the armored personnel carriers ahead. Along the way, target the red barrels at the base of another tower. After the tower topples, gather the salvage left behind. There's also ammo and more salvage by the nearby gated structure. When you're finished looting the area, catch up with the LAVs.
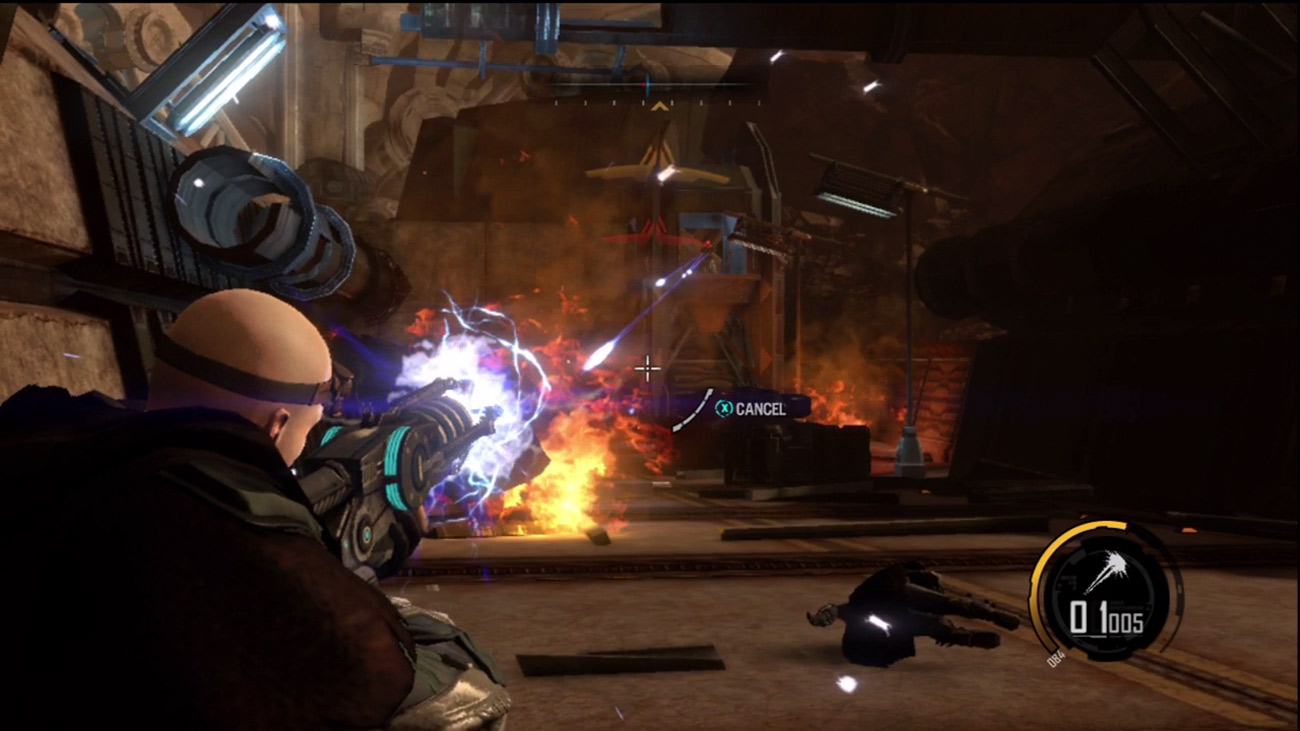
Just ahead, you come under fire from a tower occupied by cultists. Instead of targeting the cultists directly, use the Plasma Cannon to take out three of the tower's legs. Eliminating three legs causes the whole structure to come tumbling down, killing the cultists in the process. As you can see, the Plasma Cannon is an extremely devastating weapon capable of toppling entire structures. Look for opportunities to put its destructive capabilities to use.
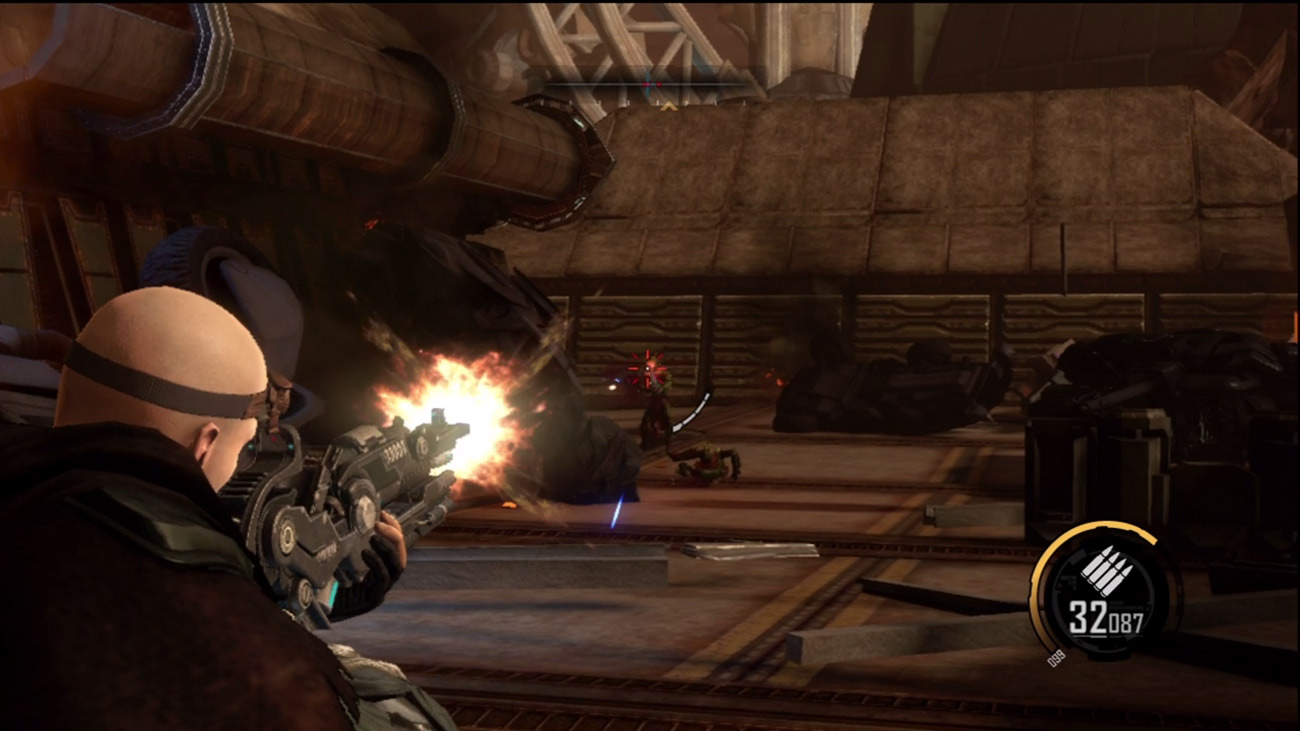
In the road ahead, you come under attack by more cultists. This time rely on your Assault Rifle and target the enemies directly. The Assault Rifle is a fully automatic weapon, and as such, exhibits a fair amount of recoil. Fire the weapon in short bursts to mitigate muzzle climb. For best results, go for headshots to drop the cultists quickly. If necessary, use the rubble on the left or right sides of the street for cover. Once the street is clear, press ahead and search for ammo in the small structures on the right side of the street.
New Objective:
Secure the Area
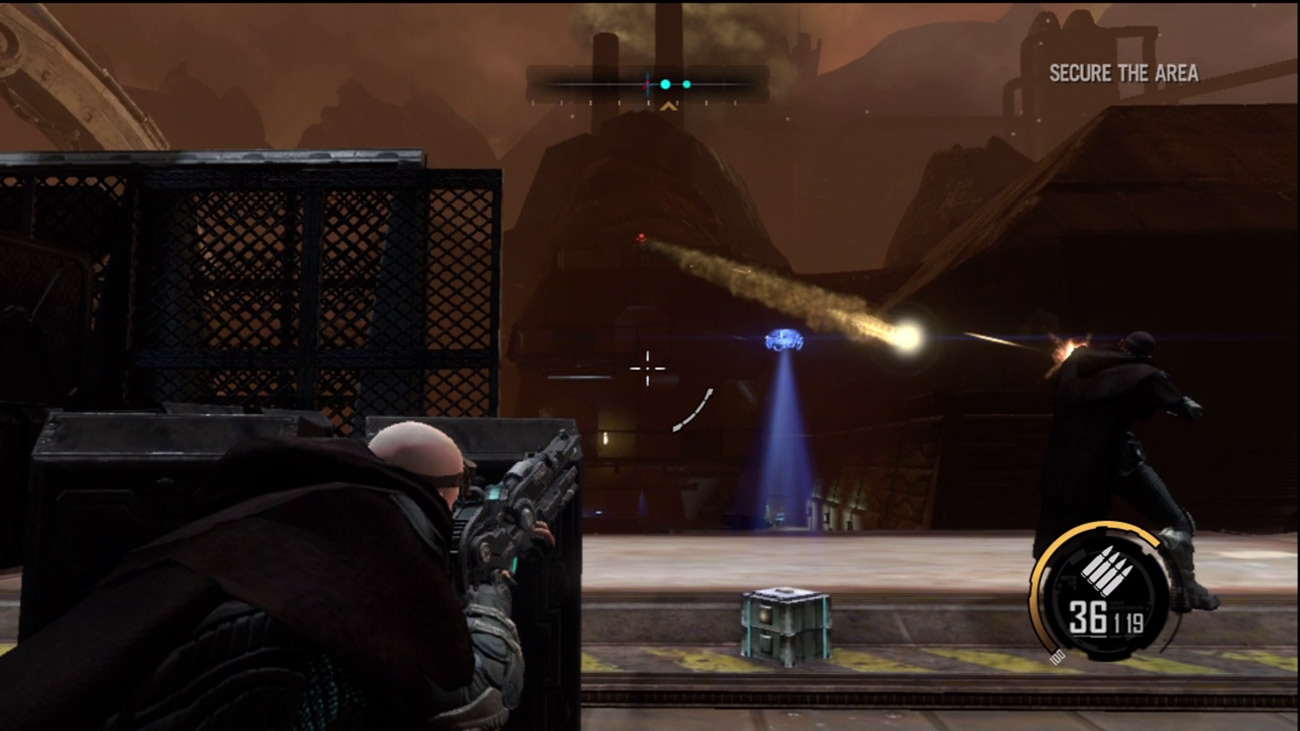
A Red Faction dropship has just deployed more friendly infantry ahead. Meanwhile, Winters reports that his company has reached their objective, but without Darius, they can only secure the perimeter. Darius tries to notify Winters that he's nearby, but S.A.M. is unable to relay the transmission. Assist the freshly deployed Red Faction troops ahead. They've come under fire from a building on the right side of the road. Using your assault rifle, pick off the cultist manning a rocket turret on the top floor—this guy poses the biggest threat to you and your allies. Once he's down, use the Plasma Cannon to tear apart the structure, dooming the remaining cultists hiding inside.
New Objective:
Find the Cultist Reinforcements
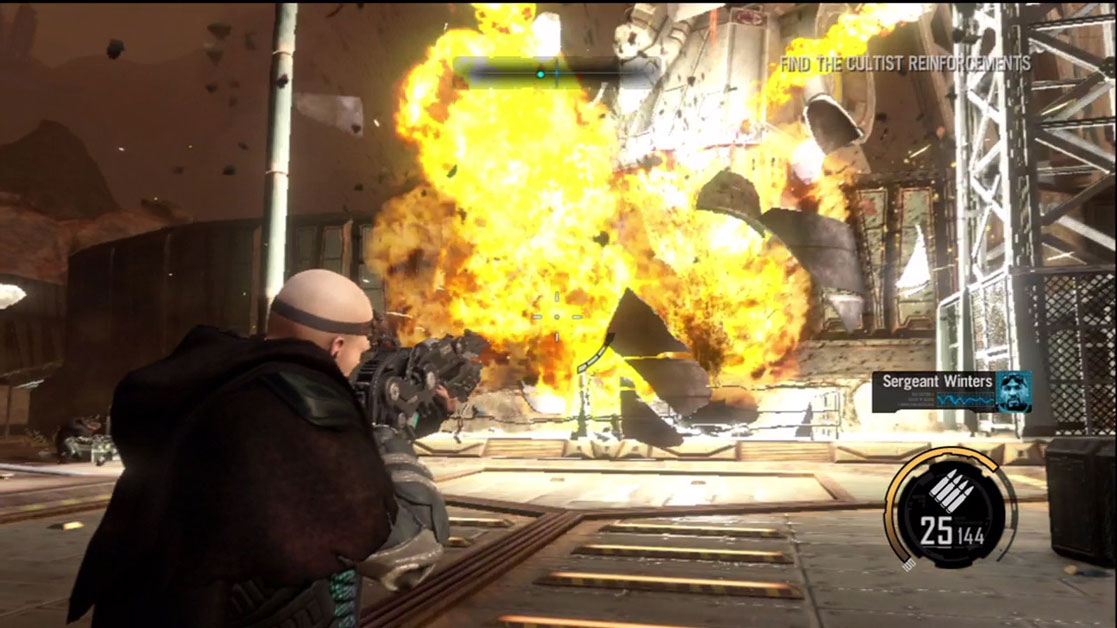
After eliminating the cultists in the building, Darius is finally able to make contact with Winters. Winters is relieved to hear that Darius is still alive, but there's no time for a cheery reunion. Winters needs Darius to fight his way inside the Terraformer and stop Hale. After talking to Winters, destroy the large red containers to gather some more salvage. You can also find more ammo and salvage in the building previously occupied by the cultists, across the street. Despite the urgency of the situation, take your time to scour the area for more pick-ups.
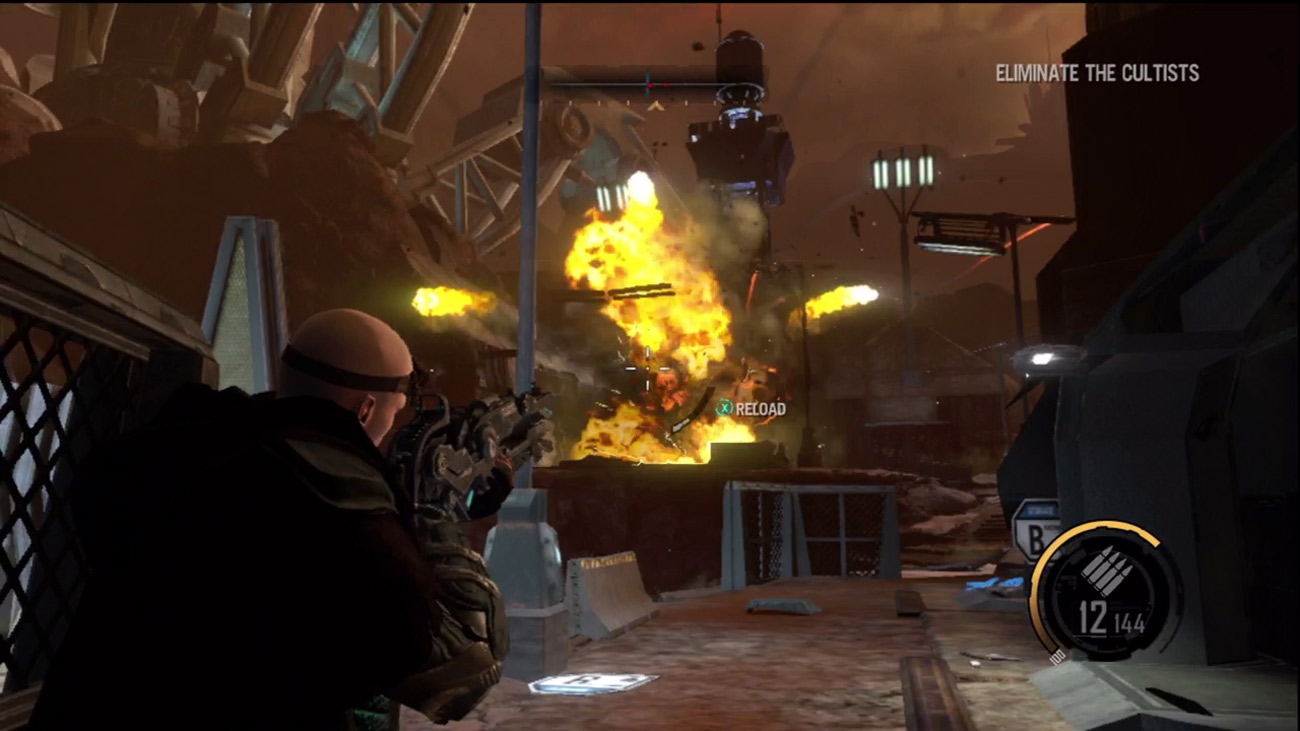
As you advance, you come under fire by more cultists occupying another building. Once again, equip your Plasma Cannon and fire a couple of shots at the bottom floor. This is enough the topple the structure, killing all the cultists inside. As you turn to the right, blast the two red storage tanks to eliminate more cultists standing nearby. The explosion also topples another tower, leaving behind more salvage. But be sure to eliminate all cultists in the area before hunting for treasure. The Assault Rifle is ideal for picking off the remaining survivors. Once the area is clear, scout the nearby structures and debris for ammo and salvage.
New Objective:
Repair the Bridge
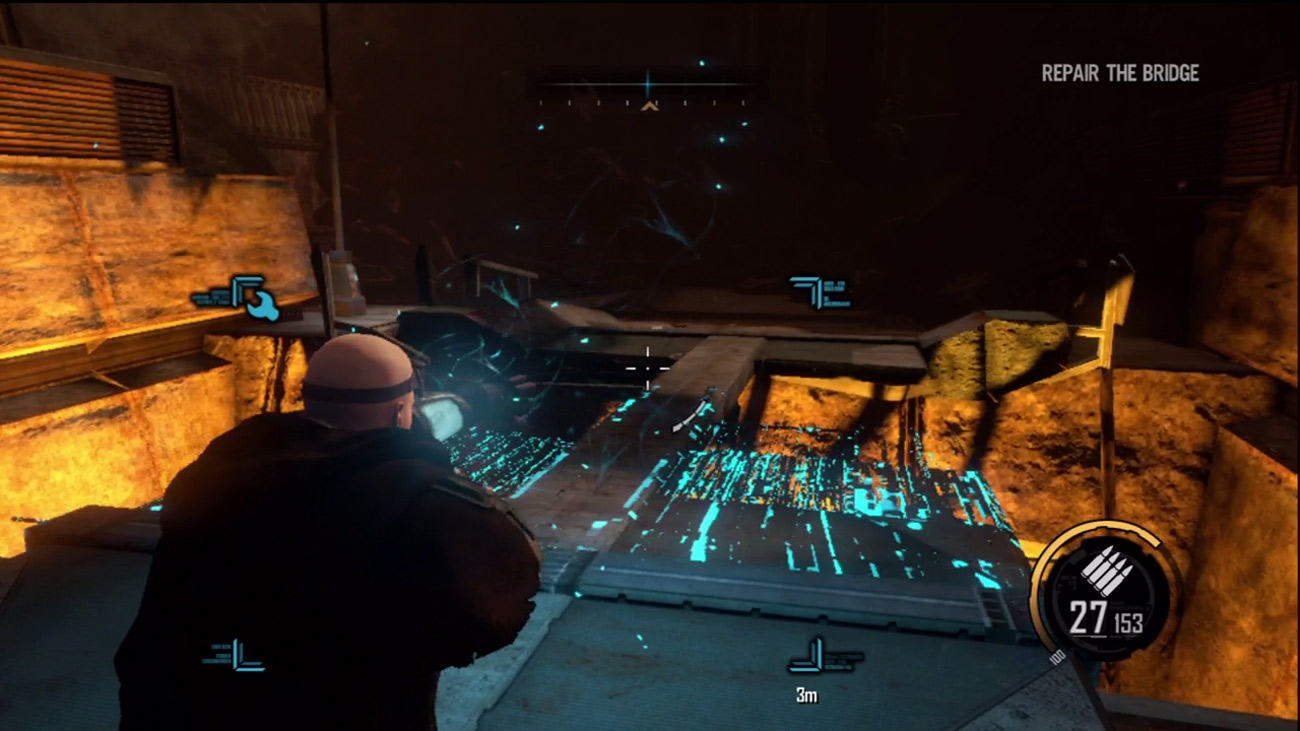
When you come to a concrete barrier, jump over it and drop down onto the road below. At this point S.A.M. notifies you that the Nano Forge is back online. Turn toward the destroyed bridge and repair it using the Nano Forge. The repair function has limited range, so you must be very close to a destroyed structure to repair it. Move next to the destroyed bridge and hold down the repair button. Walk across the newly repaired section of the bridge and continue moving and repairing until you reach the other side. Anything that can be destroyed can be repaired with the Nano Forge. If you've accidentally destroyed a critical path necessary for you to reach an objective, you can always repair it.
New Objective:
Kill the Scout Walker
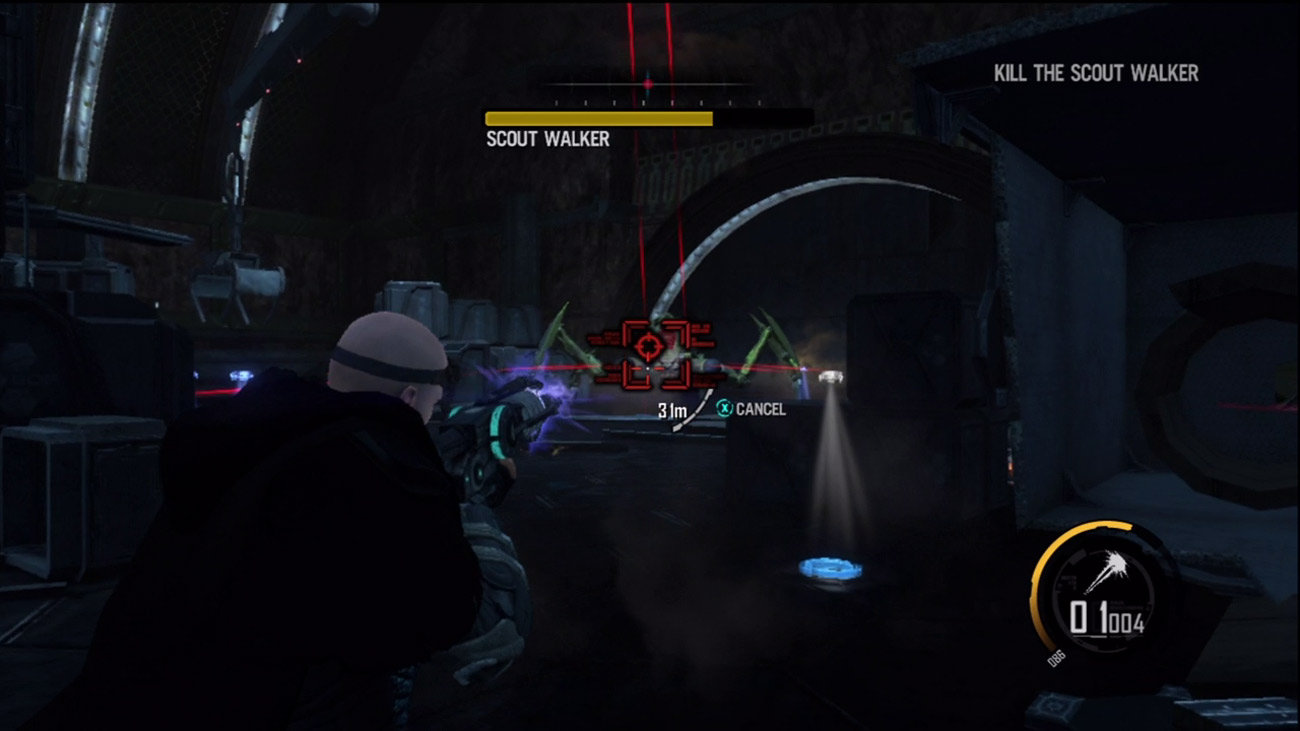
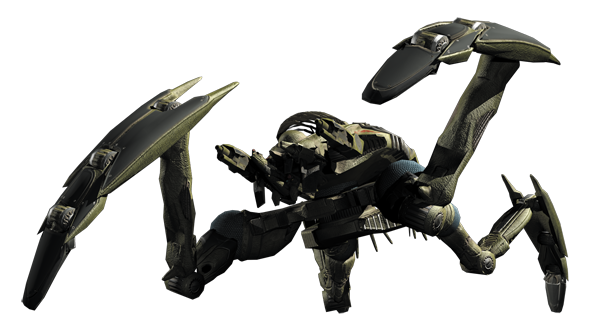
Activate the switch on the wall to enter the next chamber. Here you're confronted by a Scout Walker. Immediately take cover behind the stacks of crates to avoid its devastating attacks. The Plasma Cannon is the quickest way to eliminate this threat. But you must charge the weapon before firing, leaving you vulnerable to counterattacks. Charge the weapon while behind cover, then only pop out of cover briefly to fire a bolt of plasma at the Scout Walker.
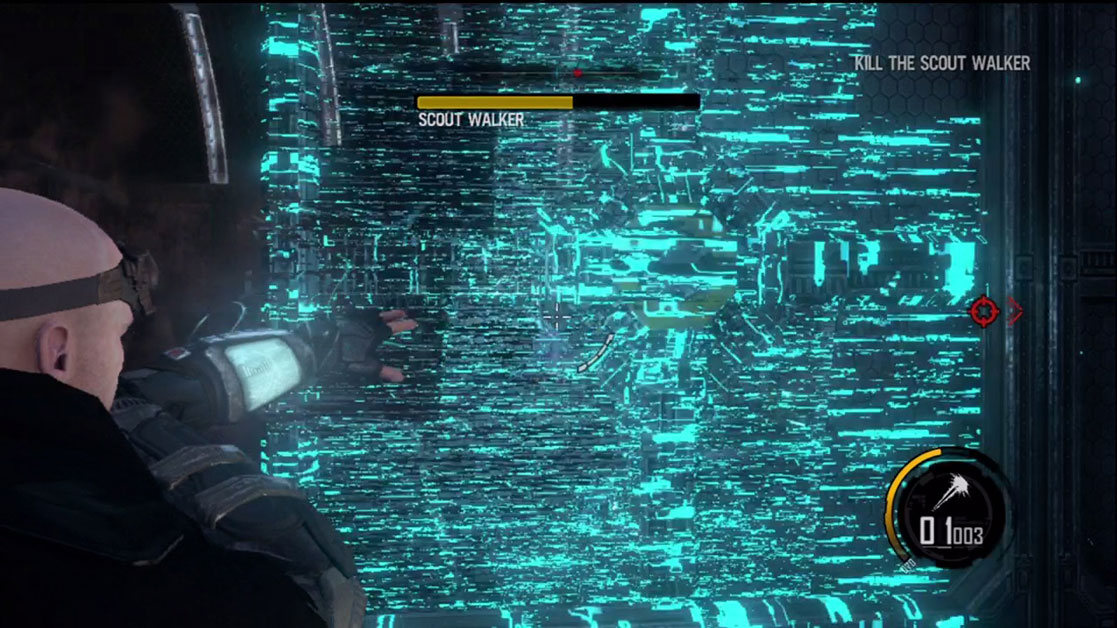
Your cover won't last long. As the Scout Walker destroys the crates you're hiding behind, use the Nano Forge to repair them. During this fight it's extremely important to keep cover between you and the Scout Walker at all times. Keep repairing the destroyed crates to give you a hiding spot, but don't get so involved in repairing crates that you forget to attack. The health of the Scout Walker appears in the yellow status bar at the top of the HUD. When this bar is depleted, the Scout Walker is destroyed, clearing a path to the Terraformer's interior. Once the Scout Walker is down for the count, scour the chamber for salvage and ammo. Once you're ready to continue, hold down the button shown on screen to enter the Terraformer.