
Red Faction: Armageddon Guide Walkthrough Campaign
The Lair
| Icon | Name | Description | Gamerscore | Trophy |
|---|---|---|---|---|
|
In. The. Face! | Kill one of each enemy type with the Maul. | 25 | Silver |

|
Nanergy! | Gather 25,000 total salvage. | 30 | Silver |

|
One Big, Ugly Motha. . | Defeat the source of it all. | 20 | Bronze |
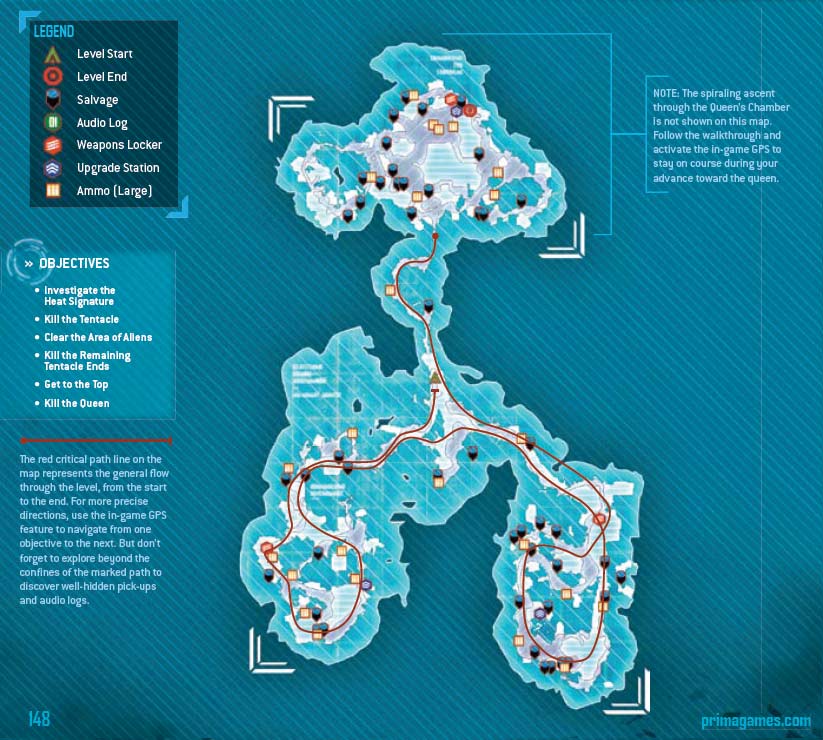
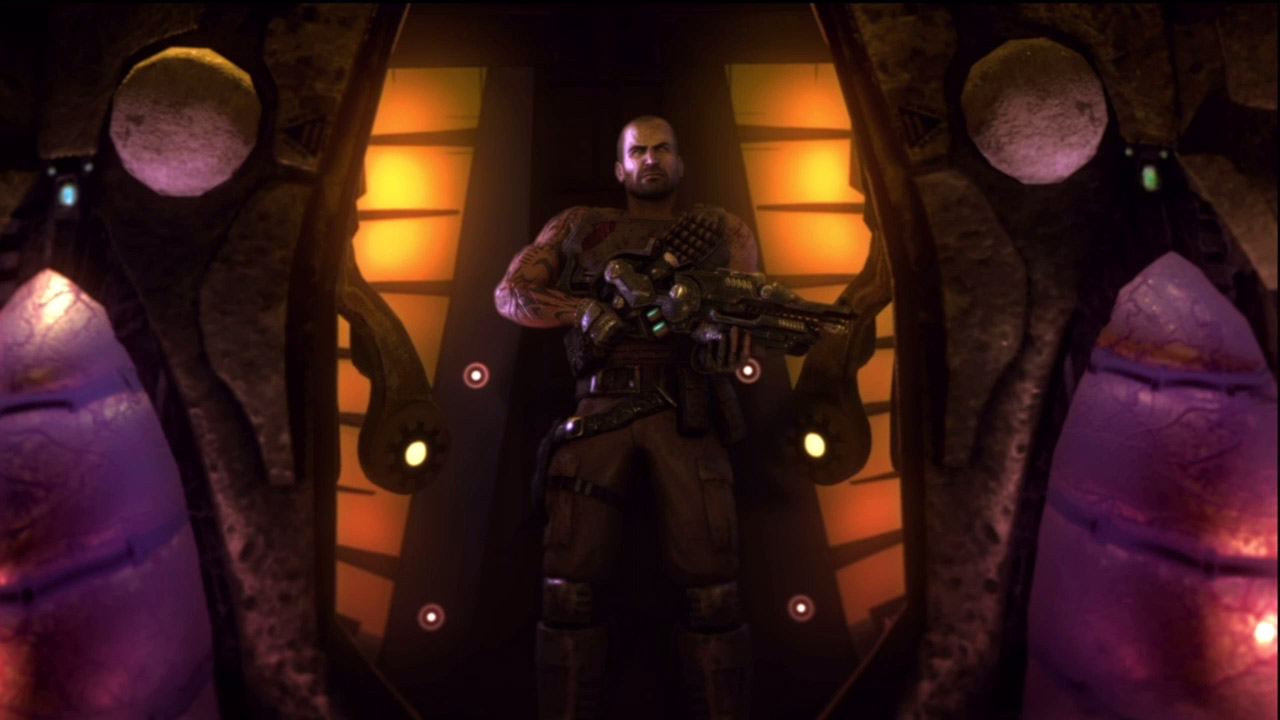
Despite S.A.M.'s warning, Darius forces the walker ahead. The land bridge gives way, causing the walker to plummet into a deep chasm. Protected by the walker's thick hull, Darius manages to survive the crash, but the walker is no longer operational. S.A.M. reports a distant life form stretching over 100 meters—is it the queen or just another tentacle? When S.A.M. asks about plotting a retreat, Darius doesn't respond. He has no choice but continue the treacherous journey on foot. It's time to put an end to this plague!
New Objective:
Investigate the Heat Signature
Kill the Tentacle
Clear the Area of Aliens
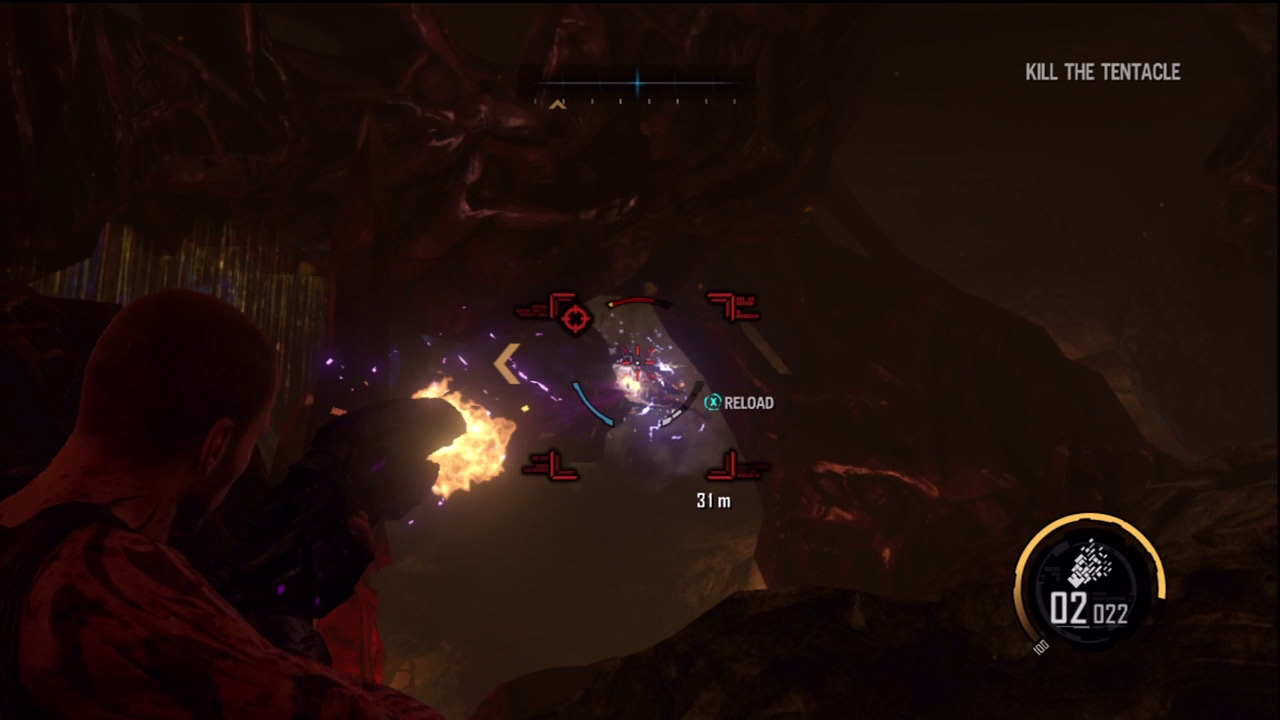
As you gain control of Darius, proceed through the nearby tunnel and drop down into the adjoining cavern until a new cutscene is triggered. In the cutscene, Darius notices another massive tentacle stretching along the cavern's ceiling. Following the cutscene, S.A.M. has marked the tentacle's end on the HUD, appearing between red brackets. Advance a few paces forward until you can get a clear shot at the tentacle's end, then shoot it with your weapon of choice—the Nano Rifle is more than capable of handling the job. Immediately after destroying the tentacle, you're attacked by two wraiths. As soon as the wraiths appear, hit them with melee strikes before they disappear.
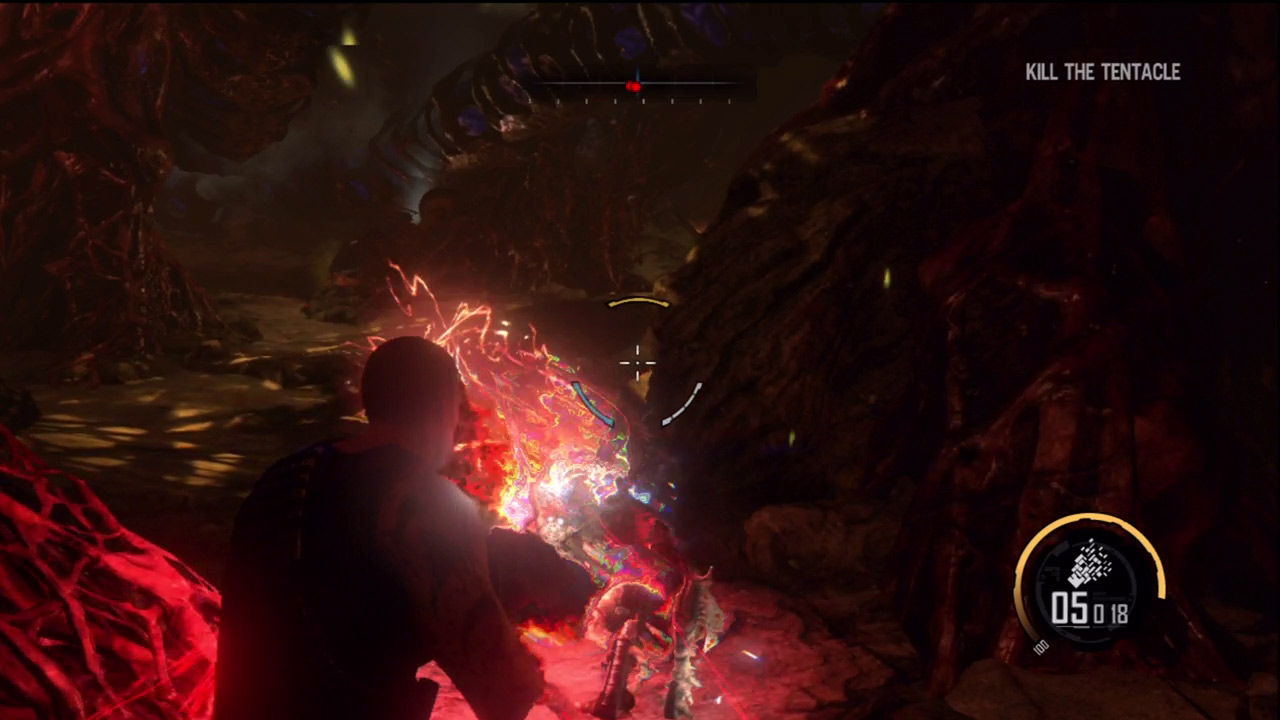
If they're able to charge up their laser attacks, immediately deploy a Shell and counterattack with your Nano Rifle. S.A.M. warns that destroying the tentacle has alerted the creatures to your presence. You can expect stiff resistance as you hunt down the remaining tentacles.
Tentacle Hunt
New Objective: Kill the Remaining Tentacle Ends
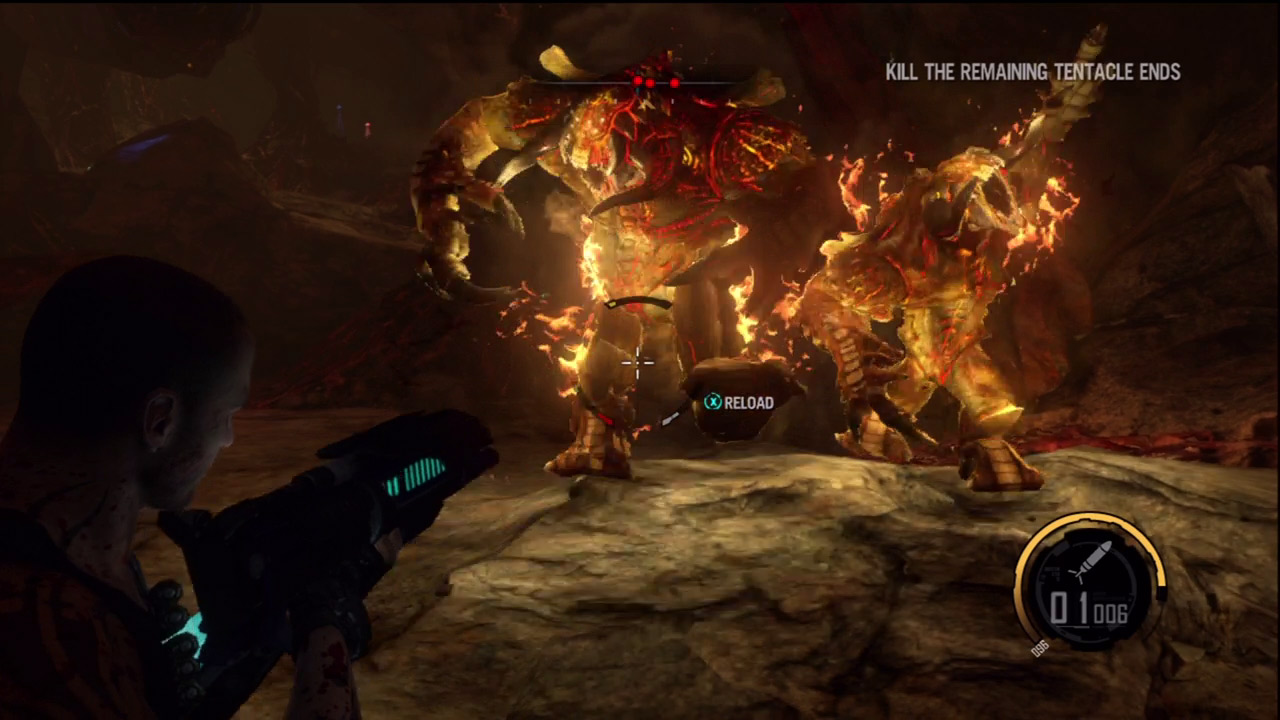
After killing the wraiths, grab the ammo next to a nearby corpse—you can also pick up the victim's assault rifle. Salvage, more ammo, and Banshee pistols can also be found at the dead end in the center of the cavern. There are two more tentacle ends you must destroy before advancing on the queen. Follow the GPS markers to begin your trek to the closest tentacle end. Gather more ammo and salvage along the way, but also keep an eye on your compass for enemy contacts. A couple of berserkers and several ravagers ambush you on this path. Deploy a Shell and open fire on the berserkers first, preferably with your Rocket Launcher. There isn't much room to maneuver, so take out the berserkers quickly before they can charge you. If they do charge you, make sure the Shell is still active. Once the berserkers are down, mop up the ravagers using the Nano Rifle.
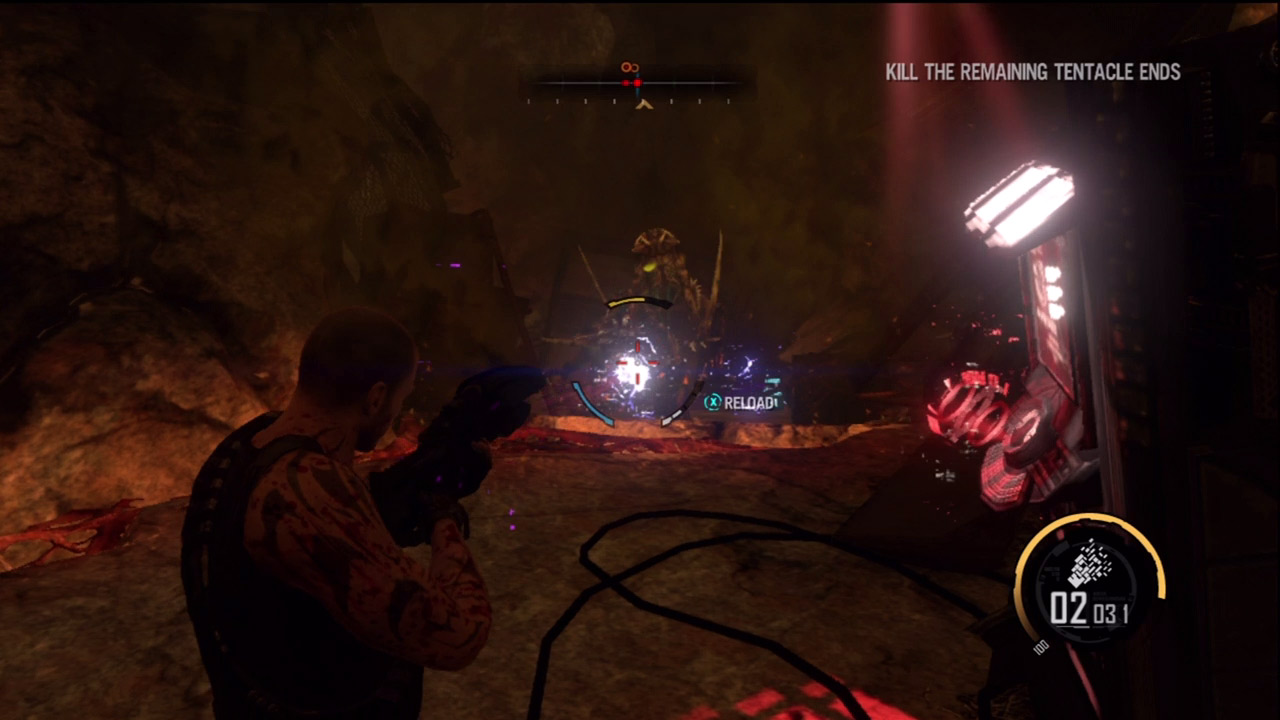
More ravagers attempt to ambush you in the narrow tunnel ahead. Quickly deploy another Shell and finish them off with your Nano Rifle. On the right side of the tunnel is a damaged weapons locker. Fire a repair grenade at the locker, then focus on the creepers, ravagers, and berserker closing in on your location. The Nano Rifle and Rocket Launcher are more than sufficient for dealing with these threats, but feel free to change up your load-out by accessing the weapons locker. Deploy a Shell next to the weapons locker and eliminate each enemy that comes charging at you. Also, target the pods attached to the ceiling to prevent more creepers from spawning. Before moving on, make sure you have the Nano Rifle and Rocket Launcher. The Magnet Gun is also useful for those frantic moments when you run out of ammo.
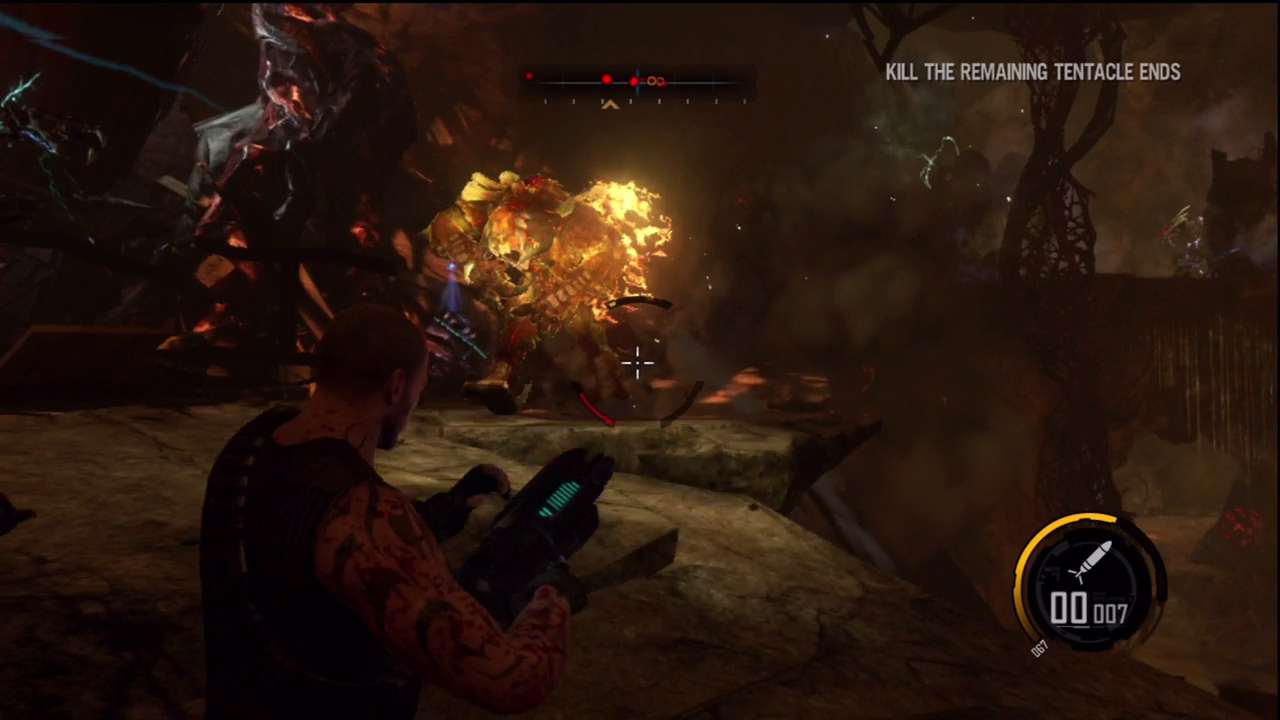
In the cavern beyond the weapons locker, you're jumped by more enemies including several ravagers, a tentacle, and a berserker. Deploy a Shell and quickly eliminate the tentacle as well as the ravagers. Next, use the Magnet Gun on the berserker, tossing him into other creatures as well as the pods on the path above. The Magnet Gun allows you to keep the berserker from charging you. If the berserker does get too close, be ready to dive out of the way or deploy another Shell to protect you from the berserker's devastating attacks. Once the cavern is clear, search the path for ammo and salvage.
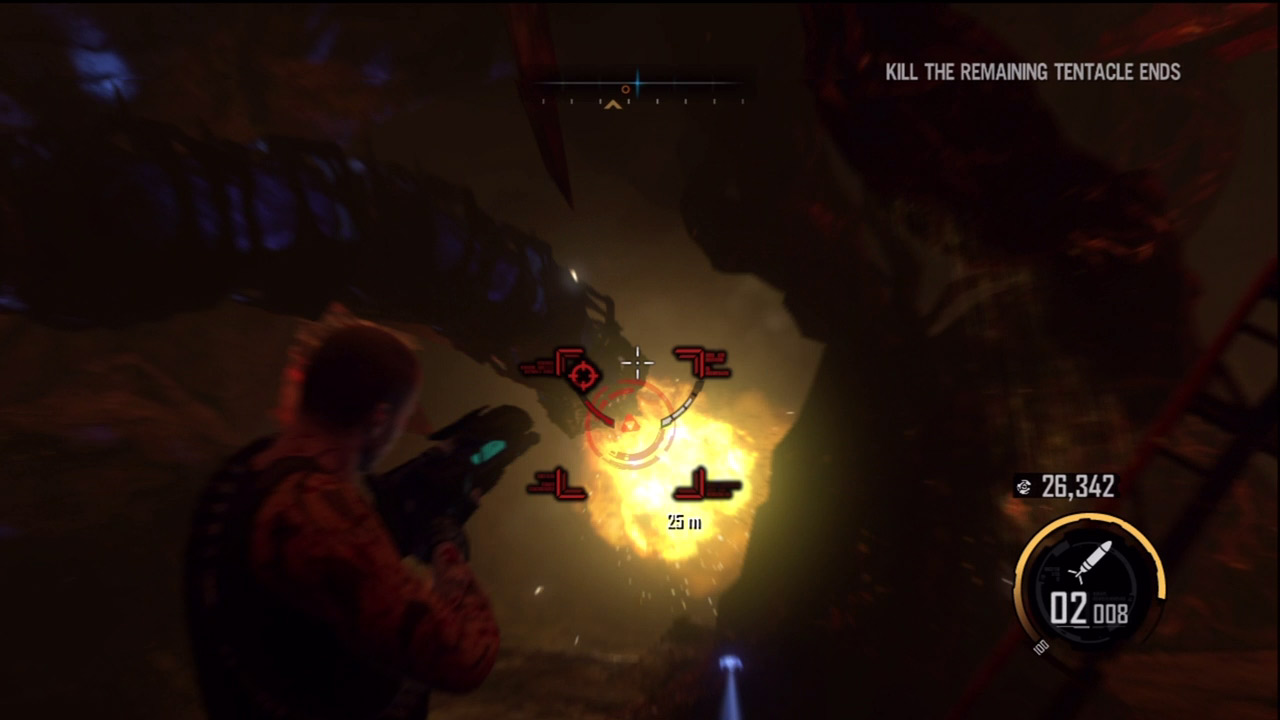
Climb the narrow spiraling path upward to a tunnel where the next tentacle end is located. As you approach, a monolith emerges from the ground on the left, while a ravager hops out of a pod on the right. Deploy a Shell and focus your fire on the monolith first, hammering it with your Rocket Launcher until it explodes. Next, pick off the ravager and then destroy the nearby pod to prevent more ravagers from spawning. Finally, take aim at the tentacle end above. Target it with the weapon of your choice until the end explodes, causing the entire tentacle to vaporize. Two down, one more to go.
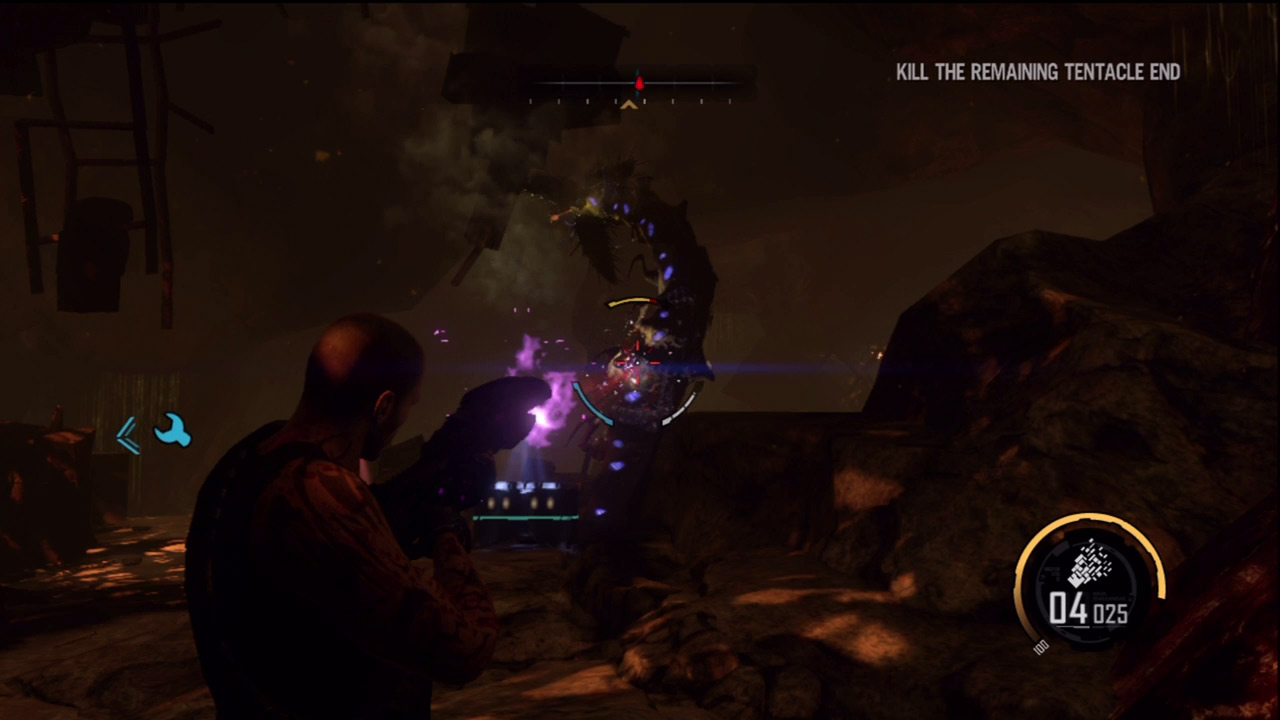
Immediately after destroying the tentacle, watch out for a pair of monoliths emerging from the ground nearby. Either deploy a Shell and attack both monoliths from a stationary position, or stay on the move while opening fire. There's also a pod nearby capable of hatching more ravagers. Be sure to take it out as well as any ravagers it has spawned. Once this area is clear, search for ammo, then follow the GPS markers toward the next tentacle end. Further down the path you're ambushed by a tentacle sprouting near a damaged upgrade station. Blast the tentacle, then repair the upgrade station. If you haven't already, now's a good time to invest in the Reflective Shell upgrade. Melee Training (from tier 2) is also another worthwhile upgrade if you don't already have it.
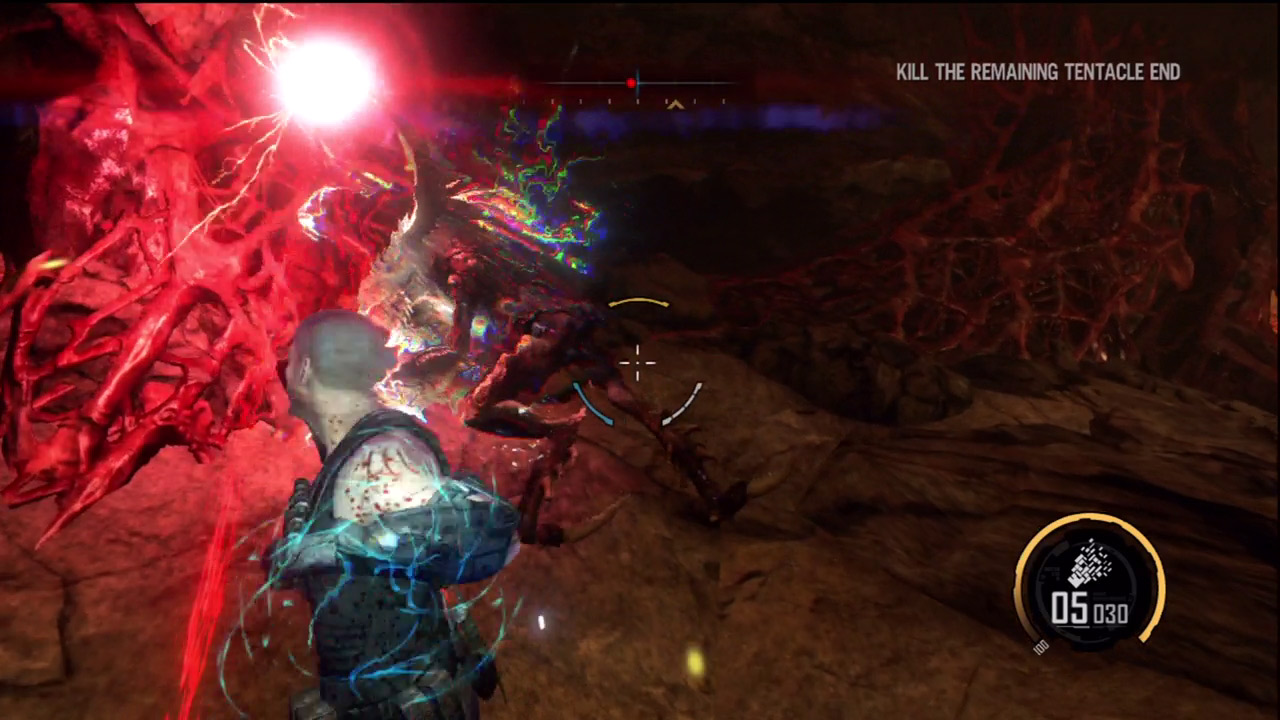
Continue along the path highlighted by the GPS markers. The journey is rather uneventful until you're ambushed by a few wraiths. Initially, these wraiths materialize directly in front of you. Instead of raising your weapon, charge forward and initiate a series of melee strikes. If you invested in the Melee Training upgrade, your strikes inflict heavy damage, making it possible to beat down a wraith before it disappears. But if you find yourself surrounded by multiple wraiths at the same time, deploy a Shell and open fire with the Nano Rifle or Rocket Launcher. When all the wraiths are eliminated, continue along the adjoining path and grab the ammo pick-ups along the way.
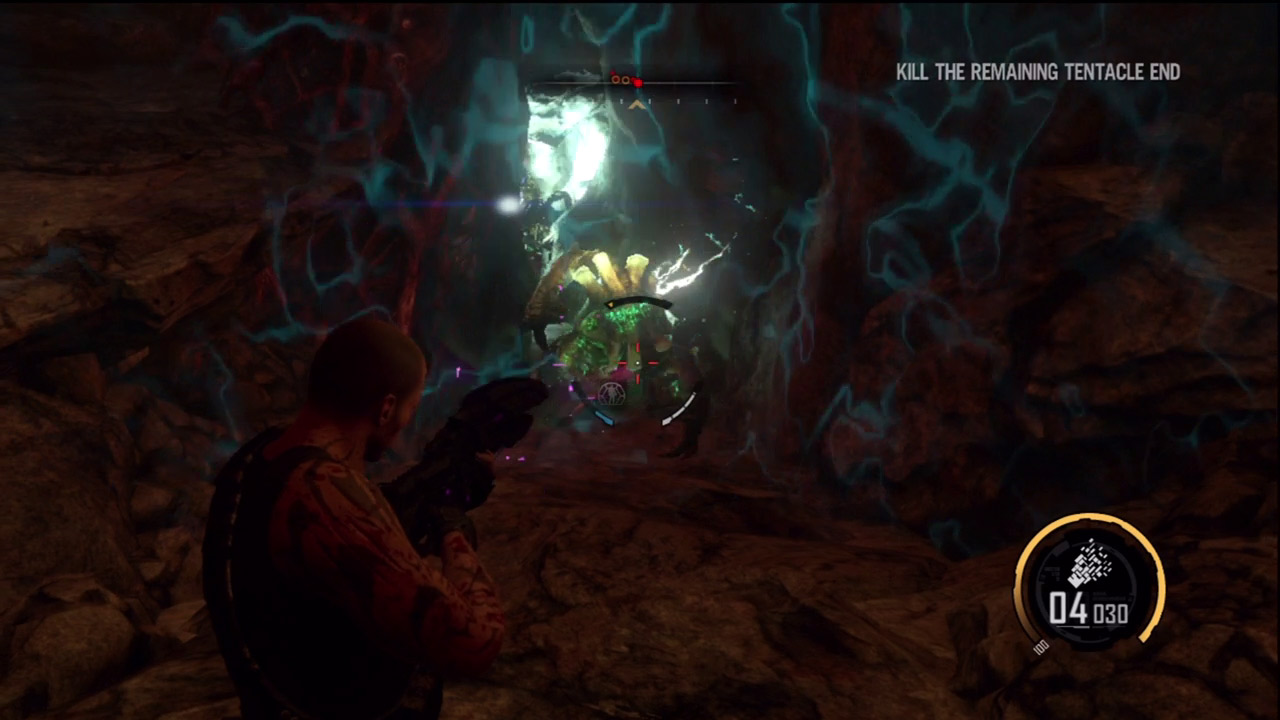
The path leads you back to the first cavern where you destroyed the first tentacle end. Follow the GPS markers up a new narrow path on the left side of the cavern. As you pass through the tunnel, you're confronted by a berserker at close range.
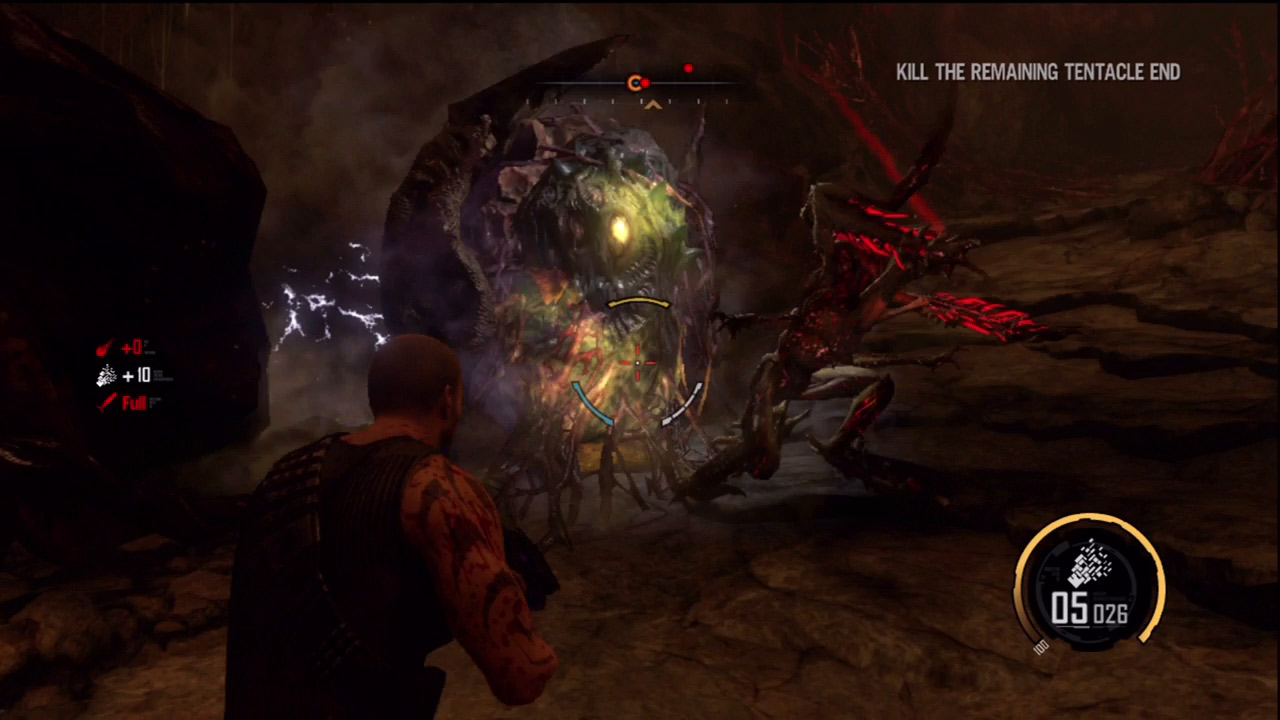
Immediately deploy a Shell and open fire on the berserker with your Nano Rifle or Rocket Launcher. Deplete the berserker's health as quickly as possible and make sure the Shell is still active when the creature explodes. A few ravagers accompany the berserker, so be ready to hunt them down. The ravagers spawn from two pods attached to the tunnel walls ahead. Fight your way past the ravagers and then destroy the pods from which they emerged.
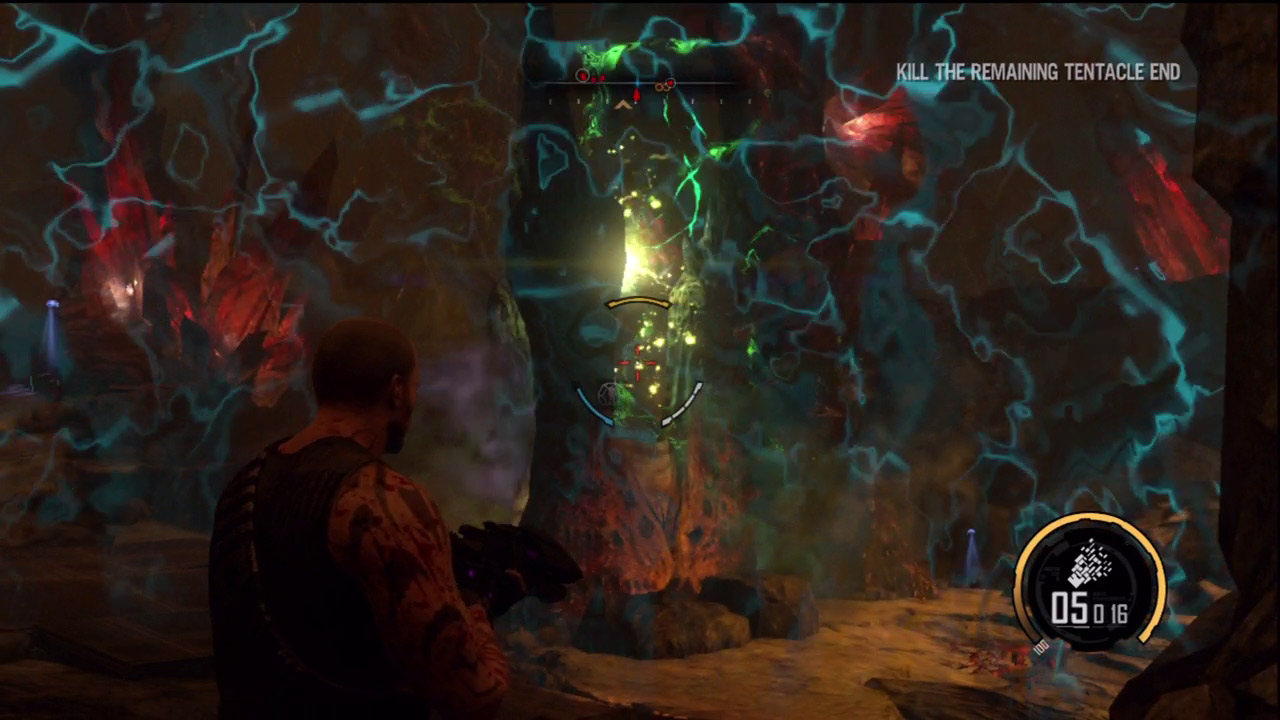
Just ahead, launch a repair grenade at a damaged weapons locker on the left side of the tunnel. Take a moment to swap out your weapons, but it's strongly advised to keep the Nano Rifle and Rocket Launcher—the Plasma Cannon can also come in handy. Beyond the weapons locker are more ravagers, pods, and a monolith. Creep ahead until the monolith emerges, and then deploy a Shell. While protected by the Shell, bring down the monolith with a series of rockets. As you attack the monolith, incoming fire from the ravagers reflect, assuming you purchased the Reflective Shell upgrade. This is a great way to kill enemies by reflecting their own fire back at them—earning you the Back At Ya! achievement/trophy if you haven't unlocked it yet.
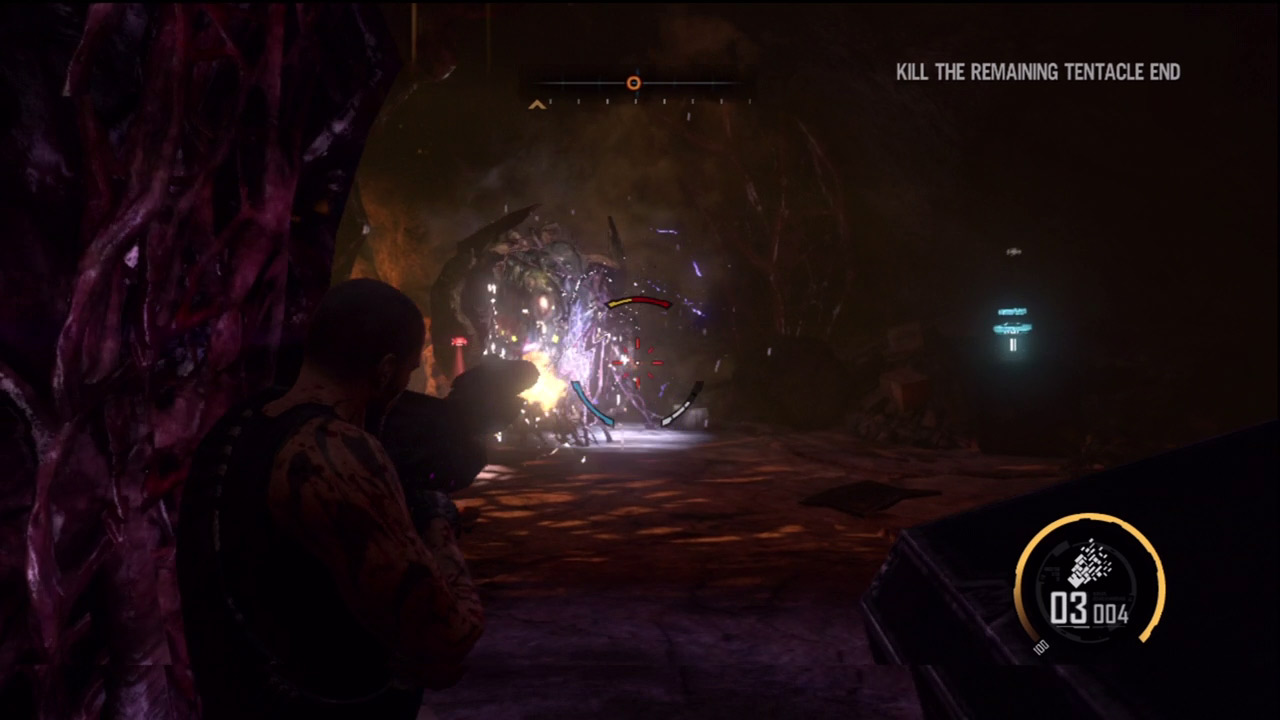
After destroying the monolith, follow your compass to this nearby cave to locate two pods. This is where all the ravagers are coming from. Plow through the ravagers defending this area and then rupture the pods. Inside this same cave you can find salvage, ammo, and a Pulse Grenade. When you're finished gathering loot, return to the main path and follow the GPS markers up the incline. If you destroyed both pods and all the ravagers, the trek is free of hostiles. Take a moment to scour the path for ammo and salvage.
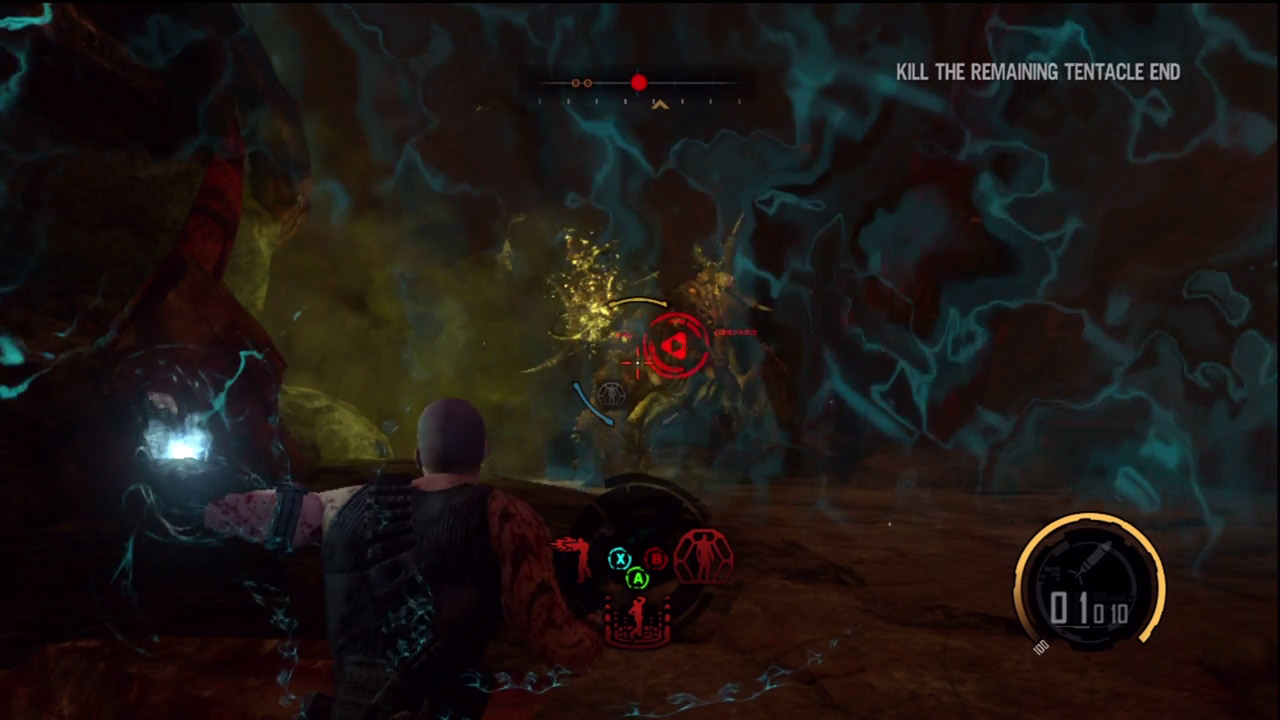
The calm is broken by a tentacle emerging from the ground in the adjoining tunnel. Quickly bring down the tentacle, then focus on the creepers and behemoth rushing your way. Smash the creepers that approach while opening fire on the behemoth with your Rocket Launcher. Hold off on deploying a Shell until the behemoth gets close. If necessary, backpedal down the path to create more space. When you're ready to make a stand, deploy a Shell and hold steady while pummeling the behemoth with rockets. If you brought along the Plasma Cannon, now's a good time to equip it. Keep up the attack until the behemoth falls to the ground.
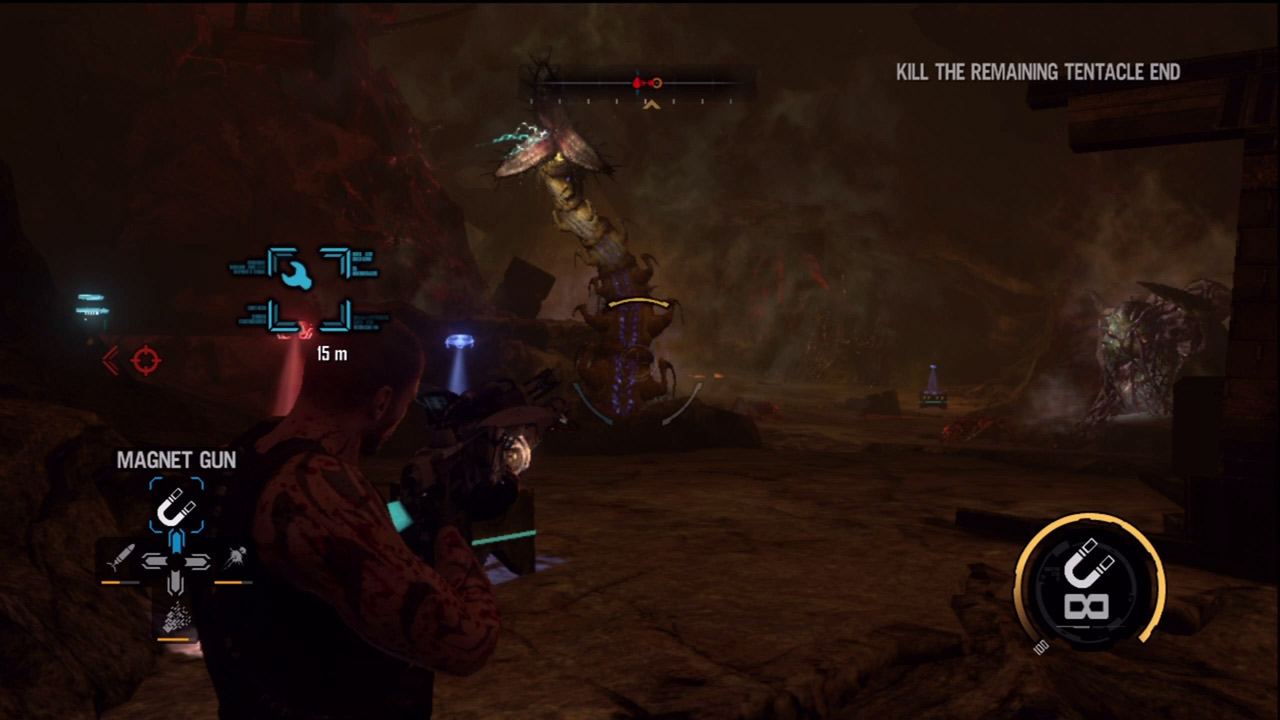
After killing the behemoth, cautiously enter the next tunnel. There's a couple of pods attached to the walls just ahead, but before you can target the pods, a tentacle emerges near a damaged upgrade station. The pods spawn creepers while the tentacle attacks by chucking debris. There isn't much room to maneuver, so deploy a Shell and target the tentacle first, preferably with the Nano Rifle. Once the tentacle is down, destroy the pods and any remaining creepers. Having cleared the area, turn to the damaged upgrade station and repair it with a repair grenade. Spend any extra salvage you have, then continue through the tunnel.
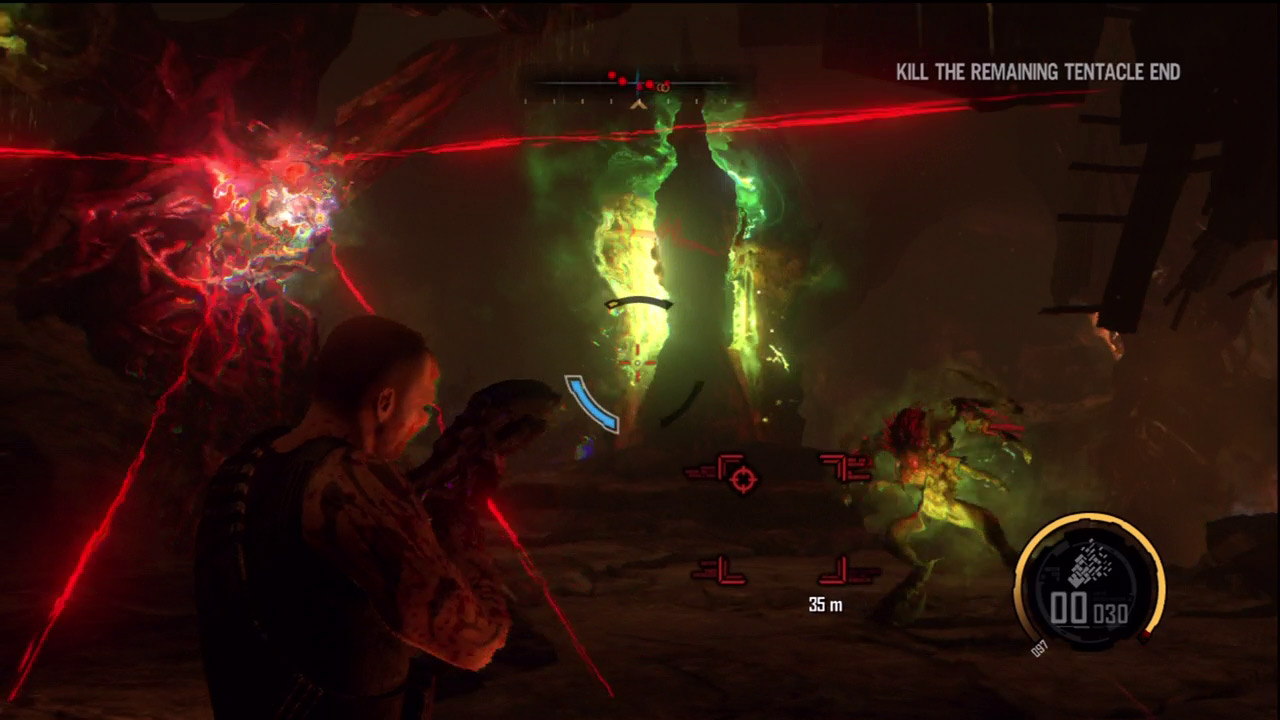
Gather the ammo and salvage pick-ups on your way to the third and final tentacle end. Before you can attack the tentacle end, a monolith blocks your path along with several ravagers and a wraith. Deploy a Shell and hammer away at the monolith using your Rocket Launcher or Plasma Cannon. Next, hunt down the wraith, hitting it with melee strikes or rockets.
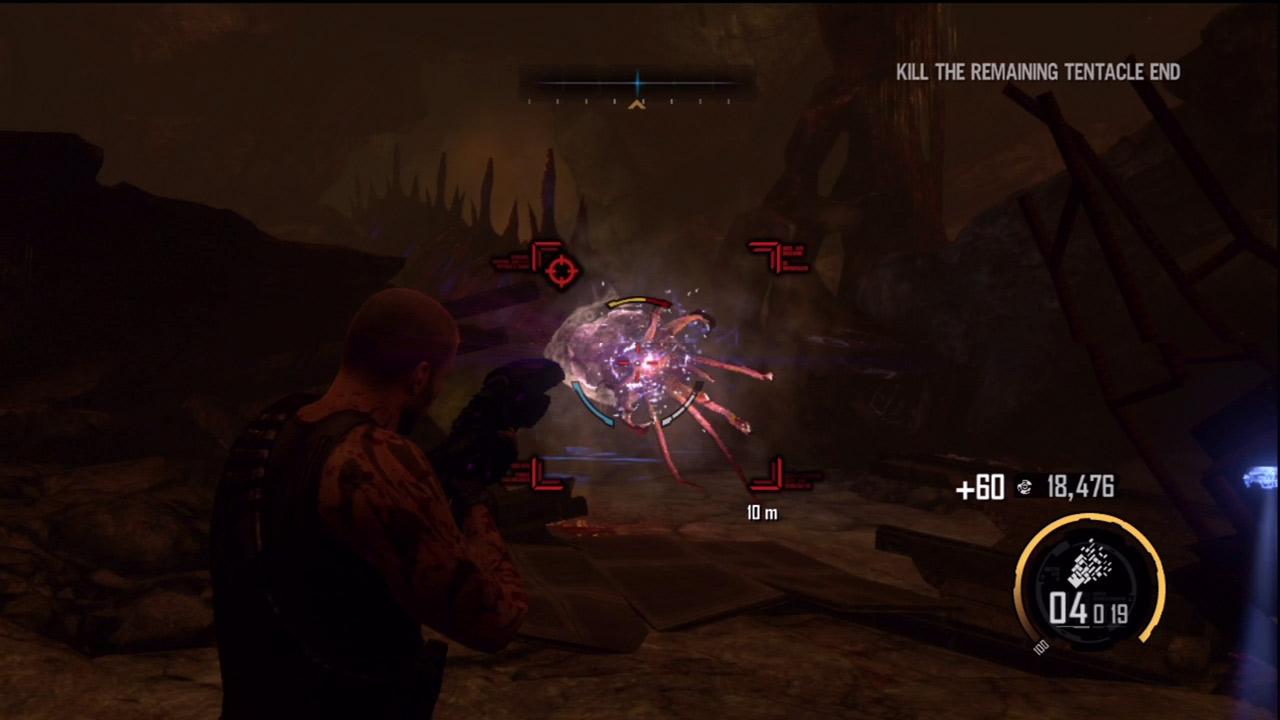
Finally, mop up the ravagers and the two pods they emerge from on the right side of the cavern. When all the hostile creatures are down, turn to the tentacle end and shoot it with your Nano Rifle until the tentacle vaporizes. S.A.M. reports that all tentacles have been removed. The passage to the queen should now be available. Take a moment to gather ammo and salvage from this cavern, then follow the GPS markers leading toward the heat signature S.A.M. detected earlier.
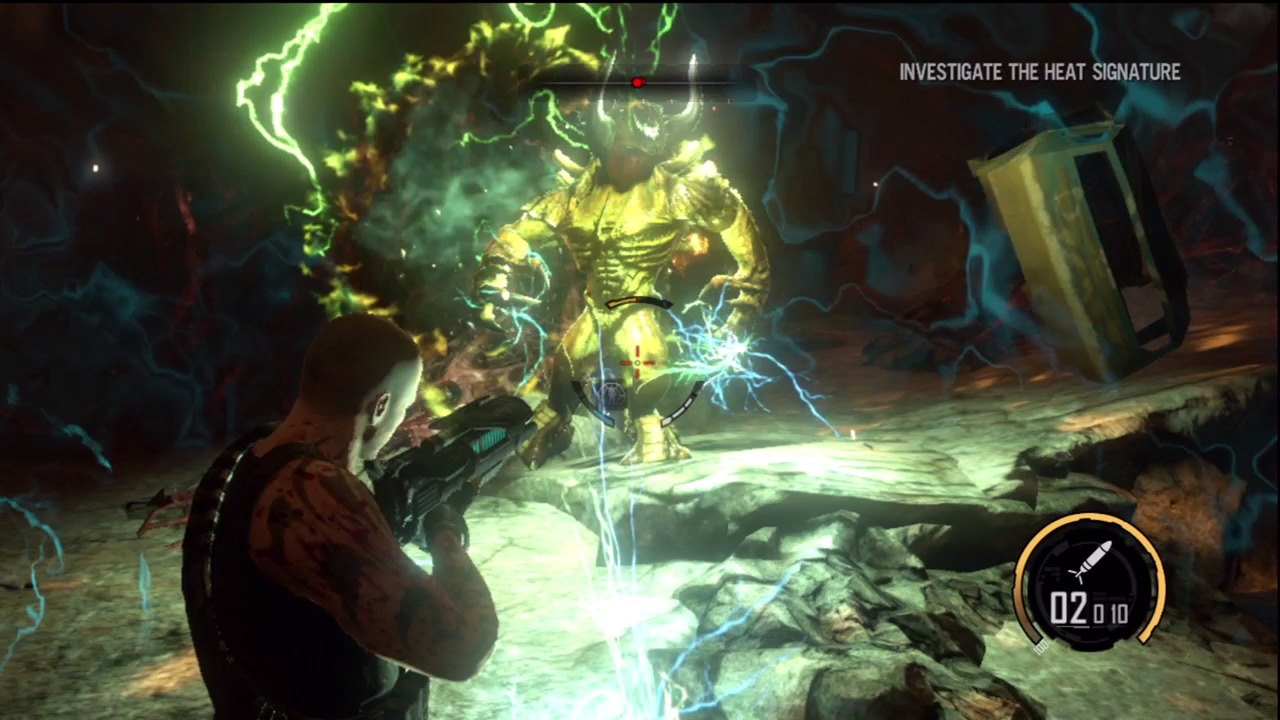
Drop down a series of ledges into a tunnel with a weapons locker. Feel free to mix up your load-out as you see fit, but it's strongly advised to keep the Nano Rifle and Rocket Launcher in your arsenal. Just ahead, you're ambushed by more ravagers—deploy a Shell and take them out. Further along the path you encounter three berserkers. Quickly deploy a Shell and hold your ground while firing rockets at the trio. If you run low on ammo, the Nano Rifle is also effective against these enemies. But if you want to save your ammo, consider using the Magnet Gun to toss these foes around the cavern until they explode. Juggling three targets isn't easy, but it's the best way to keep the berserkers away from you.
The Queen's Chamber
New Objective: Get to the Top
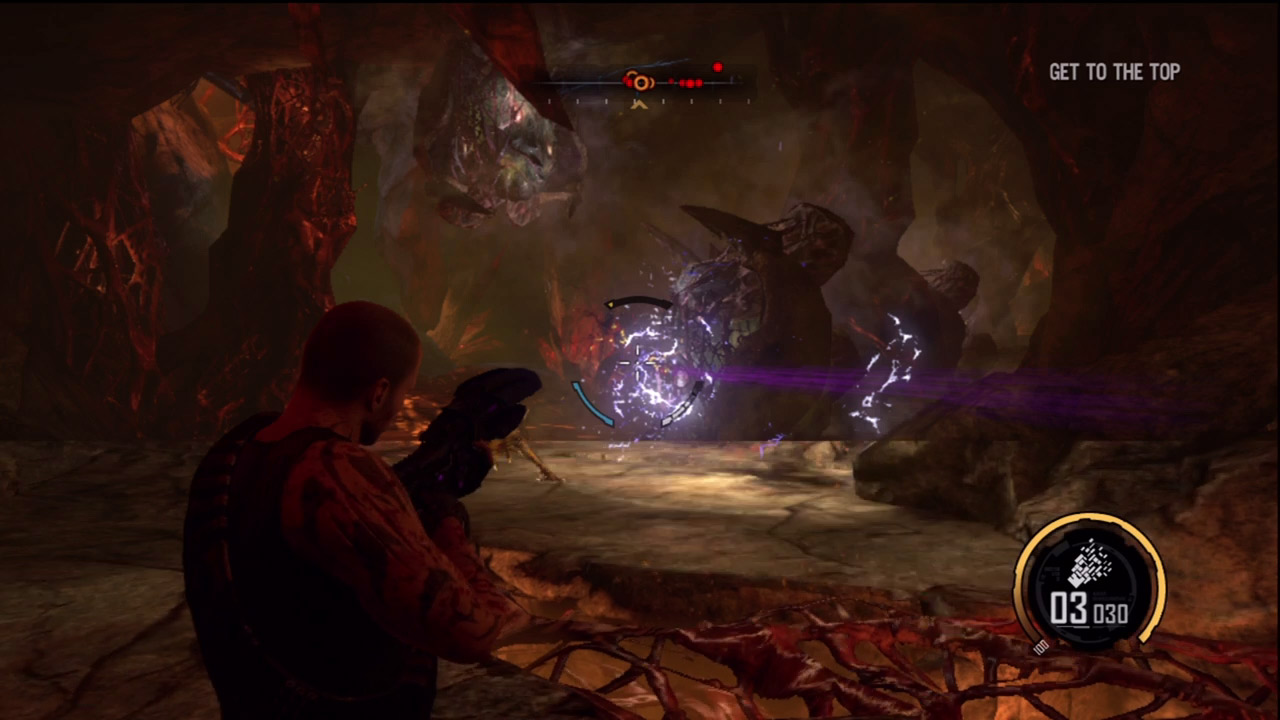
Beyond the berserkers, continue along the path and plow through a large group of creepers using Impact. In the adjoining chamber, you finally reach the source of the heat signature. S.A.M. reports that the heat signature is a living organism, but it's unlike anything you've encountered thus far. Darius wants to climb the nearby path to get a better look at what they're dealing with. Swarms of creepers and a few wraiths fill the tunnel ahead. Use Impact and melee strikes to wade through the creepers. Melee strikes are also effective against the wraiths, assuming you can hit them before they disappear. If you find yourself completely surrounded, deploy a Shell and clear out the area using your Nano Rifle. The creepers are spawned by several pods. Use the compass to locate each pod and destroy them as quickly as possible. Ravagers emerge from a couple of pods as well. Work quickly to destroy the pods, then worry about mopping up the creatures.
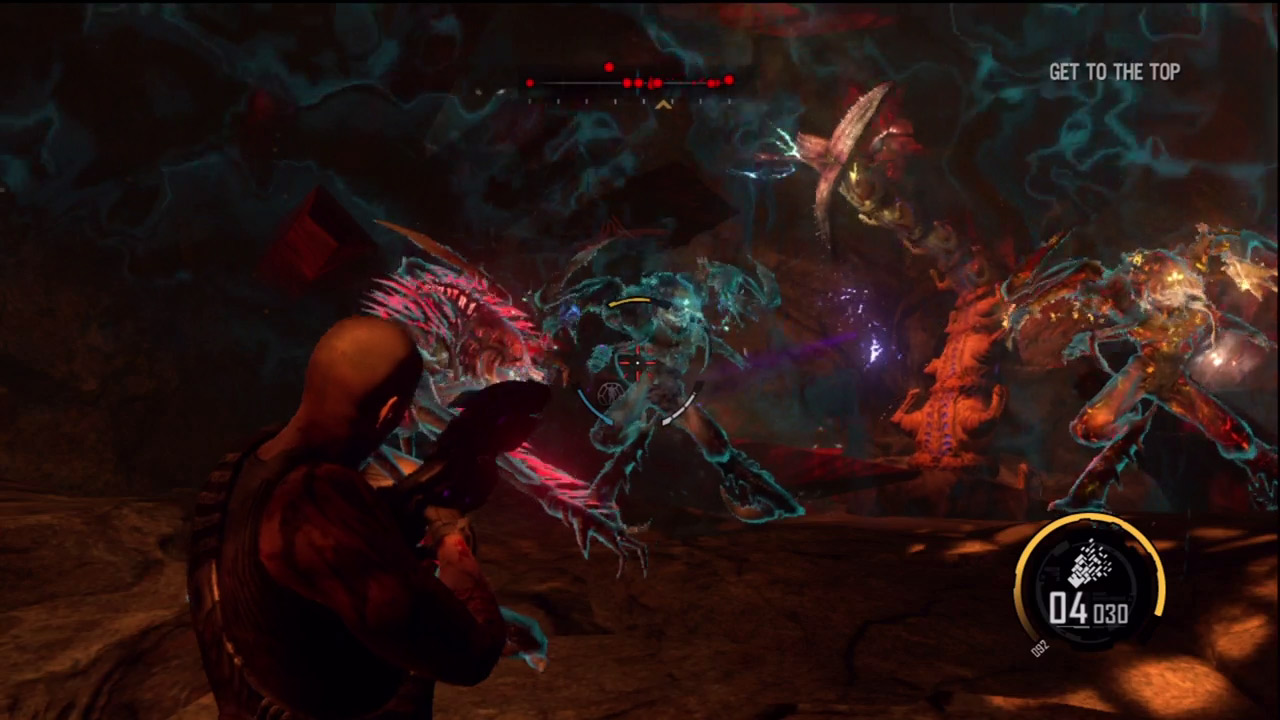
After eliminating all the pods, continue climbing the sloped path until you're ambushed by a large group of ravagers and a tentacle. Instead of stopping, push forward, allowing the ravagers to completely surround you. Next, deploy a Shell and attack the tentacle first. If you have the Reflective Shell upgrade, the ravager attacks bounce off, potentially killing their comrades. Finish off the tentacle, then as the Shell fades, engage the ravagers. Keep moving and firing while mopping up the resistance with your Nano Rifle or Rocket Launcher. As you continue along the path, another tentacle sprouts from the ground and is backed up by a berserker. Once again, use the Shell for protection and engage the tentacle first. By the time the tentacle is down, the berserker should be nearly dead due to his own projectiles bouncing back at him.
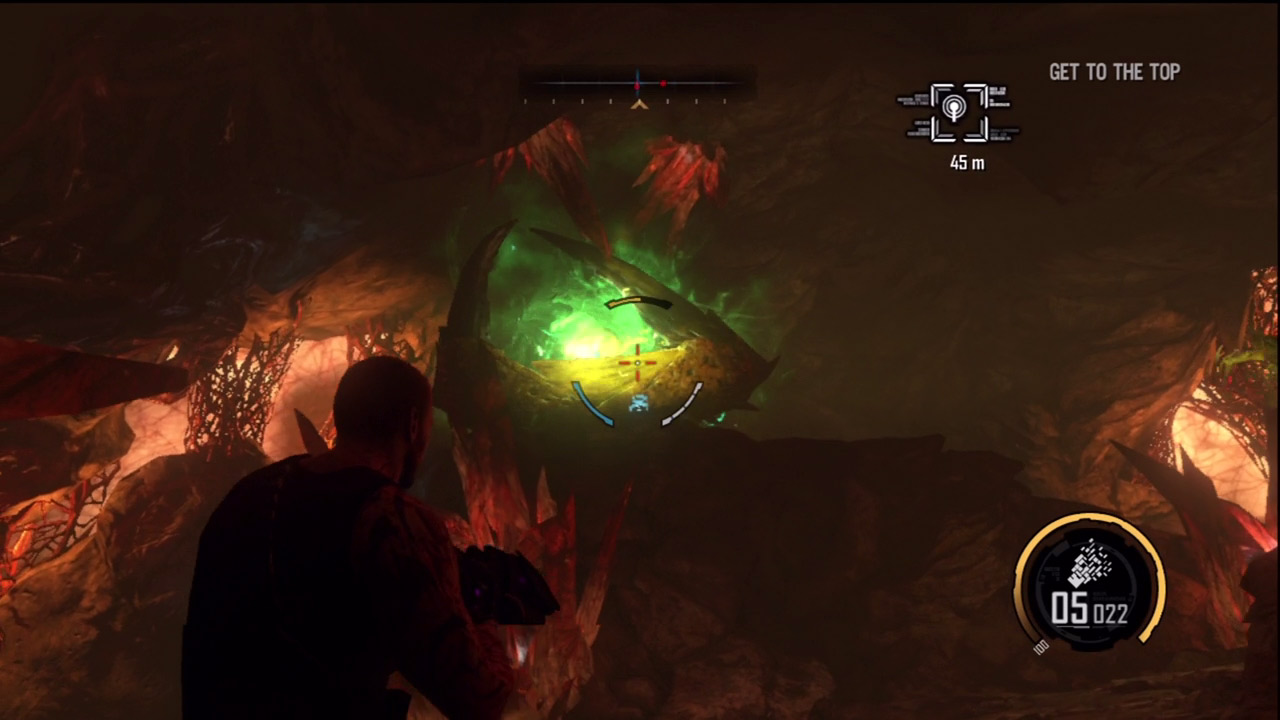
As you near the top of the chamber, you're attacked by more ravagers and a behemoth. The ravagers spawn from a few pods ahead, but it's difficult to target them without exposing yourself to the behemoth. Try to ignore the ravagers for now while engaging the behemoth. Initially, keep your distance from the behemoth and try to land as many rocket hits as possible.
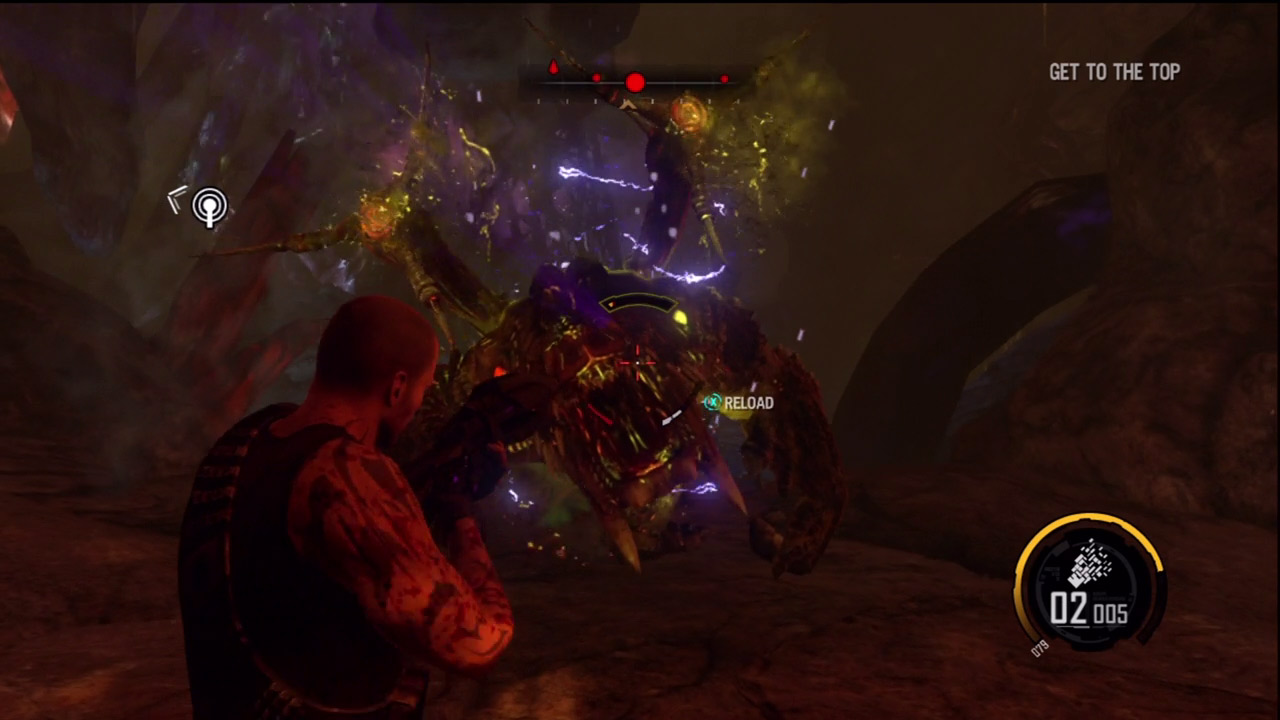
The goal is to draw the behemoth away from the pods. Look for an opening and dart in to destroy the two pods. This greatly limits the ravagers you face during this fight. On a ledge above the pods is a monolith. The monolith makes it harder to kill the behemoth and the ravagers, so take it out, preferably while protected by a Shell. Finally turn your attention back to the behemoth and bring it down with more rockets. If you run out of rockets, the Nano Rifle is more than capable of finishing the job. Following the battle with the behemoth, scour the floor for ammo. By now you need all the ammo you can get.
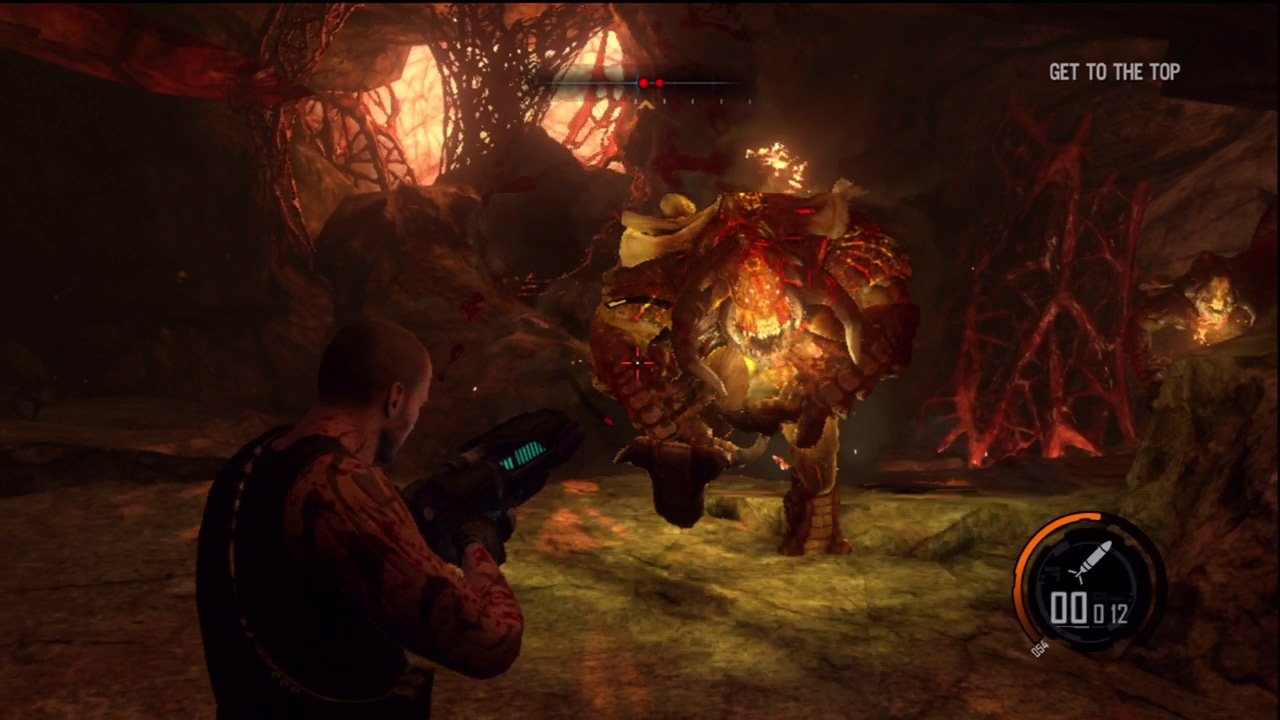
Gather more ammo along the path ahead while engaging more ravagers and creepers. You'll need the ammo to fight off a trio of berserkers ahead. As soon as these creatures come into view, open fire with the Rocket Launcher and deploy a Shell. This is one instance where the Reflective Shell upgrade is useful, causing the berserkers' fiery projectiles to bounce back at them. But pay close attention to your Shell—when it disappears, back away from the berserkers and be prepared to dive out of the way if they make a last-ditch charge in your direction before detonating. Once all three berserkers are eliminated, grab any nearby ammo and salvage, and then continue following the GPS markers.
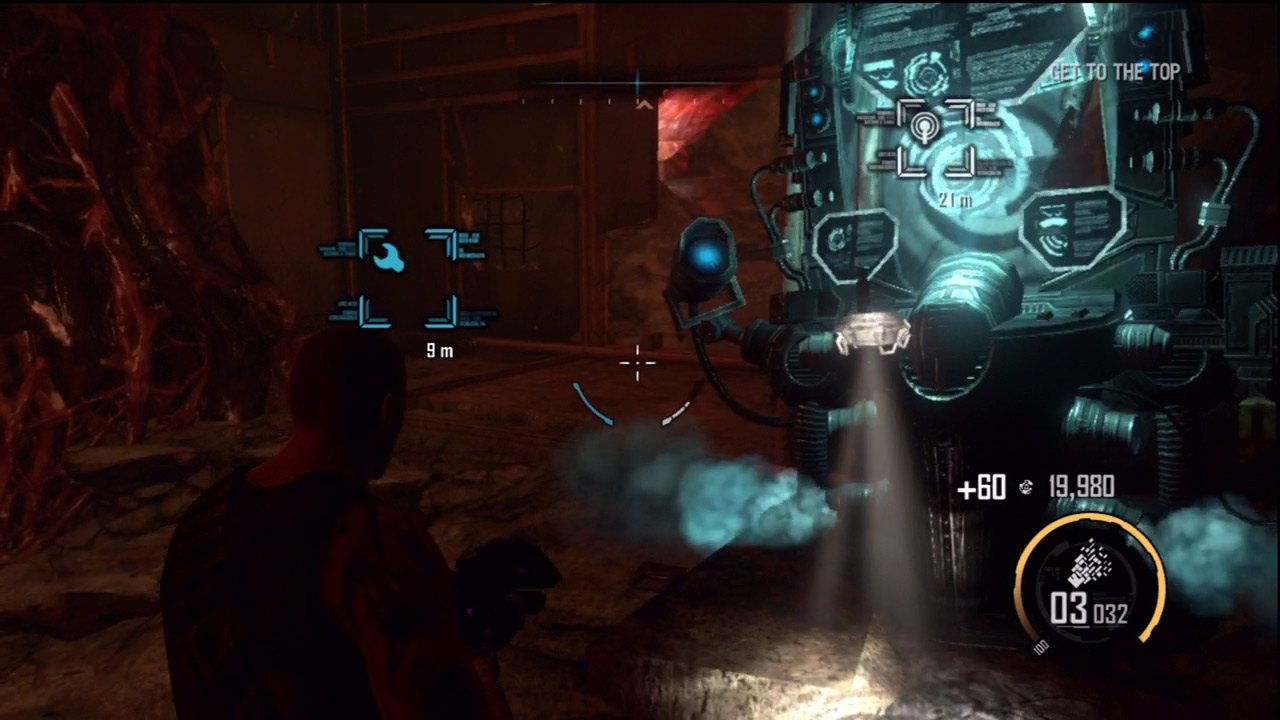
The path leads you to a small abandoned structure equipped with an upgrade station and weapons locker—both must be repaired before you can interact with them. This is your last chance to stock up on weapons and upgrades before the fight with the queen. At the upgrade station, make sure you own at least one variant of the Shell. Without at least the most rudimentary Shell upgrade, defeating the queen is extremely difficult. The Improved Explosives and Health Increase upgrades are also worthwhile if you have salvage to spare. At the weapons locker, choose the Rocket Launcher, Nano Rifle, Singularity Cannon, and Plasma Cannon. These weapons offer the right balance of firepower to bring down the queen and her guardians.
The Queen
New Objective: Kill the Queen
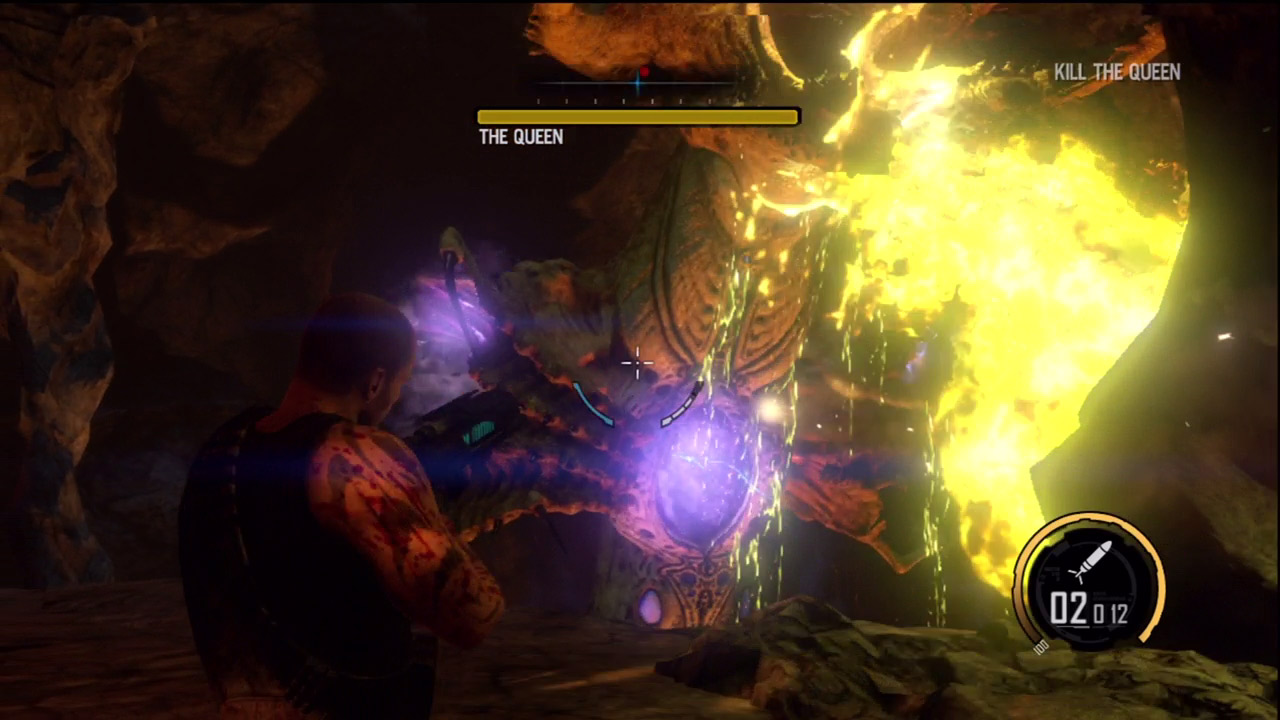
After stocking up on weapons and upgrades, step into the adjoining cavern to trigger a cutscene showing the queen emerge from a deep chasm. As you regain control, you find yourself on a ledge overlooking the massive pit. Move laterally along this ledge to avoid the queen's attacks. There's also ammo pick-ups scattered along this ledge, but avoid picking them up until you really need them. When the queen shoots fire from her mouth, move left or right to avoid getting torched. Alternatively, deploy a Shell to protect yourself. There are also vertical pieces of rock you can hide behind to avoid taking damage.
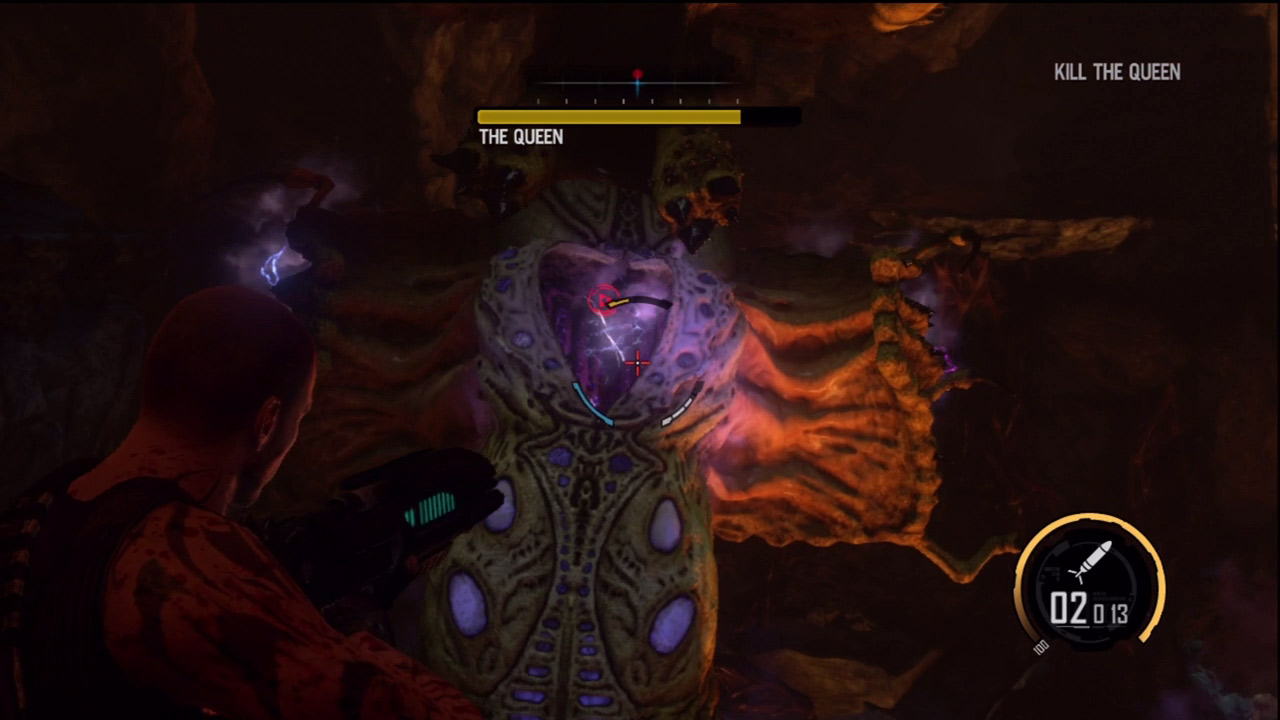
When the queen is at rest, your weapons inflict no damage, so don't waste your ammo. Instead, look for the purple glowing spots on her body when she attacks. Hitting these spots inflicts damage on the queen, depleting her health bar at the top of the screen. However, hitting these spots is difficult while evading her fiery attack. This is where the Rocket Launcher comes in handy. Simply aim in the general direction of the queen's weak spots to achieve a lock with the Rocket Launcher. Once fired, the rocket homes-in on the target and explodes, inflicting heavy damage. Initially there are three of these weak spots you must destroy, located on the queen's thorax. The central spot is easy to hit from any part on the ledge, but to hit the spots on the left and right, you may need to traverse to the outer extremes of the ledge to get an open shot. While engaging the queen, multiple ravagers appear on the opposite side of the cavern. Take a moment to clear out any nearby ravagers using the Nano Rifle or Singularity Cannon.
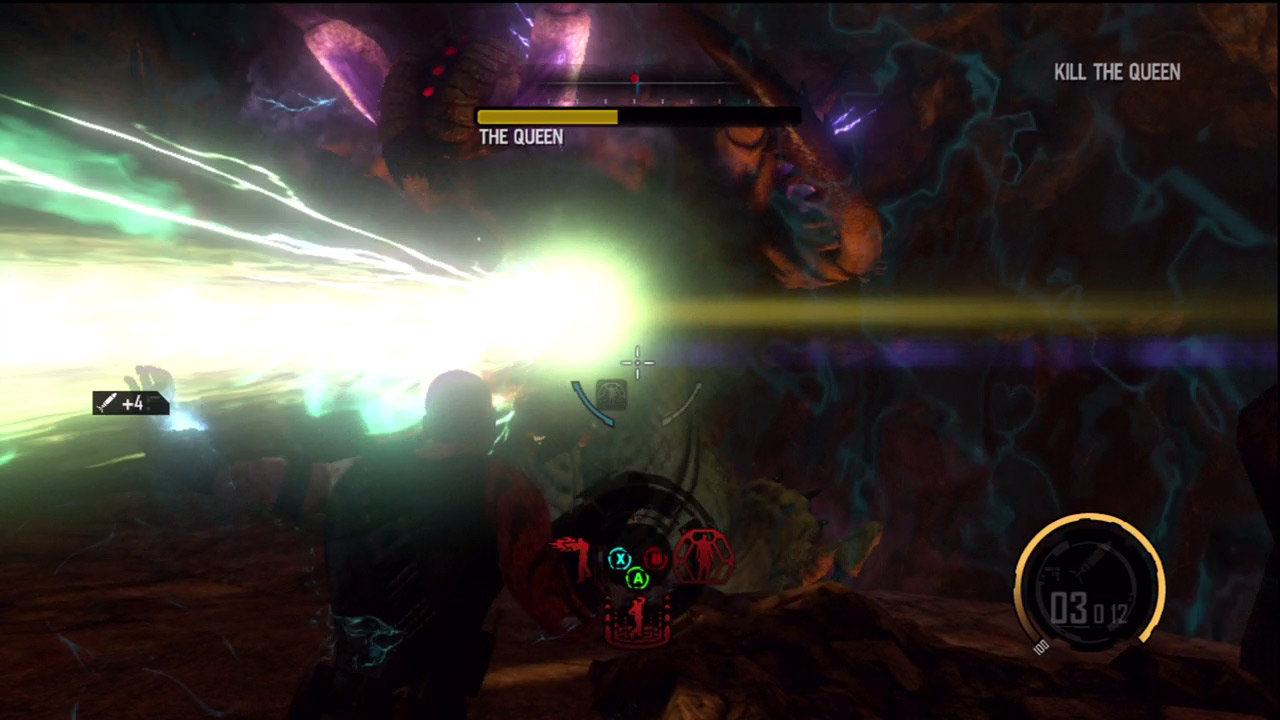
Destroying the first set of purple glowing spots on the queen's body drops her health below 50%. This causes her to thrash about wildly, destroying the vertical pieces of rock on the ledge, denying you all cover. The queen disappears momentarily, diving into the chasm—but don't let your guard down. When she pops back up, she emits a blinding energy beam from her mouth. The beam pans along the length of the ledge, giving you no way to escape. However, deploying a Shell can protect you from this devastating energy blast. Remain within the Shell until the beam passes your position. The queen continues this same attack throughout the duration of the battle. Pay close attention to where she emerges and stay away from the beam until you can deploy a Shell.
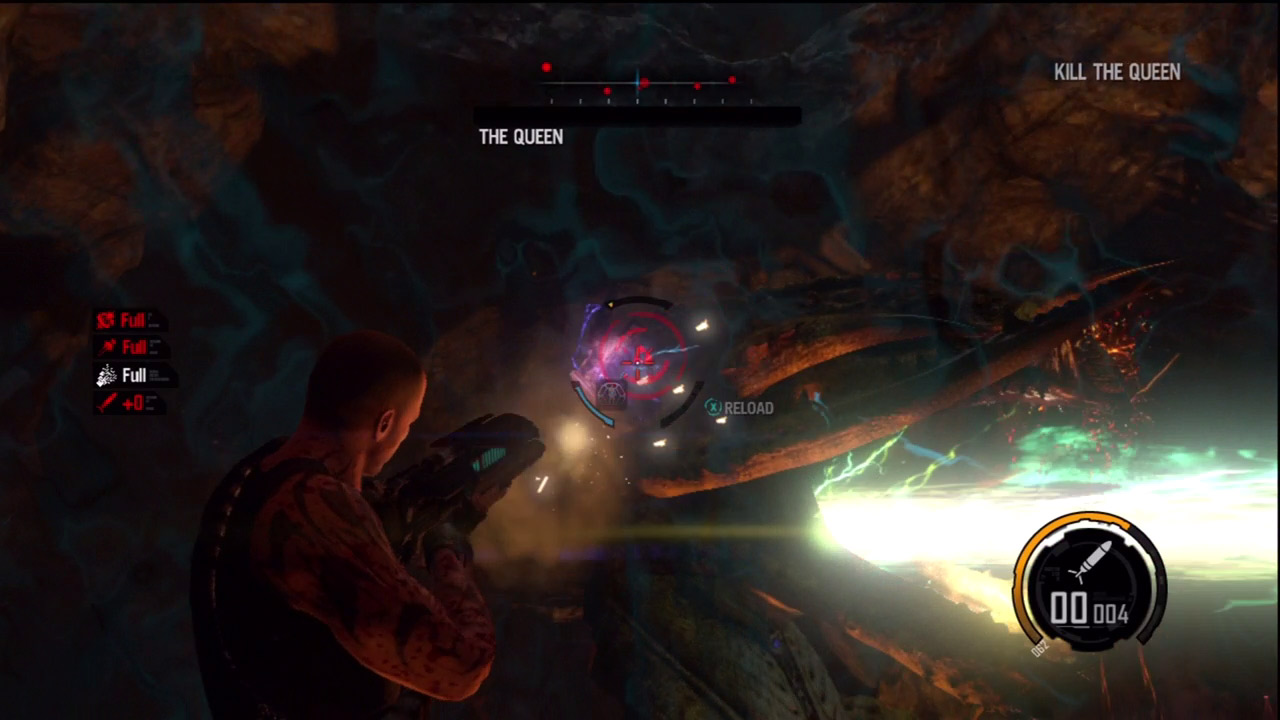
In the last phase of the queen's attack, there are four purple glowing weak spots, this time on the queen's head. These only appear when the queen attacks, firing the massive energy beam from her mouth. Using the Rocket Launcher, lock on to these targets and destroy them. The queen's two nostrils, in the center, are easiest to hit—fire at them while within the protection of the Shell. But the spots on the right and left sides of the queen's head are a bit trickier to hit. As the queen pans her head to the left, move to the right and target the spot on the right side of her head. Then when she pans her head to the right, move to the left and hit the spot on the left side of her head. Once the energy beam has passed your position, feel free to leave the confines of the Shell to acquire the necessary angles to hit these weak spots. Destroying these three spots reduces her health to zero, causing the queen to thrash about violently before collapsing. But the fight isn't over just yet. . .