
Red Faction: Armageddon Guide Walkthrough Campaign
Road to Bastion
| Icon | Name | Description | Gamerscore | Trophy |
|---|---|---|---|---|
|
|
Boom Goes
the Dynamite |
Kill 2 other enemies with a single exploding Berserker. | 10 | Bronze |
|
Oooooh Yeah! | Kill 5 enemies with one LEO shoulder bash. | 10 | Bronze |

|
Vanguard | Escort the convoy. | 15 | Bronze |

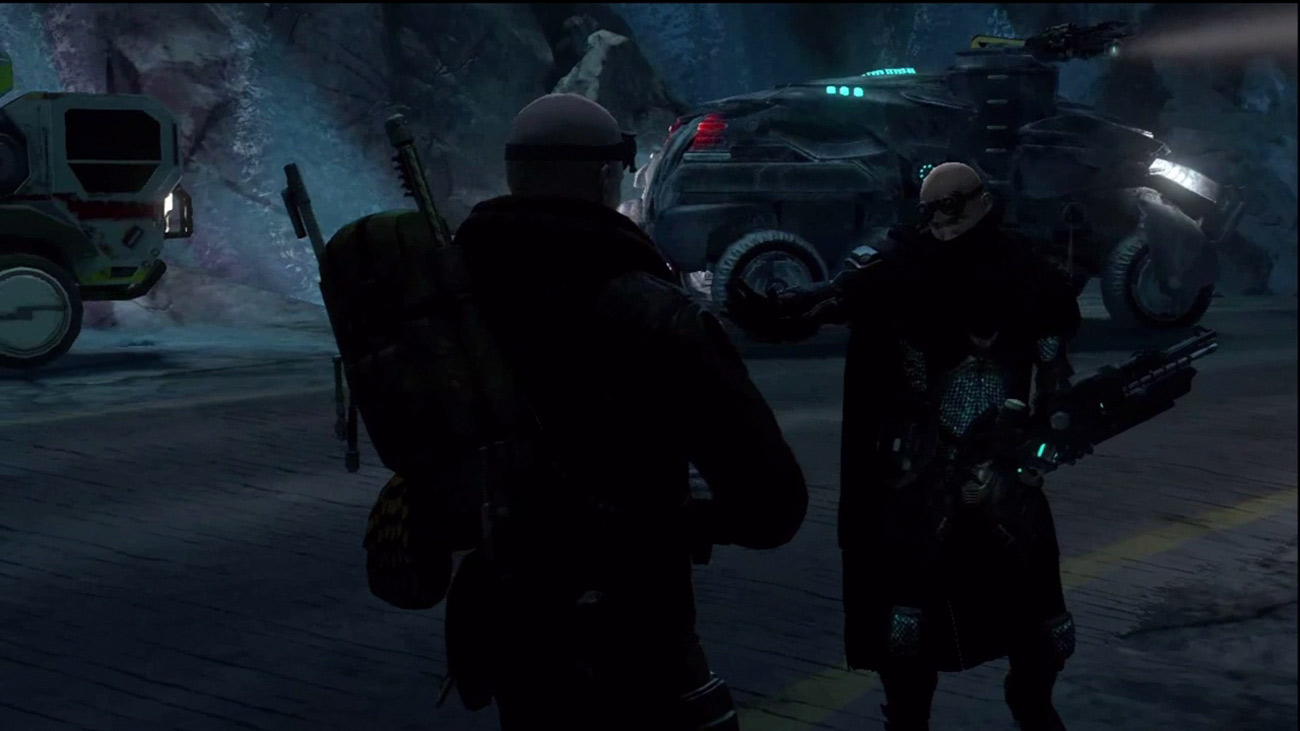
As Darius reaches the convoy, the Red Faction troops are busy evacuating the miners. Lt. Pierce tells Darius that the current convoy is full—he'll need to wait for the next one. When Darius says he'd rather walk out on his own, the conversation is interrupted by a distress signal. The troops further down the tunnel have encountered something and are under attack. While Pierce stands frozen, Darius rushes ahead to assist.
New Objective:
Stop the Attack
Secure the Elevator
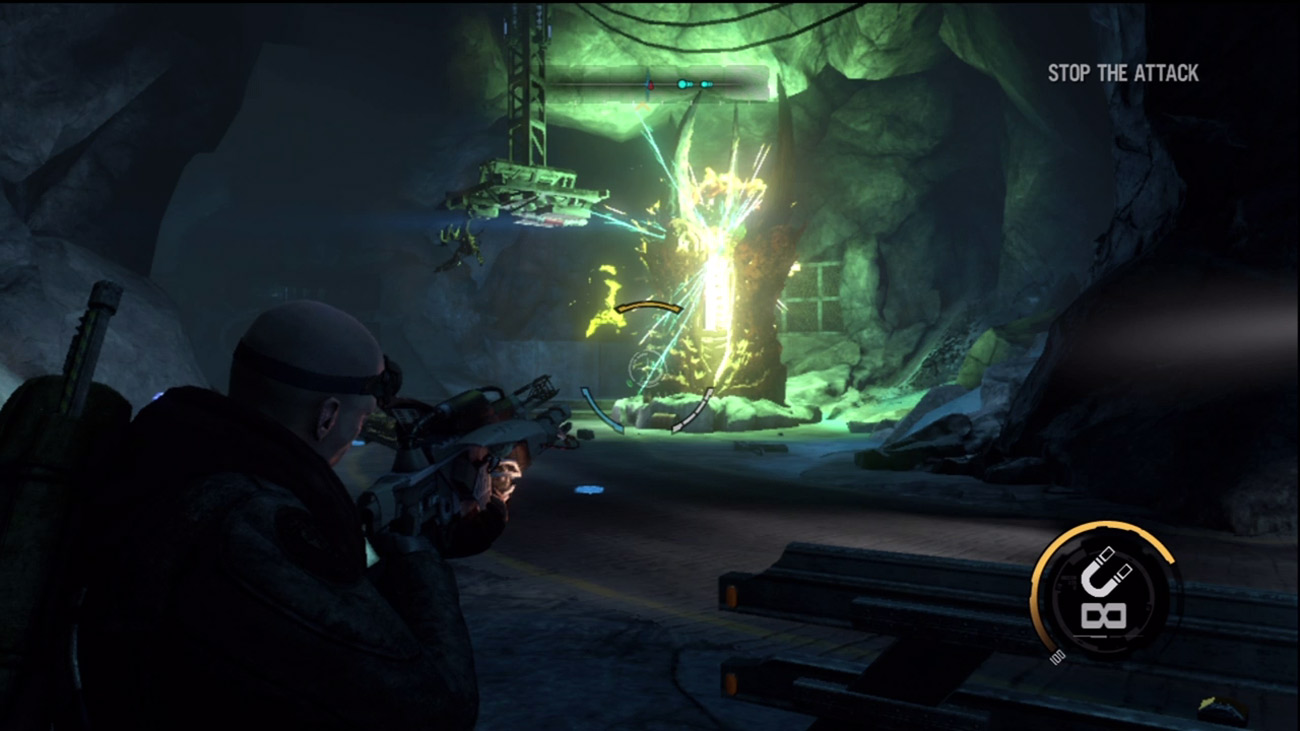
As you gain control, advance down the tunnel toward the sound of gunfire. The lead LAV in the convoy has opened fire on several ravagers in the tunnel. Use your Pistols to aid in the convoy's defense and blast the large red storage tanks in an effort to kill a few ravagers. Shift your fire to the monolith when it emerges from the ground. Use the Charge Launcher to take it out or pummel it with debris using the Magnet Gun. In any case, take out the monolith before resuming your attack on the ravagers. Also, be ready to dodge its incoming green pulses of energy. Once the alien forces are eliminated, gather up any salvage left behind as the convoy begins advancing down the tunnel.
New Objective:
Escort the Convoy
Use the Weapons Locker
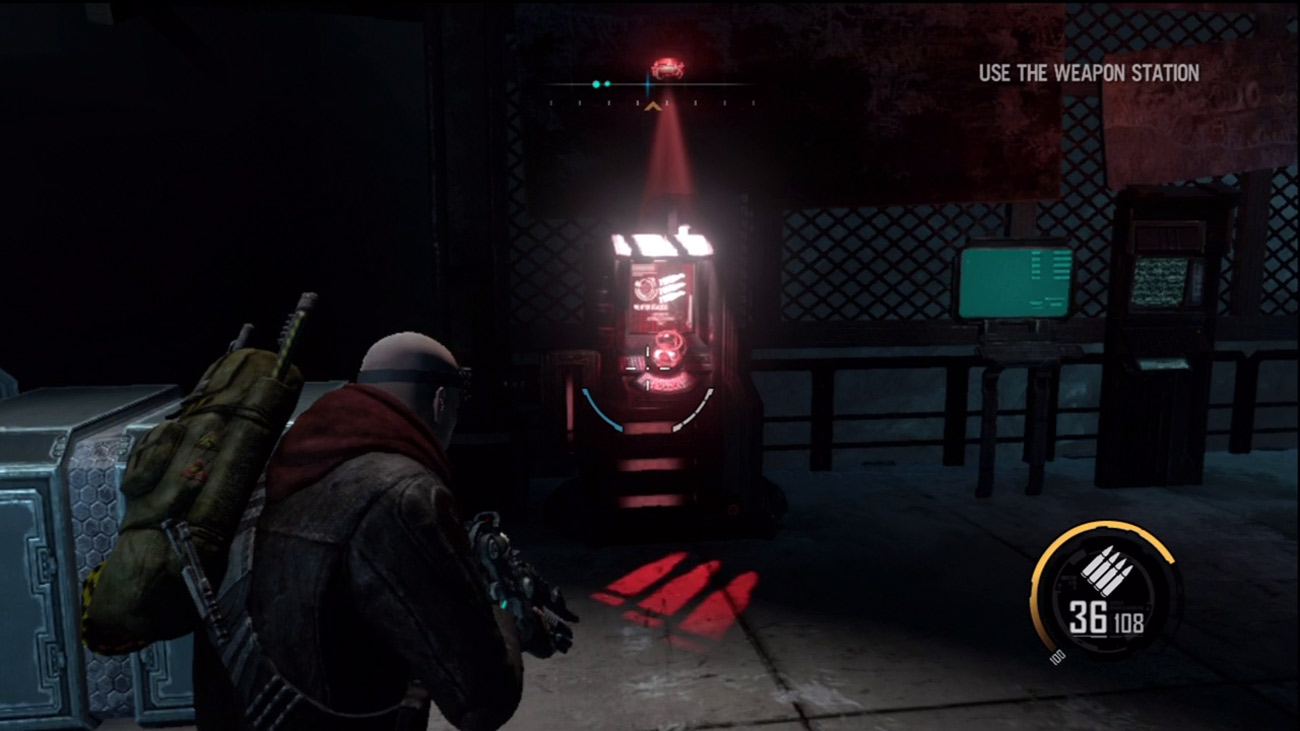
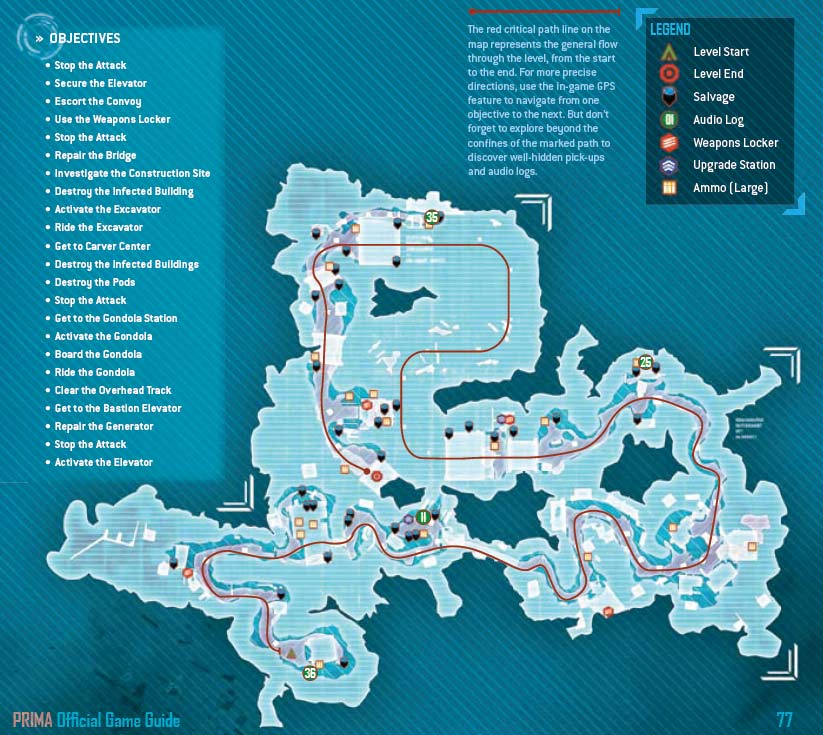
Stay ahead of the convoy as you near the next checkpoint. On the ground you can find an abandoned Assault Rifle. Drop your Pistols and grab the Assault Rifle. There's also a weapons locker nearby that you can use to alter your selection of weapons. Weapons lockers function similar to upgrade stations. Any weapon you've encountered thus far appears in each weapons locker. Use the locker's interface to choose which weapons you'd like to bring along. For the fighting ahead consider bringing an Assault Rifle, Magnet Gun, Charge Launcher, and the Maul.
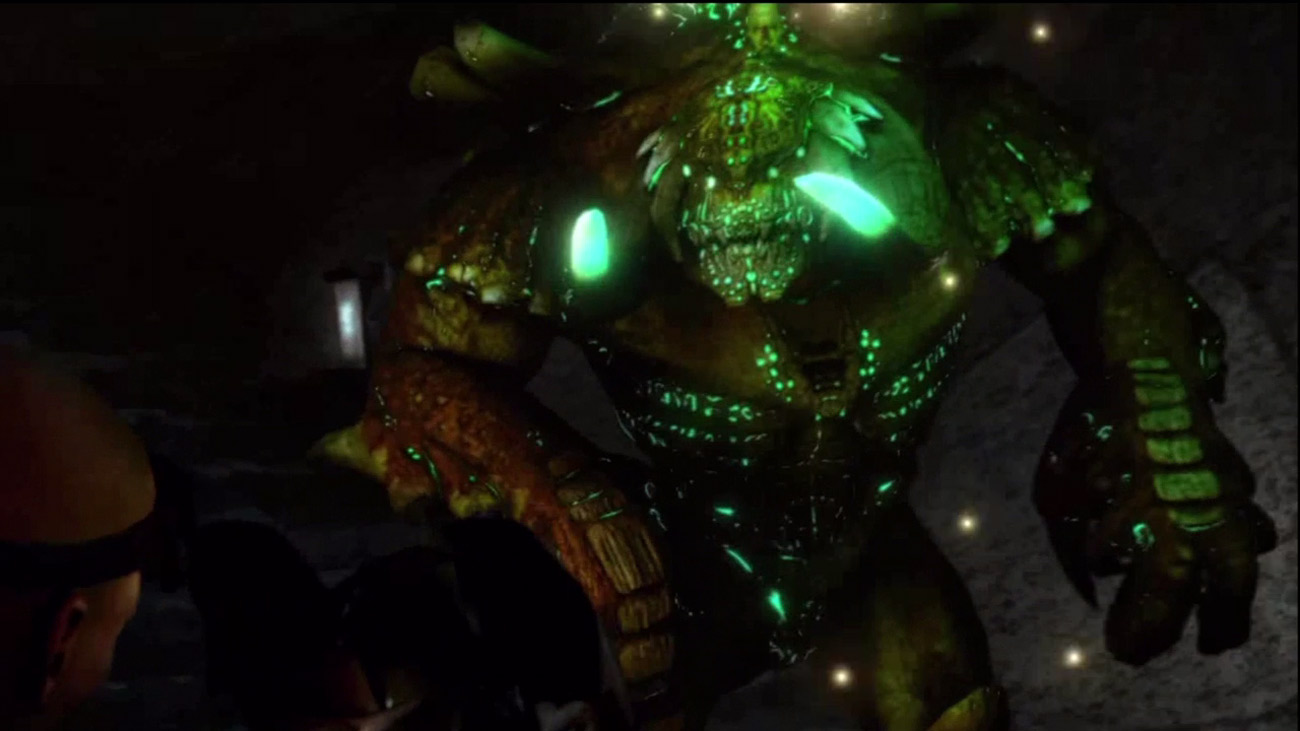
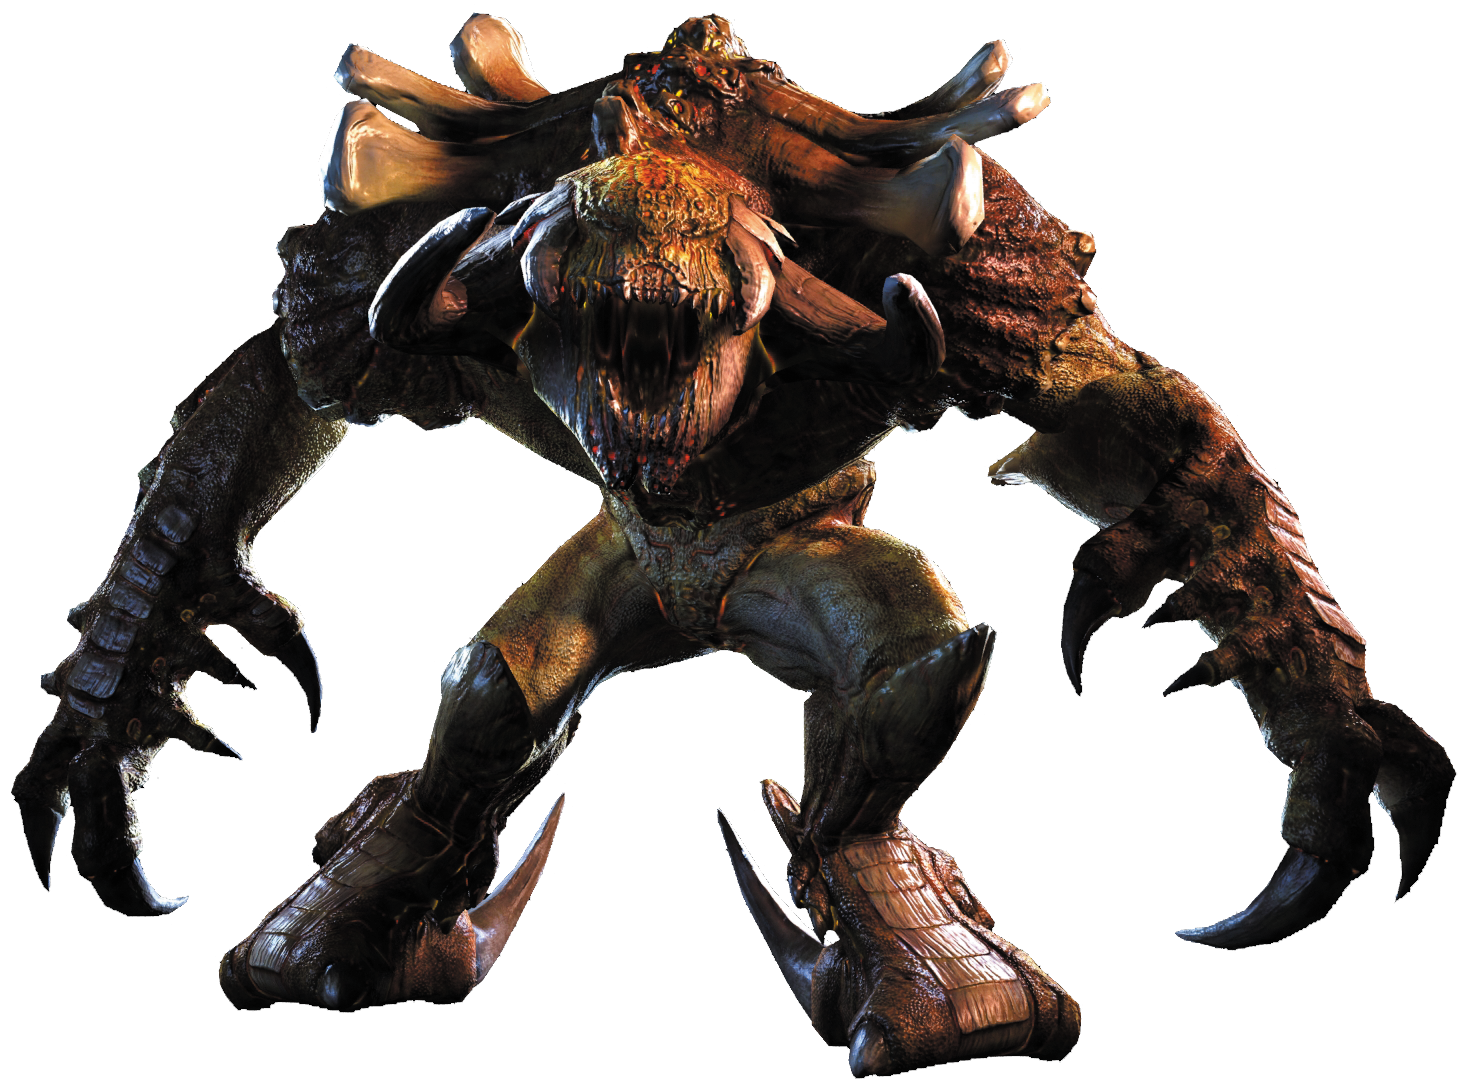
After stocking up on weapons, continue down the tunnel until a cutscene is triggered. As one of the LAVs rolls over a bridge, a large explosion rocks the cavern, causing the LAV to plummet into a deep chasm. A new alien threat then appears, surging with green energy. This is a berserker.
New Objective: Stop the Attack
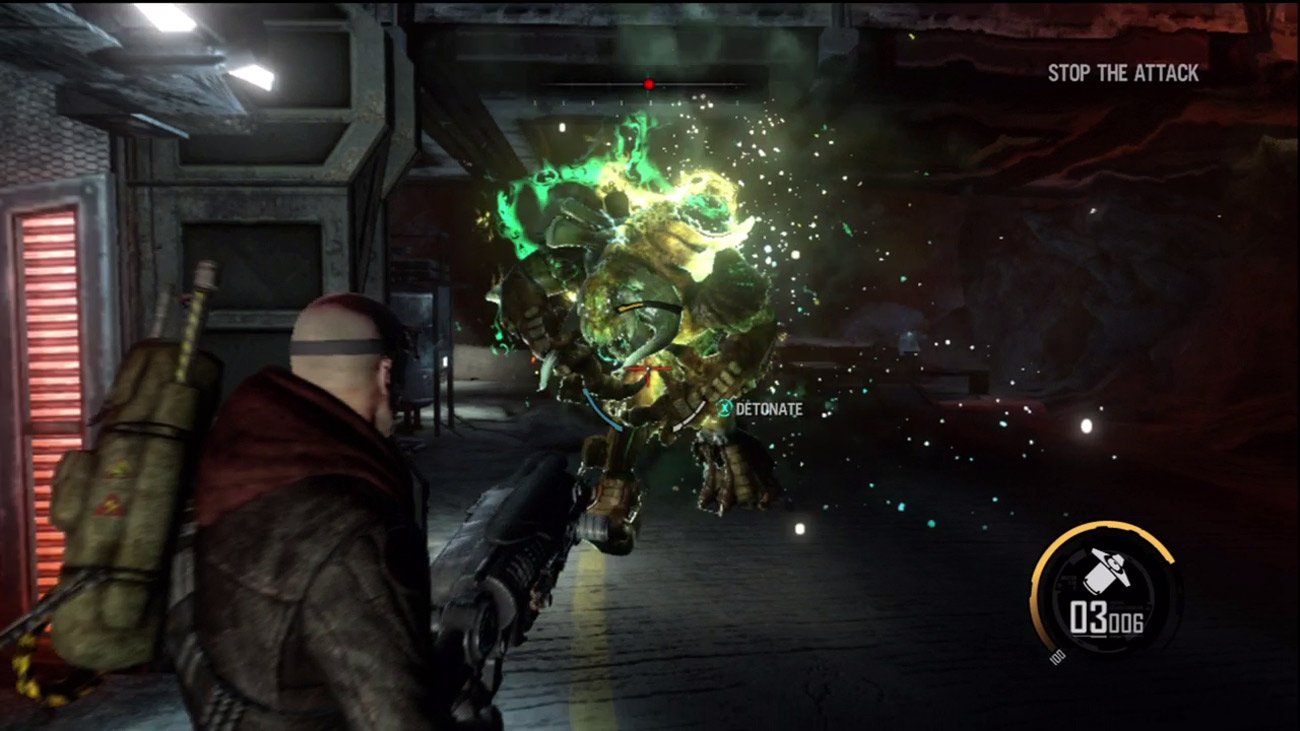
Compared to the other alien threats you've faced thus far, the berserker is relatively slow, but very durable. Equip the Charge Launcher and begin lobbing charges in the berserker's direction. Also, watch out for the incoming surges of green energy. After landing, these green blasts explode, so make sure you're far away. Meanwhile, set off a few explosions of your own by detonating the charges you've launched. You don't need to score direct hits—just try to detonate as many charges near the berserker as possible. Over time this slowly depletes the alien's health. Ignore the ravagers for now and focus on bringing down the berserker.
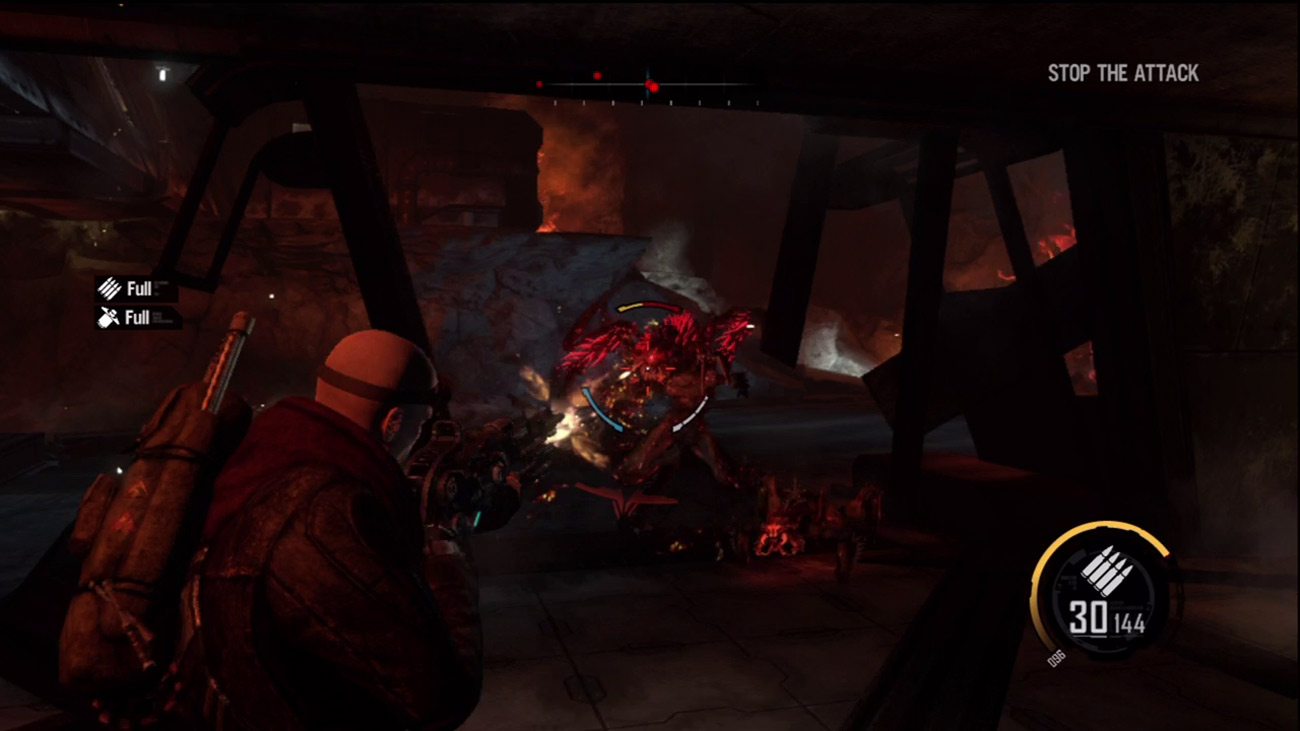
After killing the berserker, go after the ravagers and creepers advancing on your position. The Assault Rifle is well-suited for dealing with these relatively light threats. Use your compass to track down each enemy, as they may be hiding in and around the sky bridge structure above the main road. The convoy's lead LAV will assist in this battle, firing its automatic turret from a distance, but for the most part it's up to you to hunt down and eliminate each wave of enemies. If you must enter the structures to eliminate the enemies, be prepared to bring them down with melee strikes using either your Assault Rifle or the Maul. If you prefer, use the Magnet Gun to tear apart the structures and launch metal debris at the aliens.
New Objective: Repair the Bridge
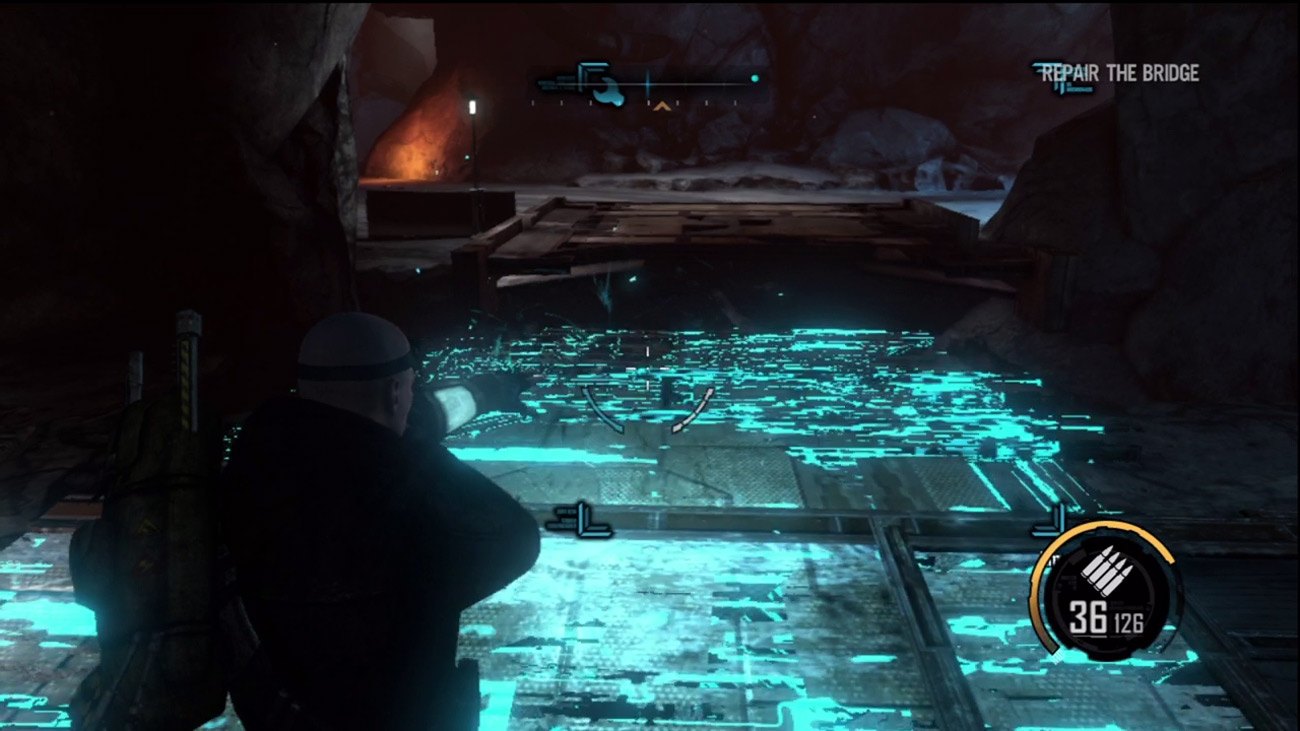
Following the alien ambush, the bridge must be repaired before the convoy can advance any further. Gather up any ammo and salvage left behind from the attack and then make your way to the damaged bridge. Don't worry about taking time scavenging the area for pick-ups—the convoy will wait for you. Repair and then cross the bridge. In the tunnel ahead, Darius suggests the convoy stays behind while he scouts the construction site ahead. The convoy can't afford to run head-first into another ambush.
Construction Site
New Objective:
Investigate the Construction Site
Destroy the Infected Building
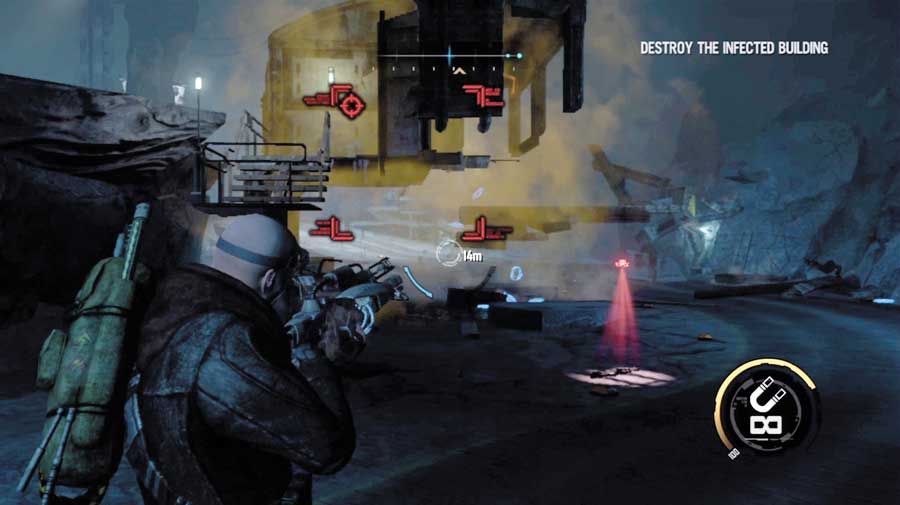
Next to the road ahead is a building covered in some sort of alien growths. But before targeting the infected building, deal with the creepers huddled over the corpses in the road. Exploding the red barrels is enough to take out these creatures. With the creepers out of the way, go to work on dismantling the infected building. Equip the Magnet Gun and yank out the four supports propping the building up. After removing a few of the vertical supports, the whole building comes crashing down. Scour the wreckage for salvage and then continue down the road.
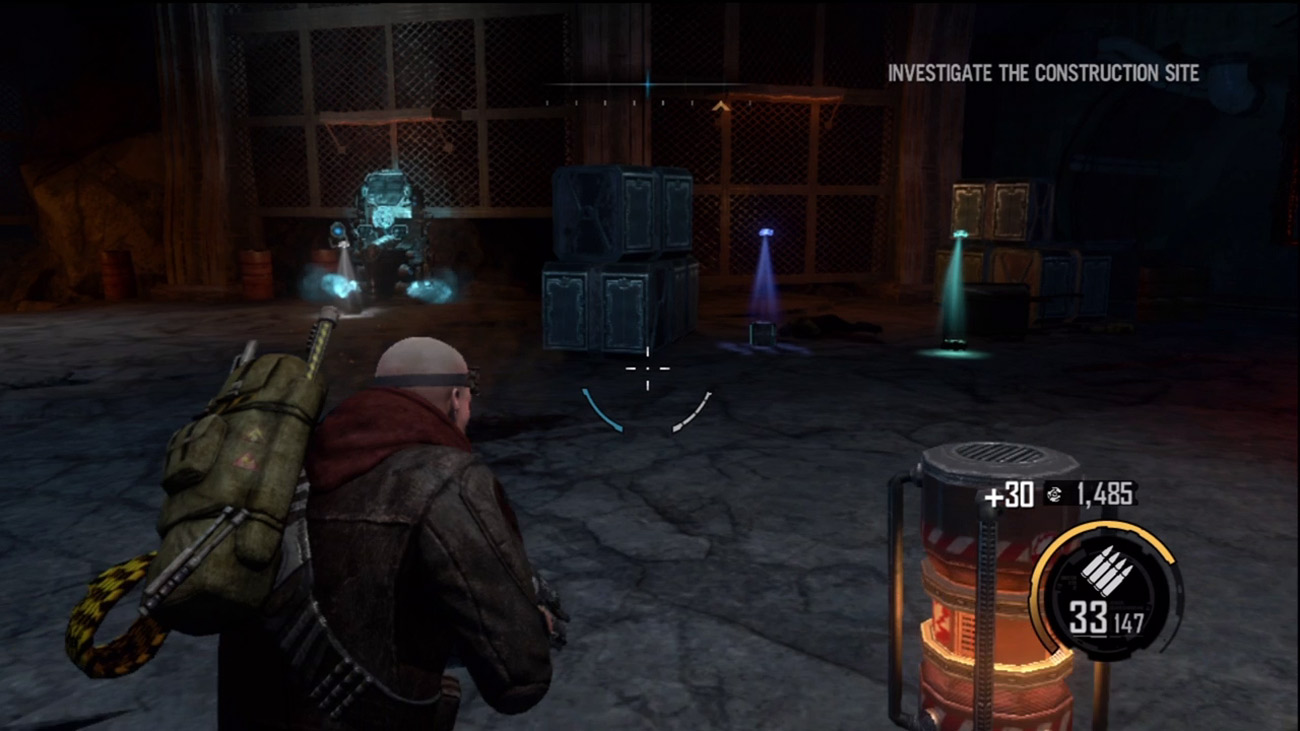
The construction site is a dead end. It looks like the workers were attacked while finishing the road. But S.A.M. notices the nearby excavator is still functional. Before interacting with the excavator, raid the nearby supply area for ammo, salvage, and a Plasma Cannon. There's also an upgrade station here.
New Objective:
Activate the Excavator
Ride the Excavator
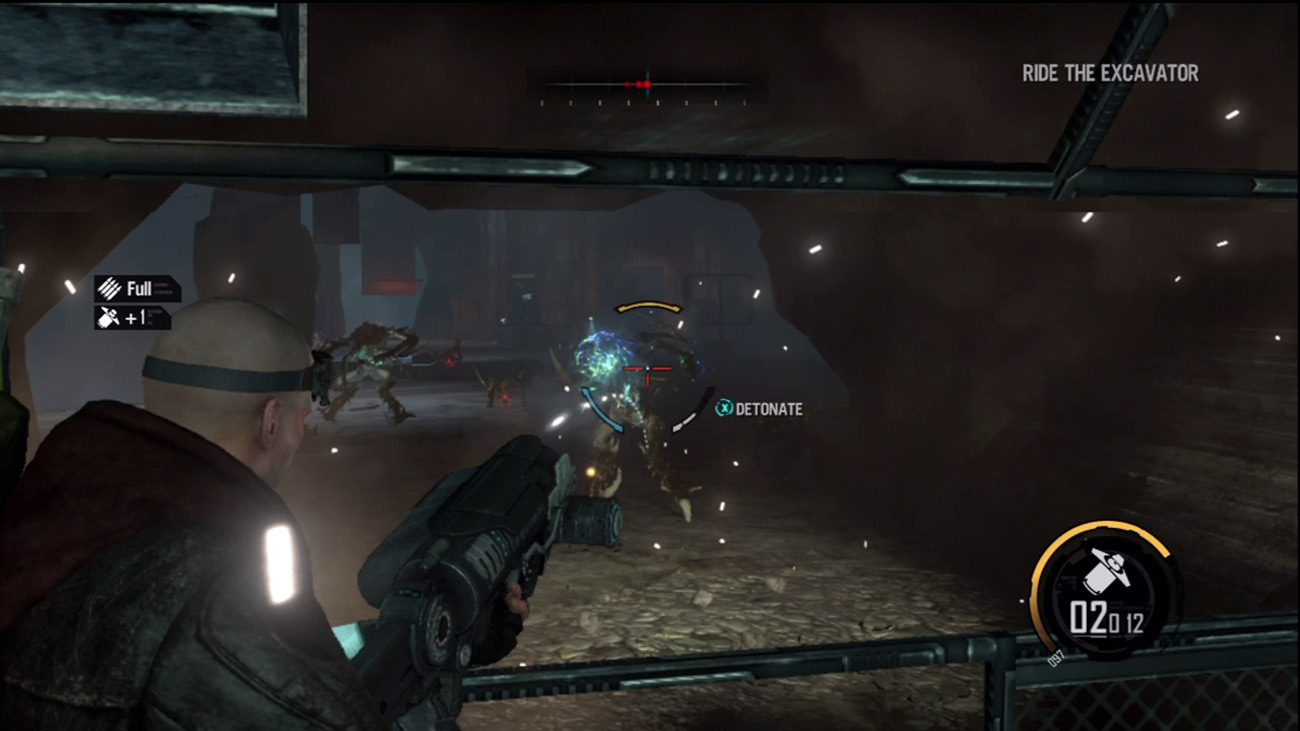
Once you're ready to move out, interact with the excavator to begin digging a new tunnel for the convoy to pass through. But as soon as the excavator starts up, you come under attack by a mix of creepers, ravagers, and a few berserkers. Equip the Charge Launcher and begin lobbing charges at your enemies. Target the creepers first until the berserkers appear, then aggressively attack these durable enemies before they can get close to the excavator.
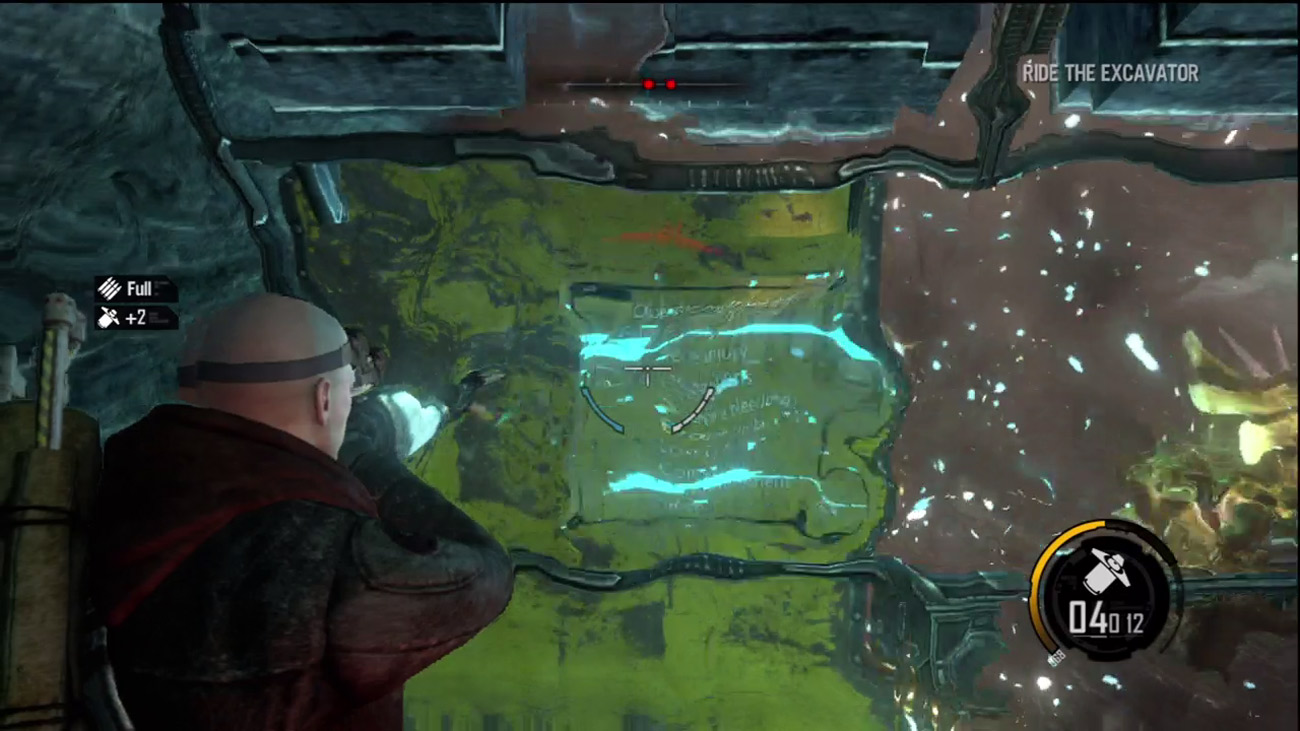
While on the excavator, there's little room to move and very little in the way of cover. However, there is a thin piece of yellow metal on the left side of the excavator's narrow operator platform—the machinery's operating instructions are printed on the metal. Hide behind this when taking incoming fire and when detonating your charges. However, this piece of metal can be destroyed, so be ready to repair it quickly. You won't last long without this flimsy piece of cover.
New Objective: Get to Carver Center
Shortly after the excavator punches through the rock, completing the tunnel, a cutscene shows the excavator tumbling over a ledge. Darius manages to leap free of the doomed excavator just in time.
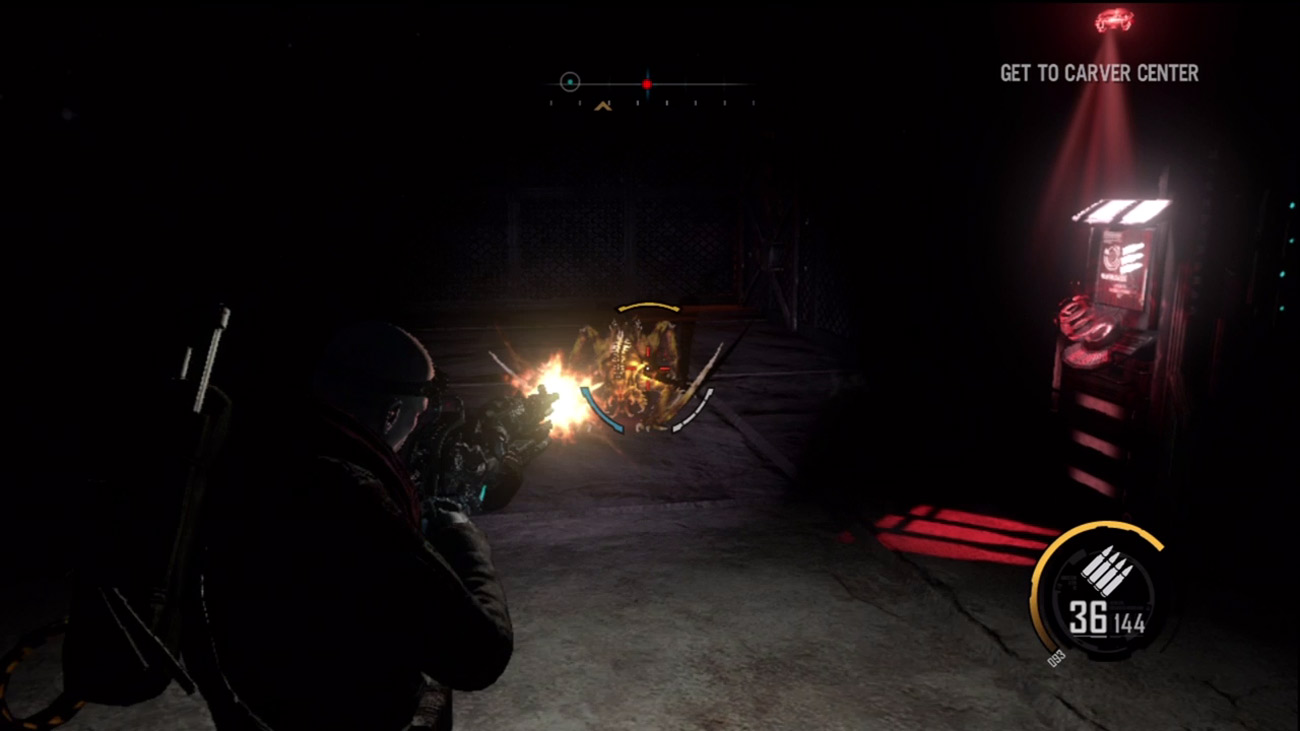
As you regain control, help the incoming LAVs fight off the surviving creepers and then continue your advance down the road. The convoy stops when an explosion is heard ahead—Darius volunteers to investigate. Search the dark alcove on the right side of the road to locate a weapons locker. As you approach the locker, a creeper drops from the ceiling. Blast the creeper, then stock up on weapons at the locker. Consider holding on to the Magnet Gun, Assault Rifle, and Charge Launcher.
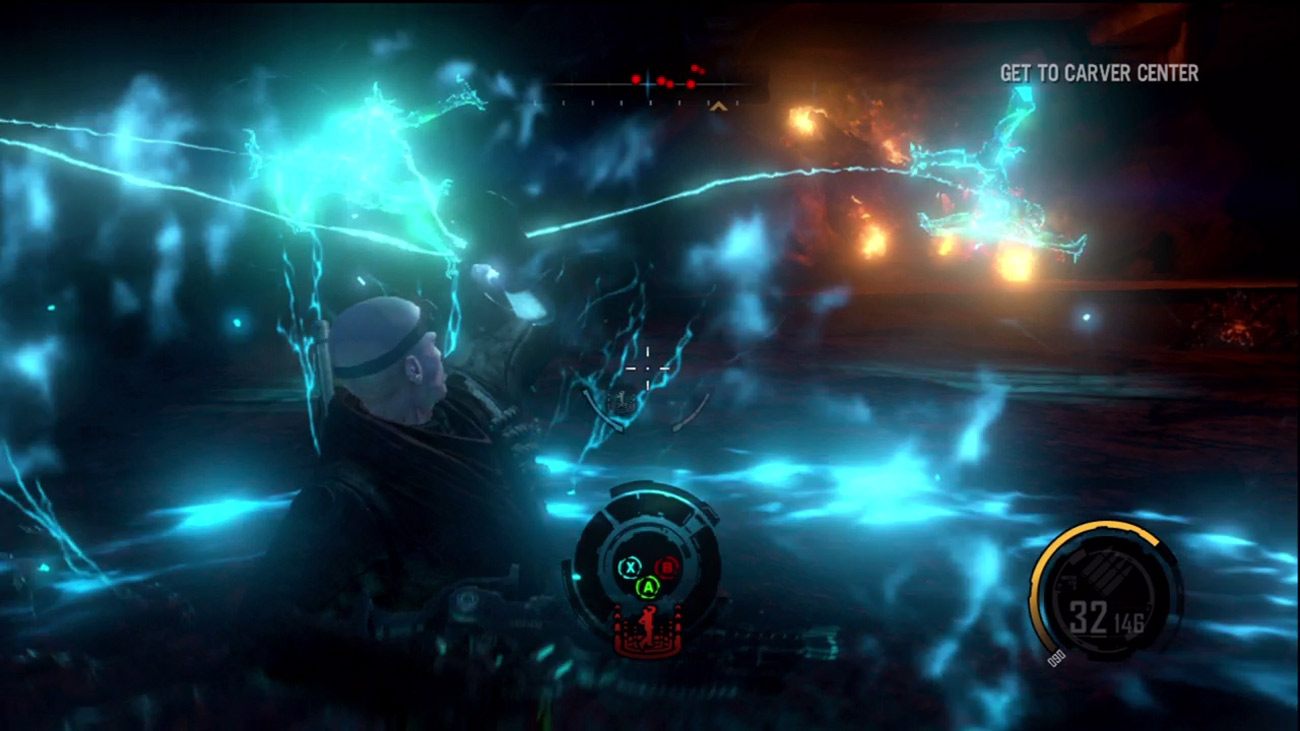
Ammo and salvage can be found lining the road ahead. But as you advance, a cutscene shows an incoming flaming vehicle covered with creepers crashing into a tunnel wall. As you regain control, allow the creepers to circle around you, then unleash a Shockwave. Blast the stunned creepers with your Assault Rifle, killing them before they hit the ground. This will help add some Shockwave kills toward the Zero G War achievement/trophy. Or you can take out some of the creepers with melee strikes to increment you progress toward the What is Best in Life? achievement/trophy. Creepers are relatively harmless and the best way to score some easy Shockwave and melee-based kills.
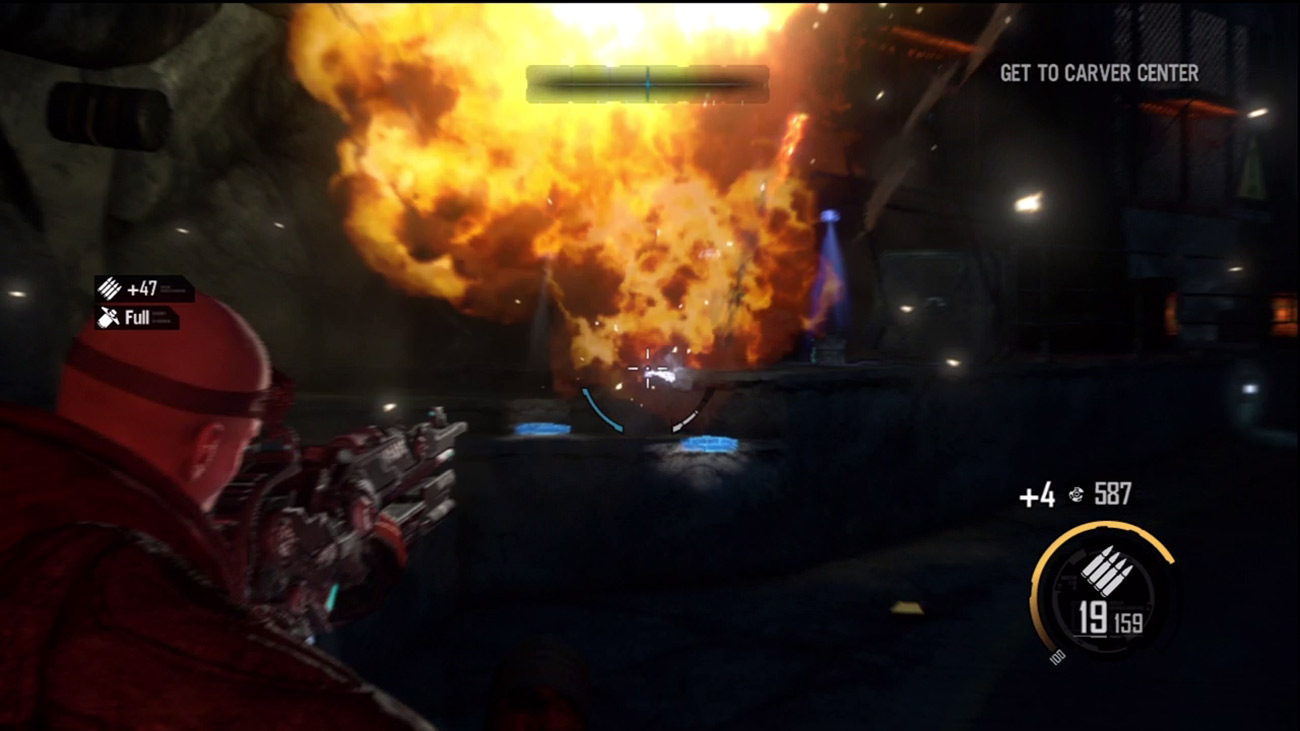
Darius reasons that the flaming truck came from the direction of Carver Center. He offers to scout ahead while the convoy stays put. On the way, take a moment to target the red barrels lining the road and then gather the salvage left behind. There's also a few ammo pick-ups along the way.
Carver Center
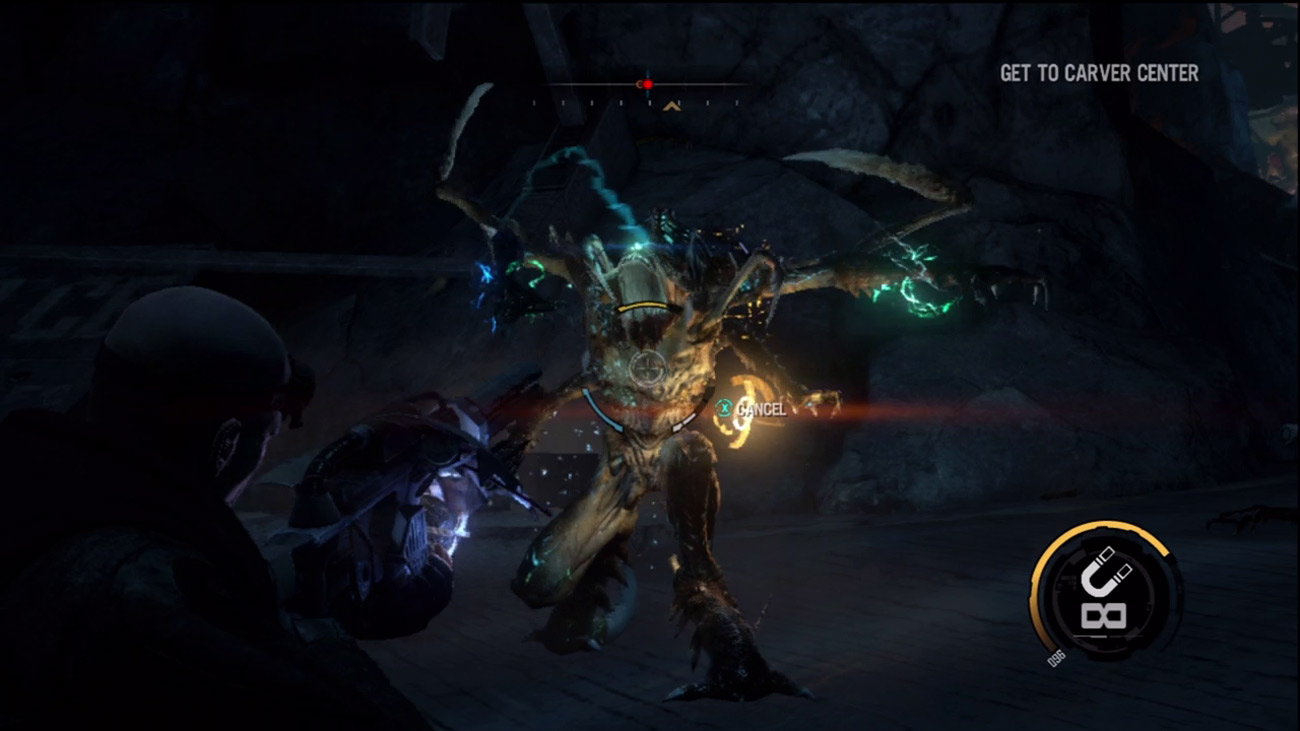
As you near the next cluster of buildings at Carver Center, you come under attack by several ravagers. Attack these enemies with your Magnet Gun. Either send them crashing into the structures or launch the debris from the structures at them. S.A.M. reports that the creatures are drawing power from the infected structures nearby.
New Objective:
Destroy the Infected Buildings
Destroy the Pods
Stop the Attack
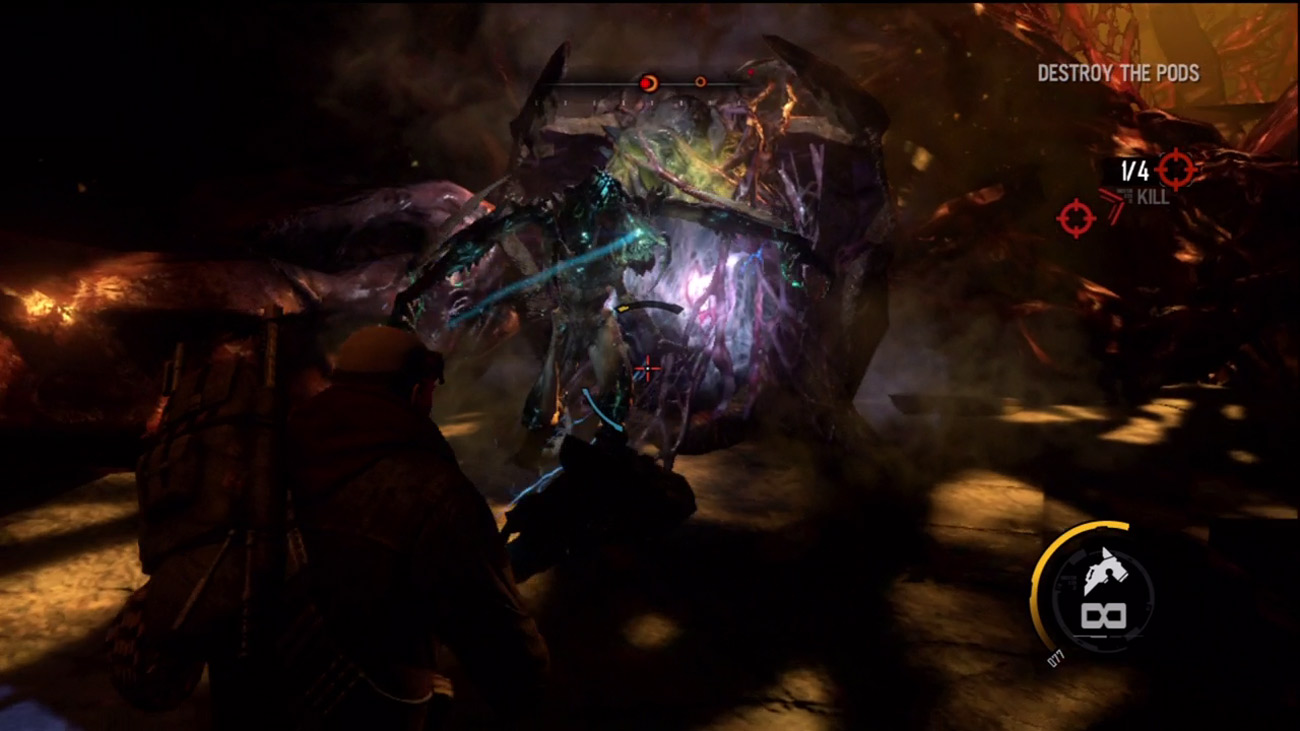
Before attacking the infected structures, go after the pods from which the ravagers are spawning. There are a total of four pods in this area, appearing as orange hollow circle icons on your compass. Track down each pod and destroy it. The Charge Launcher and Assault Rifle are best suited for this task, but at close range, the Maul is hard to beat. Smash open each pod to halt the alien attacks.
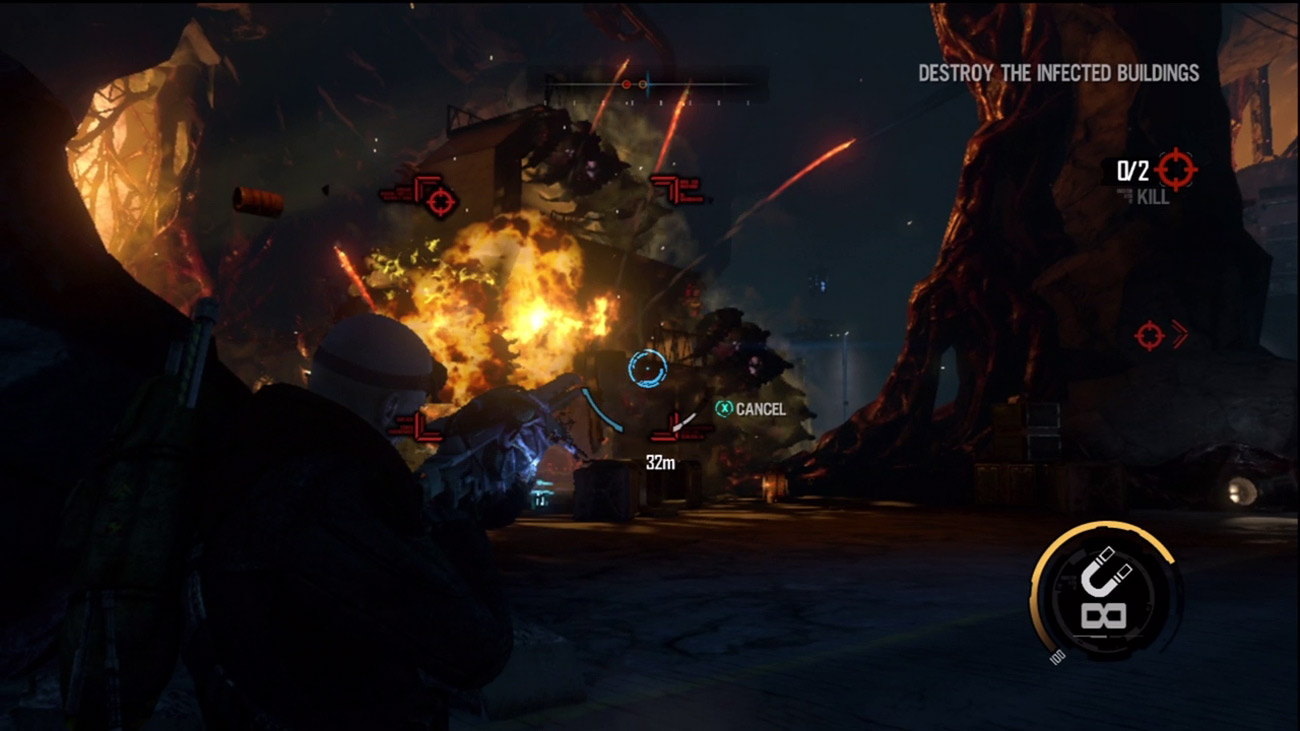
Two infected structures flank the main road here. Use the Magnet Gun to dismantle them. Either pull pieces away from each structure or launch pieces of debris at them. There are also several red barrels you can use to explode parts of the structures. Once the demolition is complete, the convoy is clear to roll through the area.
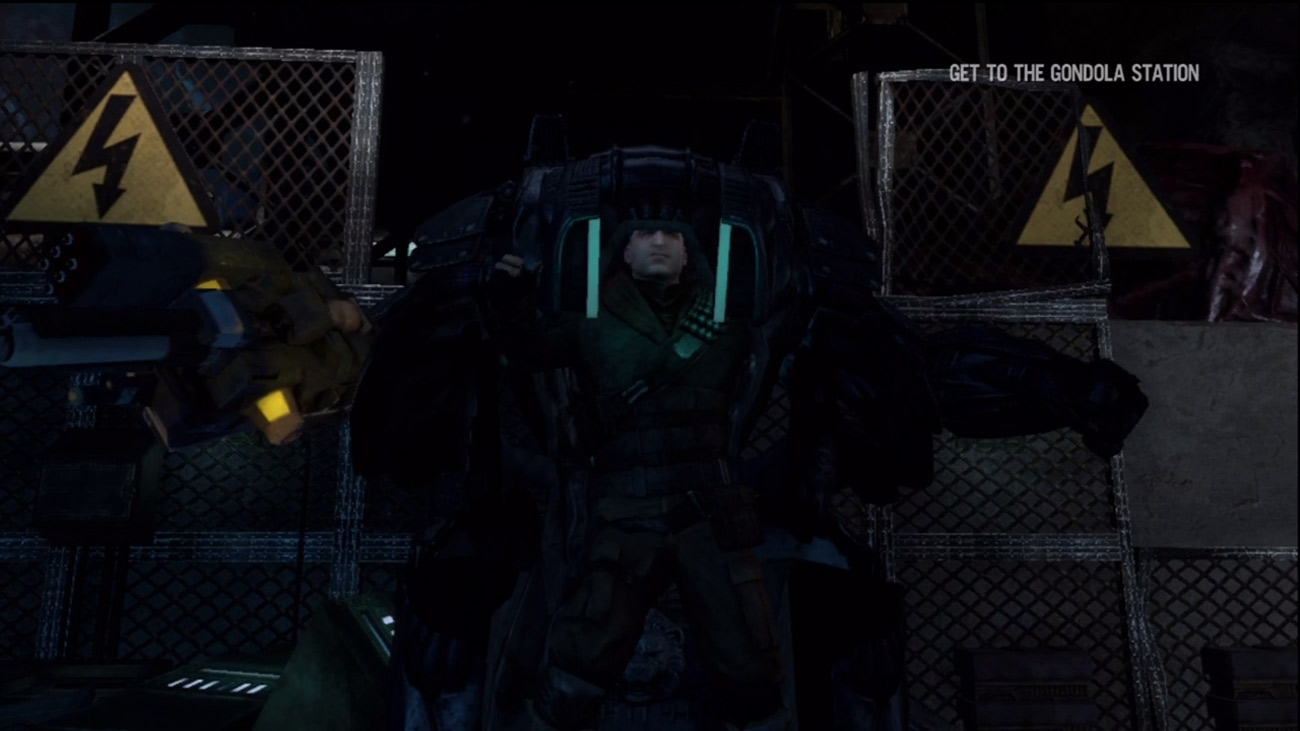
Grab any salvage and ammo while the convoy catches up. Before leaving Carver Center, hop inside the LEO Exo suit on the right side of the road. This suit is equipped with both rockets and a machine gun, making the remainder of the trip much easier.
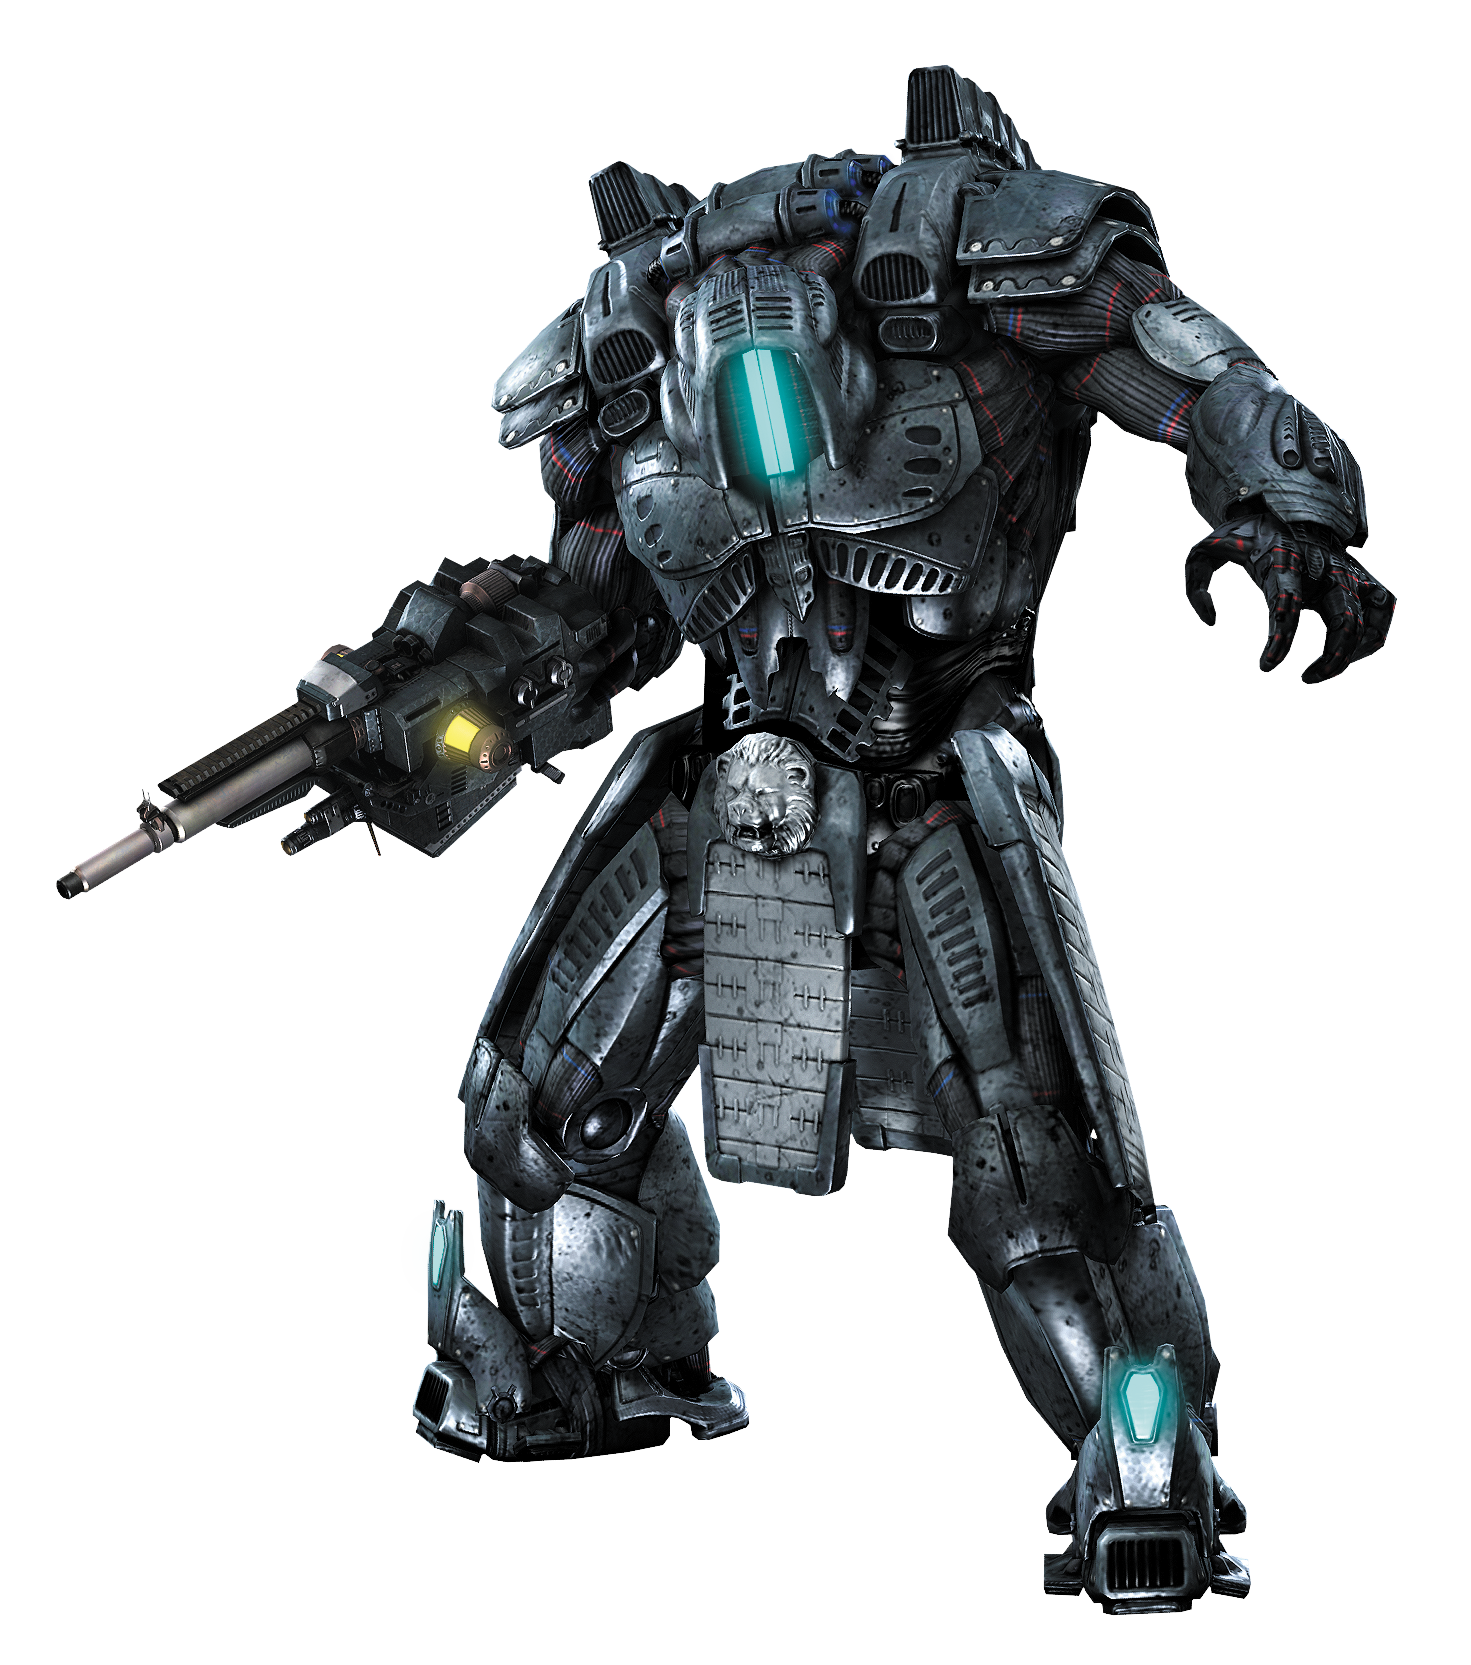
New Objective: Get to the Gondola Station
Sporting the new LEO Exo suit, regroup with the convoy and lead the way down the next stretch of the tunnel. On the way to the gondola station, the aliens stage another ambush.
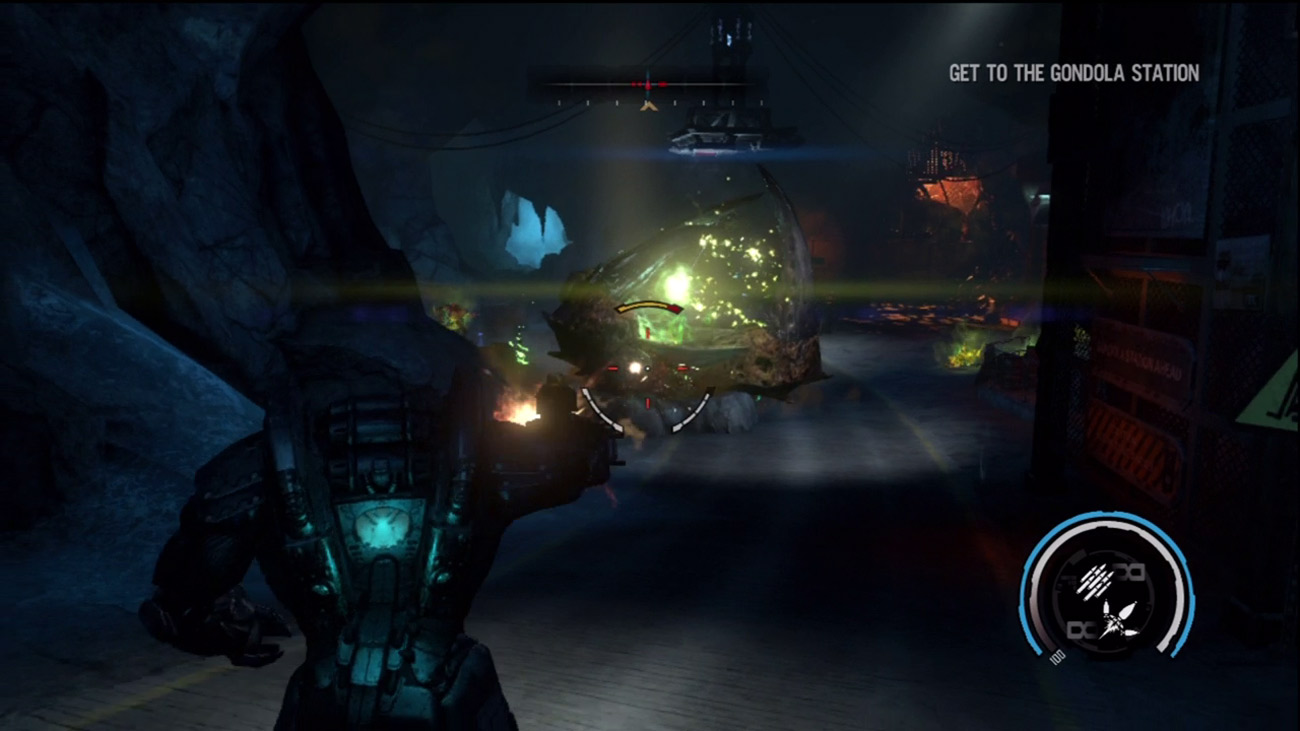
Two monoliths emerge from the ground ahead as several ravagers and creepers attack. Hit the monoliths first, blasting them with rockets and machine gun fire. Once you've eliminated the alien threats at this checkpoint, target the red barrels and storage tanks. Destroying them leaves behind salvage. You can still pick up salvage and ammo while in the Exo suit.
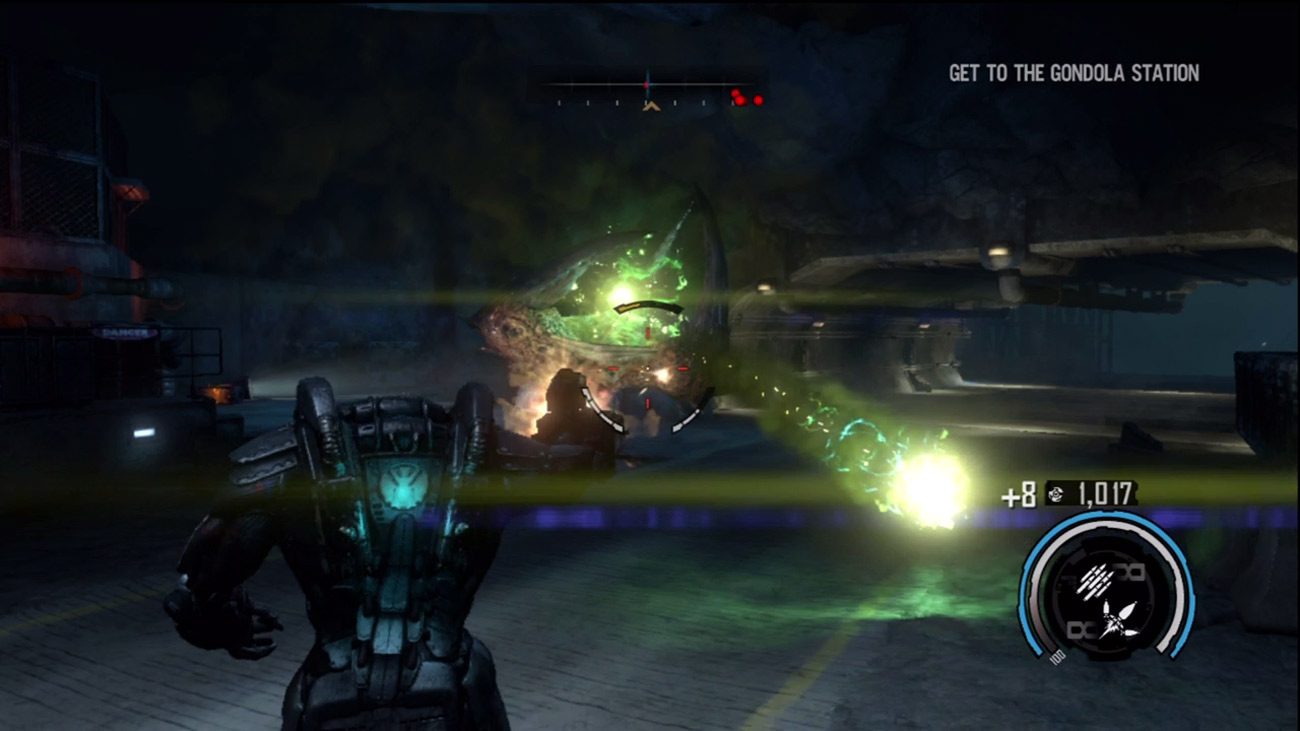
As you continue down the tunnel, blast your way through a swarm of creepers. The gondola station is just ahead, but take your time getting there. You must eliminate another monolith as well as a few ravagers and creepers. The Exo suit's machine gun and rockets make quick work of all these threats. Once all enemy contacts have disappeared from the compass, target the nearby red barrels and tanks and then gather the salvage left behind. Once you've cleared out the area, continue down the tunnel to the gondola station.
Gondola Station
New Objective: Activate the Gondola
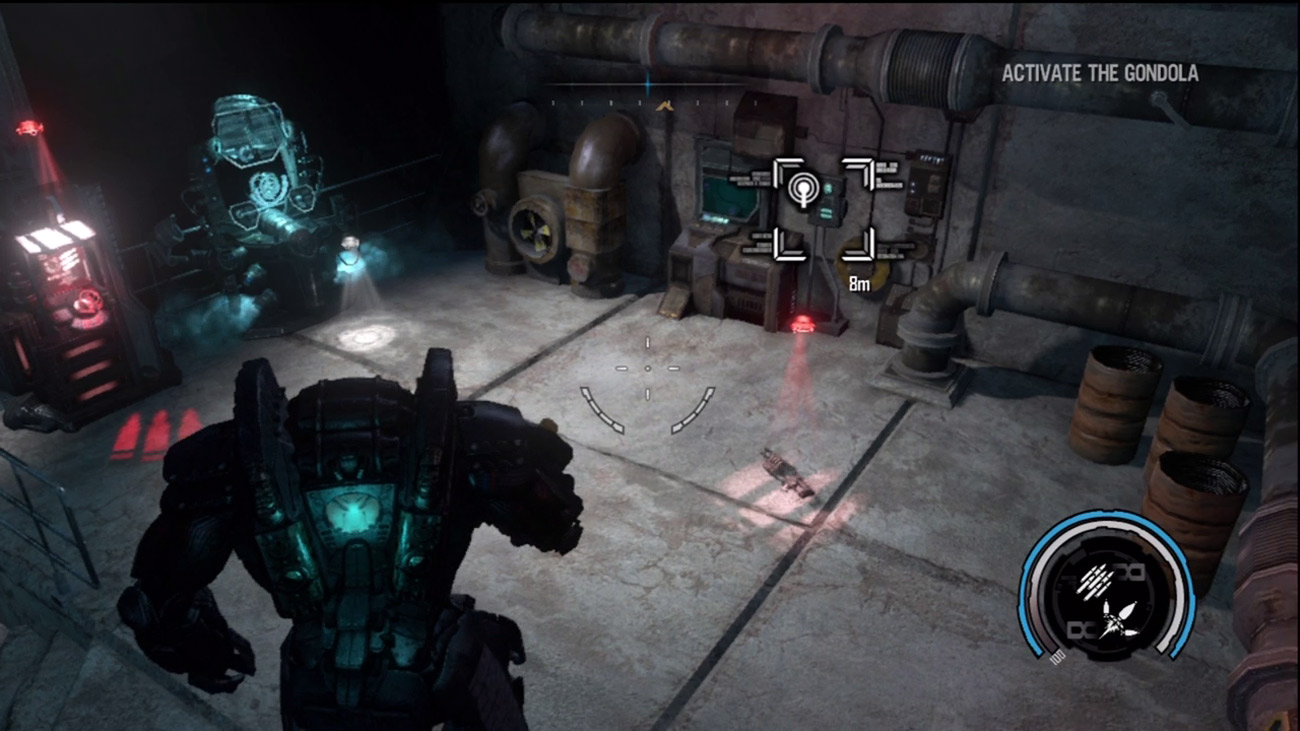
Before the convoy can board a gondola, you must first activate the system. The gondola controls are off to the right side of the road, along with an upgrade station and weapons locker. Step out of the Exo suit by holding down the reload button—you cannot interact with the upgrade station, weapons locker, or gondola controls while in the Exo suit. On the ground here there's also a Plasma Cannon. Next, interact with the weapons locker to adjust your weapons load-out. Consider leaving the Maul behind in exchange for the Plasma Cannon.
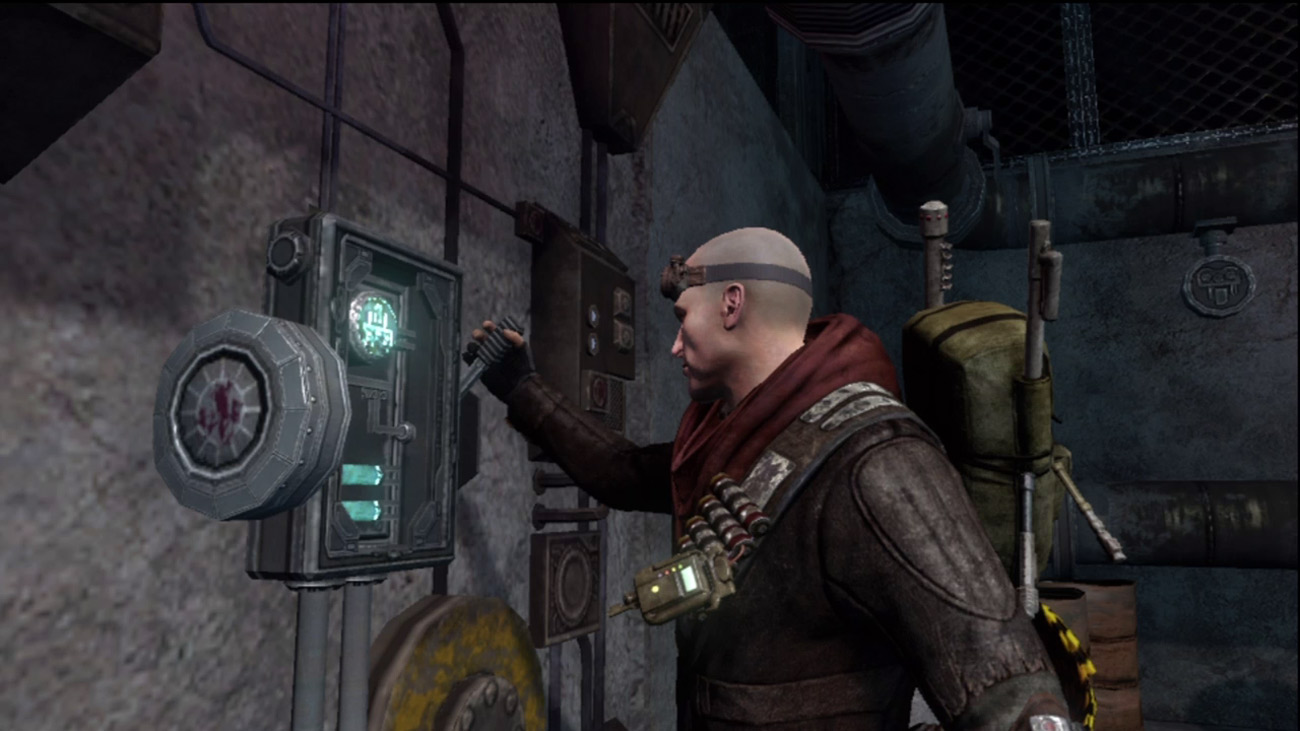
If you have more than 1,000 salvage, now is also a good time to shop for some upgrades at the upgrade station. Once you're well stocked on weapons and upgrades, throw the switch on the wall to activate the gondola system.
New Objective: Board the Gondola
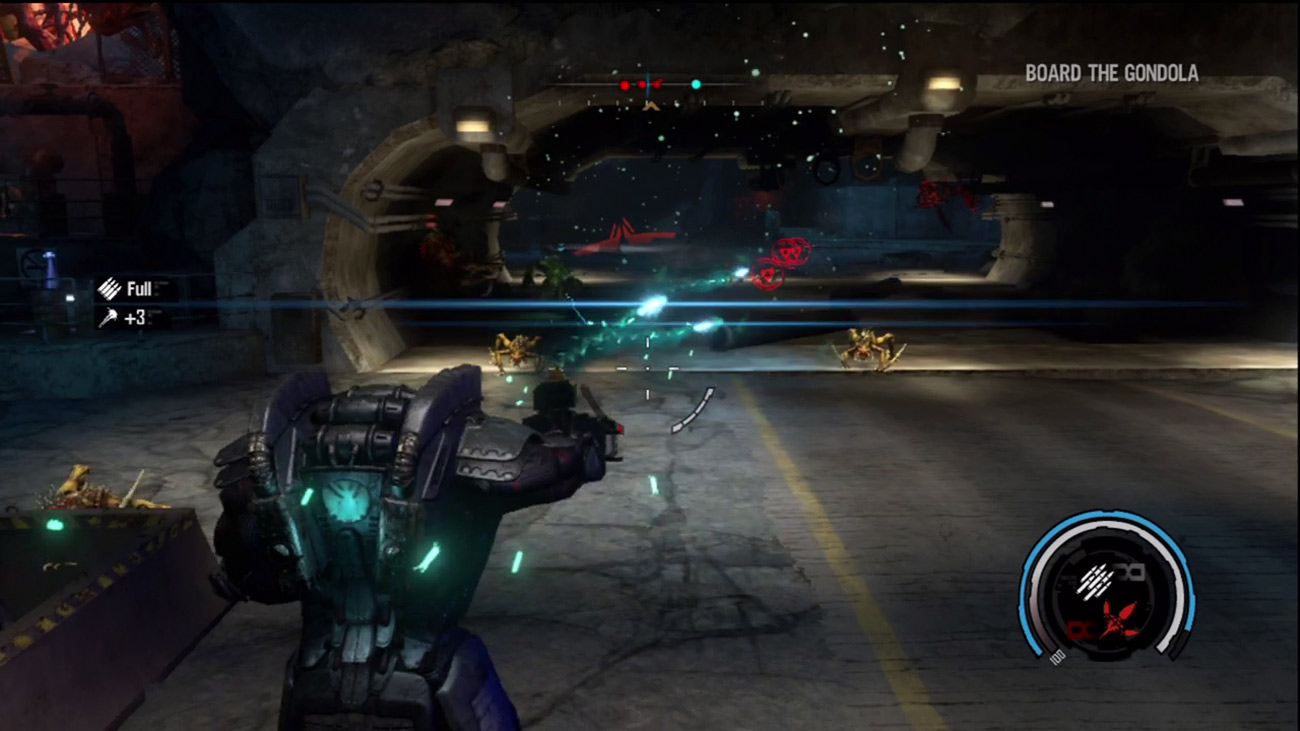
Hop back into the Exo suit and follow the convoy toward the gondola. But as the convoy approaches the gondola, the aliens spring another ambush, attacking from the tunnel and destroying one of the rear vehicles. Immediately put yourself between the last ambulance and the incoming aliens. The attackers consist of creepers, ravagers, and one berserker. Unleash a barrage of machine gun and rocket fire on the aliens. Even the berserker is relatively easy to dispatch with this much firepower. If the creepers get too close, finish them off with melee strikes. The Exo suit can also perform a shoulder bash attack, causing the suit to lower its shoulder and rush into nearby enemies. The shoulder bash is great for breaking through structures, but it can also deal heavy damage to enemies that get in your way.
New Objective: Ride the Gondola
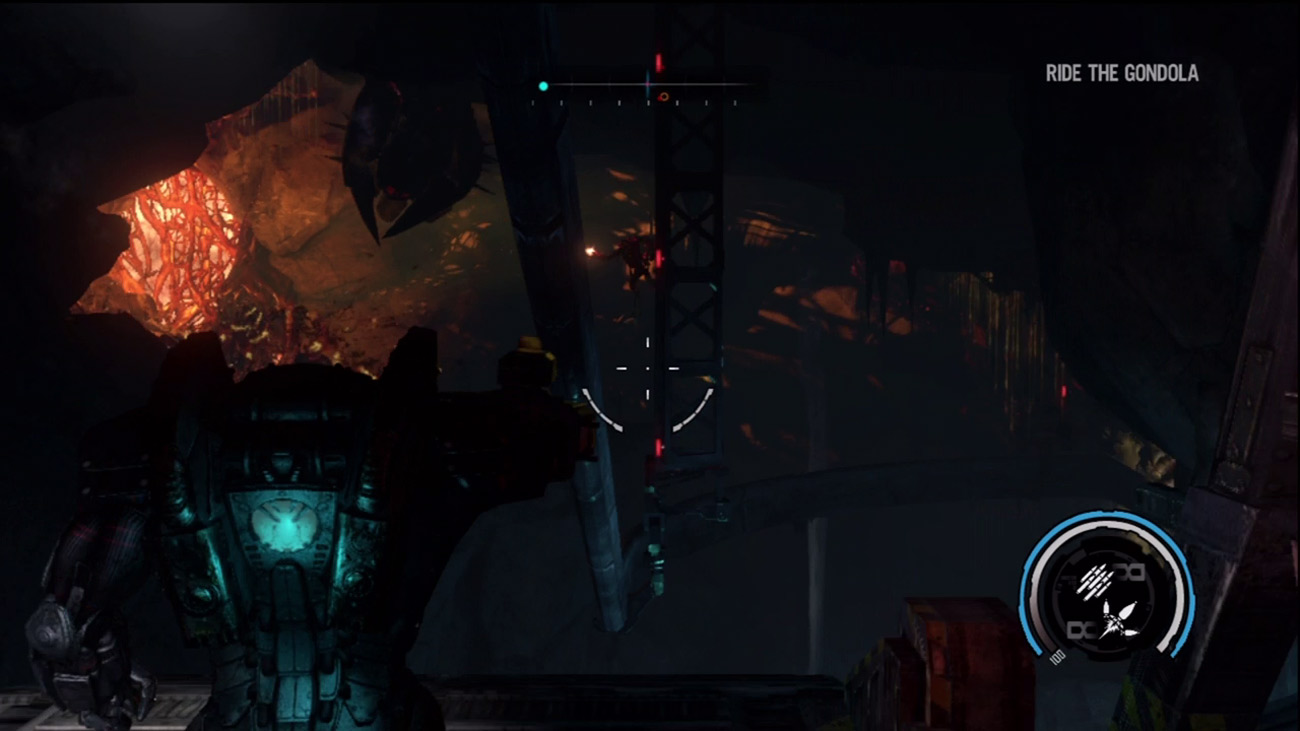
Once the alien ambush has been defeated, step onto the gondola. The gondola is suspended from an overhead track that weaves through the cavern high above a deep chasm. During the ride, keep a close eye on your compass for enemies. Creepers and ravagers line the walls of the cavern along with pods from which the creepers spawn. Blast the nearby enemies first, then target the pods attached to the cavern's walls.
New Objective: Clear the Overhead Track
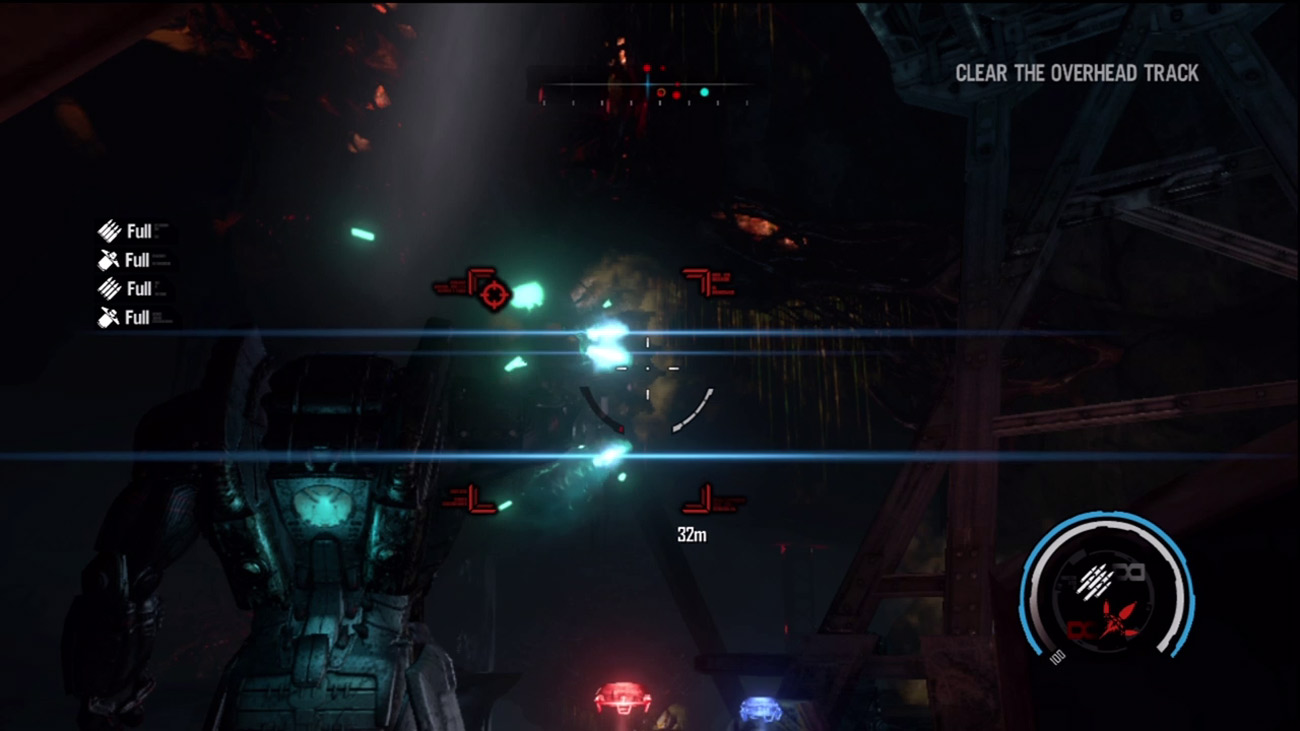
Periodically, the gondola comes to a stop due to alien growths on the track. Locate these tumor-like obstructions with the Exo suit's rockets. While stopped, the gondola is a sitting duck for enemies firing from the cavern's perimeter.
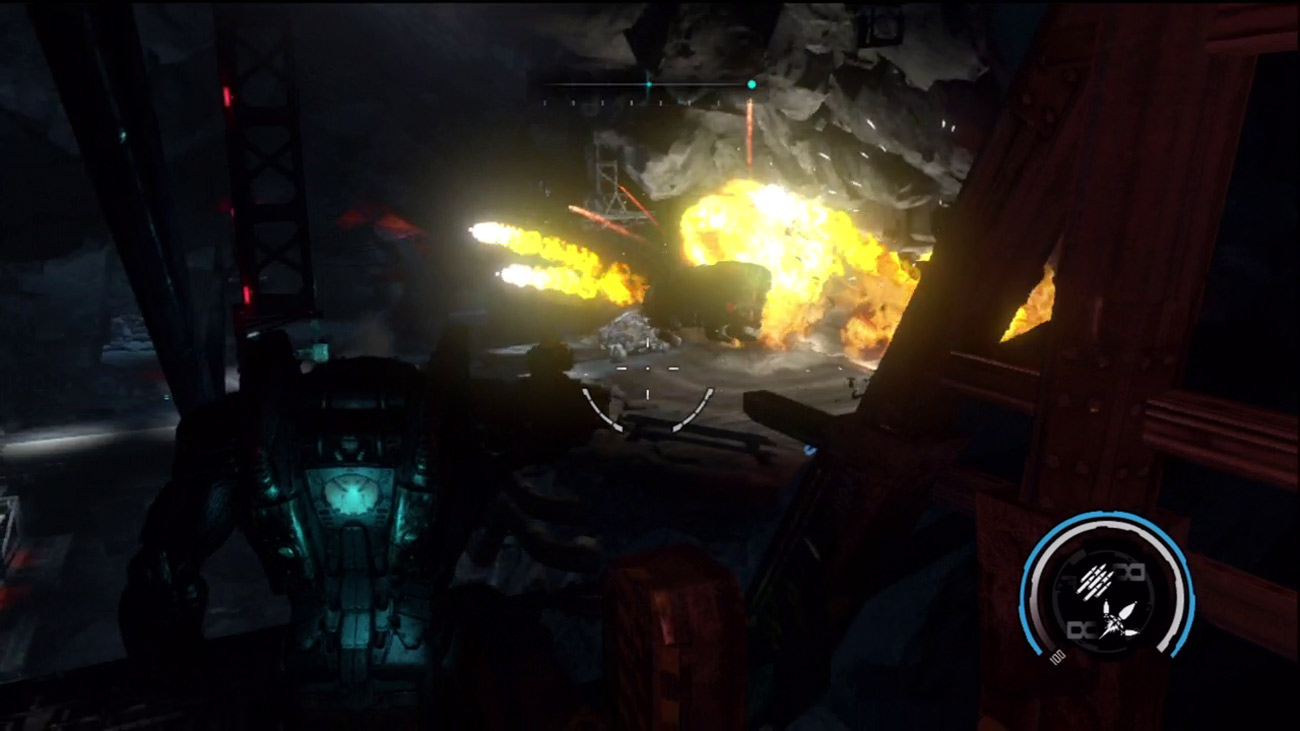
Clear these obstructions as fast as possible to keep moving. As you near the end of the track, a pair of Red Faction LAVs can be seen traversing a road to the right. Help them fend off their alien attackers. But no matter how quickly you react, you can't save the trailing LAV. When the gondola comes to a stop, step off and join the lone LAV. Its commander, Captain Hunt, says the Bastion elevator is just ahead. Hunt says his convoy was unable to find any survivors. He also says the attacks originated near Bradbury Canyon—the site of the Marauder temple where Alan Hale used Darius to break the seal.
New Objective: Get to the Bastion Elevator
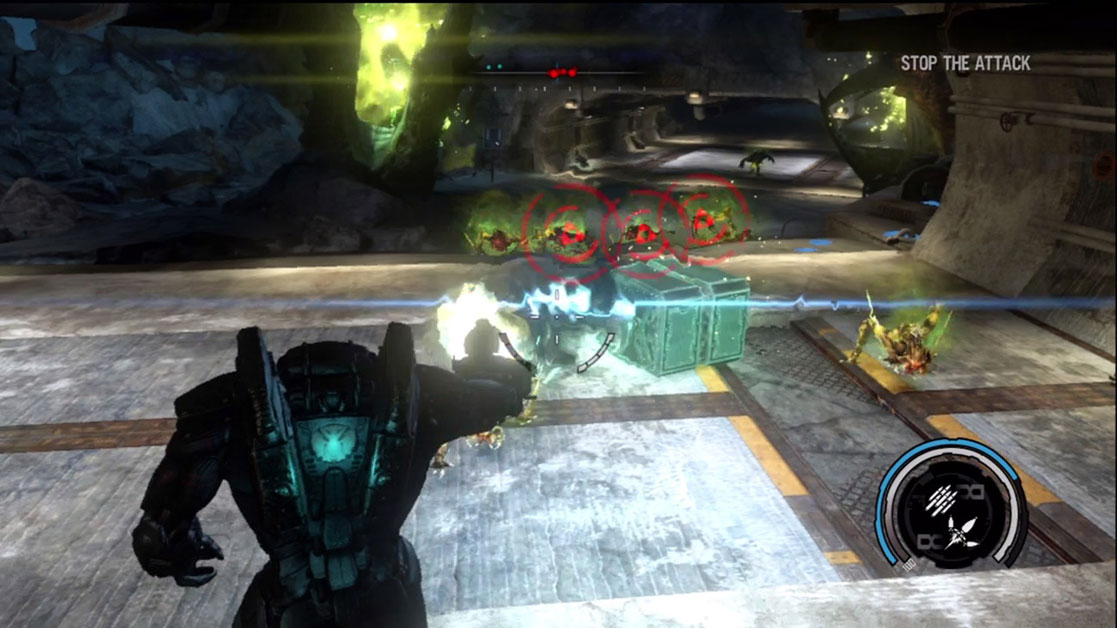
Lead your newly assembled convoy down the next tunnel. Hold tight when two monoliths sprout from the ground ahead, followed by a swarm of incoming creepers. Eliminate the monoliths first, then mow down or smash the creepers surrounding you. There's also a berserker loitering in the distance. Avoid its incoming energy blasts while returning machine gun and rocket fire.
Bastion Elevator
New Objective: Repair the Generator
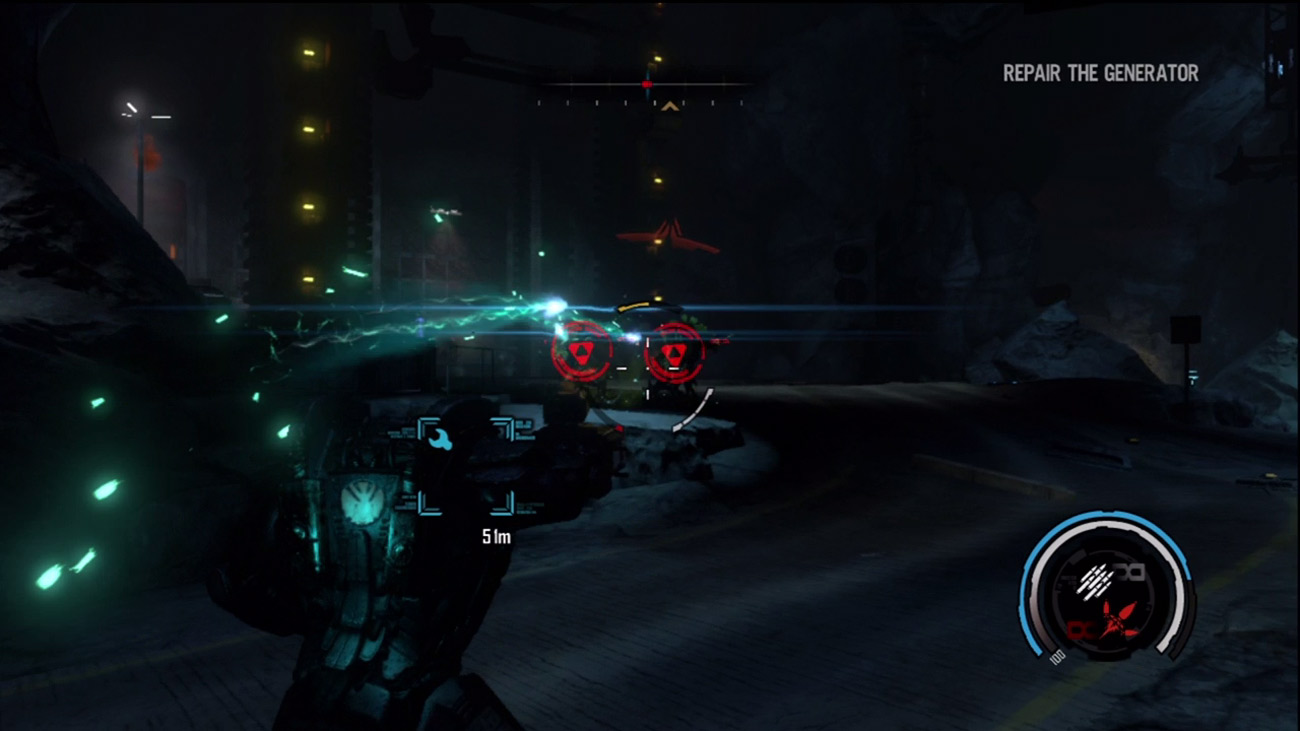
Captain Hunt panics as you near the elevator, realizing it's not moving. Darius calms down the captain, reassuring him that he can fix it. Before you can reach the elevator you must fight your way past a pair of berserkers. Target them with rockets while continually firing your machine guns, but also be ready to side-step their incoming energy blasts. Once the berserkers are down, the area is clear of threats—at least for now. Take a moment to scour the surrounding area for ammo and salvage before fixing the generator.
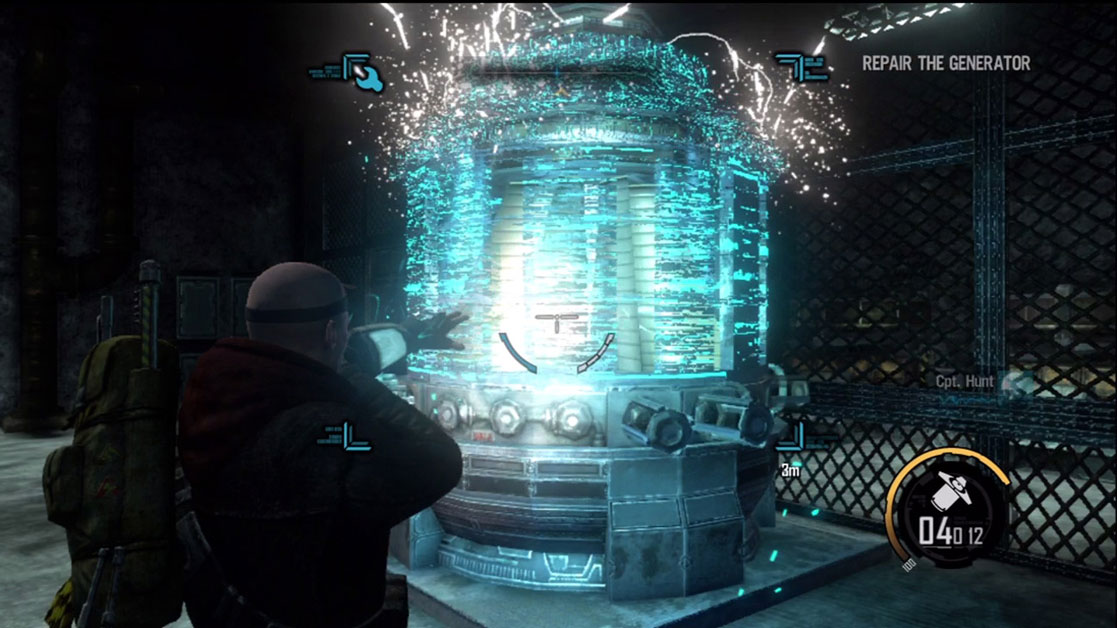
The elevator's generator is in a small room beneath the road, accessible by two staircases. While the Exo suit can fit through either stairway, leave it topside while you go downstairs to conduct repairs. Before repairing the generator, take a moment to search this room for ammo and salvage. There's also a weapons locker down here. Take a moment to review your arsenal and make sure you have the Plasma Cannon, Assault Rifle, Charge Launcher, and Magnet Gun chosen. Once you've scoured the room for pick-ups, repair the generator. As soon as the generator is repaired, get back upstairs and into the Exo suit to repel another enemy attack.
New Objective: Stop the Attack
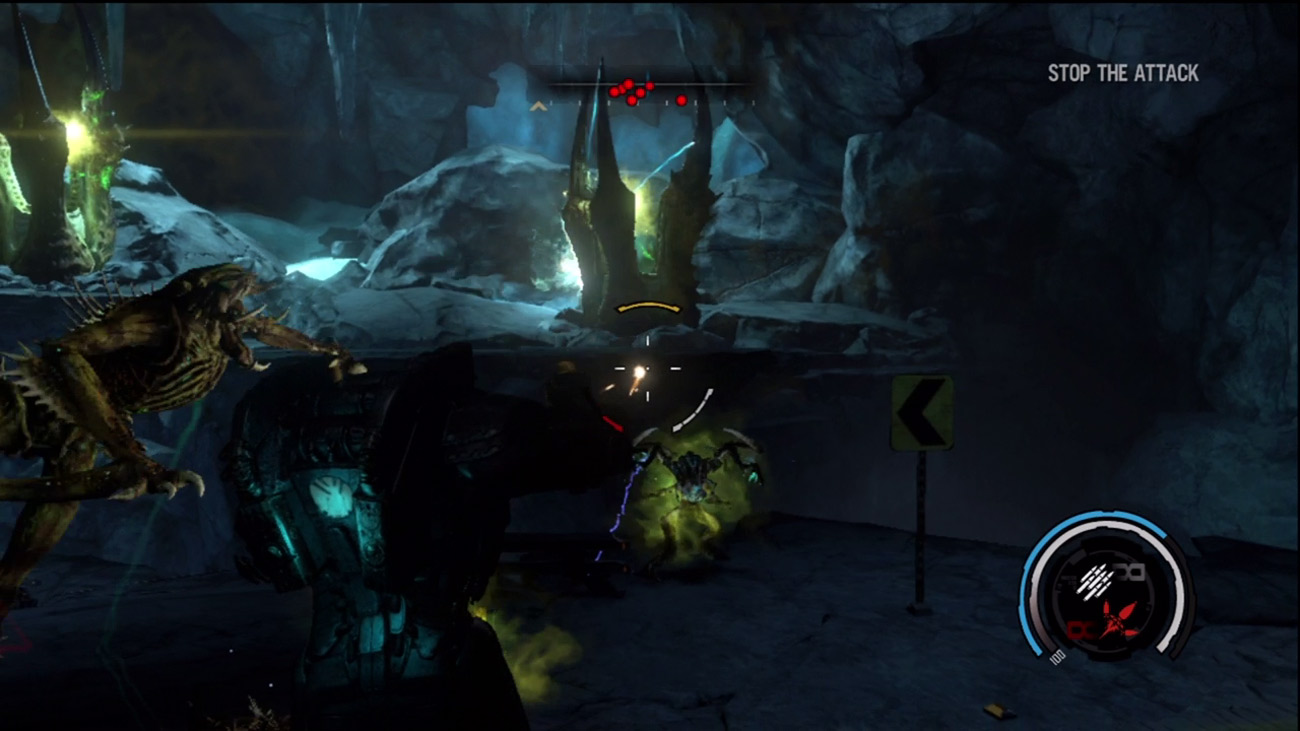
The latest alien attack is the fiercest you've encountered yet. The attacking aliens are enhanced by a pair of monoliths that have appeared on a nearby ledge. It's important to keep moving and shooting during this fight in an attempt to avoid the incoming energy blasts from the monoliths. Creepers and ravagers surround you during this fight, so make liberal use of melee and shoulder bash attacks.
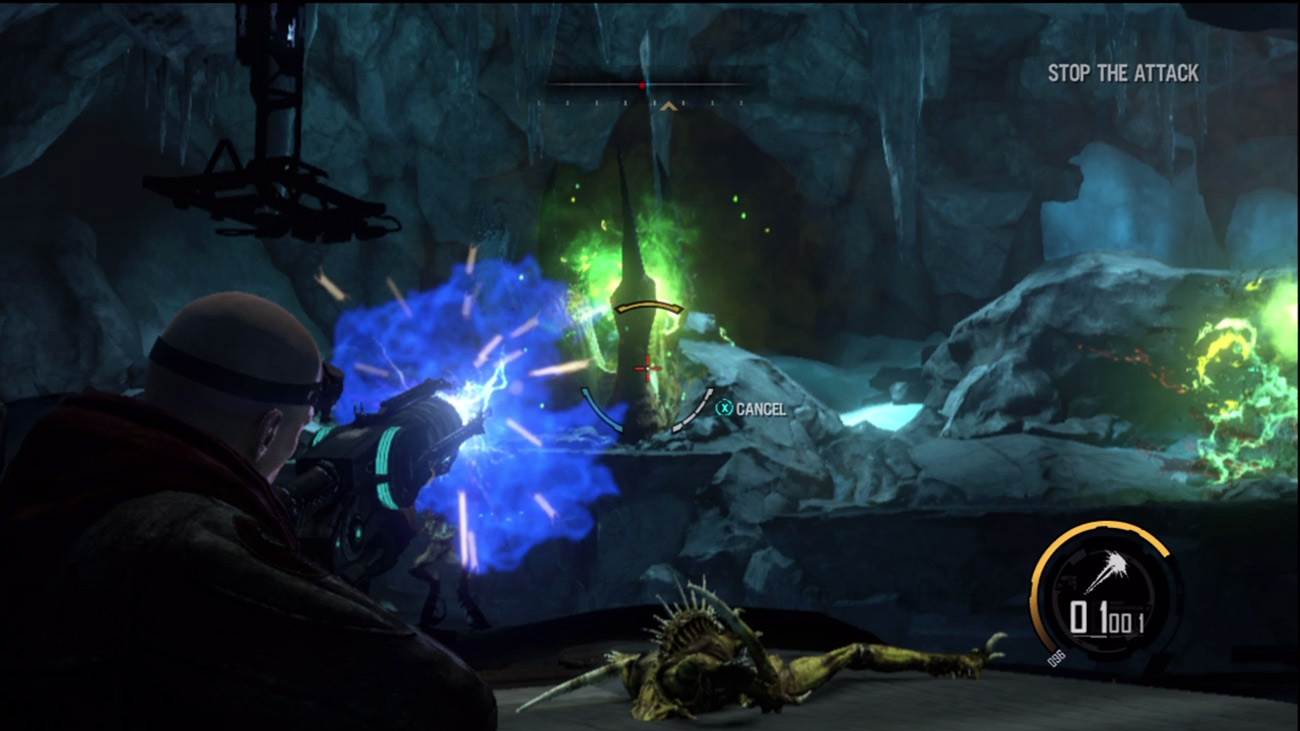
Given the constant barrage of enemy fire, the Exo suit may not survive the attack. But don't panic. You're able to escape the Exo suit and resume fighting. If this occurs, rely on your Assault Rifle to pick off the ravagers and creepers nearby, then use the Plasma Cannon to destroy the two monoliths. Once the monoliths are eliminated, study your compass to hunt down the surviving creepers and ravagers. If you find yourself surrounded, use the Nano Forge's Impact or Shockwave attacks to gain some breathing room.
New Objective: Activate the Elevator
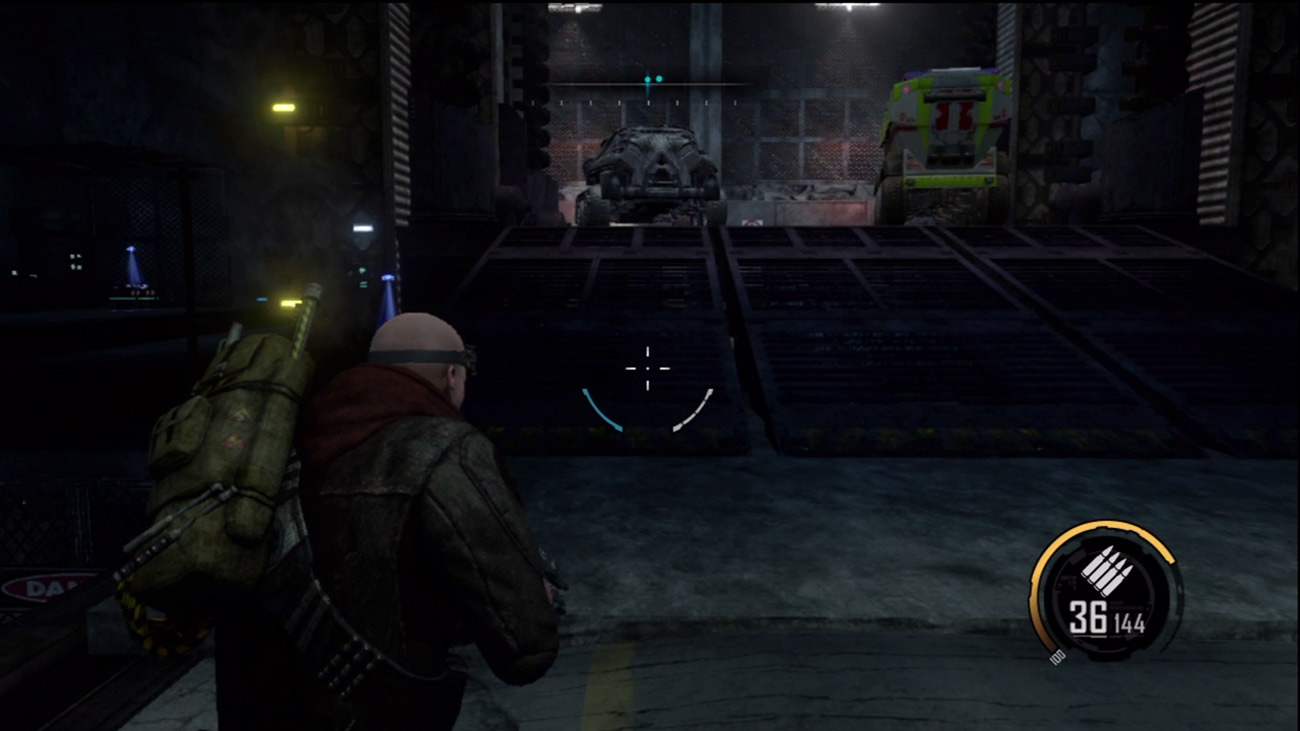
Once the last of the aliens is eliminated, wait until the ambulance and LAV have boarded the elevator and then throw the switch on the left side. Perhaps Bastion will have better resources available for defeating the alien hordes?