
Red Faction: Armageddon Guide Walkthrough Infestation
Infestation Missions
Darius wasn't the only one fighting the plague. The Infestation missions recreate key events during the outbreak, telling the story from a different perspective as Sgt. Winters and his allies fend off waves of bugs. There are two types of missions: Survive and Defend.
In Survive missions, the rules are simple: kill every bug before they kill you. In Defend missions, you must actually prevent the aliens from destroying key structures, marked on the HUD, by using repair grenades to fix any damage. Upon completing the fifth wave of each mission, you unlock a dark variant of the same mission. In these dark missions, gameplay is identical. However, the lack of light adds a creepy ambience to each level.
Black Market
Having driven the aliens from Bastion, Snake leads the team to an alien stronghold in the old black market area. Clearing out the enemy here will finally give Bastion some breathing room.
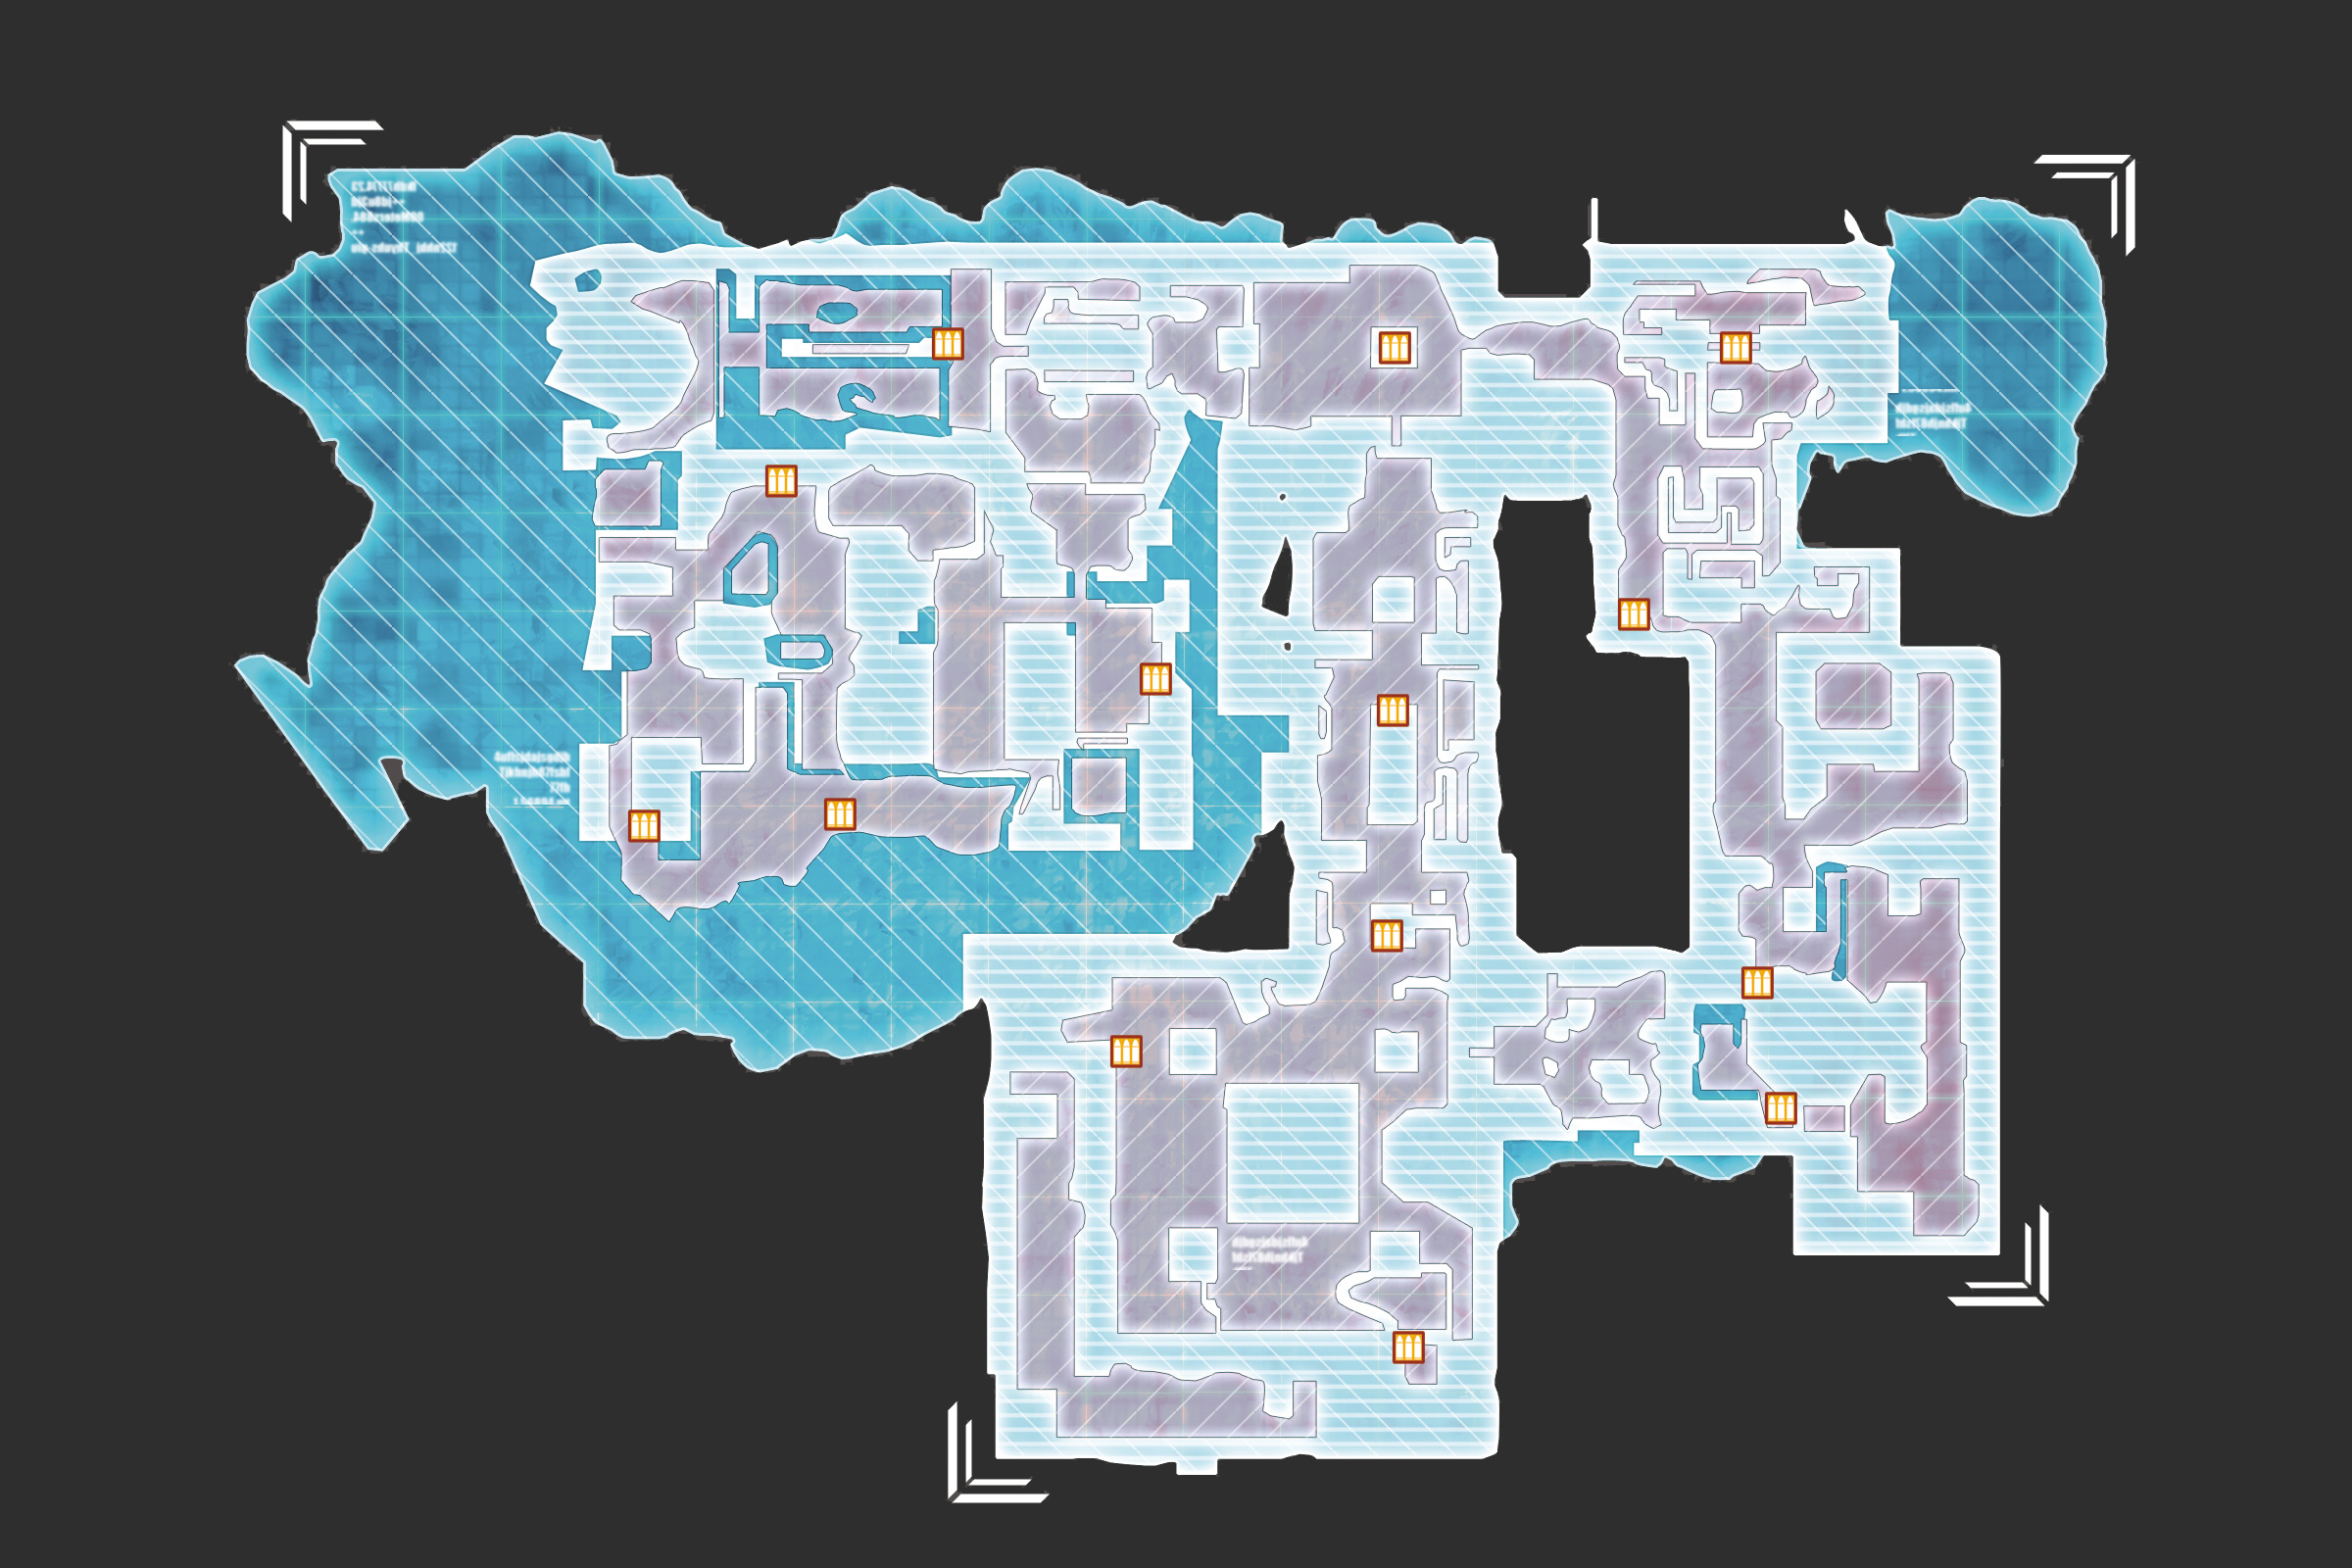
Mission Type:
Survive
Mission Briefing:
Reports are coming in that there's been an attack in the west hollow. Under normal circumstances I wouldn't give a shit—only people down there are scum. But these aren't normal circumstances. Go in there and kick some ass!
Mission Details:
Survive the alien onslaught.
Aliens have killed everyone in the financial district.
Eliminate all the aliens to get the economy running again.
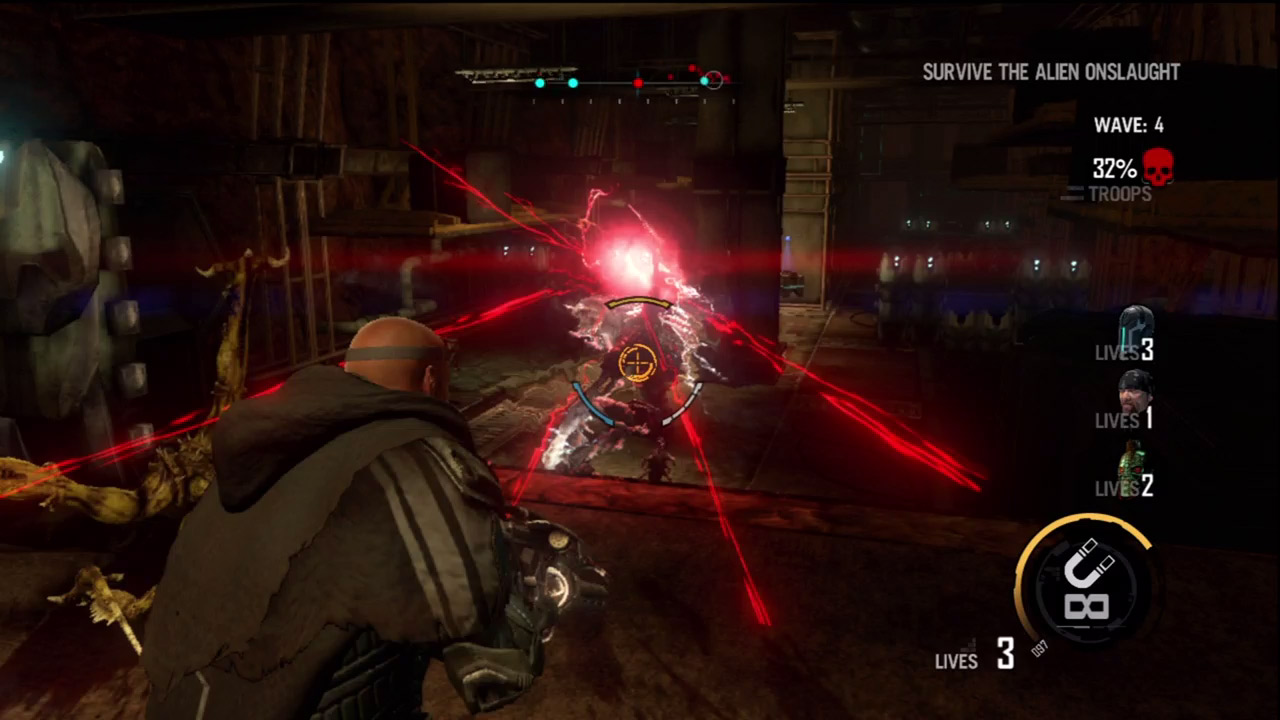
Early on, wraiths pose a serious threat to you and your teammates. Try to take them out as quickly as possible using the Charge Launcher or Pulse Grenade. At close range, the Shotgun and Maul are very effective too.
Or if a wraith appears right next to you, simply beat it down with melee strikes. However, if you're targeted by its laser, be ready to dive out of the way. As you dodge the attacks of wraiths, be careful not to move too far away from your teammates.
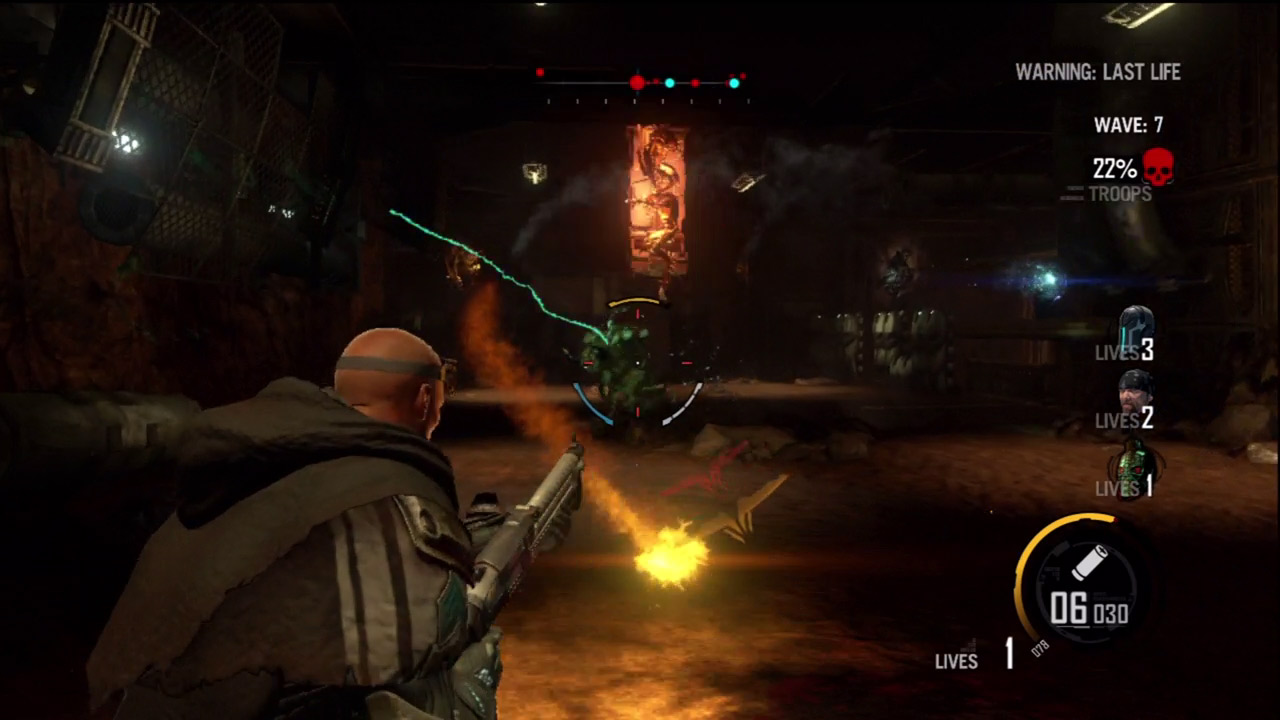
The dark cramped corridors of the market can be difficult to maneuver at times, making attacks by berserkers even more dangerous. When a berserker makes an appearance, call it out to your teammates so you can all focus on bringing down the beast as quickly as possible.
Have one teammate bounce the berserker around the market with the Magnet Gun while everyone else nails it with Charge Launcher and Pulse Grenade rounds. As you advance through the waves and come under attack by multiple berserkers, use the Nano Forge's Shell to avoid taking damage—at least temporarily.
Trapped
Aliens have overrun a tradepost and underground tunnel hub. In the process, they have killed all defenseless civilians. You must defeat all the aliens in order for this ravaged area to begin reconstruction.
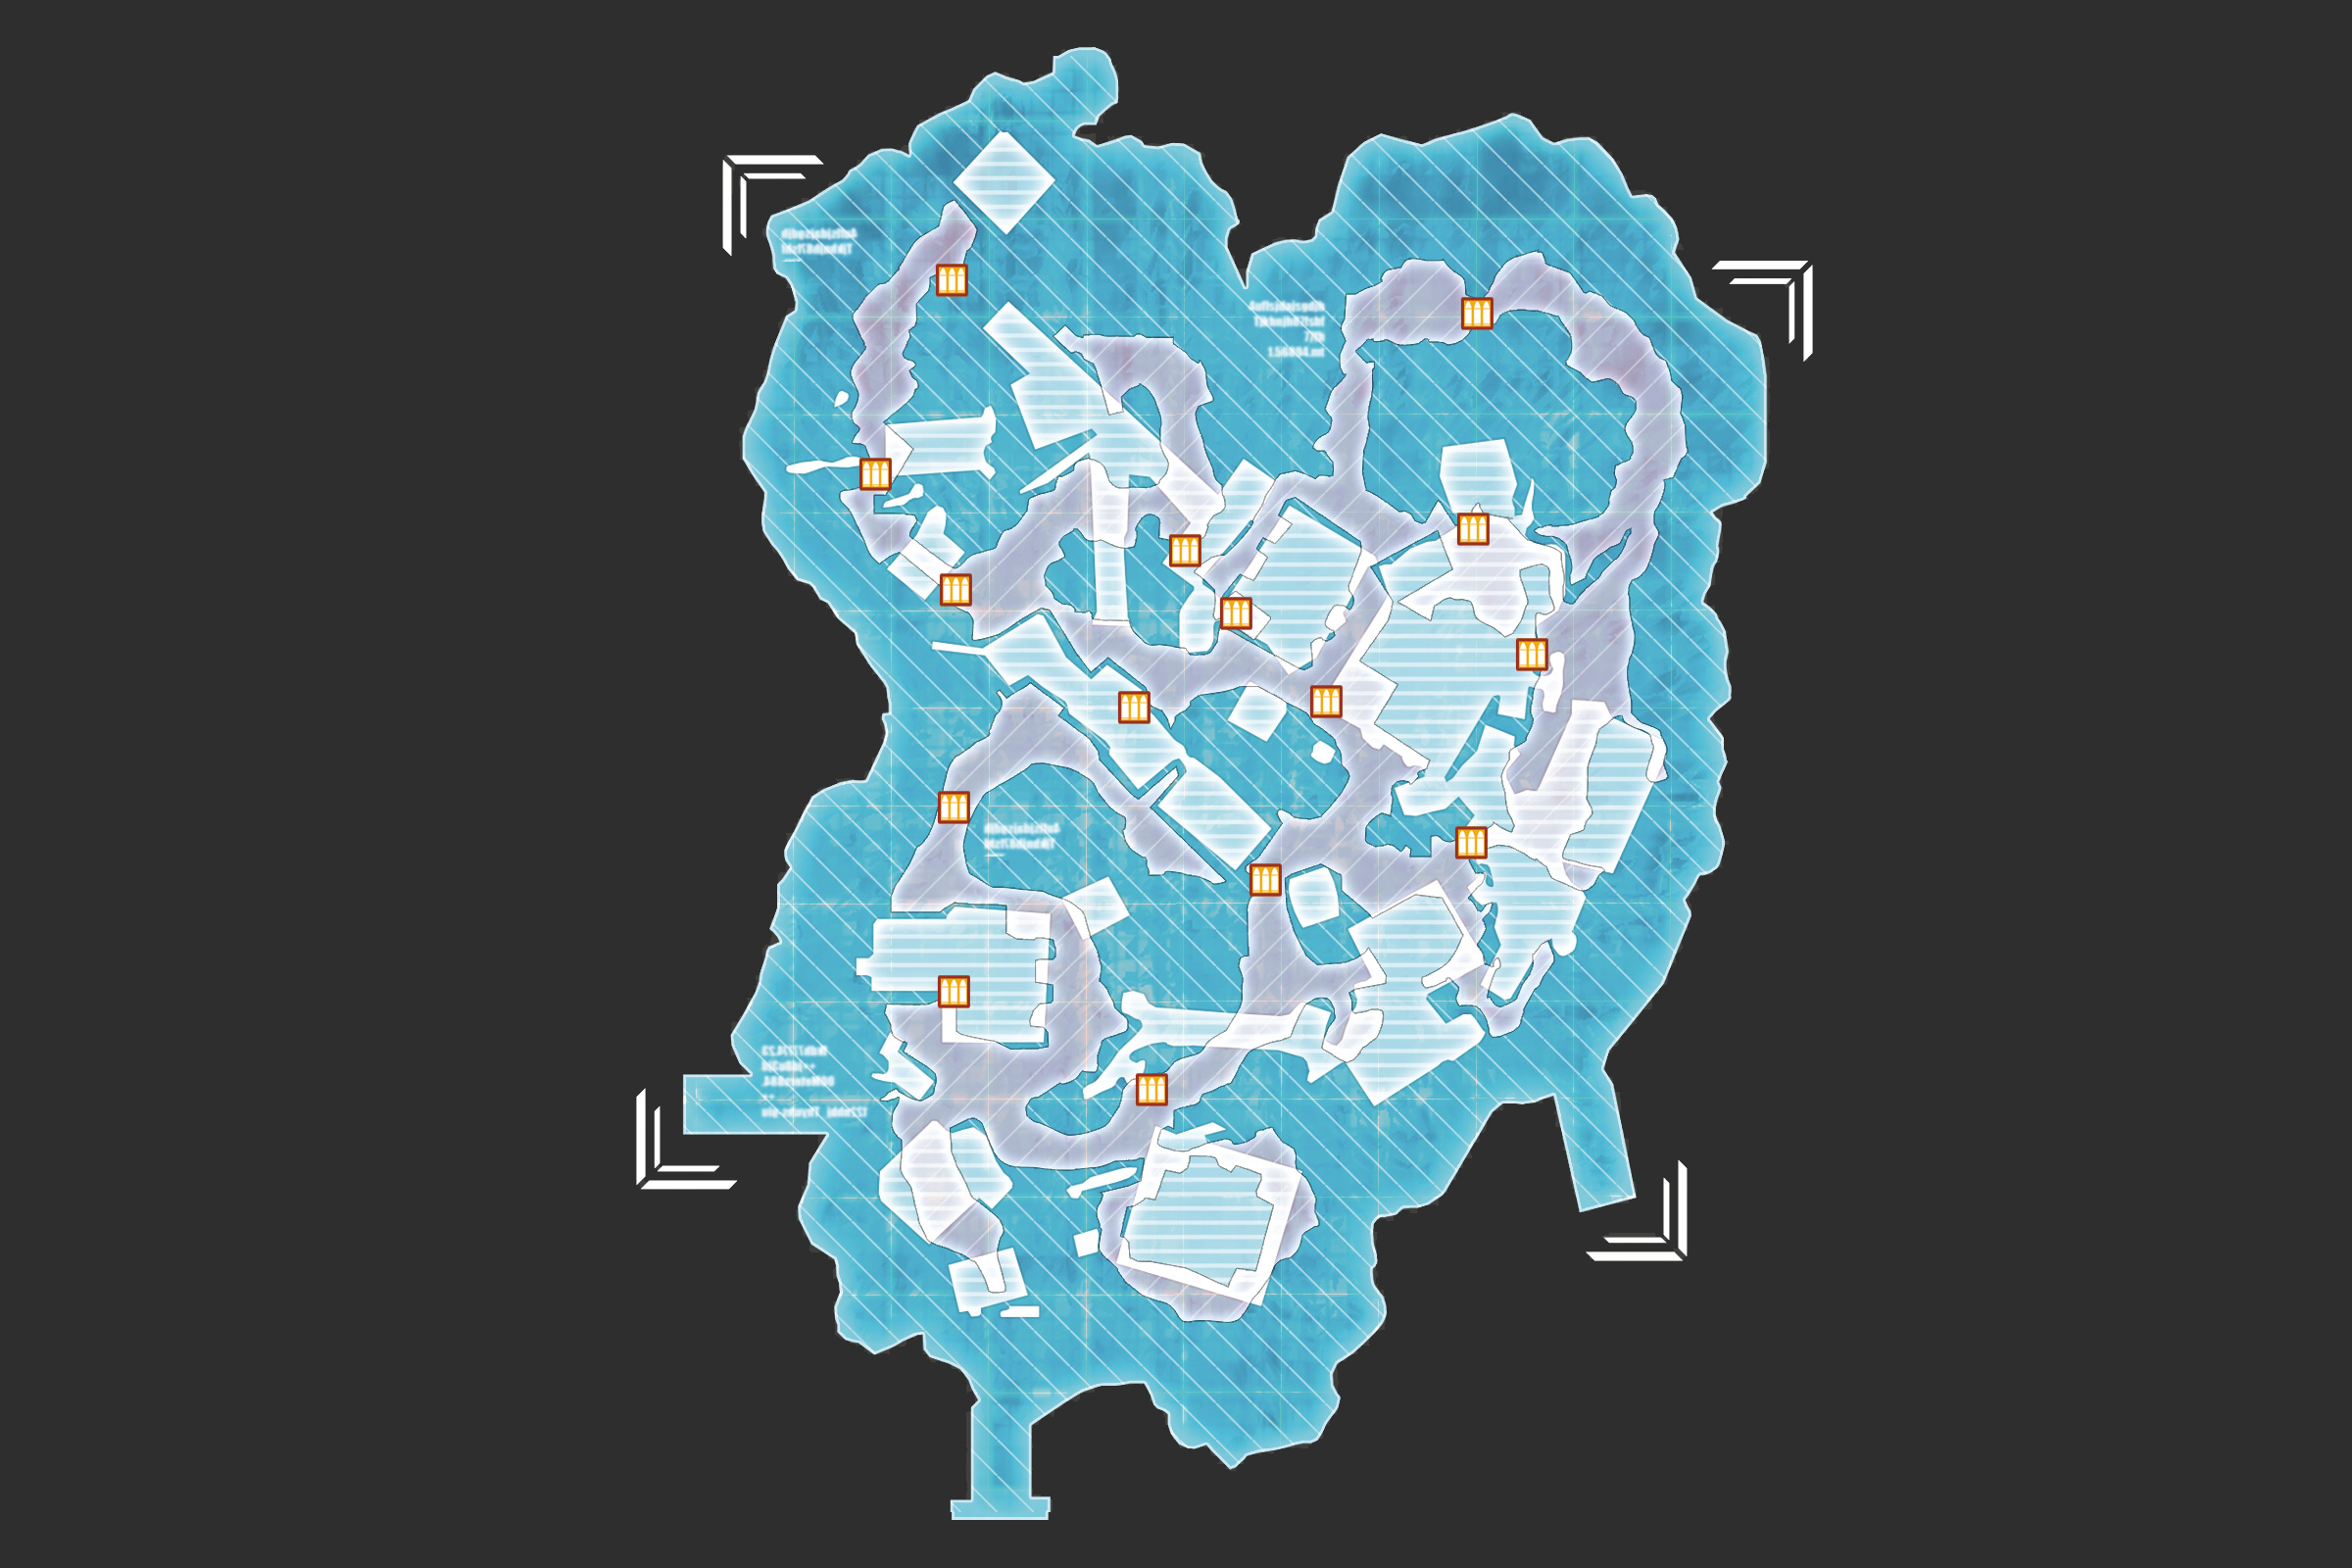
Mission Type:
Survive
Mission Briefing:
The hostiles overran one of the trading outposts. It was a massacre with reports of over 100 dead. This mission's simple: revenge. Get in there and vaporize those goddamn bugs!
Mission Details:
Survive the alien onslaught .
Aliens have overrun a tradepost and have killed all defenseless civilians.
Defeat all the aliens and begin restoration for this ravaged area.
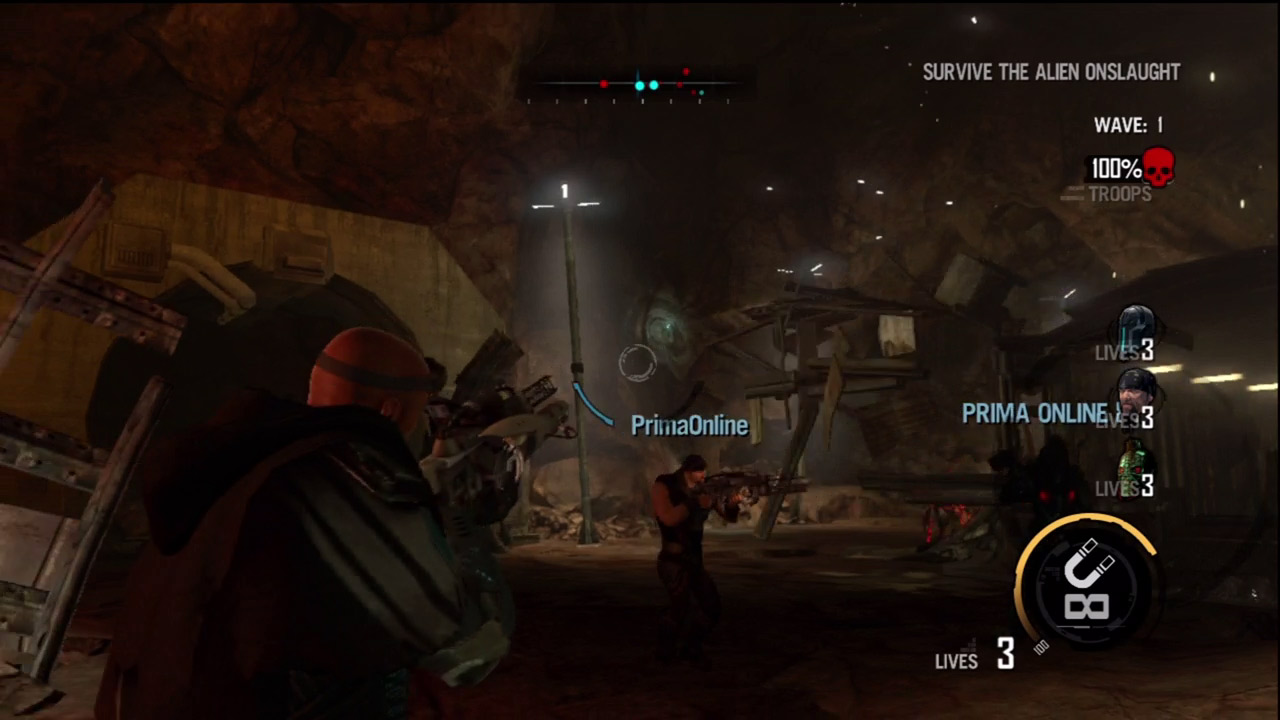
The tradepost is filled with rickety metal structures, supplying plenty of ammo for the Magnet Gun. This is a great way to plow through the first few waves. Simply fire debris at the alien hordes or smash the bugs through the walls and roofs of these structures.
If you haven't already, this is also a good opportunity to earn the Martian Matchmaker and Liftoff achievements/trophies. For Martian Matchmaker, smash a pair of aliens into each other with the Magnet Gun.
For Liftoff, send an alien flying at least fifty meters through the air, also using the Magnet Gun. The large cave makes it easy to score this one.
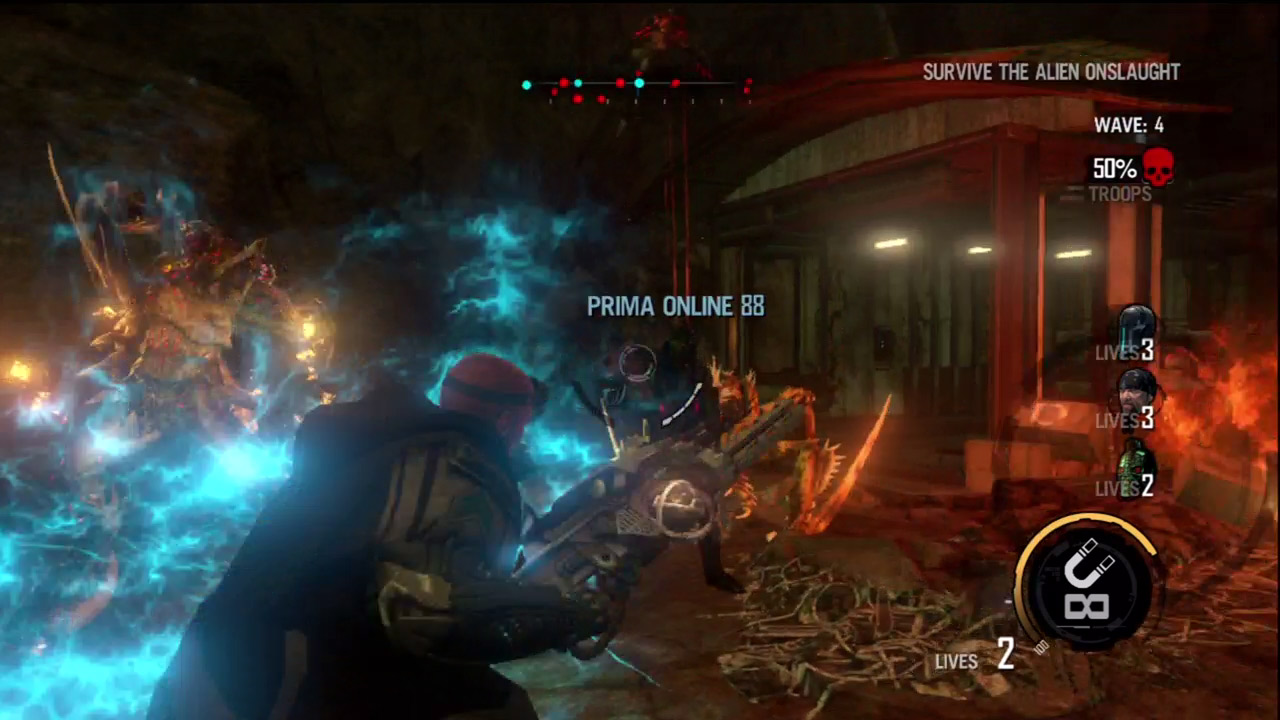
If you find yourself completely swarmed by enemies, don't forget to use Impact. This is a great way to gain some breathing room, particularly when you're surrounded by creepers.
There is no friendly fire in this game mode, so Impact and explosions from your weapons cannot hurt your teammates. Don't hesitate to target bugs near your buddies with Impact or other devastating options.
Heretic
By cutting off access to an overrun Cultist stronghold, Corvallis thinks he can make Darius and Kara's journey to the Marauder lands a lot easier. Without the bugs from the stronghold charging in to help, maybe Darius can make it through the alien hordes.
Mission Type:
Survive
Mission Briefing:
Scouts have uncovered a hidden Cultist base about thirty klicks from here. From what we can tell, the bugs slaughtered them all and are using the area as a nest. Get in there, wipe out the hostiles, and tear everything down.
Mission Details:
Clear the Cultist Science and Religion center
Aliens have turned on the Cultists and killed them all
Eliminate all the aliens and cleanse the area
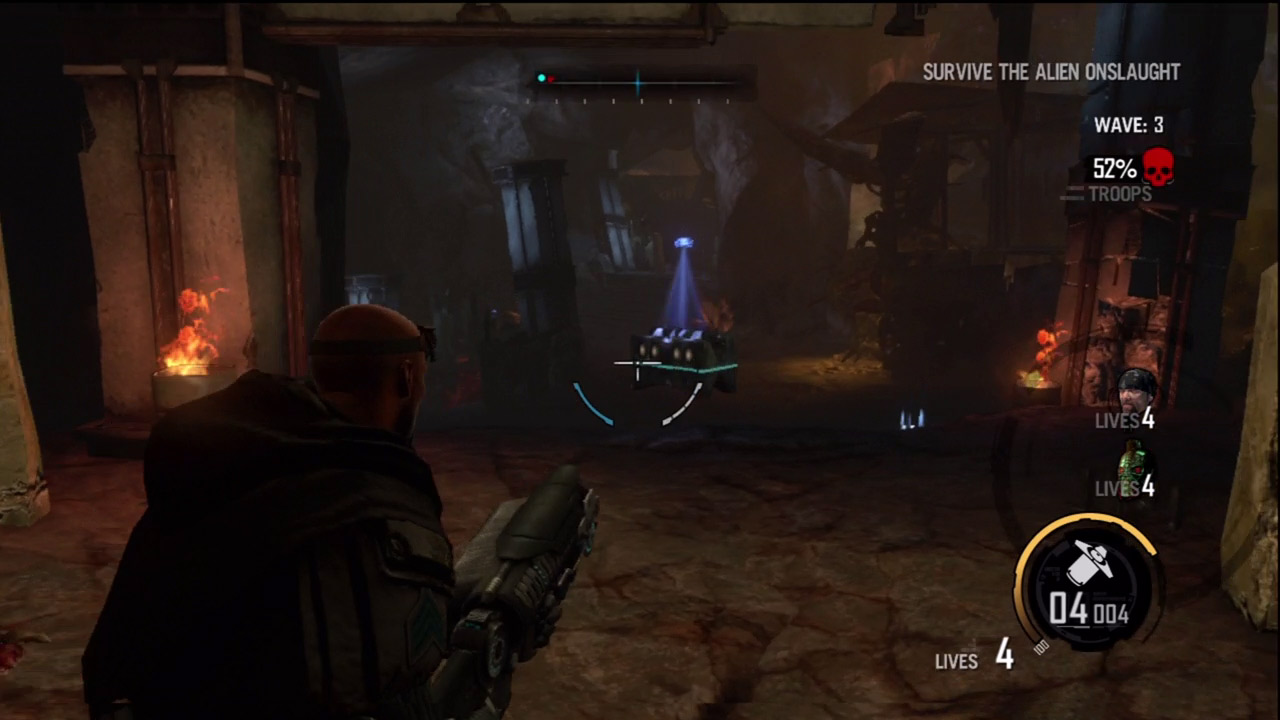
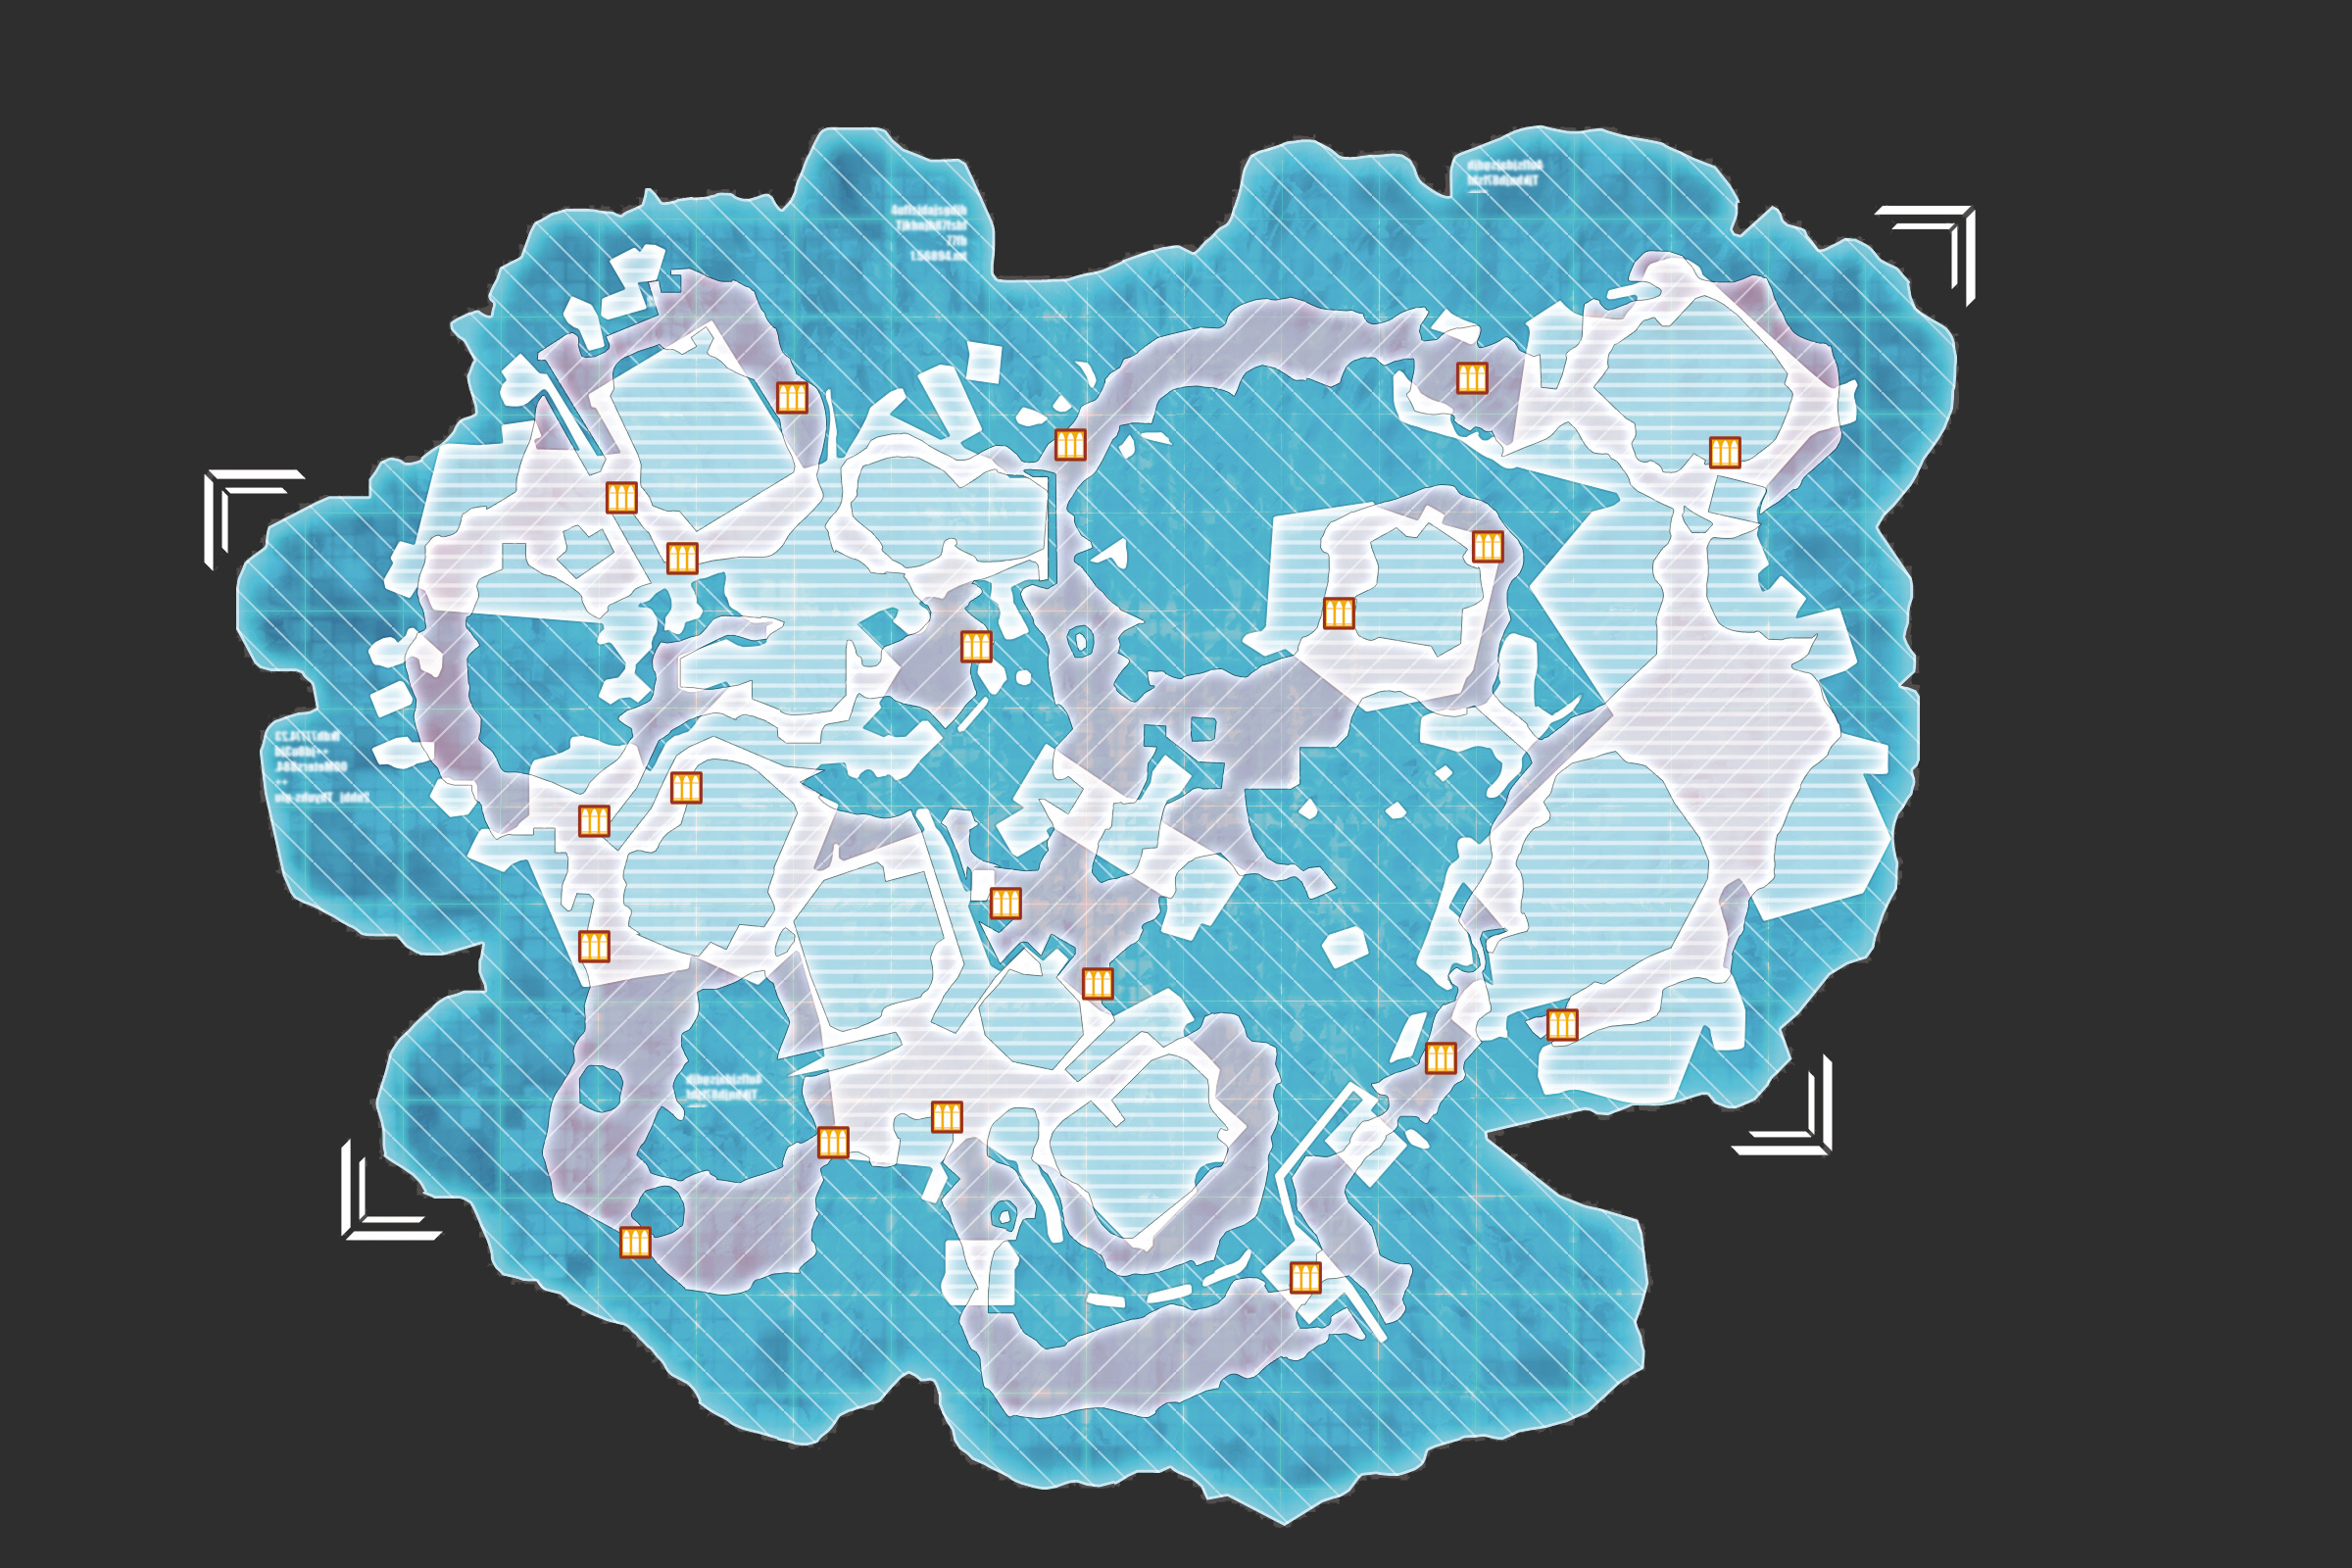
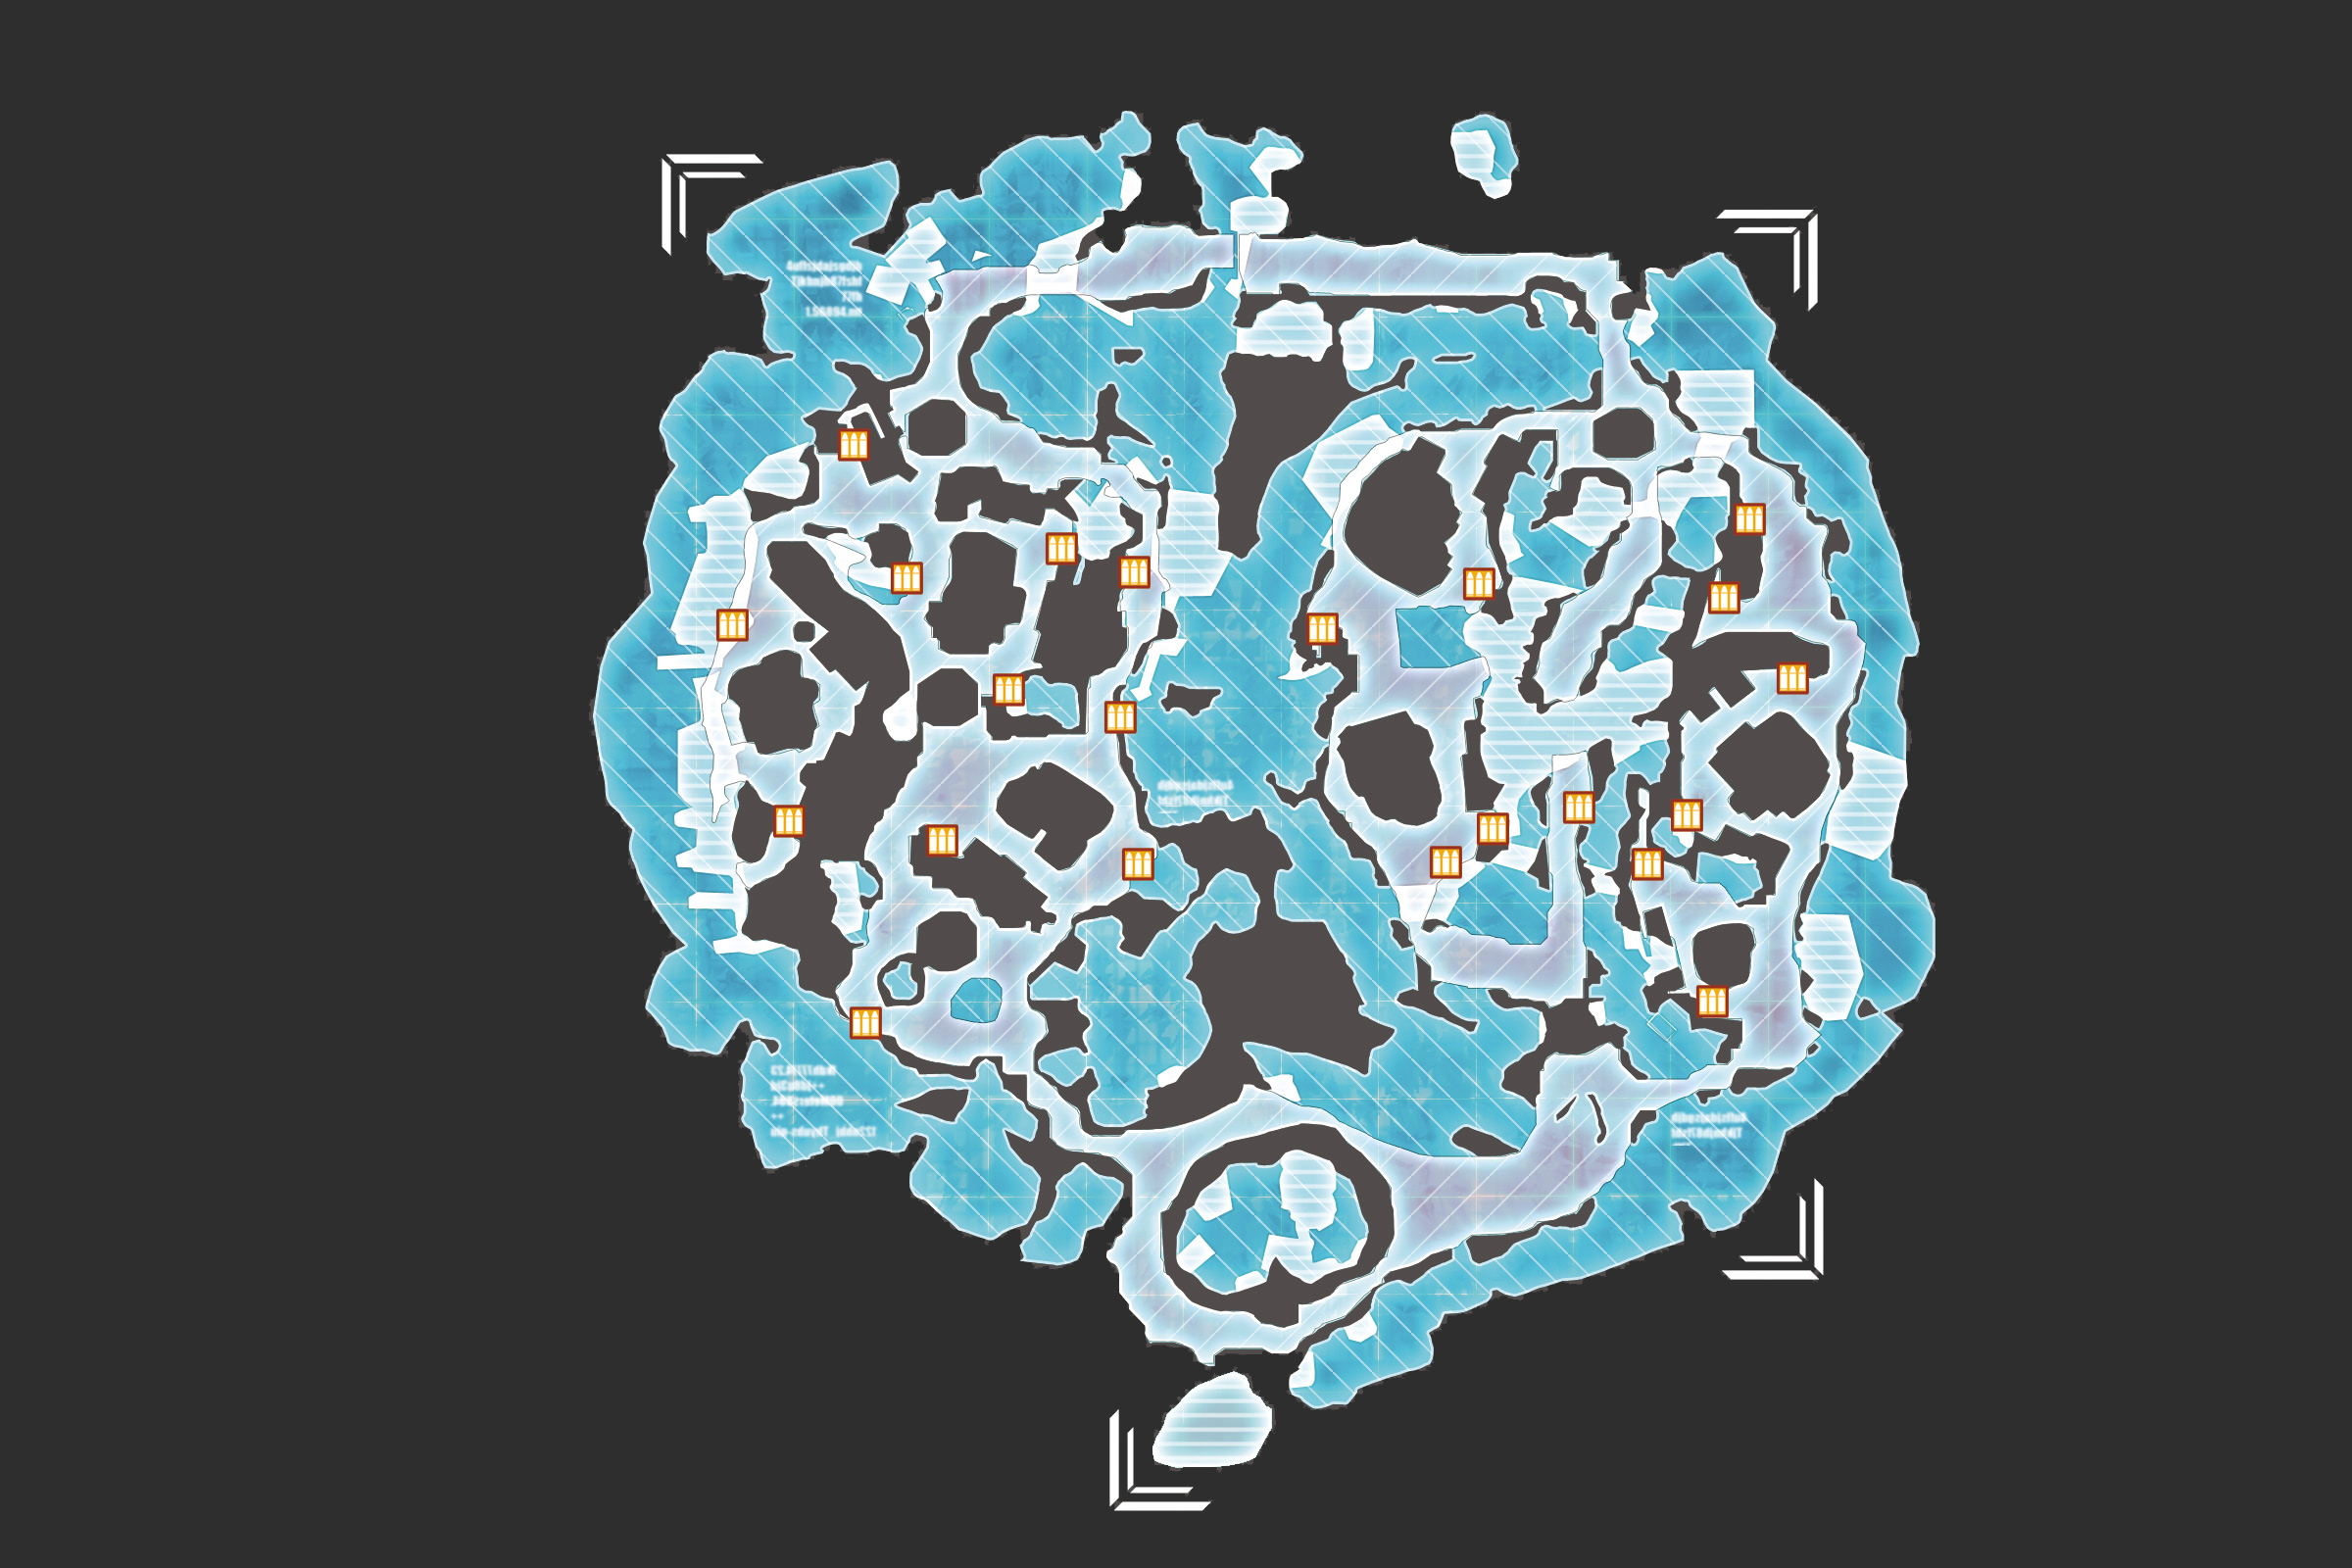
The Cultist stronghold is located in a large cave system filled with several makeshift structures. Venture out of the narrow cave where you begin each wave. Regular movement around the map keeps the aliens from focusing on one location, allowing you to spread out the resistance and pick them off one by one.
However, make sure all your teammates are on the same page. Before moving out, state your intentions and make sure your buddies are following closely behind. If you're not careful, it's easy to get separated.
Frequent movement is also a good way to keep everyone well stocked with ammo by hitting different ammo locations at different times so everyone can stock up.
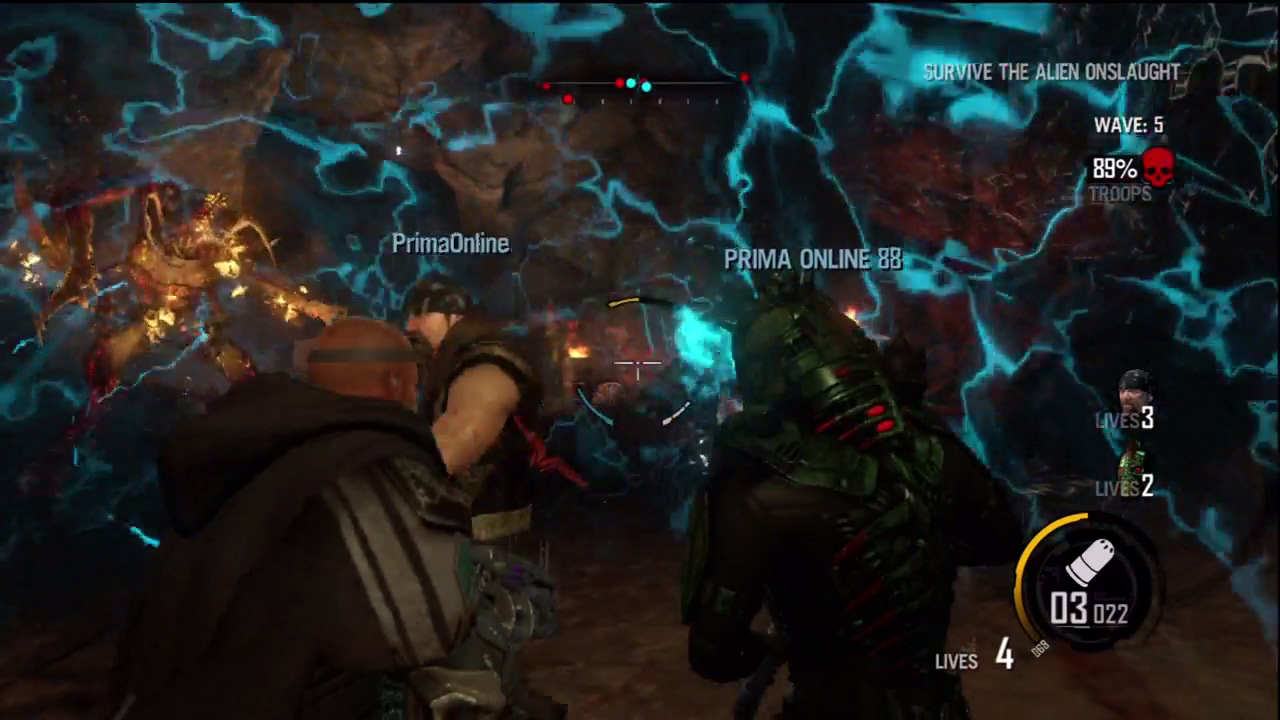
Coordinate with your teammates to make the most of your Nano Forge abilities. Your entire team can fit within the protective bubble of one Shell. Although it's a tight fit, this is a good way to keep everyone safe for a few seconds when things get a little too crazy.
While within the Shell, teammates can use their Nano Forge abilities as well, such as Shockwave, Berserk, or Impact, to gain a tactical advantage. This is a good way to buy yourself some breathing space when approached by multiple berserkers or wraiths.
Extermination
With Darius throwing the Cultist forces into disarray, alien forces have taken over many former Cultist areas. Unfortunately one of them is right next door to the surface camp. Snipes takes the team on a hunting expedition to clear the area.
Mission Type:
Survive
Mission Briefing:
Got a little present for you—an abandoned Cultist stronghold overrun by bugs. Consider it a two-for-one special. Wipe out the bugs and don't leave a single brick standing.
Mission Details:
Clear the abandoned Cultist surface stronghold
The aliens have infested a Cultist stronghold on the surface
Eliminate all the aliens and clear the area
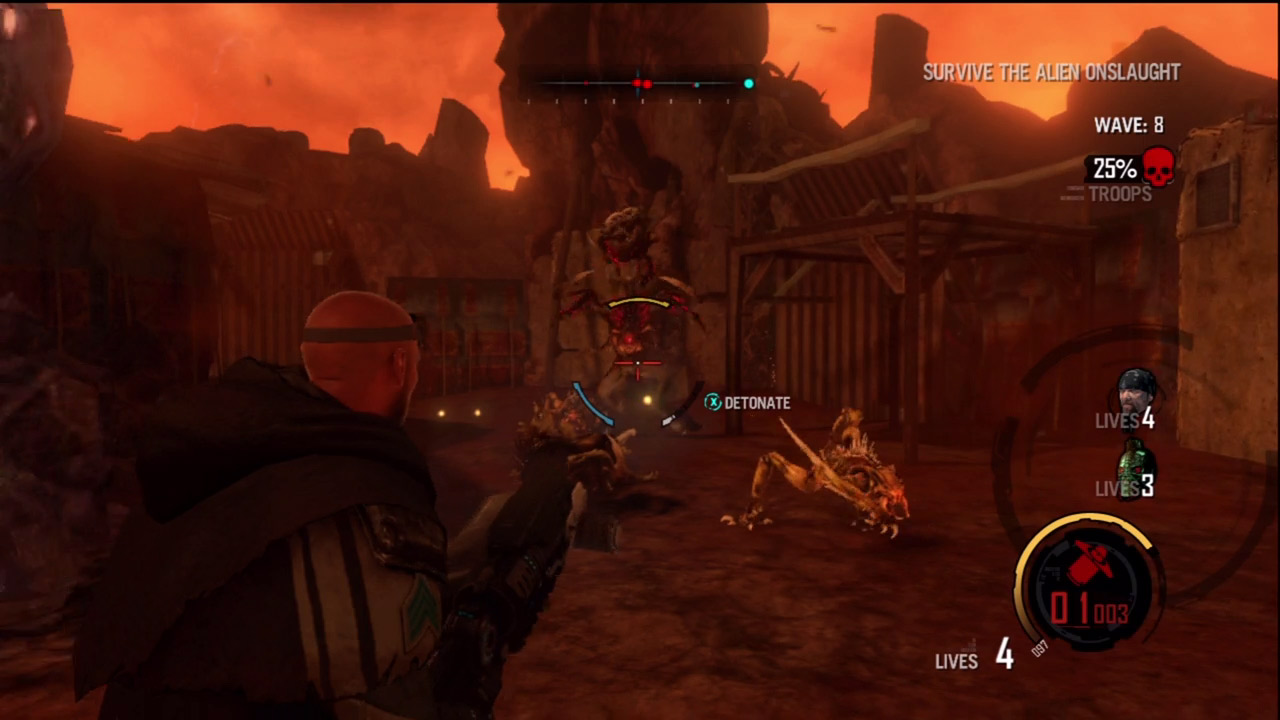
The Cultist stronghold consists of several structures spread throughout a canyon on the surface. Prepare for a mix of close- and long-range combat. Early on, the Magnet Gun works well, allowing you to toss debris at the aliens, or send them smashing into one of the canyon walls.
But as the attacks become more intense, rely on explosive weapons like the Charge Launcher and Pulse Grenade. Laying down fire with these weapons is a great way to secure your surroundings, especially when creepers and ravagers approach on the ground. The Assault Rifle or Rail Driver are better suited for engaging distant targets, like ravagers or wraiths clinging to the canyon walls.
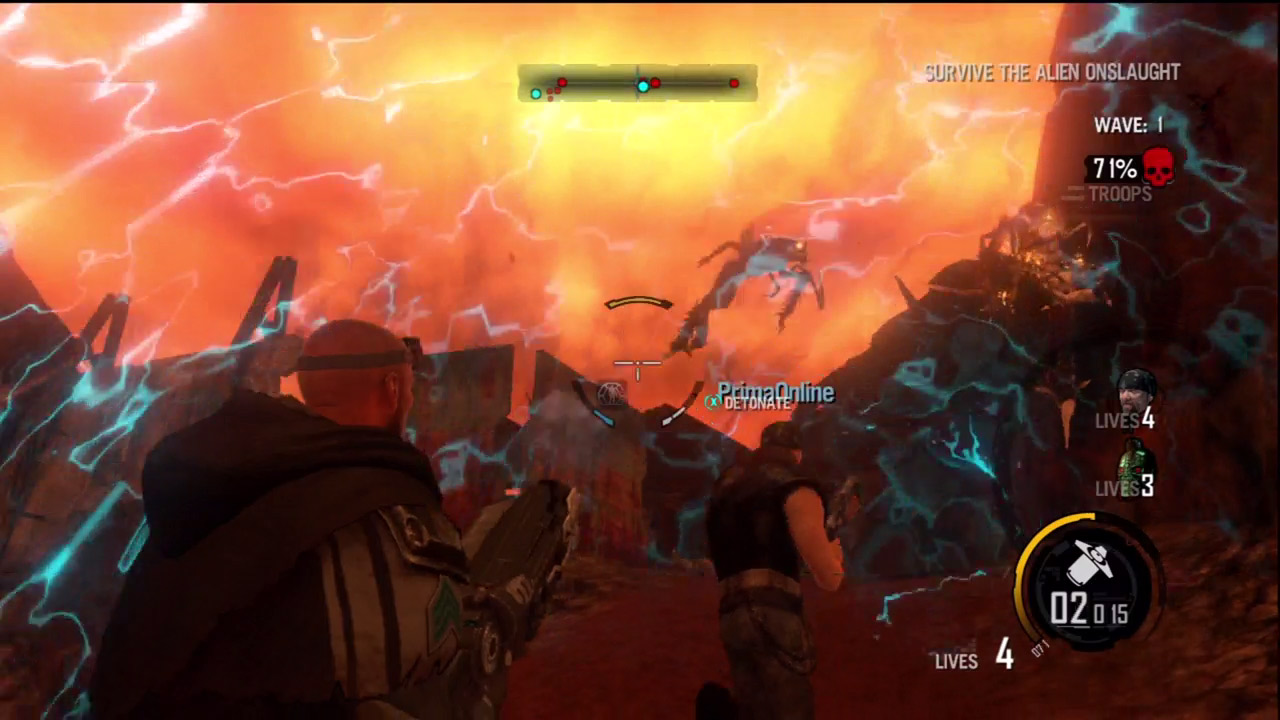
The high canyon walls give the bugs a tactical advantage, allowing them to fire down from these high spots, so don't forget to look up. Ravagers and wraiths like to cling to these walls and attack from long range. If you find yourself taking fire from multiple directions, deploy a Shell.
This allows you to stand still and engage the threats without fear of taking heavy damage. Also, look for opportunities to protect teammates who are under fire. Rush to their location and deploy a Shell. With two or three teammates protected by the Shell, you can seriously turn the tide against the attackers.
Meltdown
While Darius is fixing the water pumps, Winters and his compatriots struggle to bring a glacier melting station online so the pumps have something to work with. Unfortunately, they have to fend off hordes of aliens bent on destroying the station first.
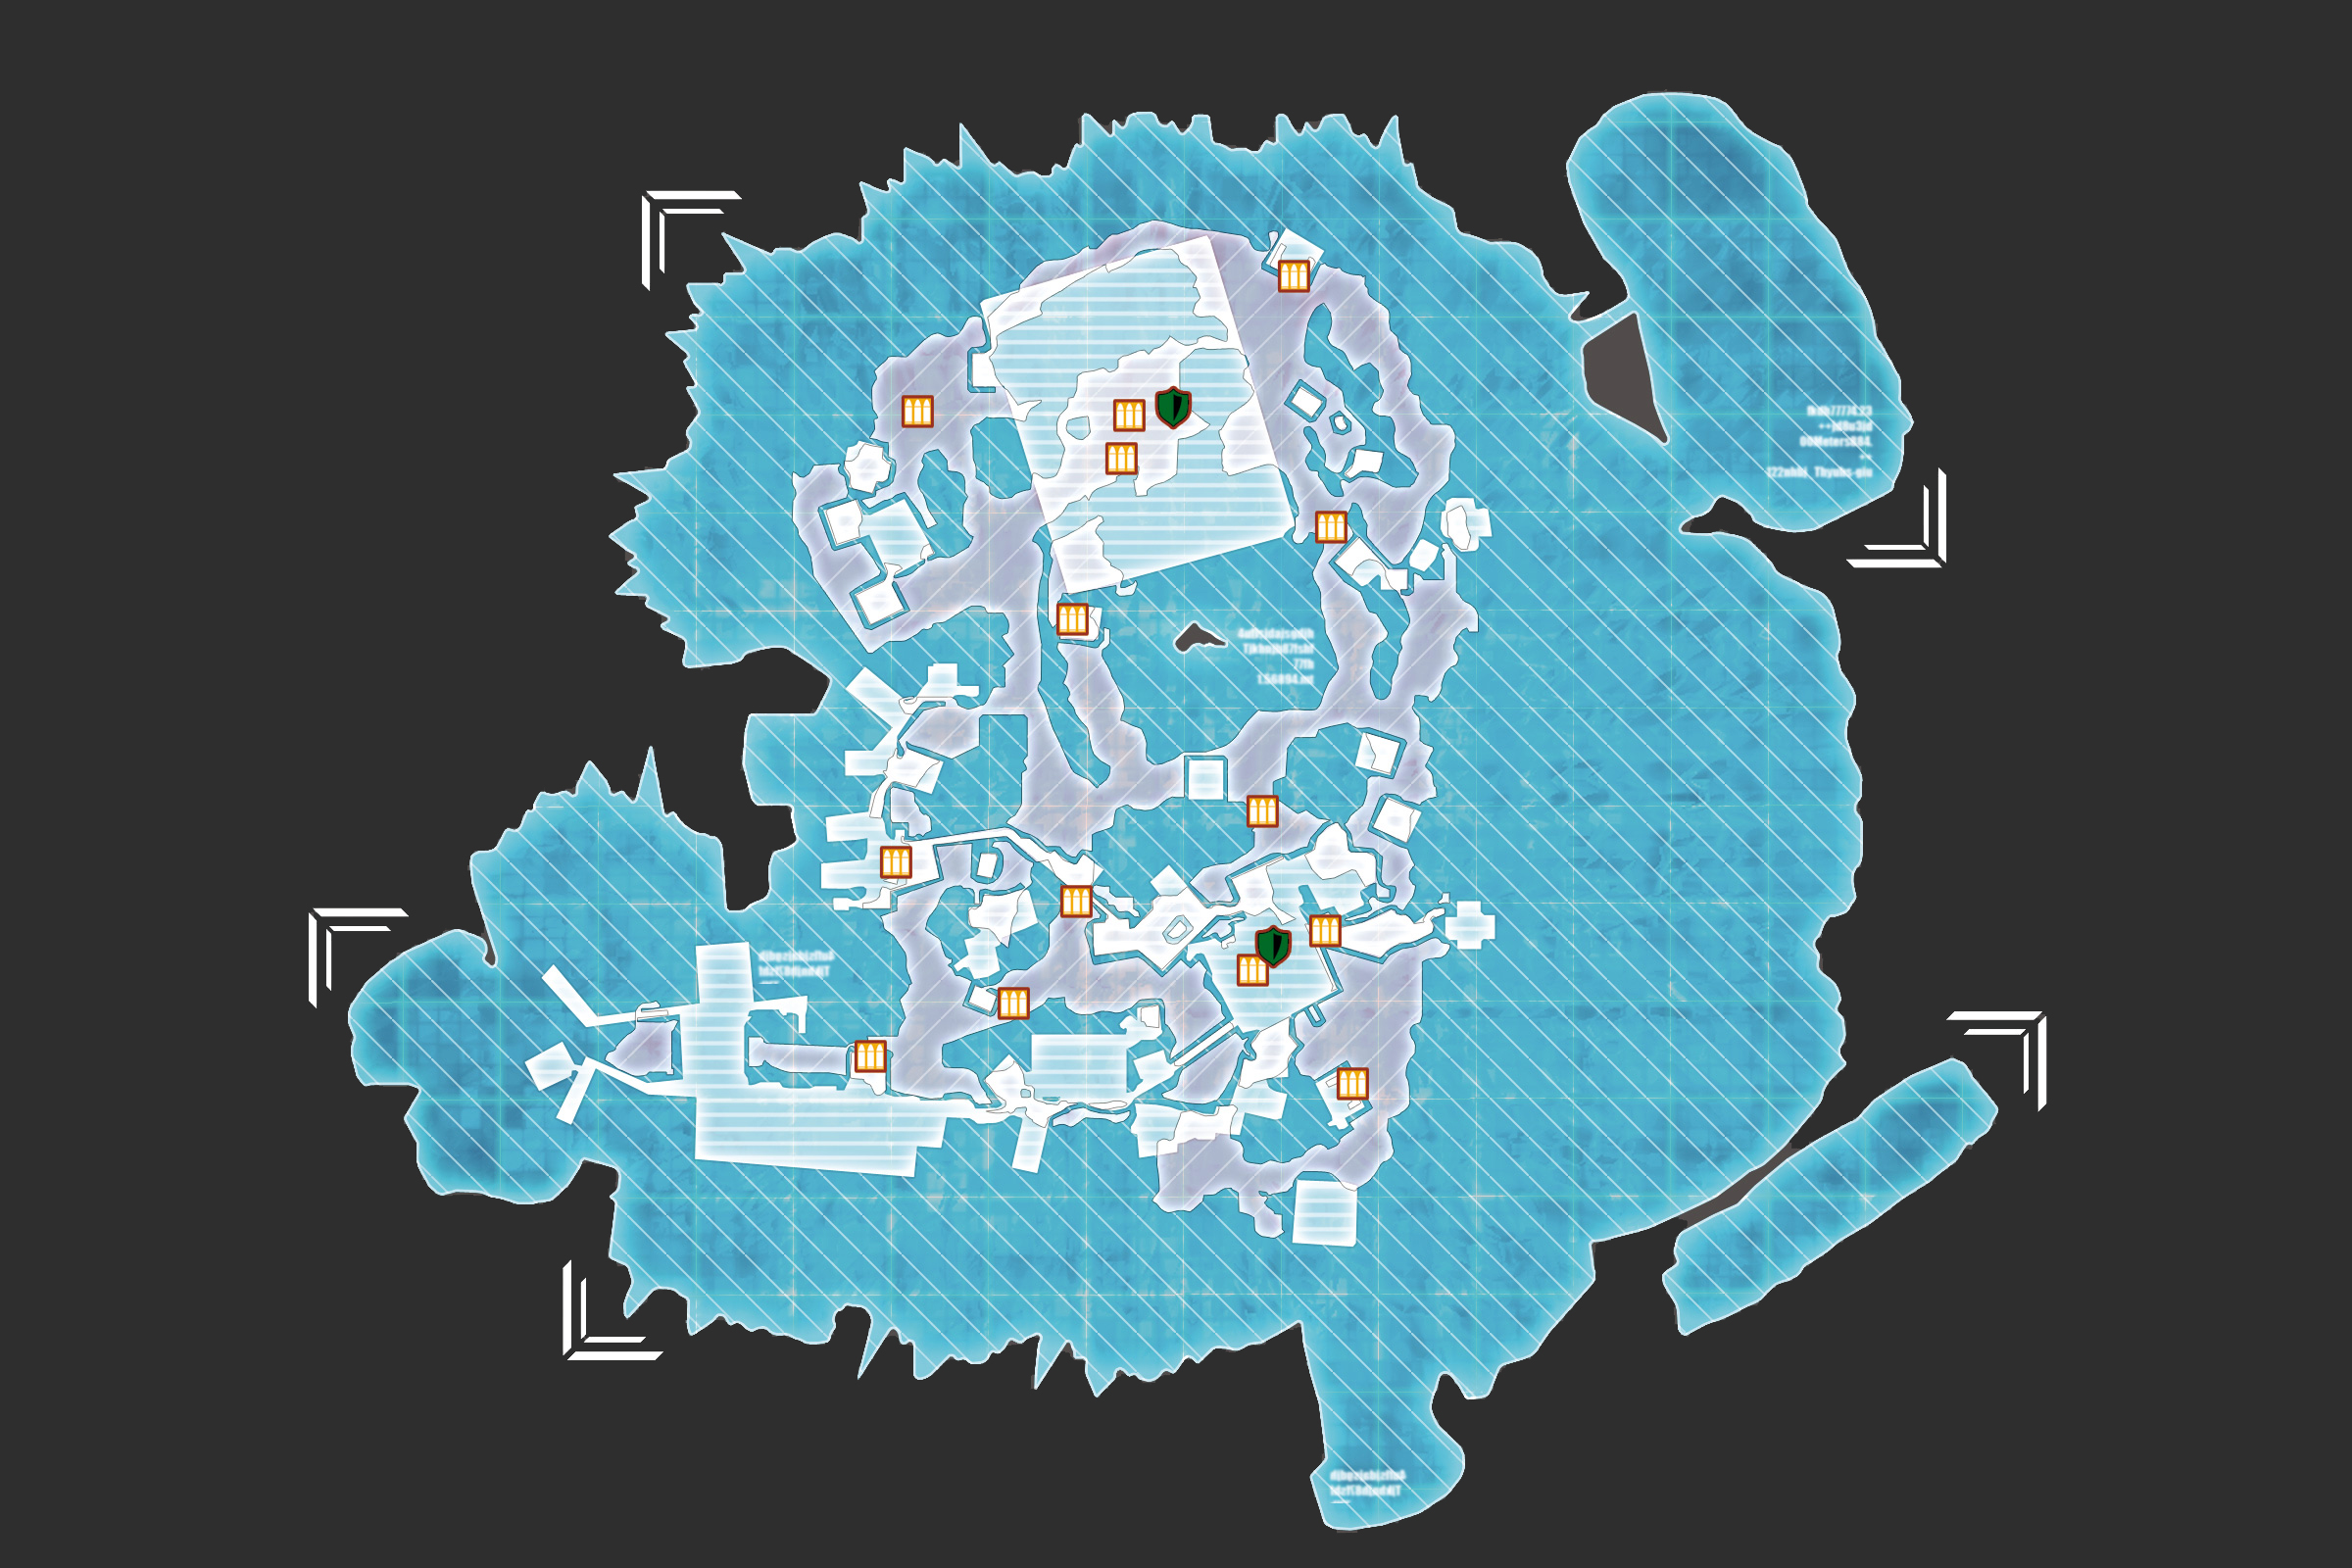
Mission Type:
Defend
Mission Briefing:
Most of the power running into Bastion comes from the steam-powered generators. The hostiles are reportedly converging on this location. Get in there and stop them before they cut power to half the city.
Mission Details:
Defend the water and glacier melting facilities
The aliens are attempting to destroy the water collection buildings and must be stopped
Kill all the aliens and protect the buildings—repair may be necessary
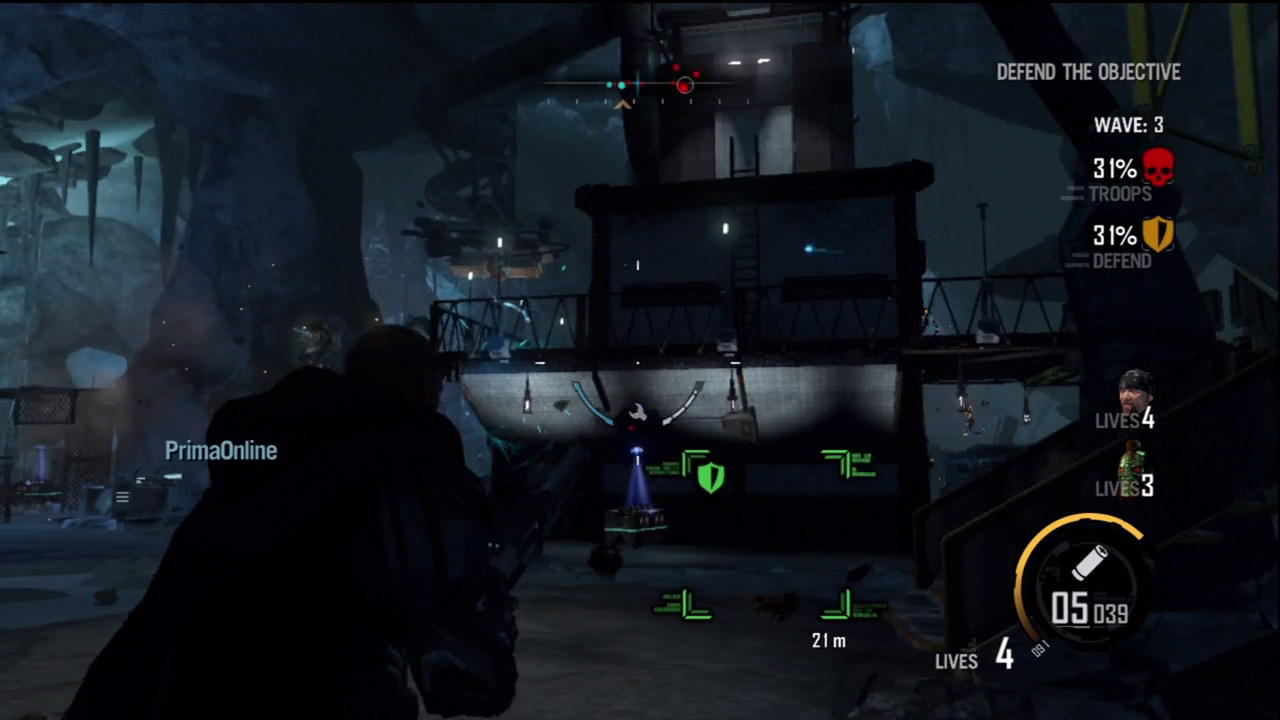
This water processing facility is a tall building near the center of the cavern. Be sure to patrol the perimeter of the structure and look for ravagers bombarding it from long range. Follow the smoke of their rocket-like projectiles to find the shooters.
The building's upper level is less critical than the load-bearing walls of the lower level. Focus your repair grenades on the lower level sections to keep the structure from toppling over.
While the ravagers usually attack from the surrounding walls, watch out for creepers and berserkers attacking along the ground.
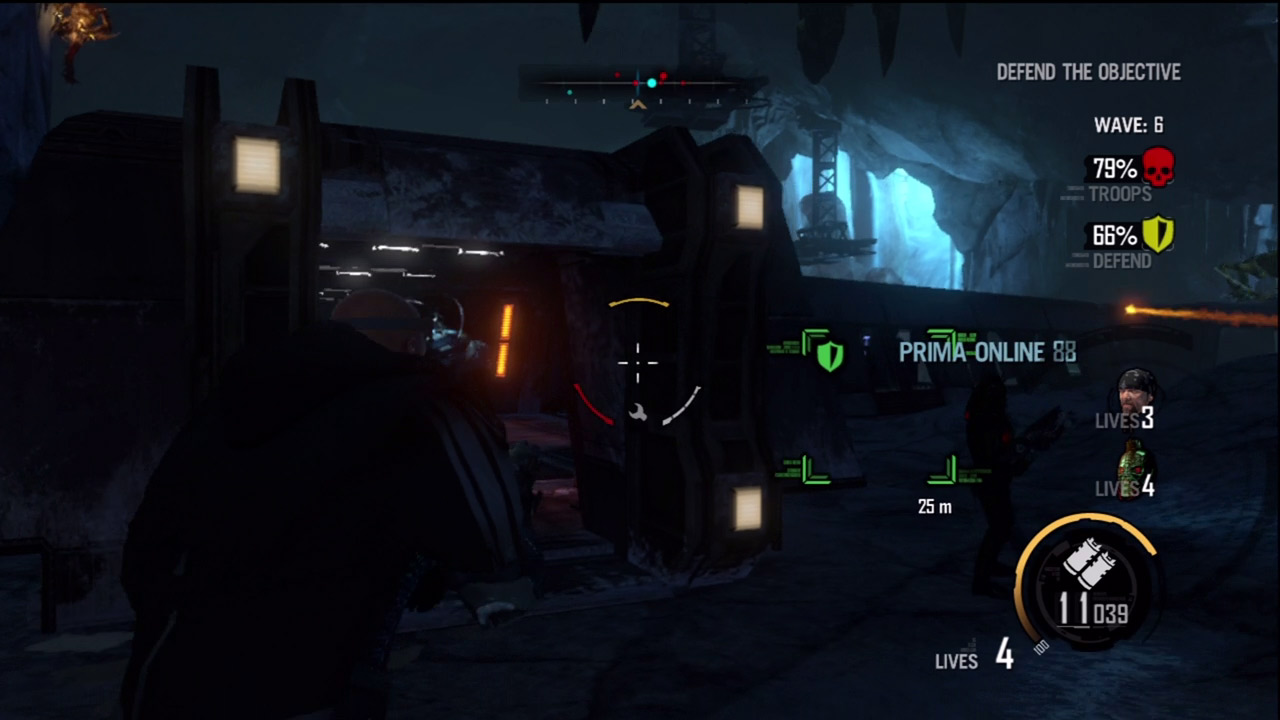
The second location you must defend is a sky bridge-like structure. Although your team begins inside the sky bridge, you're better off defending from the outside instead of firing through the window-like openings.
However, make an effort to stay on the upper level, holding the rocky ledges on either side of the bridge. This gives you a better view of the structure as well as any attackers. But don't just hold in one spot.
Have your team spread out, protecting each side of the structure. The aliens usually focus their fire on the bridge, so it's unlikely you'll be overwhelmed.
And even if you are, a teammate isn't far away to revive you if necessary. When you're not defending from the outside, run periodic patrols through the structure to conduct repairs with repair grenades.
Pressure
Now that Bastion has water again, the steam-powered generators need repair. For Bastion to gain power, Winters and his teammates enter alien-infested territory with two goals: destroy the alien menace and make sure the generators are working.
Mission Type:
Defend
Mission Briefing:
Most of the power running into Bastion comes from the steam-powered generators. The hostiles are reportedly converging on this location. Get in there and stop them before they cut power to half the city.
Mission Details:
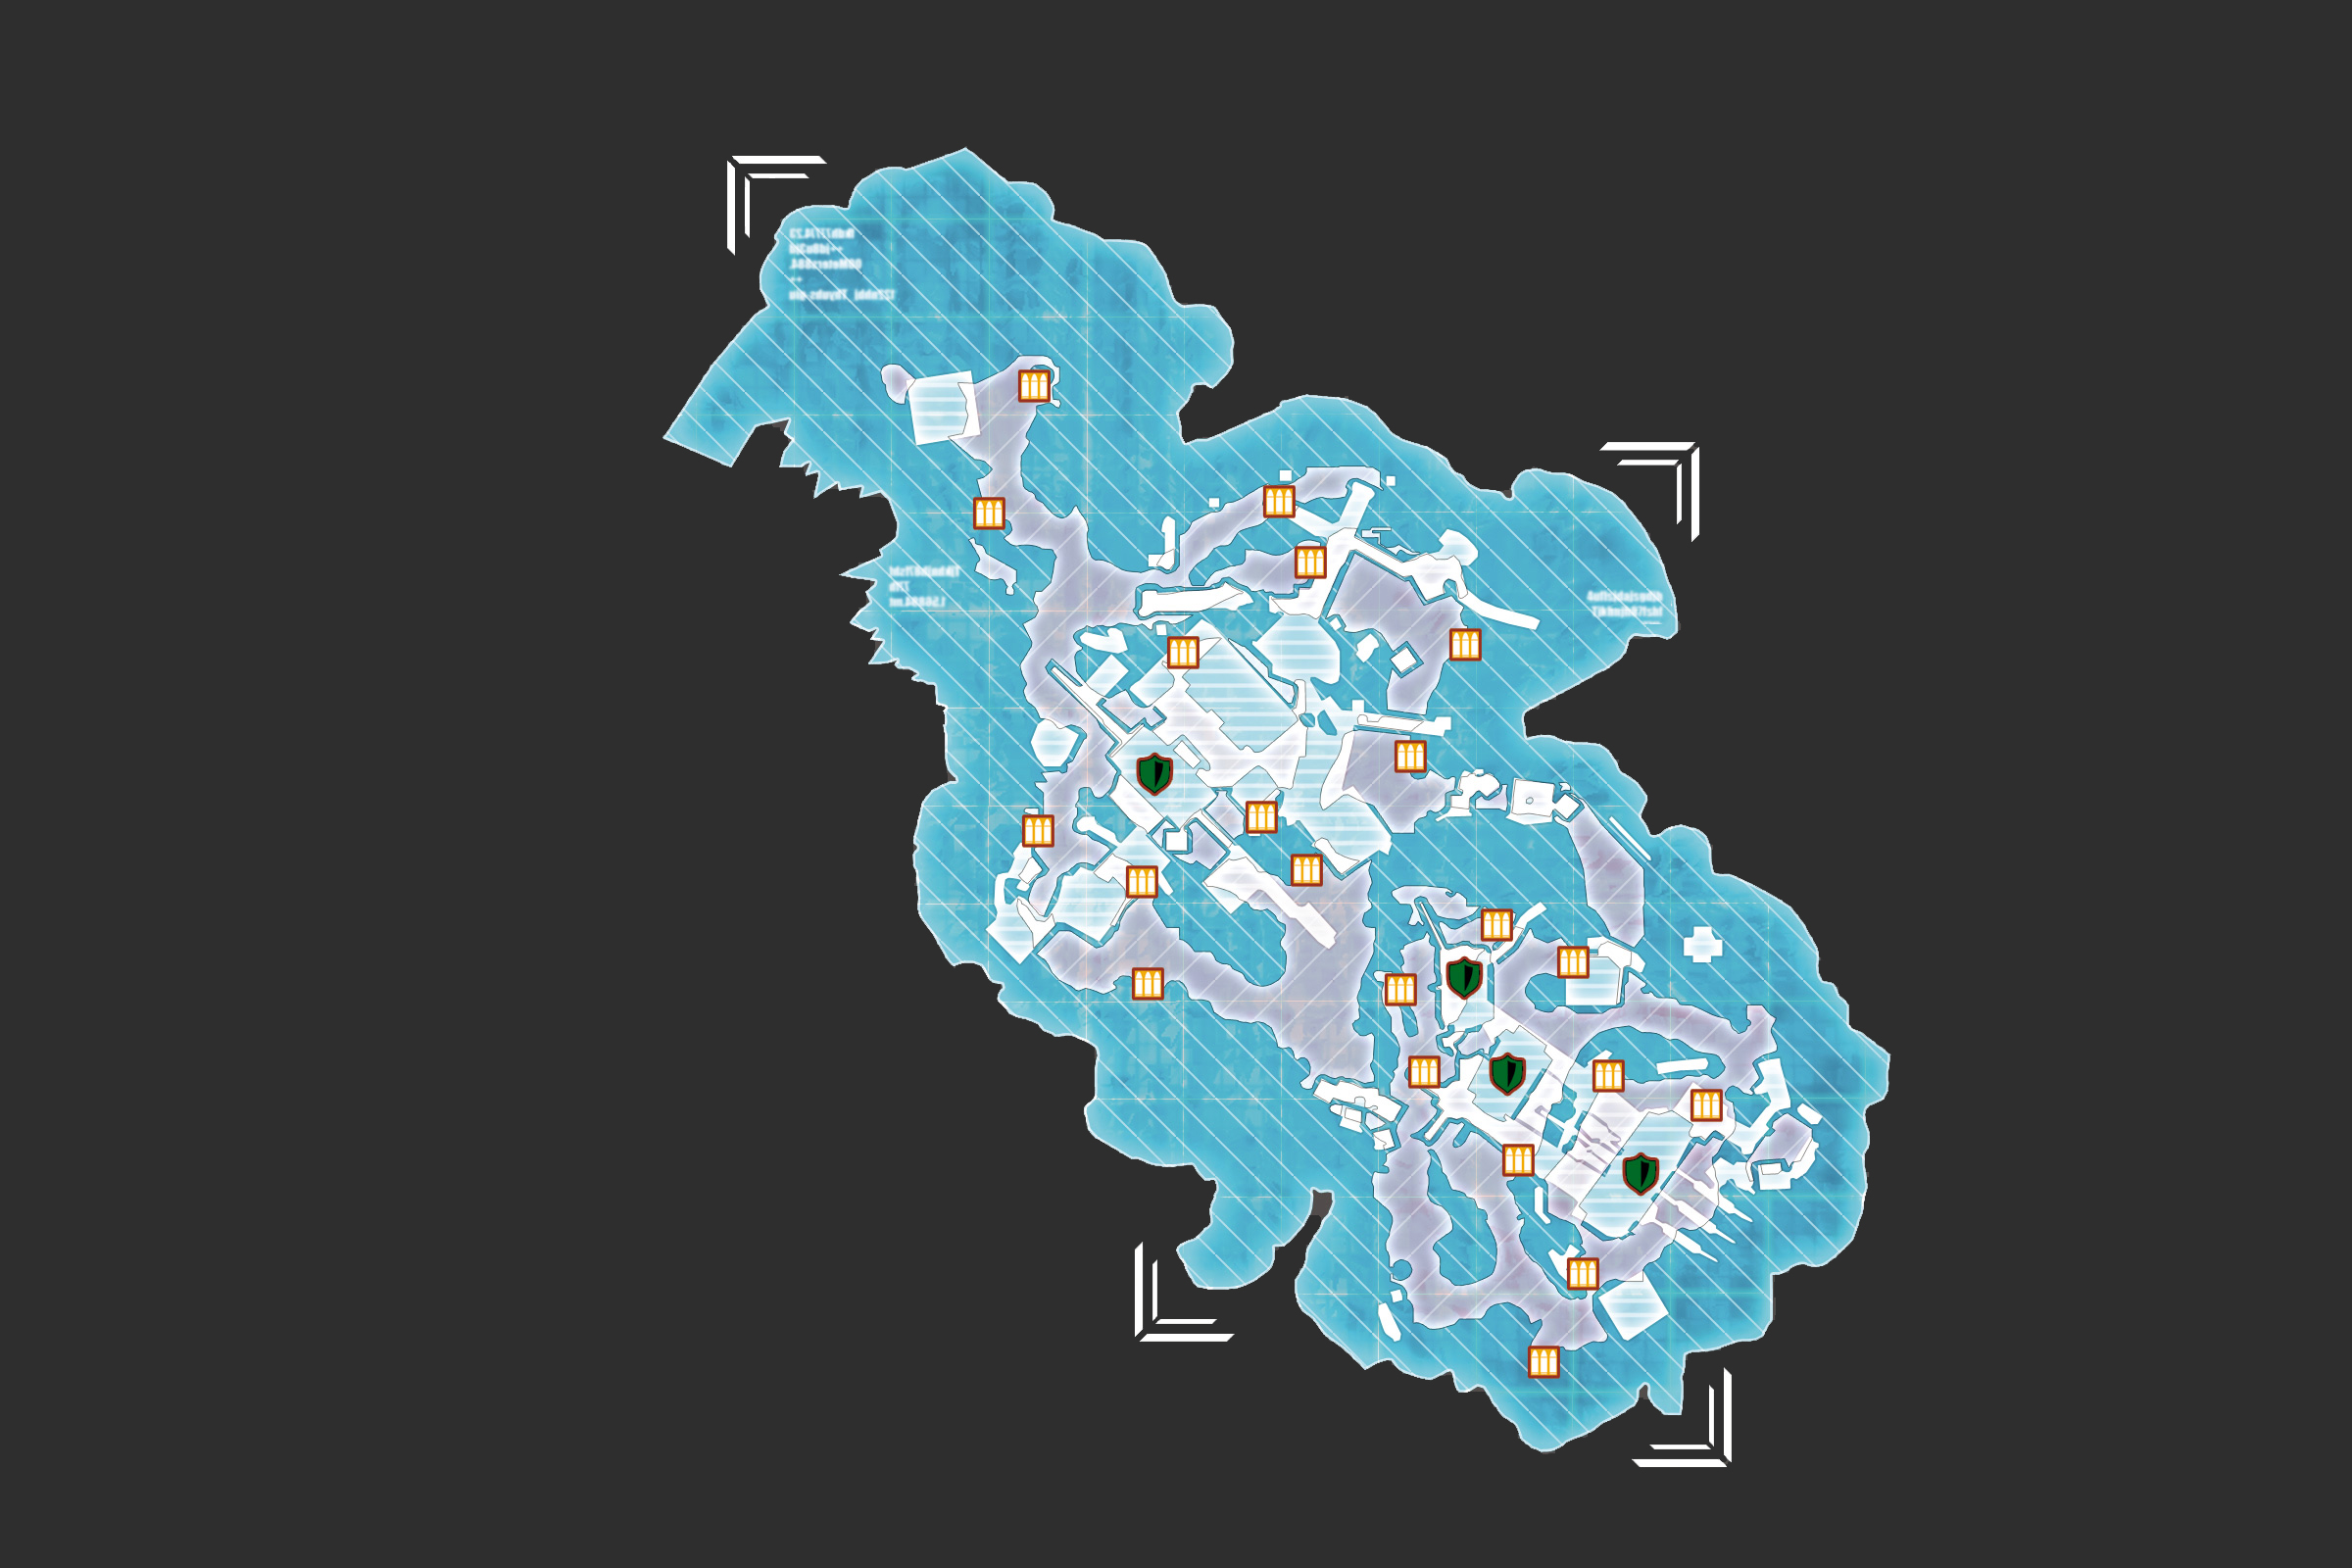
Defend the steam generation and water redistribution facilities
The aliens are trying to destroy the buildings and prevent the area from generating power
Kill all the aliens and make sure that the buildings don't get destroyed. Don't forget about repair grenades.
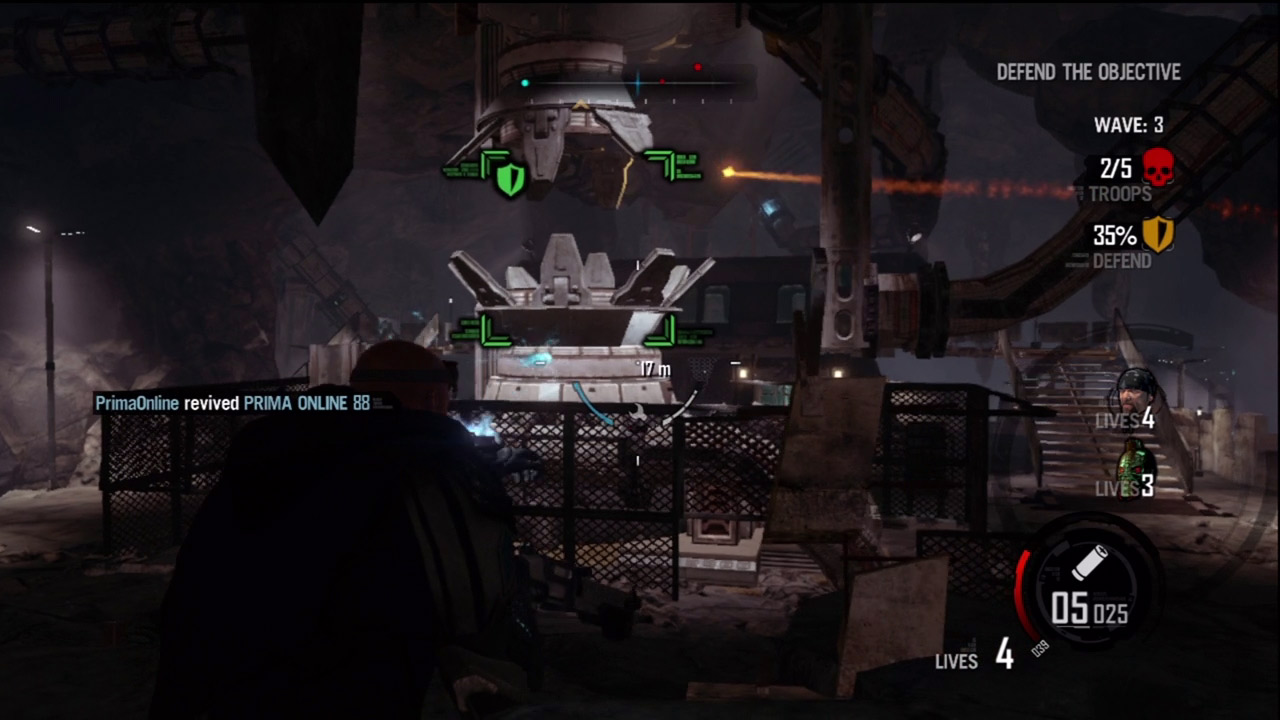
When defending the large generator, make an effort to minimize damaging the structure—the aliens do enough damage on their own without your help. When ravagers or wraiths cling to the generator, use the Magnet Gun to pull them away. The Pulse Grenade is also a very effective weapon here, killing most creatures with one shot while inflicting no damage on the structure. The two elevated platforms flanking the generator are good cover points. However, make sure your team occupies both spots to provide comprehensive protection. While repairing, be sure to target the upper part of the generator, near the cavern's ceiling. This part usually takes the heaviest damage. The chain-link fence at the base isn't part of the generator, but should still be repaired as it serves as a protective barrier.
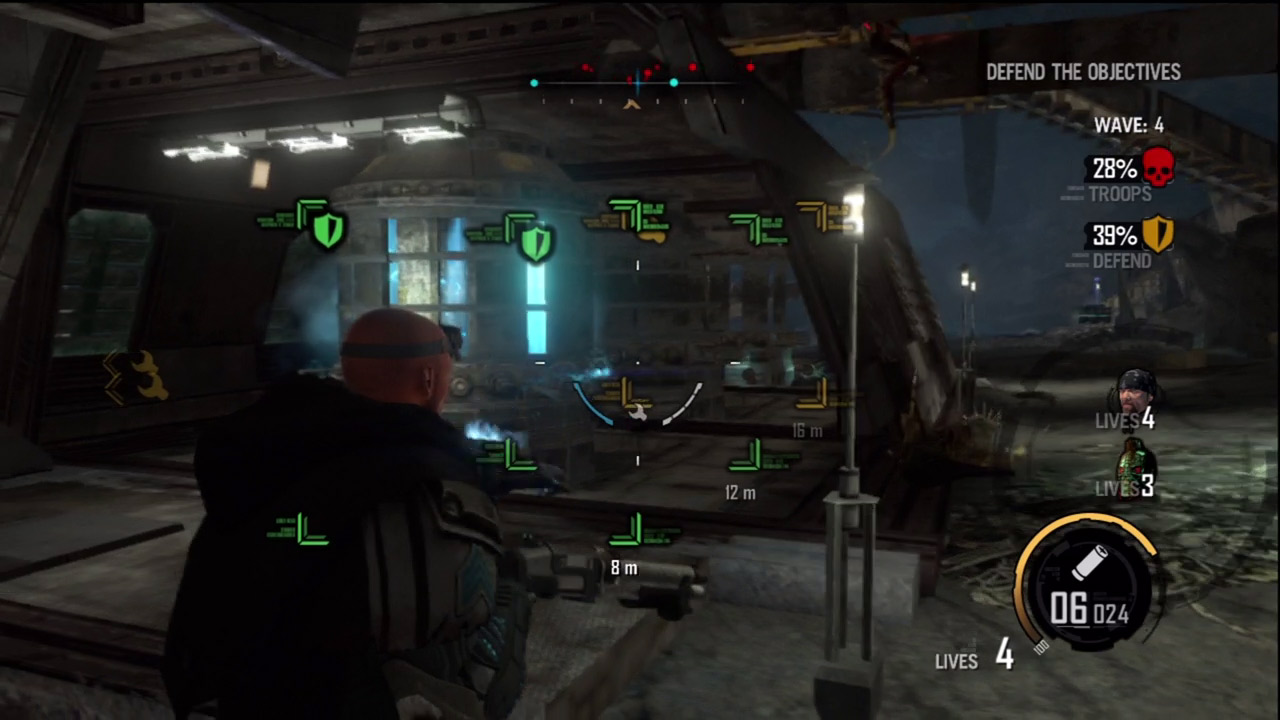
In alternate waves you must defend a series of five small generators contained within three separate structures. If you're not careful it's easy to spread yourself thin on this one. If you're only playing with one teammate, forget trying to defend all the generators and just focus on protecting the large structure containing three generators. At any given time, only one generator has to be active to continue the wave. If you have more manpower, make an effort to defend all the generators, particularly in the early waves. However, in the later waves, focus your defensive efforts on the large structure. This is the best way to focus your firepower and repairs in one location instead of trying to lock down two separate spots. Instead of just repairing the generators, repair the walls of the structure to provide a bit more protection. Also, consider posting a teammate on the catwalk system overhead to get a better view of the rooftop as well as any ravagers attacking from above.
Dust to Dust
Placed across an important transportation nexus, the town of Dust holds critical strategic importance for Red Faction in the ongoing fight. Snake guides the team to his old stomping grounds to clear the area.
Mission Type:
Defend
Mission Briefing :
People are being forced to the surface to escape the invasion. They won't last long if we can't get some temporary shelter set up. Get your squad to the surface and get that area prepped for refugees.
Mission Details:
Protect the ruins of Dust
The Red Faction is trying to rebuild Dust to shelter refugees
Ward off the attacking aliens while defending and repairing critical structures for the town
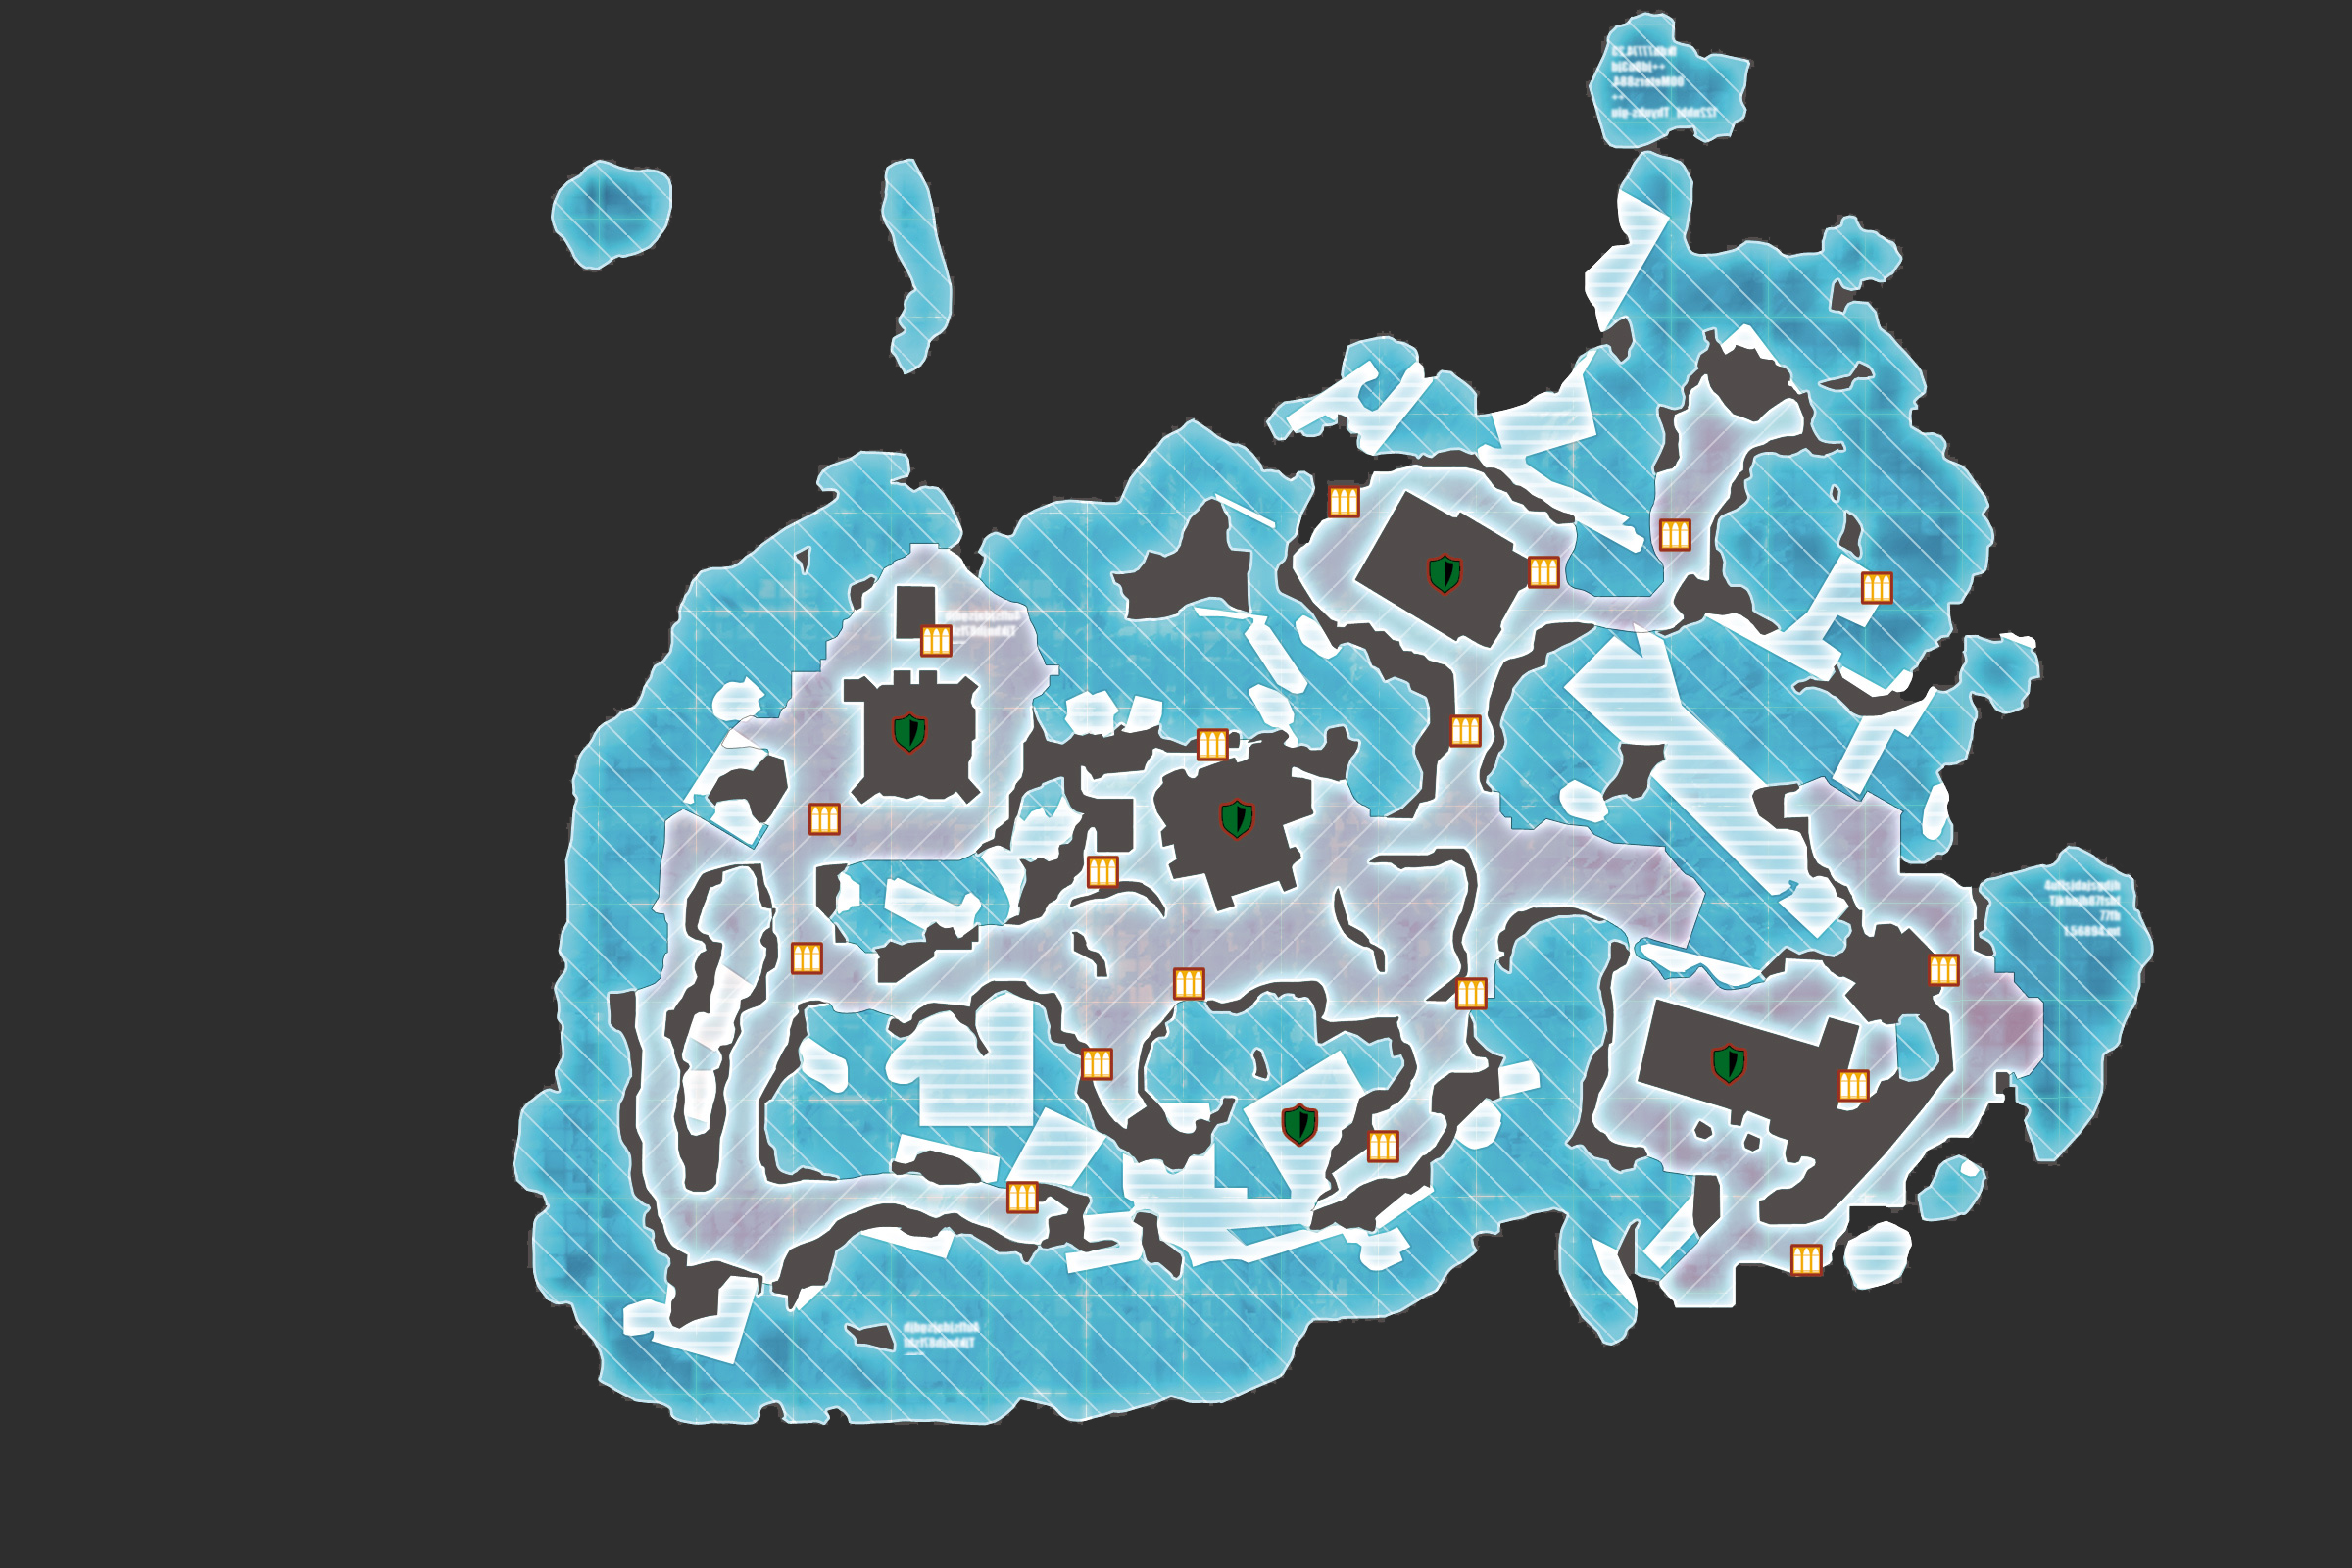
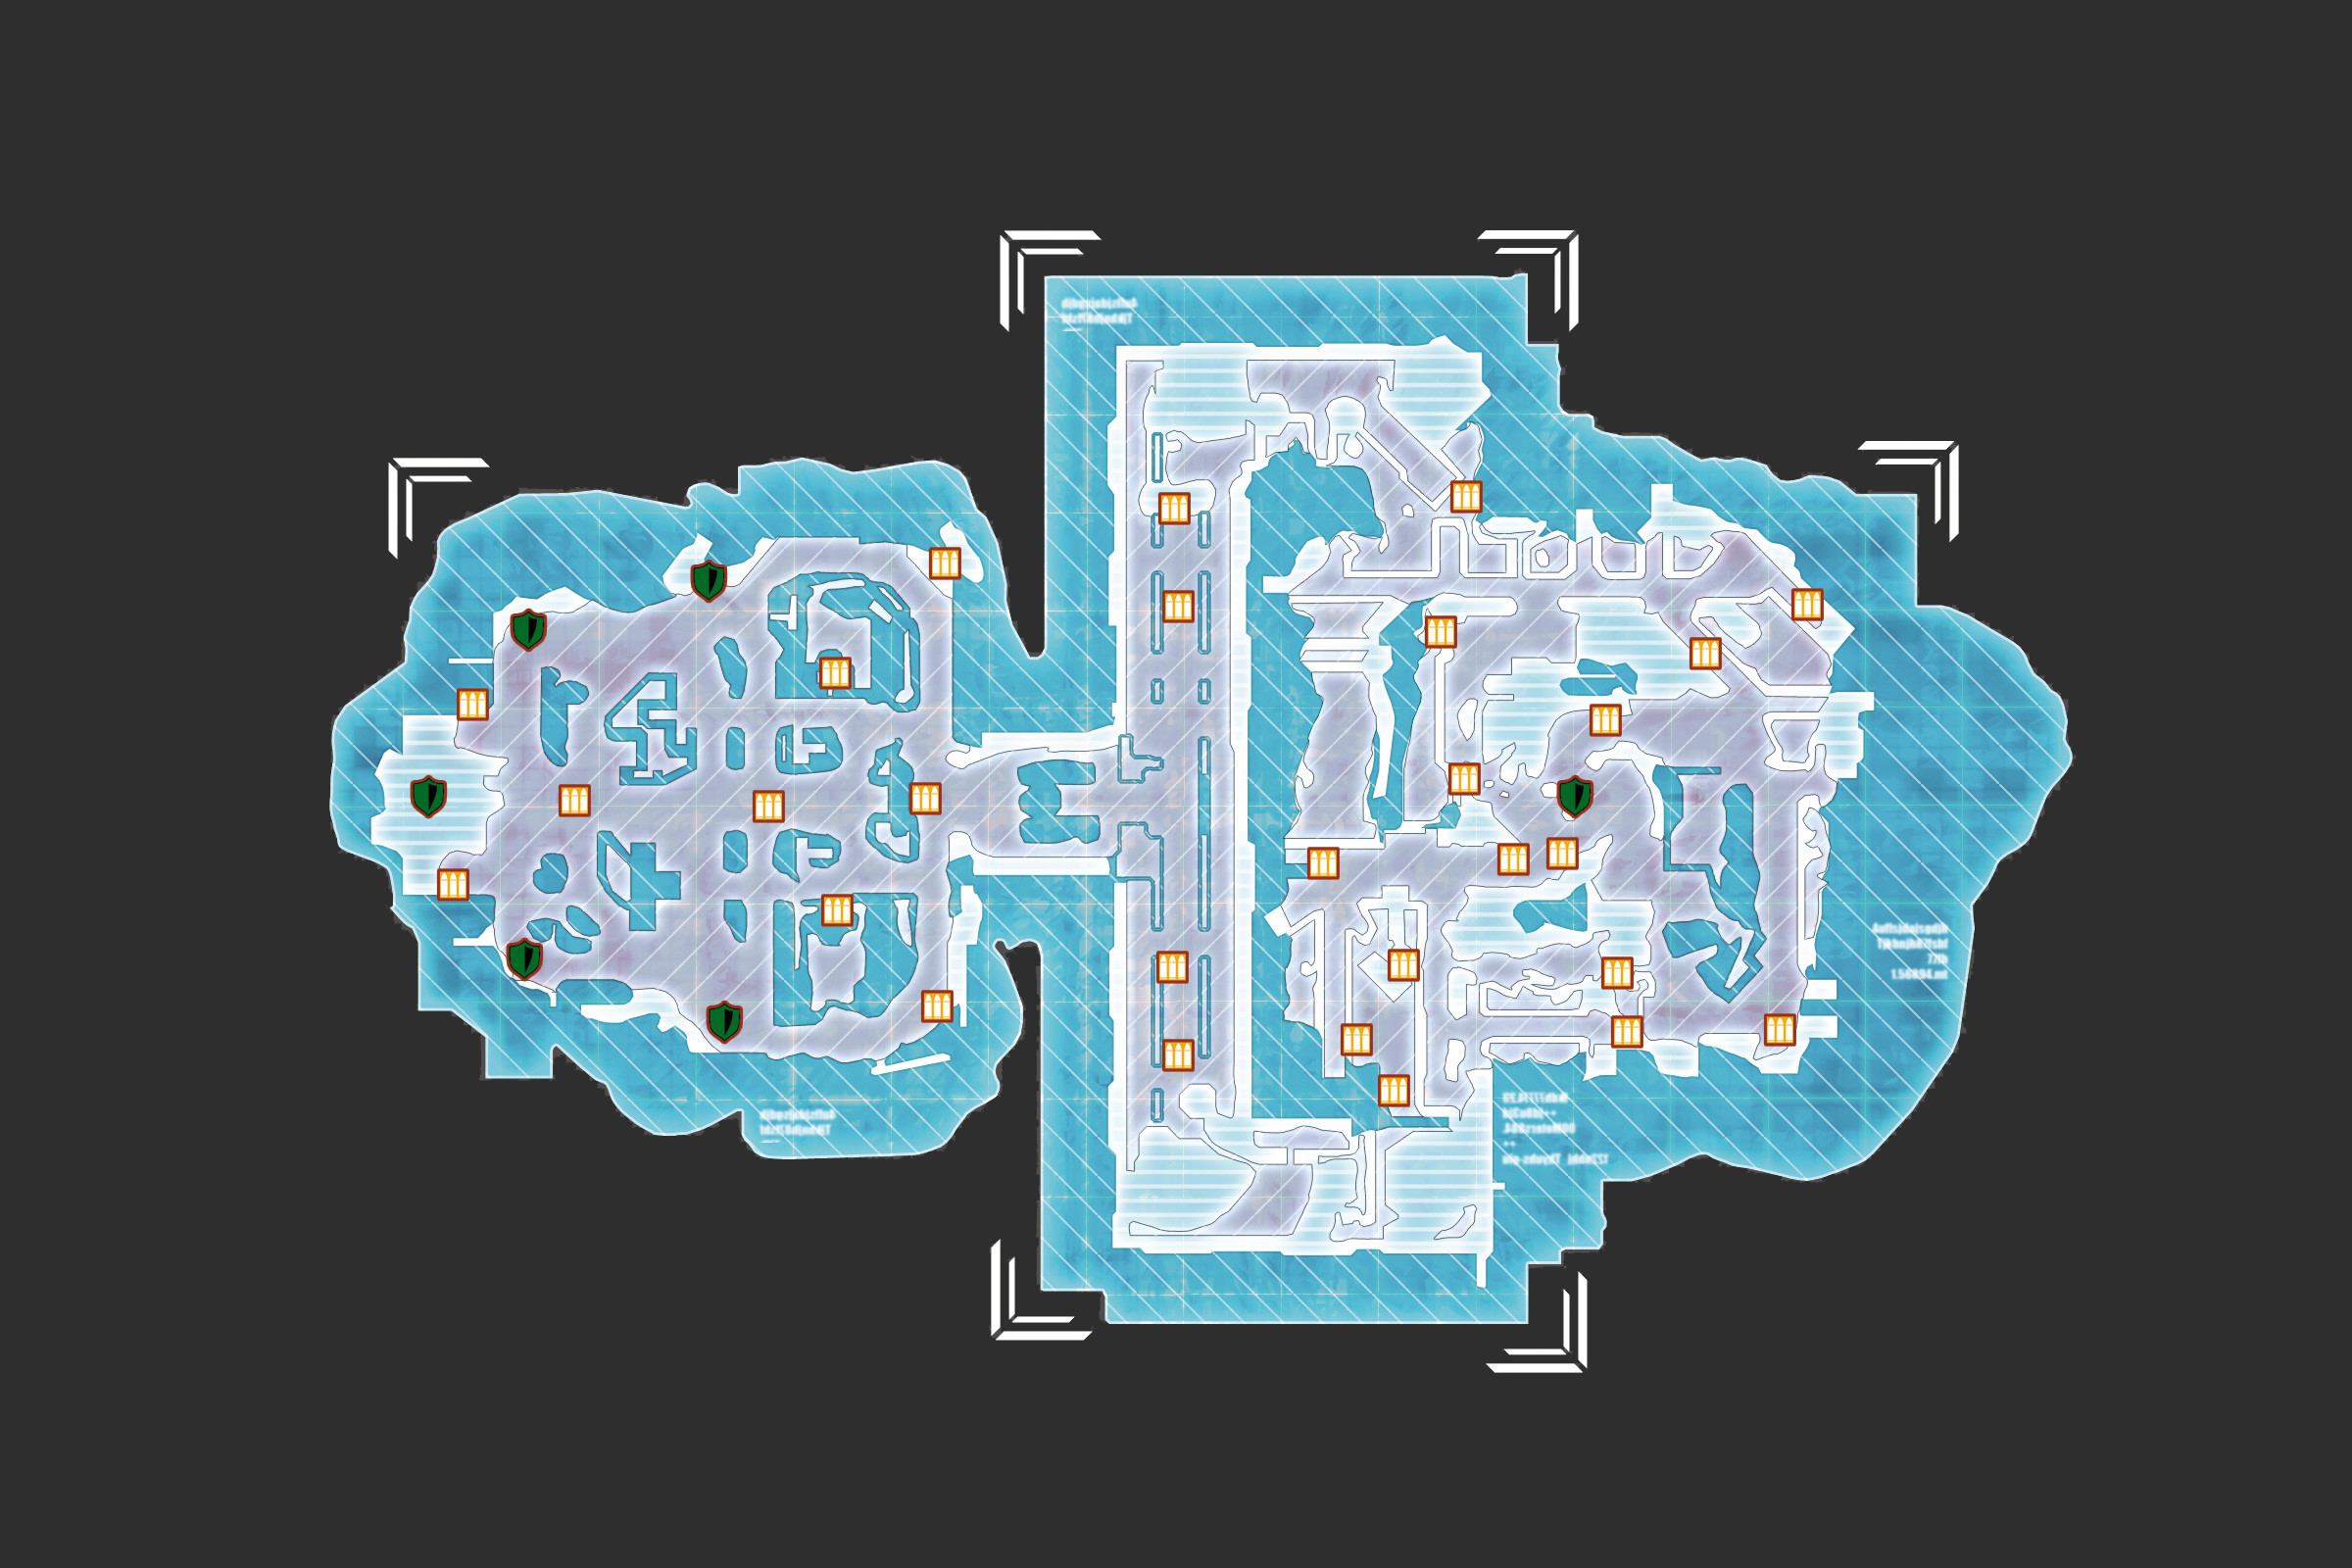
In this mission, you must defend a variety of structures in the abandoned surface town of Dust. You only need to defend one structure per wave, however. The structures vary wildly in size. The larger structures can take a bit more damage than the smaller ones. Instead of gauging durability based on the size of each building, pay close attention to the damage inflicted. Although large structures can usually withstand heavy damage, if critical supports and the load-bearing outer walls are destroyed, the whole building can come crashing down. Conduct constant patrols around the perimeter of each building, regardless of size, and keep firing repair grenades to restore the damaged sections.
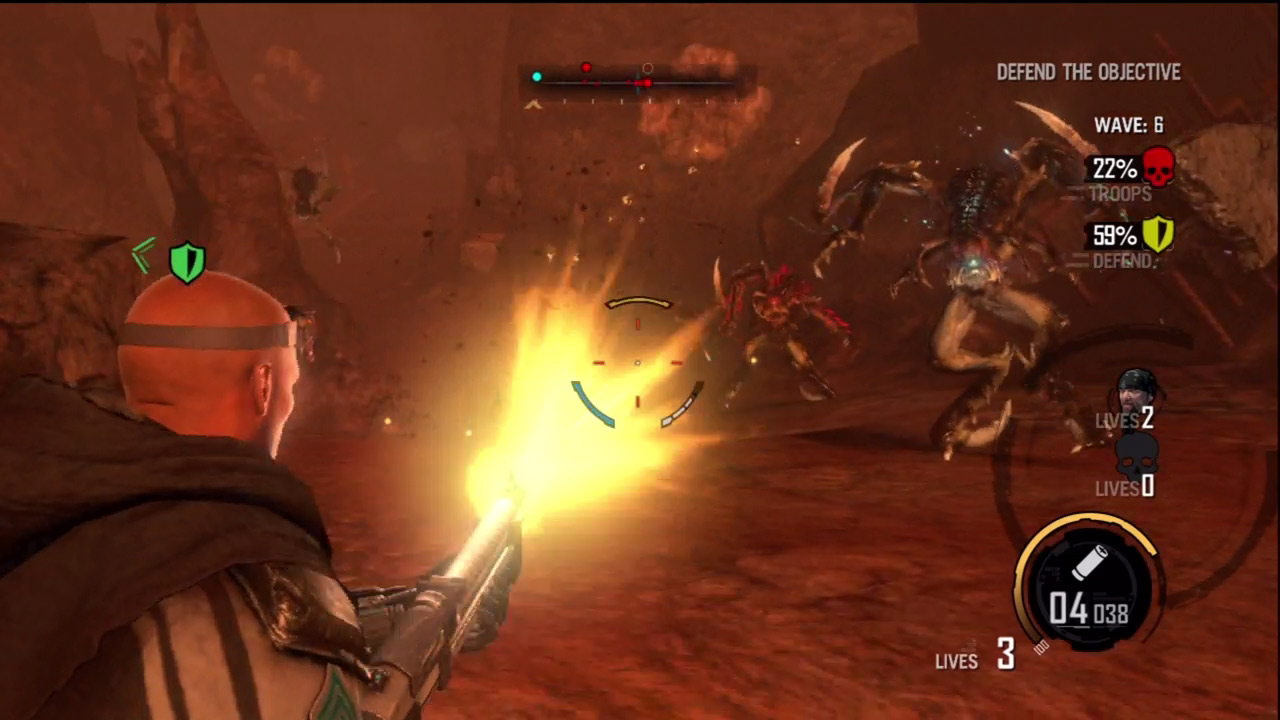
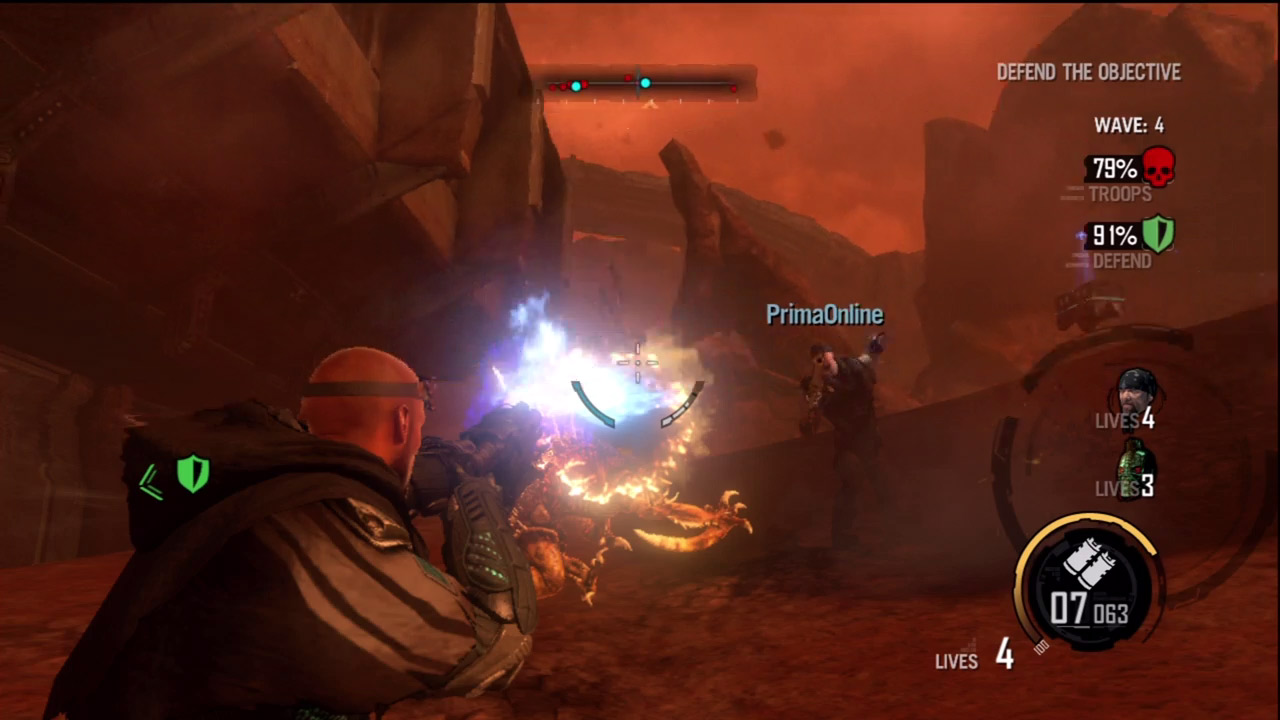
In most waves the bugs attack at close range. Creepers crawl around your ankles while ravagers cling to the nearby rock walls and bombard the structure. The Shotgun is perfect for taking out these enemies, particularly in the early waves. For best results, blast the bugs at close range to take them out with a single Shotgun blast. But the Shotgun is only effective at close range, so once the Assault Rifle and Nano Rifle are available, use them to quickly pick off more distant threats. Some ravagers prefer to bombard the structures from long range. Hunt down these hostiles and eliminate them before they can inflict any more damage. Still, stay focused on the objective and don't let the bugs draw you too far away.
Harvest
Corvallis leads the team to a Marauder monastery overrun by the alien menace. The team has to bring the generators in the monastery online and hold them while a group of Marauder troops gets the force fields in the area working.
Mission Type:
Defend
Mission Briefing:
The Marauders have asked for our help in taking back one of their power plants. You'll need to storm the plant and get the generators running once again. Good luck!
Mission Details:
Protect the crystal harvest generators at the abandoned Marauder monastery
Aliens have taken over the area and are trying to destroy generators that are harvesting electricity from crystals
Destroy the aliens, defend the harvest, and give humanity a fighting chance
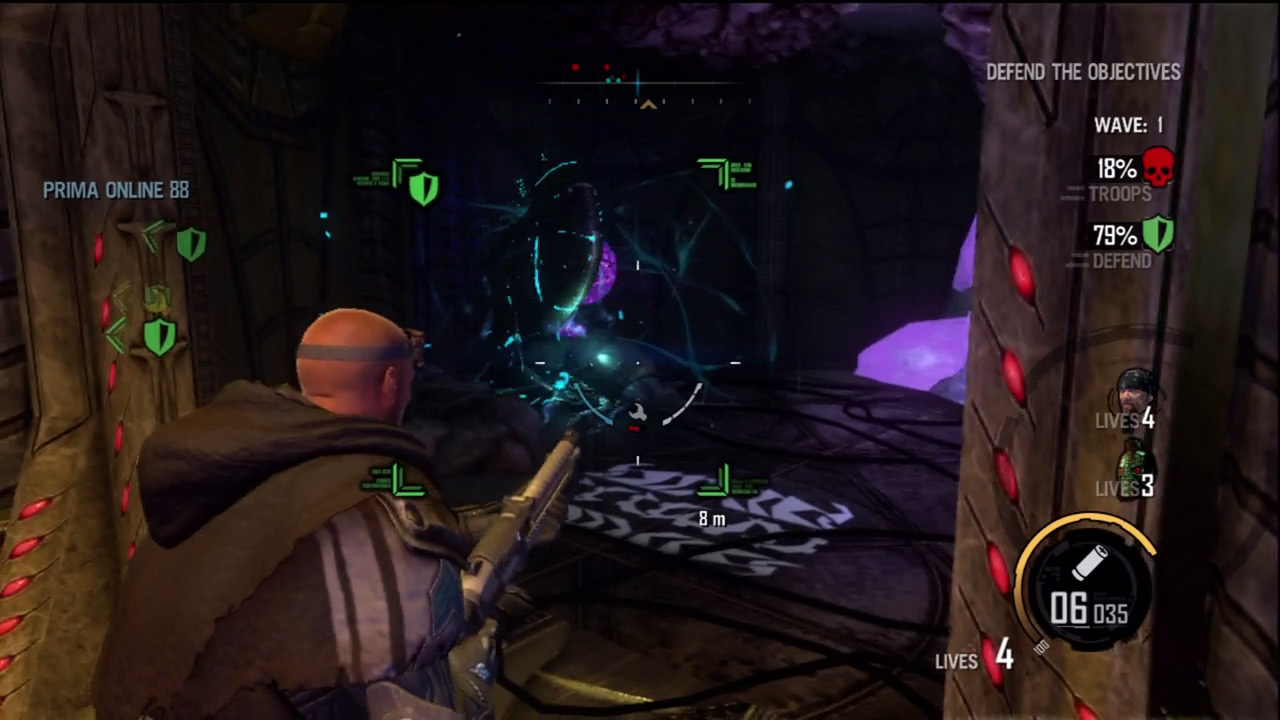
The first set of crystal harvest generators are located on the monastery's ground floor. There are a total of five generators here you must defend against the alien attack. Each generator is tucked away into its own alcove on the perimeter of the floor. These alcoves help protect the generators from attack, but they also make it difficult to repair them, requiring you to enter the alcove and accurately fire a repair grenade where they once stood—use the yellow repair brackets on the HUD to pinpoint these locations. The generators are extremely fragile, exploding after a single hit from hostile fire. Stay on the move and repair the generators as they're destroyed. Also, repair the surrounding walls to afford them a bit more protection. If you have the manpower, task one teammate to simply race around and repair these generators while the rest of the team focuses on killing bugs—keeping these generators running is a full-time job.
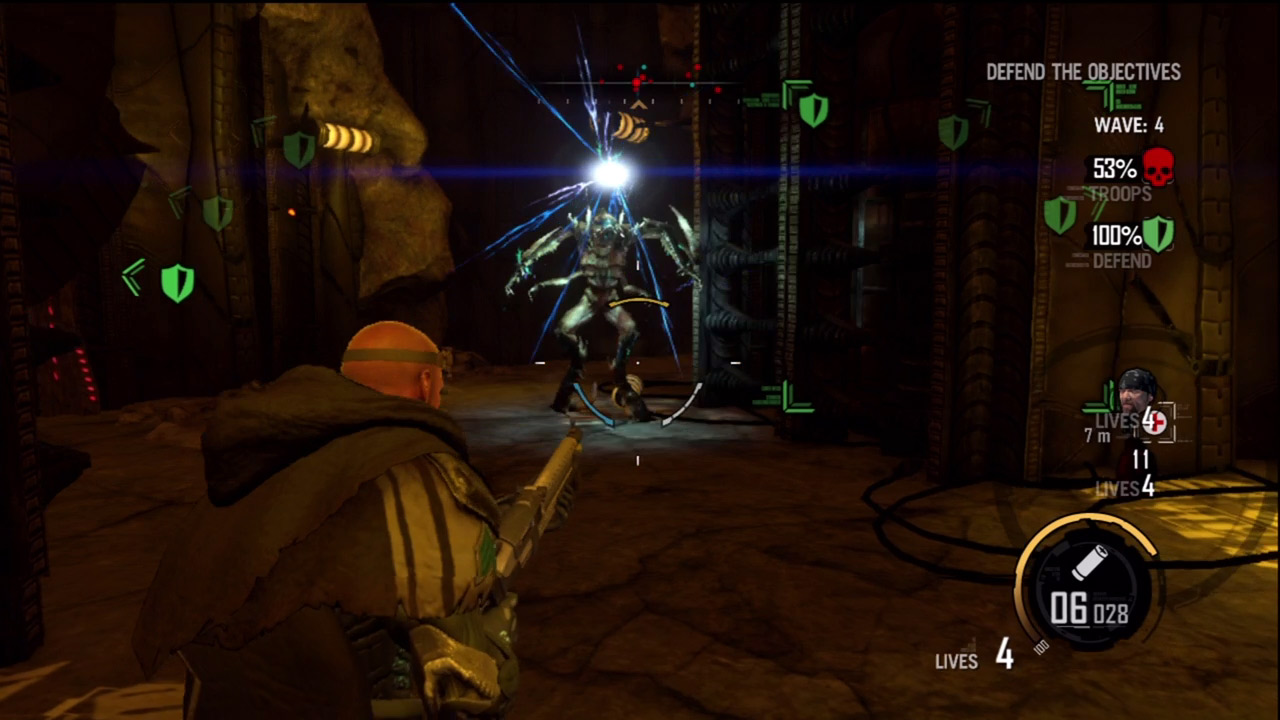
In alternate waves you must defend six generators located in three separate hallways within a tower-like structure. Unfortunately, each hallway is on a different floor of the tower requiring careful coordination and division of labor. Instead of racing from one set of generators to the next, post a teammate on each floor of the tower. A fourth teammate can serve as a rover, rushing between the three floors to offer assistance or revive fallen teammates. The distant locations of the generators spreads out the enemy, making it relatively easy for one teammate to guard each floor—the Shotgun and Impact work well. However, as you progress through the waves you may want to consider consolidating your team on two or even one floor. To outlast the wave, only one generator needs to be functioning at any given time. By guarding only one floor, you can increase the chances of keeping two generators active. But as you consolidate on one floor, so does the enemy, especially if the generators on the other floors have been destroyed.