
Red Faction: Armageddon Guide Walkthrough Campaign
We're Not Alone
| Icon | Name | Description | Gamerscore | Trophy |
|---|---|---|---|---|

|
We’re Not Alone | Make it back to civilization. | 10 | Bronze |
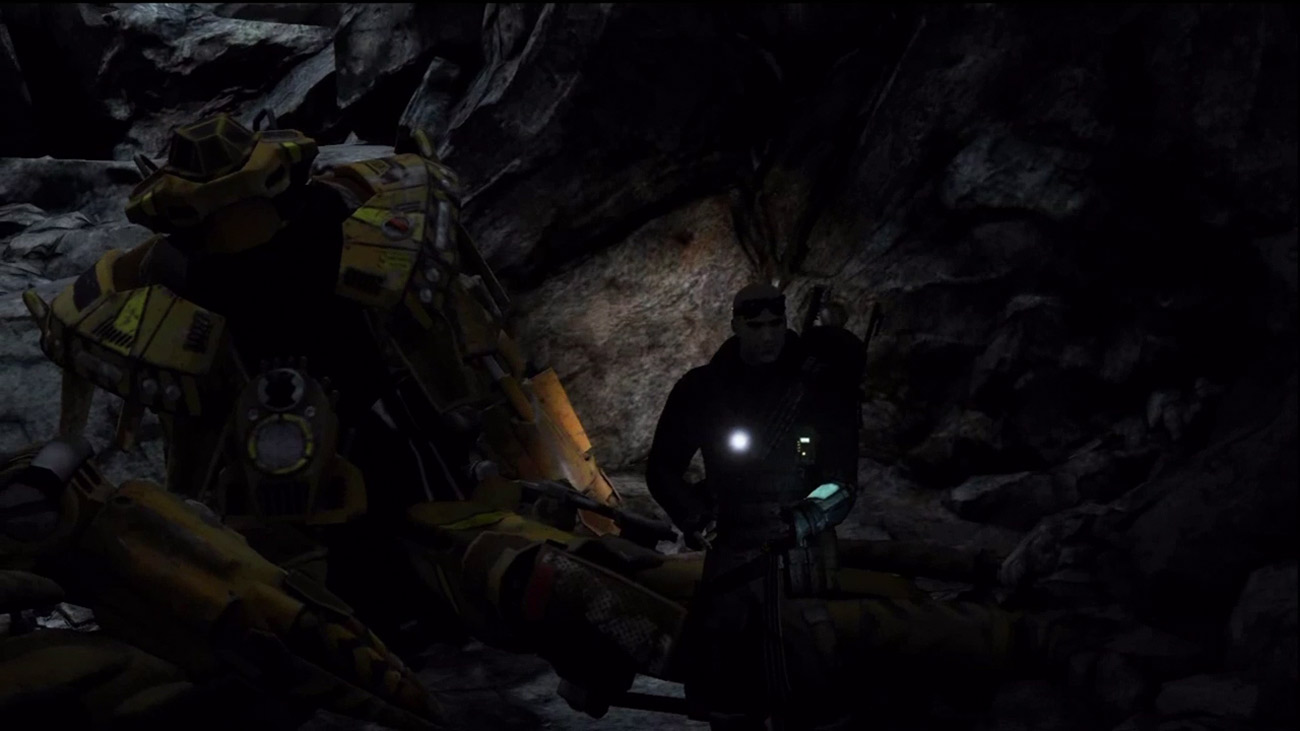
Darius regains consciousness and slowly crawls out of his now-wrecked Exo suit—at least it protected him from the fall. S.A.M. eventually reboots and reports that data recording was knocked offline following the fall. However, the last entry occurred 75 hours ago. In other words, Darius was out cold for three whole days!
New Objective:
Get Back to Bastion
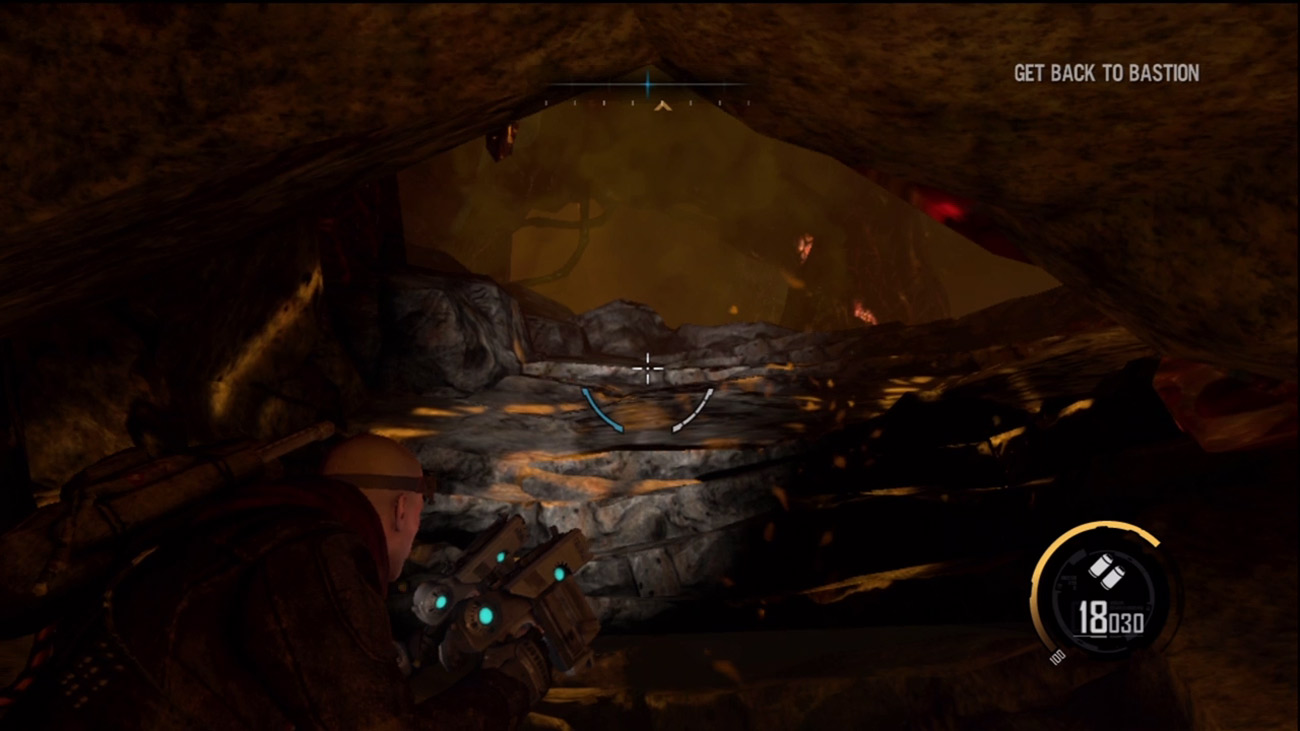
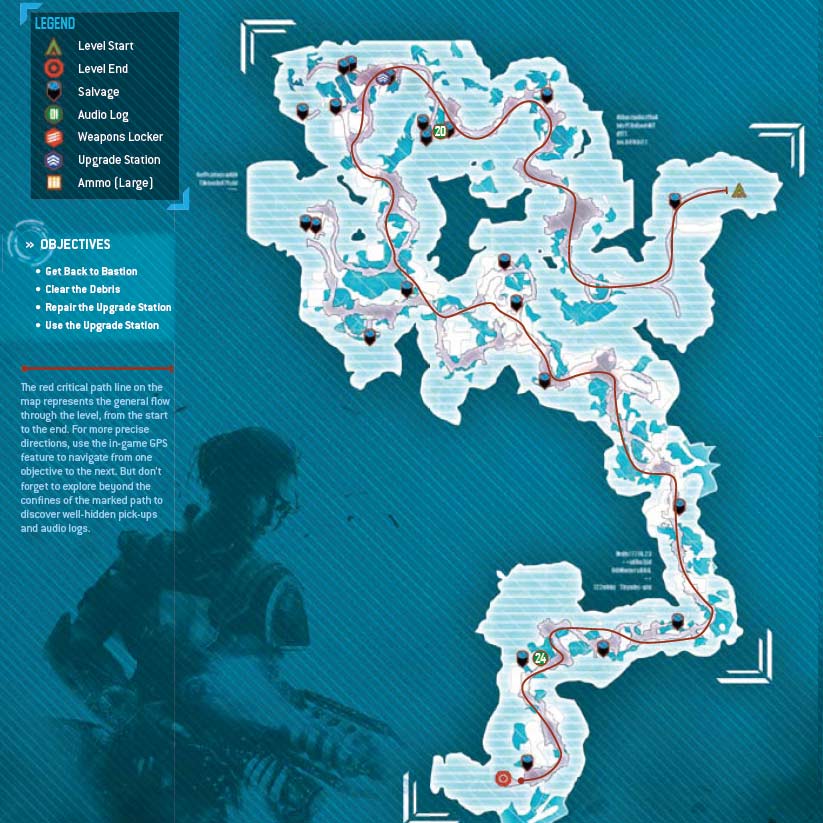
As you gain control of Darius, take quick inventory of your weapons. The Magnet Gun has been added to your arsenal as well as the Pistols and the Maul. For now, keep the Pistols equipped. The cave is very dark, so activate your GPS to highlight an escape route. While following the GPS markers, grab a couple of salvage containers on the right side of the cave. A light can be seen shining through a low opening ahead. As you approach this spot, press the button shown on screen to crouch. While crouched you can still move, allowing you to pass under the low ceiling and enter a brighter chamber of the cave. Press the crouch button again to stand up and take in the surroundings.
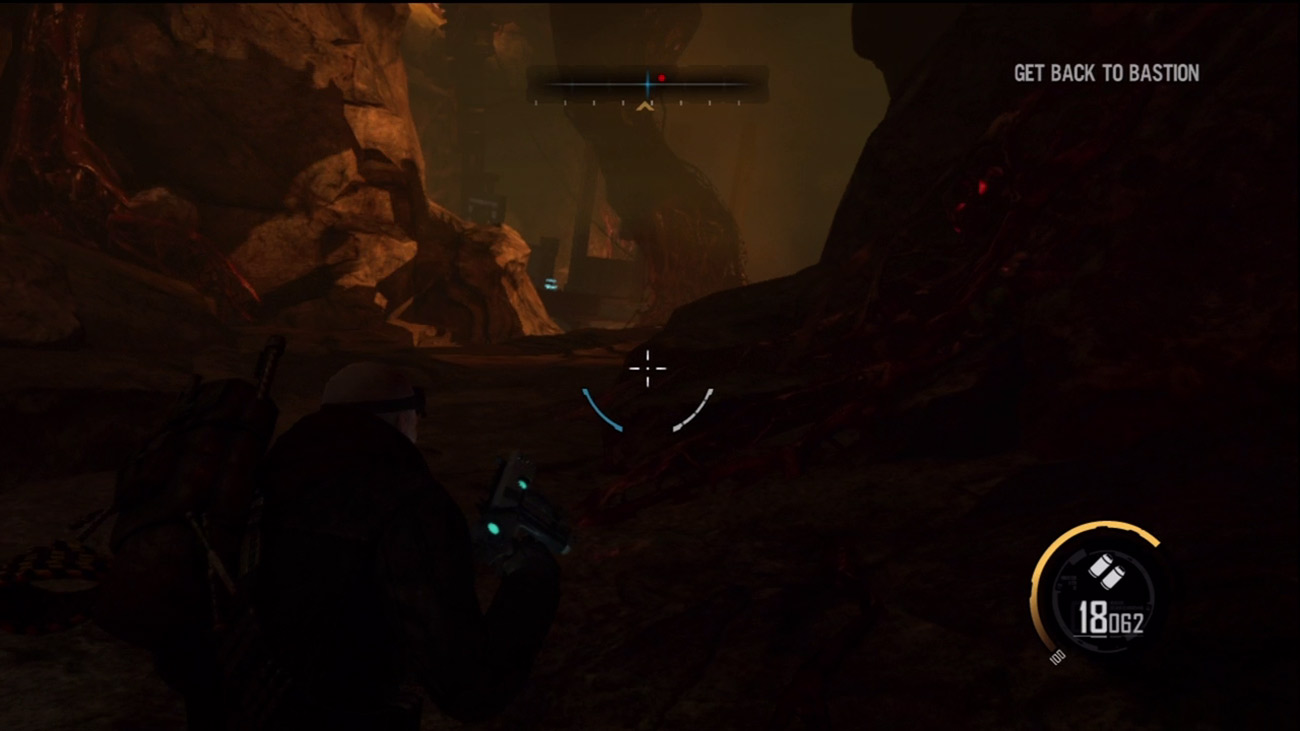
S.A.M. reports movement within the cave system, but so far nothing is showing up on your compass. Press ahead, following the GPS markers. Darius wants to warn Bastion about Adam Hale, but S.A.M. is unable to make contact. When S.A.M. detects a faint sign of life ahead, notice the red dot on the compass. Move in this direction until you spot an ominous shadow on the wall ahead. As you draw closer, whatever was casting the shadow scurries away, along with the red dot on your compass. Something appears to be stalking you.
New Objective:
Clear the Debris
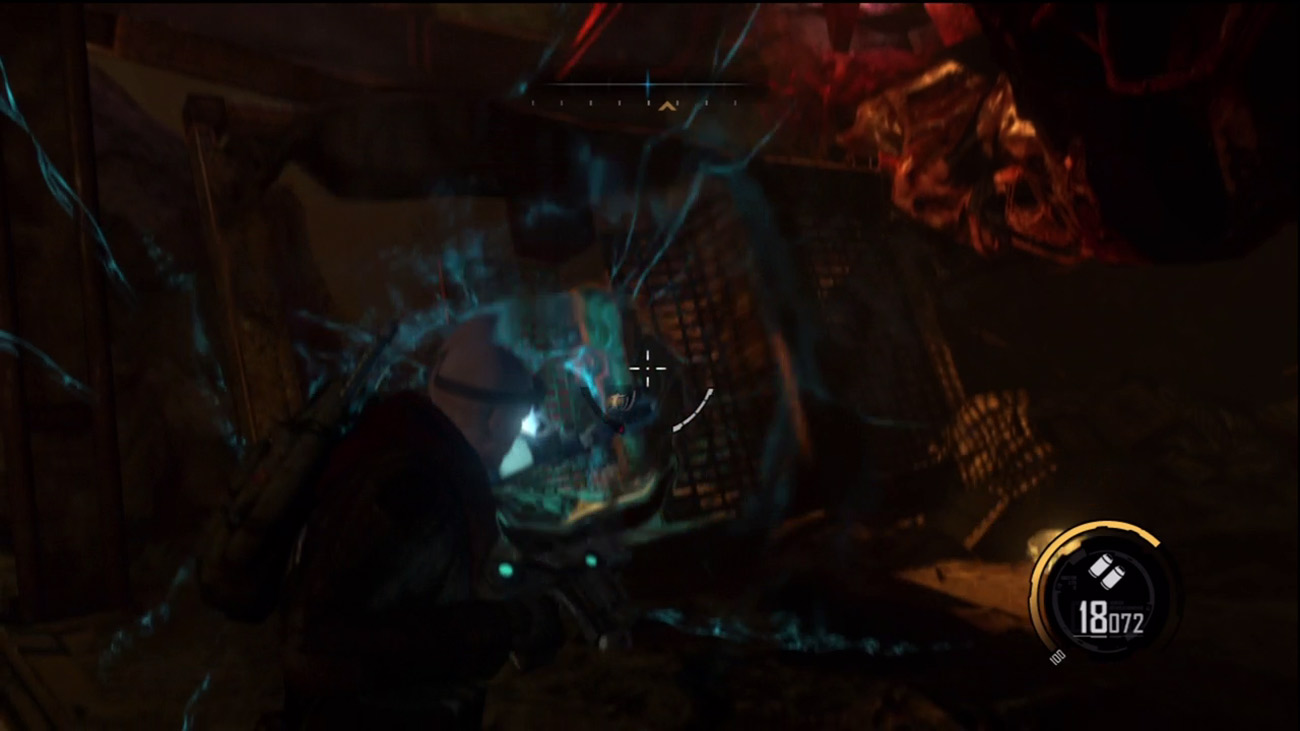
The path ahead is partially blocked by debris. S.A.M. reports that the wreckage matches the same age as the temple above. But there's no telling what happened to the people who built this stuff. Search the damaged structures for ammo and salvage. Next, move to the targeted piece of debris blocking your path. There are several ways to remove this. You can use the Magnet Gun or the Maul, but it's much faster to use the Nano Forge's Impact function to blow a hole through the grate-like obstruction.
New Objective:
Repair the Upgrade Station
Use the Upgrade Station
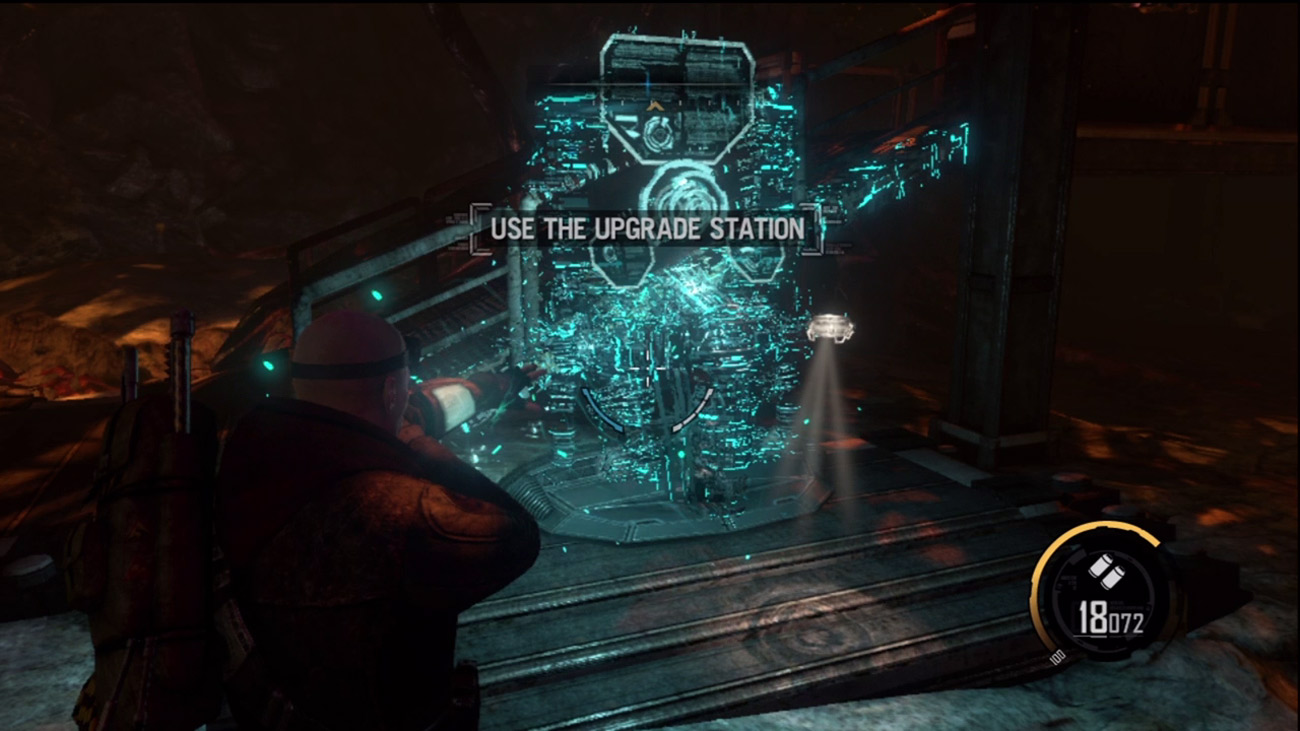
Follow the GPS markers to a nearby structure where you find more salvage and a damaged upgrade station—there's some Pistol ammo within the structure. The upgrade station is marked with a wrench icon on the HUD, indicating that you can repair it. Once the station is fully repaired, interact with it by holding down the button shown on screen.
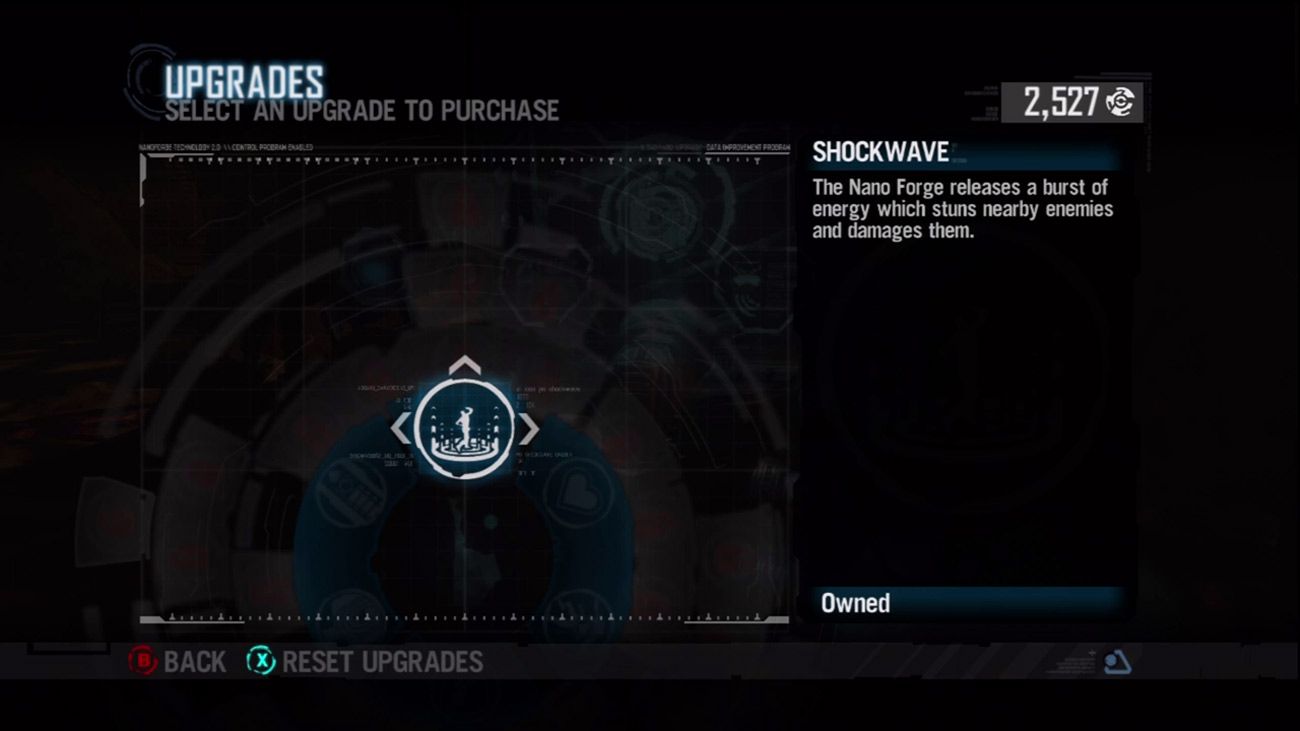
Upgrade stations allow you to purchase new abilities and enhancements using the salvage you've been collecting. There are four levels of upgrades, but for now, focus on the first level upgrades within the center ring of the radial menu. Each of the six entry level upgrades costs 1,000 salvage. Take a moment to review the different options and make your choice wisely. Shockwave is a very worthwhile upgrade, allowing you to stun enemies with the Nano Forge. If you can afford a second upgrade, consider buying Health Increase I or Enemy Health Indicators.
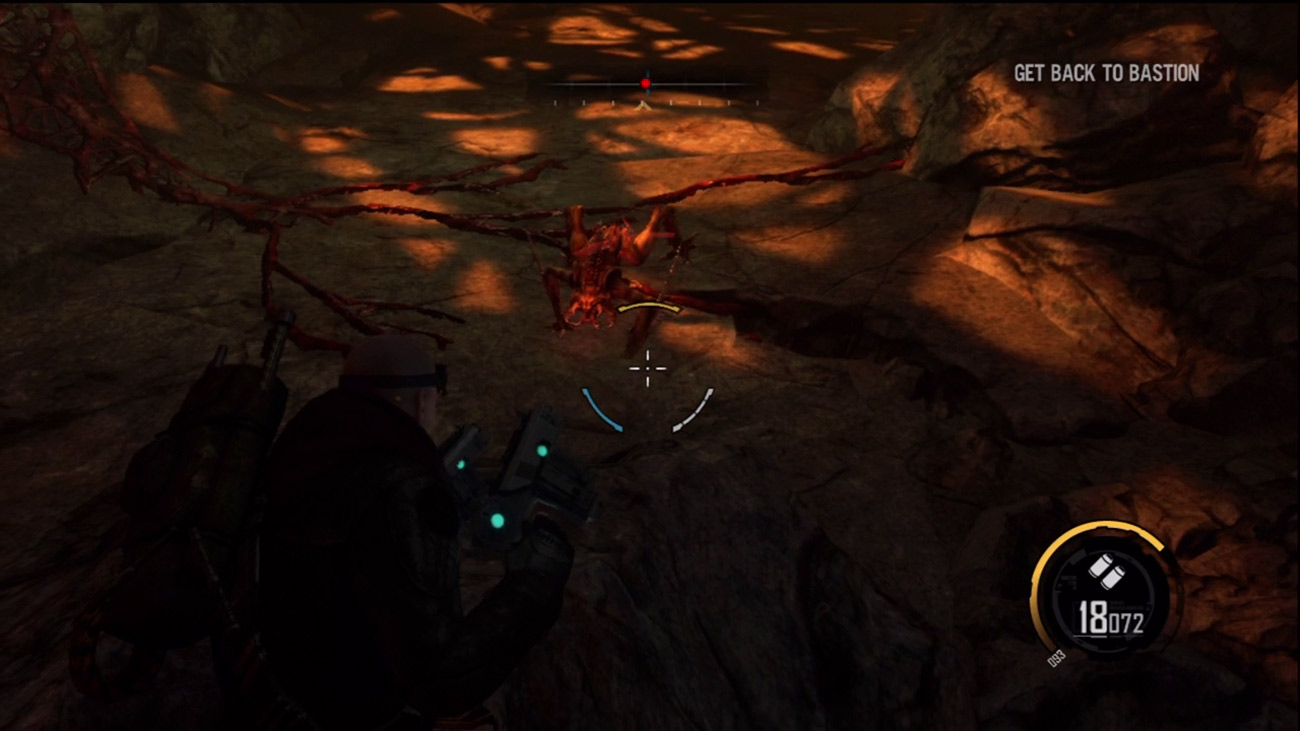
Continue through the cave, following the GPS markers, until a cutscene is triggered showing Darius being approached by several four-legged creatures. These are creepers. As soon as you regain control of Darius, attack the creeper in front of you, firing at it with your Pistols. The creeper relies primarily on melee attacks, so keep your distance. If necessary, backpedal while firing to avoid contact with this vicious entity. If it gets too close, a creeper can be smashed with melee strikes.
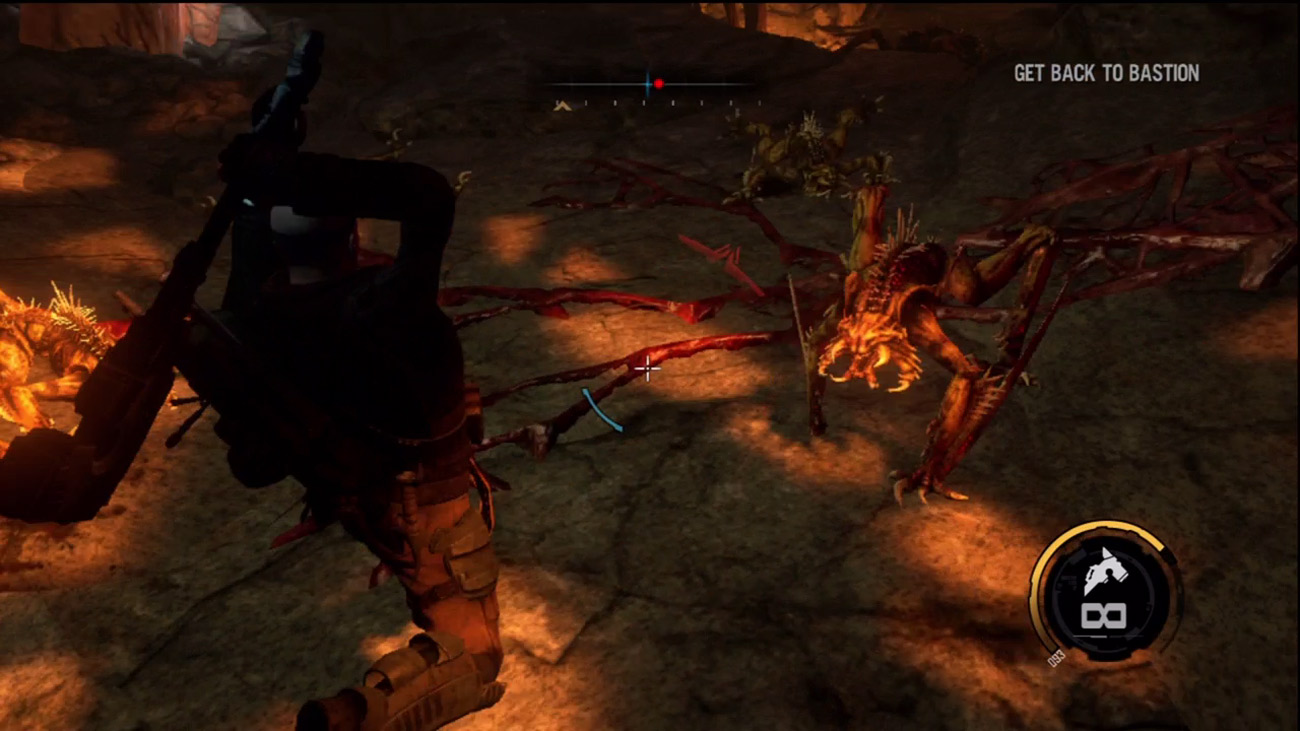
After defeating the first creeper, more appear in the cavern ahead. Reload your Pistols and open fire before they get too close for comfort. At range creepers spit a toxic acid capable of inflicting moderate damage. To avoid getting hit, side-step left or right. You can also perform a dodge by pressing the button shown on screen. This causes Darius to perform an evasive dive roll. Despite your best marksmanship, it's not long before these creatures surround you. At this point, equip your Maul and start swinging. As creepers are low to the ground, the overhead swing is the most effective. The Maul also allows you to conserve your ammo.
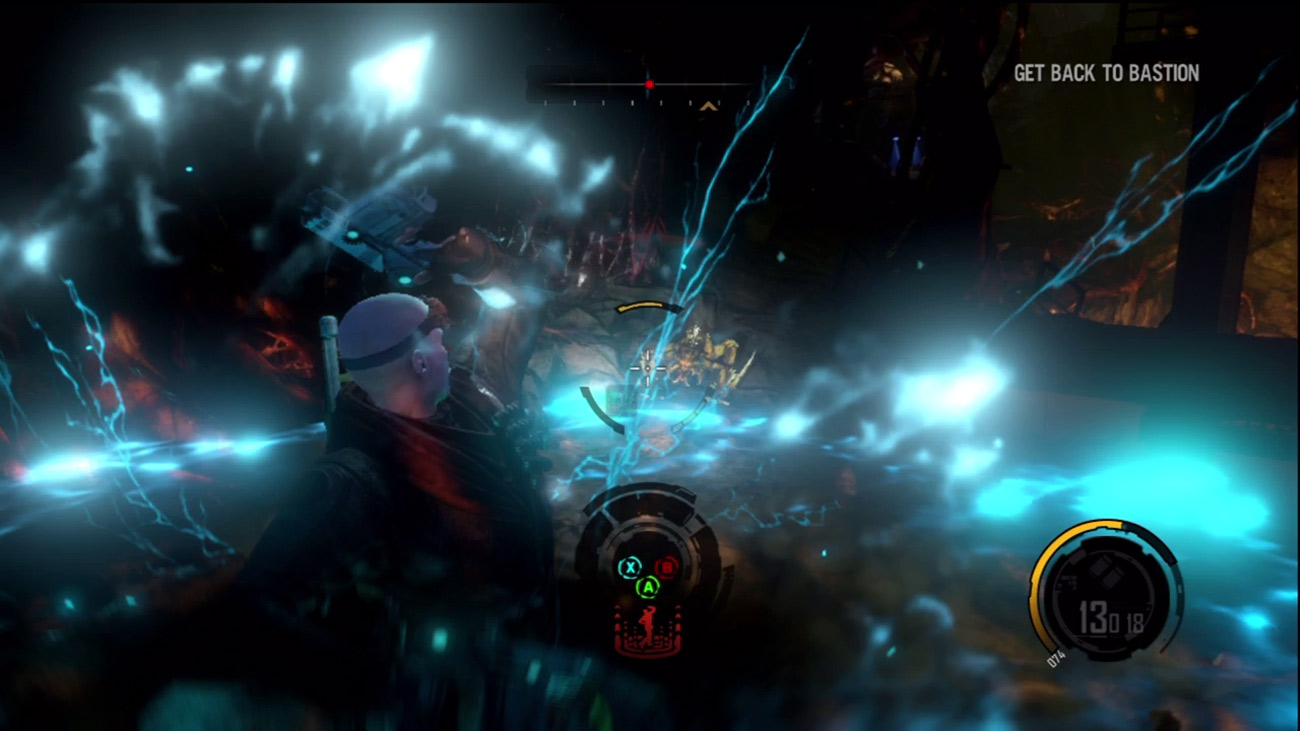
Following your first major encounter with the creepers, continue moving through the cave. As you near another damaged structure, you're confronted by even more creepers. Use your compass to locate the creatures and kill as many as you can at long range (using your Pistols) before they swarm around you. But it's impossible to avoid close-quarter fighting entirely. As the creepers close around you, equip your Maul and smash the vile creatures. The Nano Forge's Impact is also a great way to knock creepers back, allowing you to engage them with your Pistols. If you purchased the Shockwave upgrade, this is a good time to test it out. Shockwave temporarily stuns all enemies in a small radius, causing them to move in slow motion. This gives you just enough time to clear out the creepers in your immediate vicinity. But after each use, the Nano Forge must recharge before you can use Shockwave again. When you've eliminated all the creepers (check your compass to be sure), search the nearby debris for ammo and salvage.
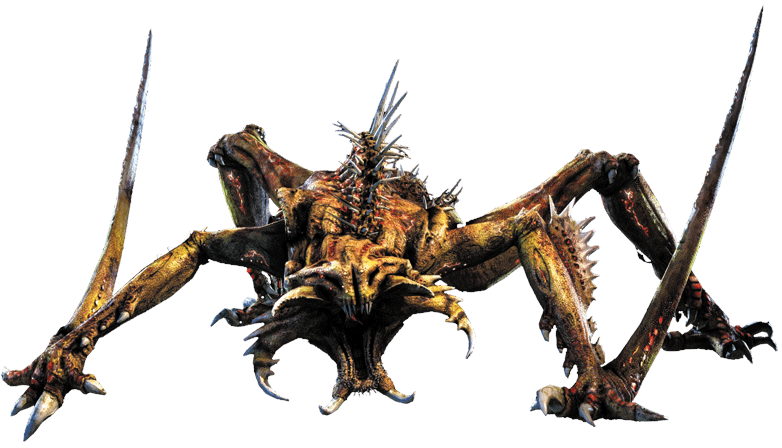
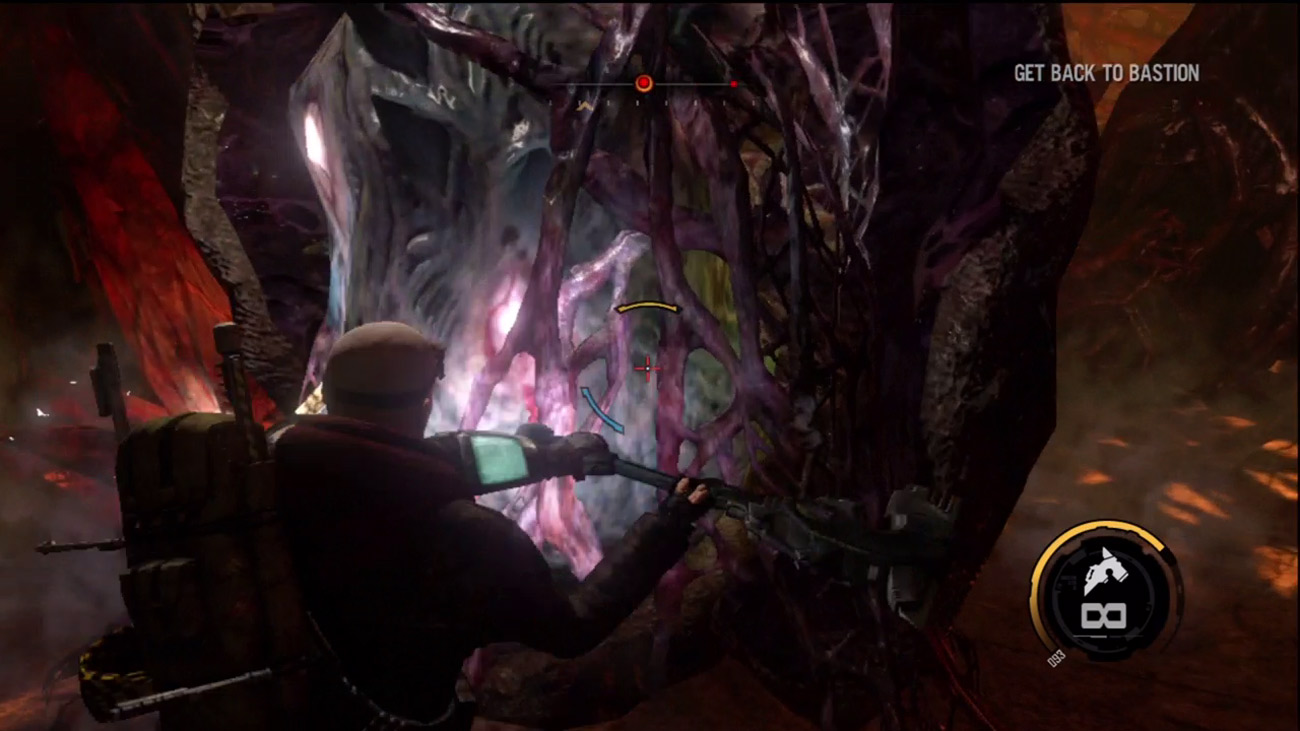
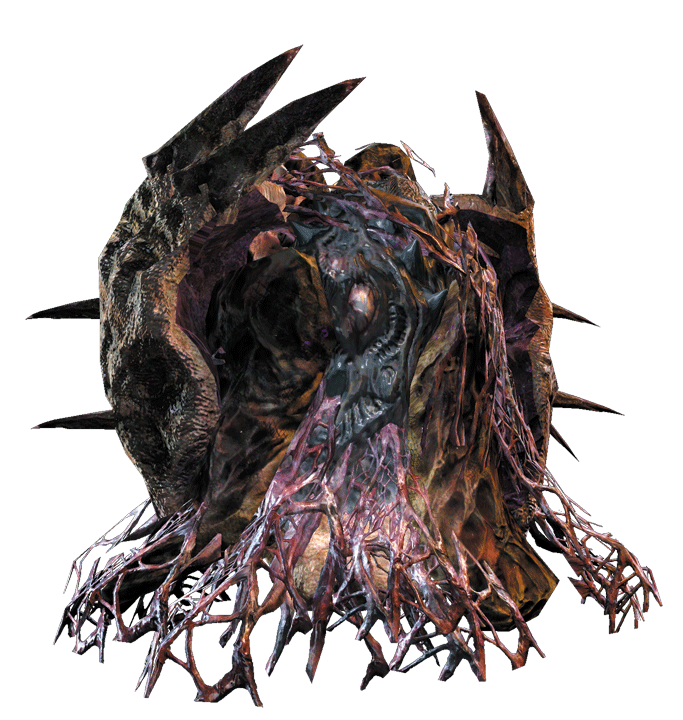
Press ahead through the cavern until another cutscene is triggered, showing multiple creepers emerging from a cocoon-like pod. S.A.M. reports that the pod is gestating the creatures. Fight your way past the first wave of creepers and make a beeline for the pod—if you don't take out the pod quickly, you'll face a never-ending wave of creepers. Rush to the pod and smash it with your Maul. Once the pod explodes into a gooey pulp, turn toward the remaining creepers and finish them off. There are ammo and salvage pick-ups nearby, so be sure to grab them before moving on. Further down the cave you can add a Shotgun to your arsenal.
|
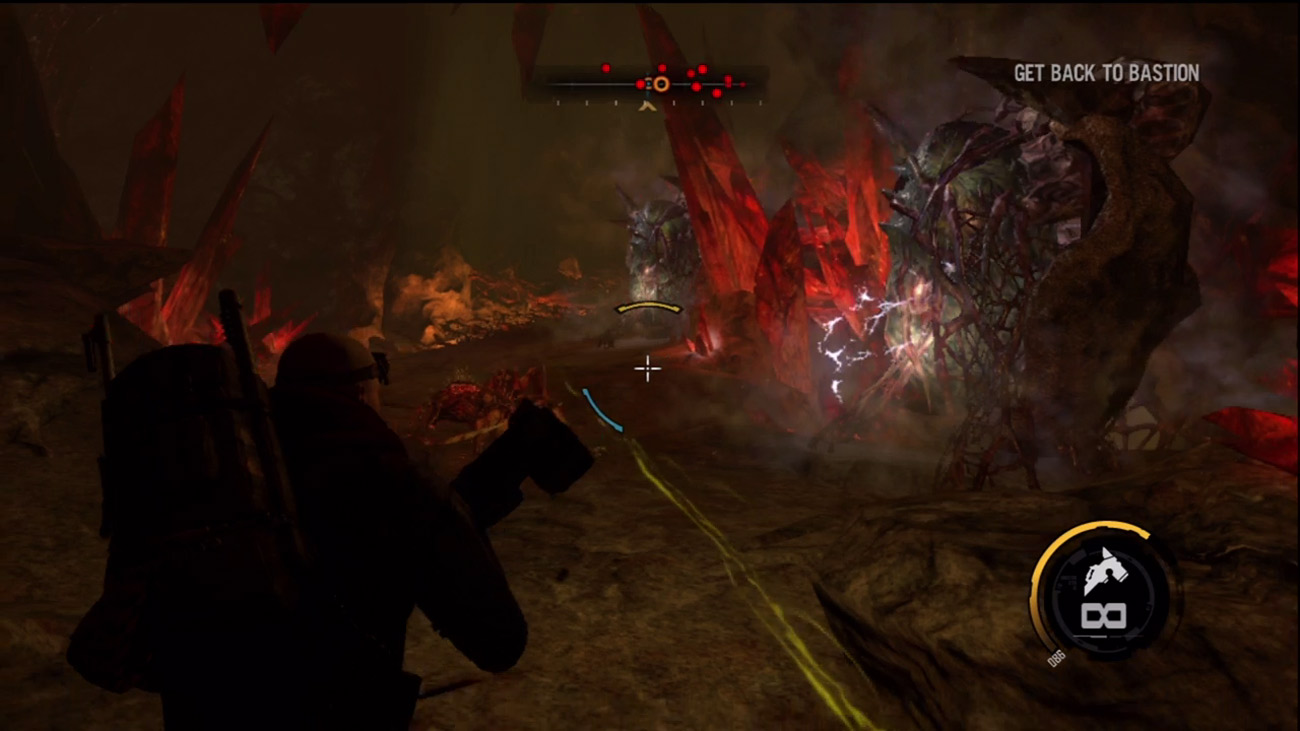
Soon after grabbing the Shotgun, S.A.M. reports that multiple alien pods have been detected. Instead of fighting the creepers scurrying toward your location, rush forward until you spot the first pod. The first two pods are on the right side of the passage. Ignore the creepers and burst both pods using the Maul. Once the two pods are destroyed, go to work on the creepers. The Shotgun works well against these creatures at close range, capable of killing them with one well-placed shot.
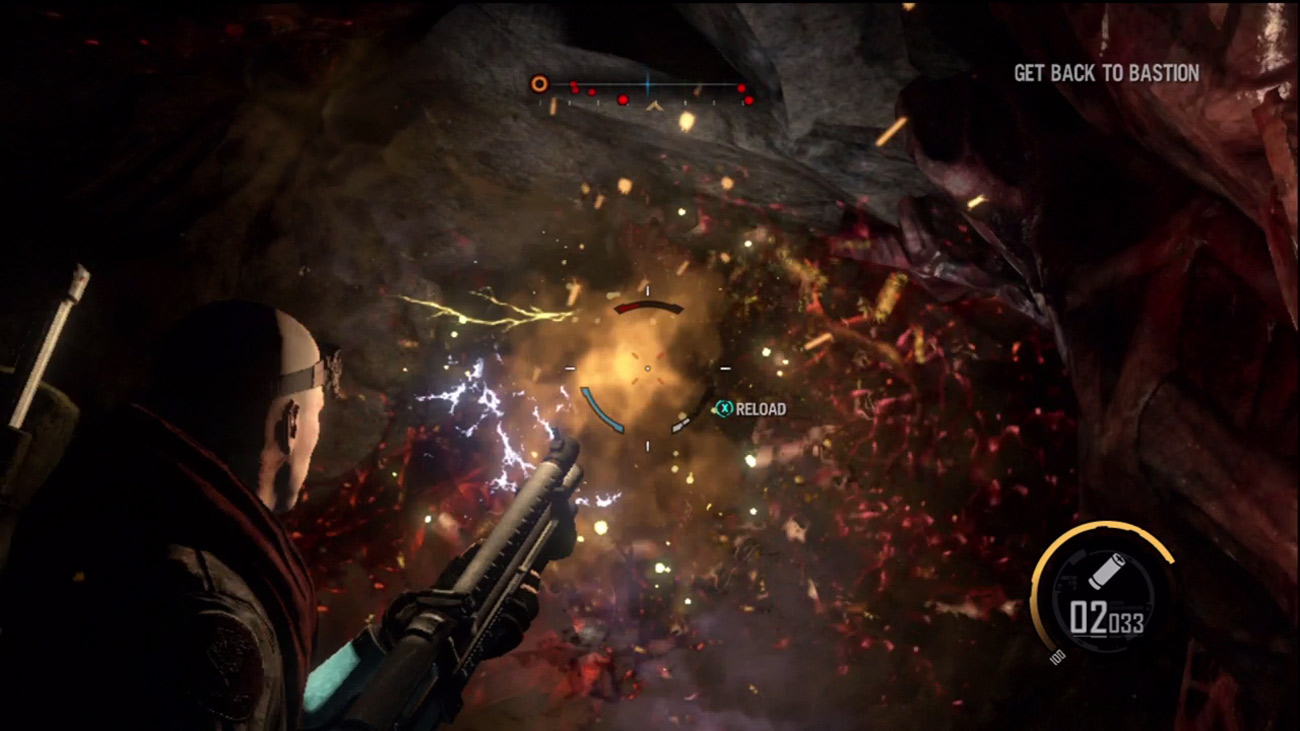
As you near another structure in the cave, the floor beneath you gives way, causing you to fall into a dark cavern swarming with creepers. These creepers are spawned by the two pods high on the ceiling. Using the Maul, smash your way past the first wave of creepers while advancing toward the first pod. These pods are too high to hit with your Maul, so take aim with the Shotgun, and blast each pod until it bursts. Once the pods are eliminated, finish off the remaining creepers. If necessary, use Shockwave to slow them down and then pick them off one by one.
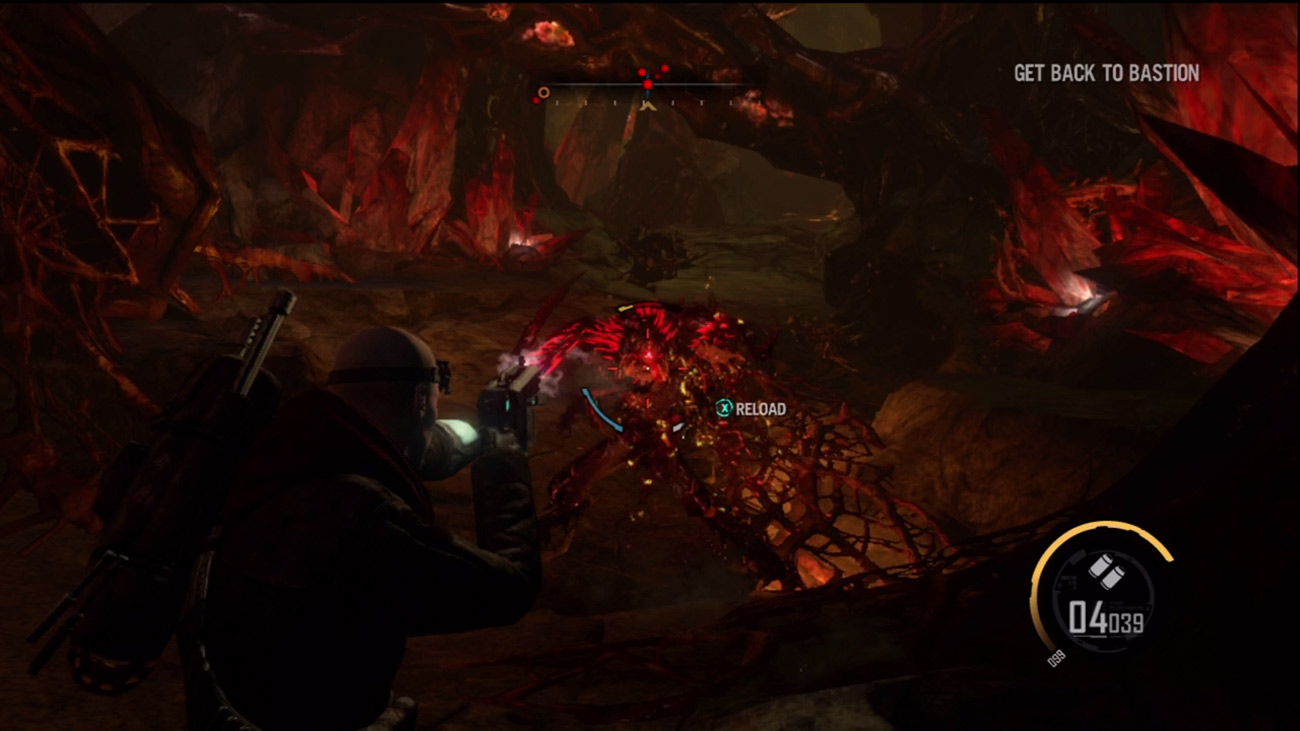
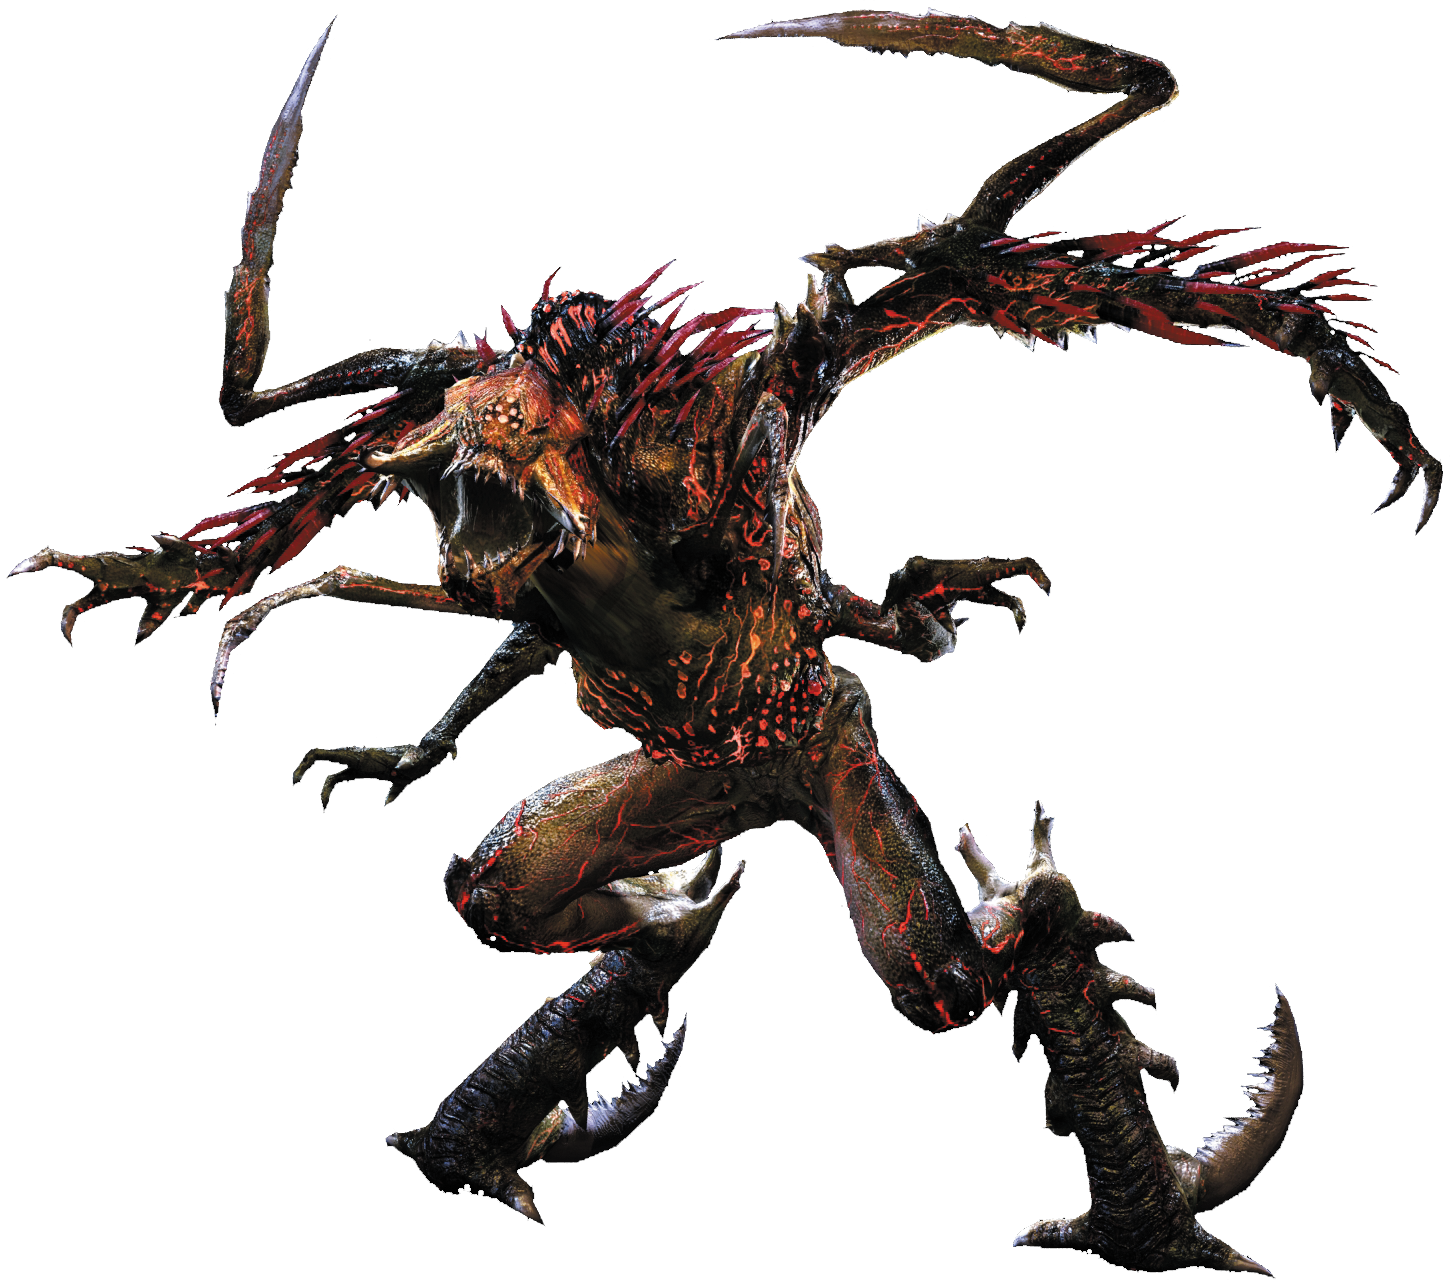
Continue your advance through the cave until another cutscene shows new alien lifeforms hanging from the ceiling. These humanoid creatures are called ravagers. Ravagers are fast and capable of firing energy-based projectiles. The ravagers are joined by a few creepers, making this an intense fight. Target the ravagers with your Pistols or Shotgun and keep moving to avoid presenting them an easy target. But if you find yourself surrounded by creepers, switch to your Maul and start swinging. During the fight keep an eye on the compass to locate more enemies and don't forget to look up. Ravagers tend to cling to the walls and ceiling while firing down at you.
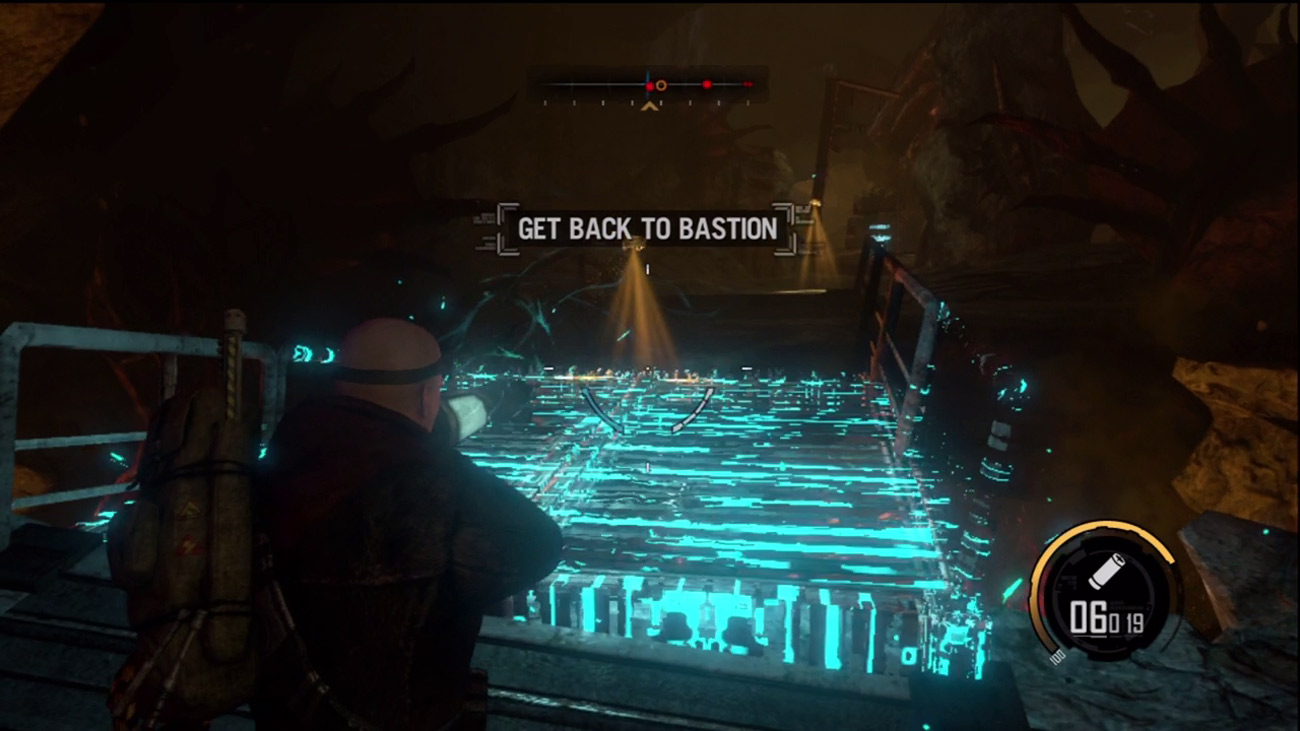
Once the ravager and creeper situation is manageable, press forward. The bridge ahead is damaged, so repair it before attempting to cross. Just beyond the bridge are the ruins of an old structure. Eliminate any creepers and ravagers in the area, then drop down onto the trail below, as indicated by the GPS markers. During the drop you may take some fall damage, so make sure you're at full health before dropping off the side. Once you hit the ground, scan your surroundings and eliminate all enemies that attempt to pursue you.
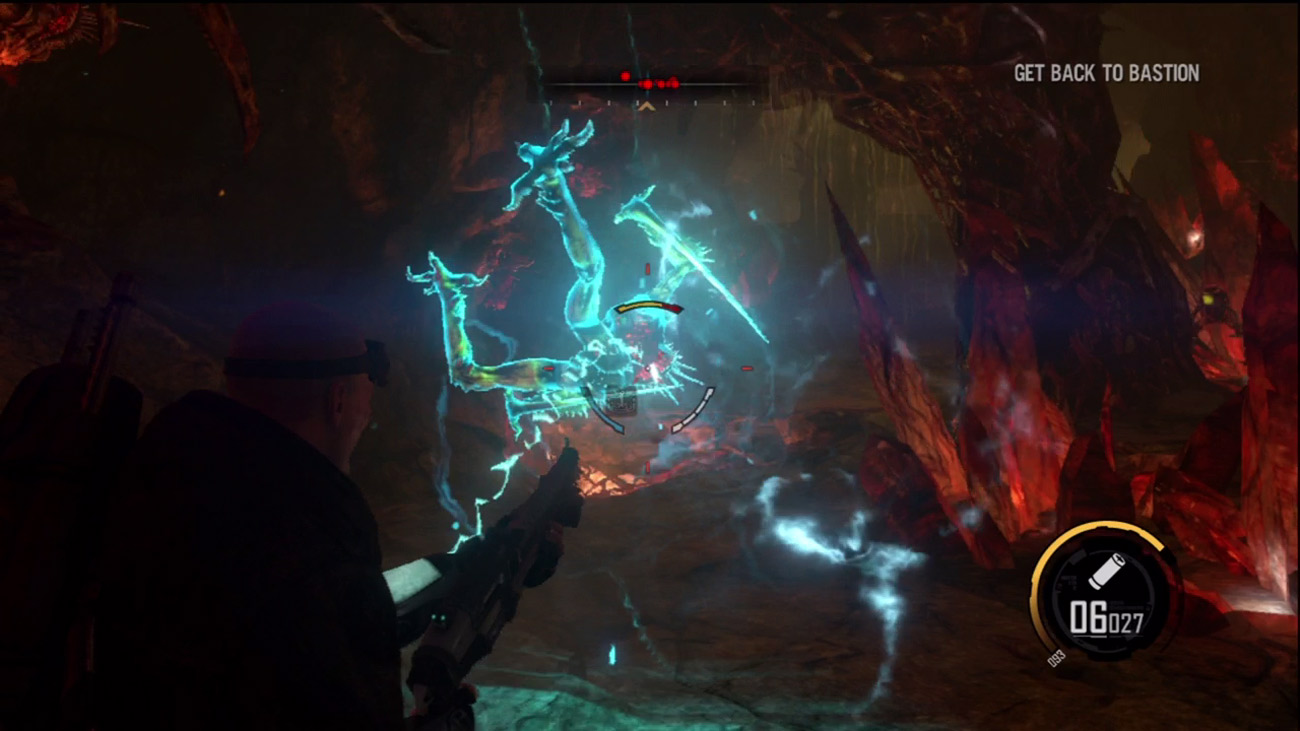
More creepers and ravagers attack in the next passage. Fight the instinct to run. Instead, hold your ground and target one enemy at a time. As creepers surround you, use Shockwave to temporarily stun them, then quickly eliminate them before they recover. But don't ignore the ravagers dangling from the ceiling. If you don't take them out quickly they'll continually shoot you as you battle the creepers. When you're not blasting and smashing creepers, target the ravagers, preferably with your Pistols. You can also hit them with the Magnet Gun. Attach a magnet to a ravager, then attach an anchor to a distant wall to send the enemy flying through the air. However, given the chaotic situation, the Pistols and Shotgun are the quickest way to dispatch these creepy foes. As usual, keep an eye on the compass in a effort to keep your enemies in front of you. Continue shooting and smashing these creatures until there are no more red dots on the compass. You can find more Pistol and Shotgun ammo ahead if you're running low.
S.A.M. is still unable to contact Bastion on the radio. As you continue through the tunnel, grab more ammo and salvage along the way. As you near a structure ahead, the ground gives way beneath your feet, causing you to fall deeper into the cave.