
Red Faction: Armageddon Guide Walkthrough Infestation
Getting Started
Getting Started
| Icon | Name | Description | Gamerscore | Trophy |
|---|---|---|---|---|

|
Field Surgeon | Perform Revival 25 times in Infestation | 15 | Bronze |
|
All for One and One for All | Finish a four-player game beyond wave 9 without anyone bleeding out | 25 | Silver |

|
Soldier | Finish waves 1 through 10 on any map in Infestation | 25 | Bronze |
|
Commando | Finish waves 1 through 20 on any map in Infestation | 50 | Silver |
|
Honorary Mason | Finish waves 1 through 30 on any map in Infestation | 75 | Gold |
|
Bug Hunt | Finish at least one wave on each map in Infestation | 20 | Bronze |
You've survived the plague alone—now do it with some friends. Infestation is a co-op multiplayer mode requiring you and a group of friends to fend off wave after wave of attacking aliens. In some situations all you must do is survive. At other times you must defend certain structures and equipment of strategic value. Do you have what it takes to make it through all thirty waves?
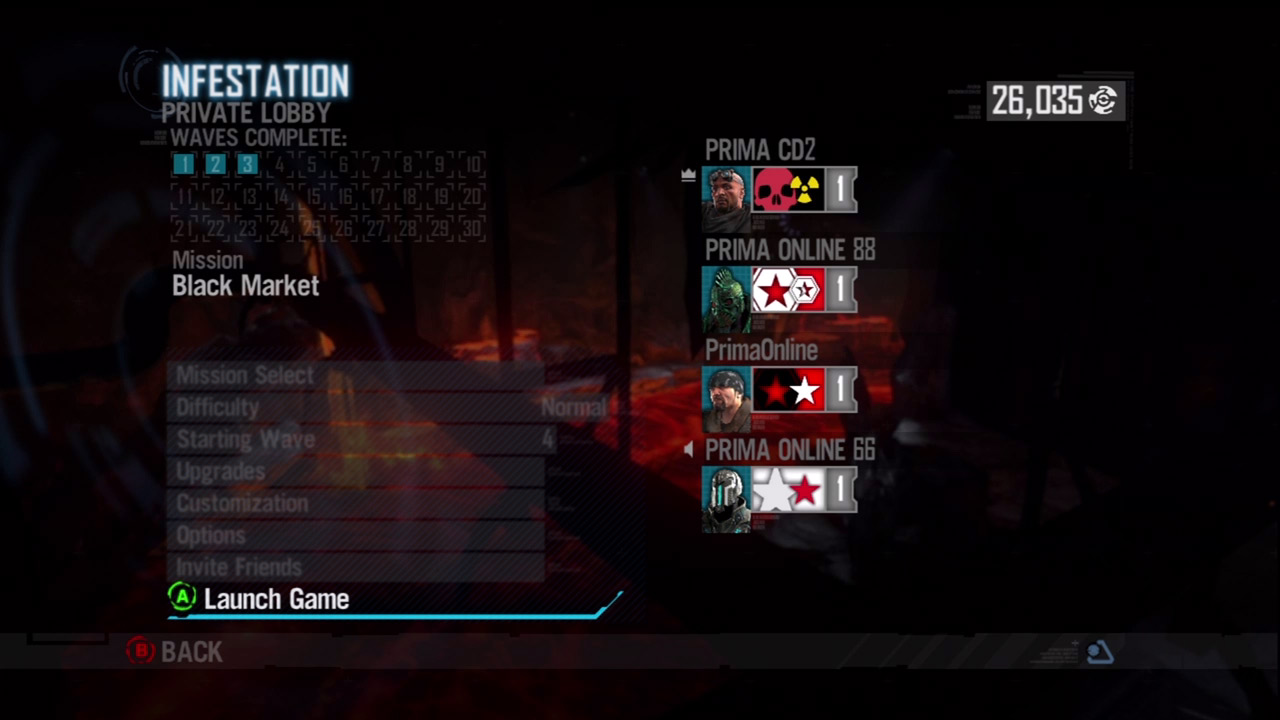
If you're hosting a game, take a moment to get a game set up in the lobby screen.
There are several ways to join or start Infestation. The easiest and most common option is playing online through Xbox Live or the Playstation Network. However, you can also run a system link game, which allows you to play with others on your own network. There's even an Offline option that allows you to jump into the game by yourself. But it's best to play Infestation with others, particularly if you hope to survive for thirty waves. If you're joining an online or system link game, there isn't much you need to do other than play and perhaps customize your character. If you choose to host a game, you have a few decisions to make before getting started:
Mission Select:
This is where you choose the mission you wish to play. By default, Black Market is automatically selected. The dark variant missions at the bottom of the list are locked initially. To unlock them, you must complete wave 5 of the standard mission of the same name.
Difficulty:
Choose from Casual, Normal, Hard, and Insane. The difficulty scales how much damage you can take before you die. It also determines how much salvage is awarded upon the completion of each wave—the harder the difficulty, the more salvage you earn.
Starting Wave:
If you've already played through part of a mission, this feature allows you to resume the mission from the last wave you completed. If you haven't played a mission, you must start out on wave 1.
Upgrades:
This brings up the Upgrades menu, allowing you to purchase new upgrades with salvage. This works just like the upgrade system in the single-player campaign. More information can be found in the Upgrades section below.
Customization:
Here you can select your character as well as personalize the tag that appears next to your name. See more on this in the Customization section below.
Options:
Choose this selection to adjust the controls, gameplay, audio, and video settings.
Invite Friends:
Choose this option to invite friends from your friends' list. Obviously, friends must have a copy of the game and need to be online before they can accept an invite. Once a friend has joined your game, his or her name appears on the right side of the lobby screen along with the portrait of the character he or she is portraying.
Launch Game:
Once you're ready to begin a mission, choose this option to get the action started.
Upgrades
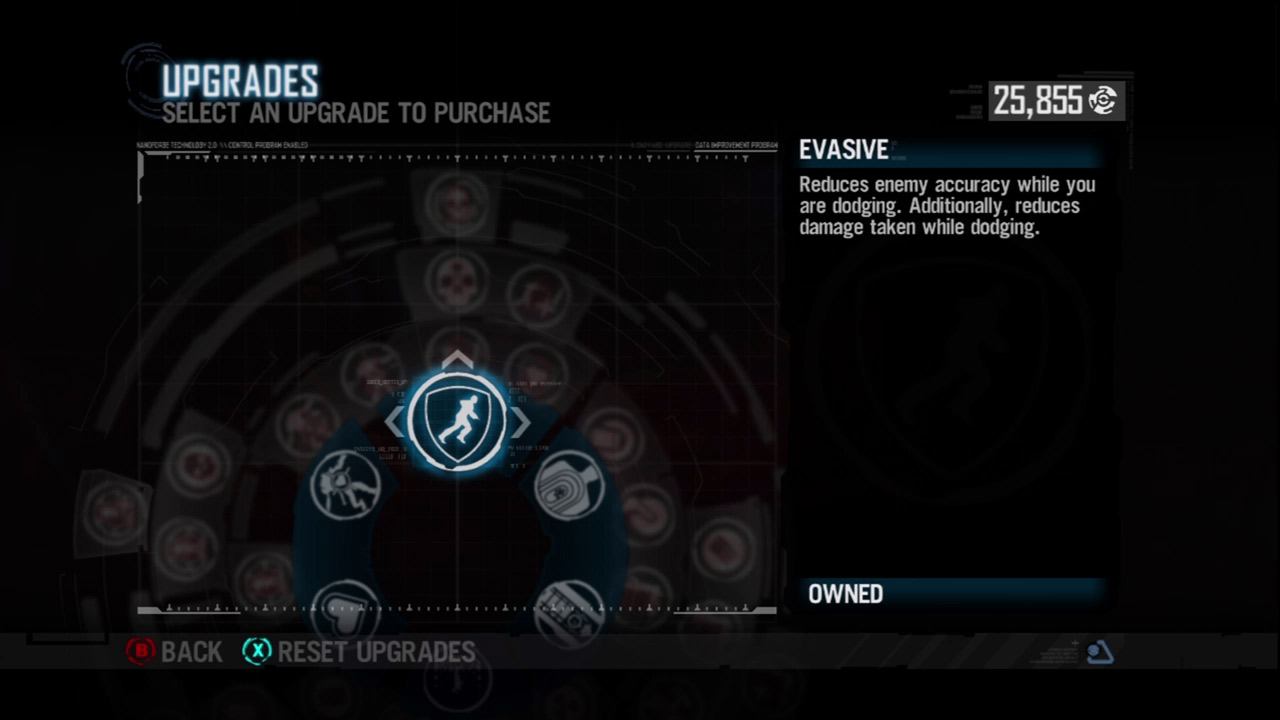
Once you've purchased an upgrade, it is available in both the single-player campaign and Infestation matches.
Upon entering the Upgrades menu, you'll notice that it's identical to the radial menus you've seen in the single-player campaign. All upgrades you've already purchased in the single-player campaign are available to your multiplayer persona. You also carry over all the salvage you've earned from the single-player campaign. Conversely, any salvage earned through Infestation is carried over to your single-player game. All upgrades function identically in Infestation mode with the exception of your Nano Forge abilities. Before starting a wave, you must choose from one of your purchased Nano Forge abilities in the Weapon Selection screen. By default, all players have Impact, but you must own Shockwave, Shell, or Berserk before they can be equipped. Before selecting a Nano Forge ability, discuss the options with your teammates. It's usually best to enter the game with a variety of Nano Forge abilities. Call out which ability you're choosing so your teammates don't replicate the selection. NoteAll players have access to repair grenades, regardless of their progress in the single-player campaign. However, the standard Nano Forge Repair feature is not available in this mode—you must use repair grenades to fix damaged structures. For more information on the upgrades, see the Weapons and Upgrades chapter.
Customization
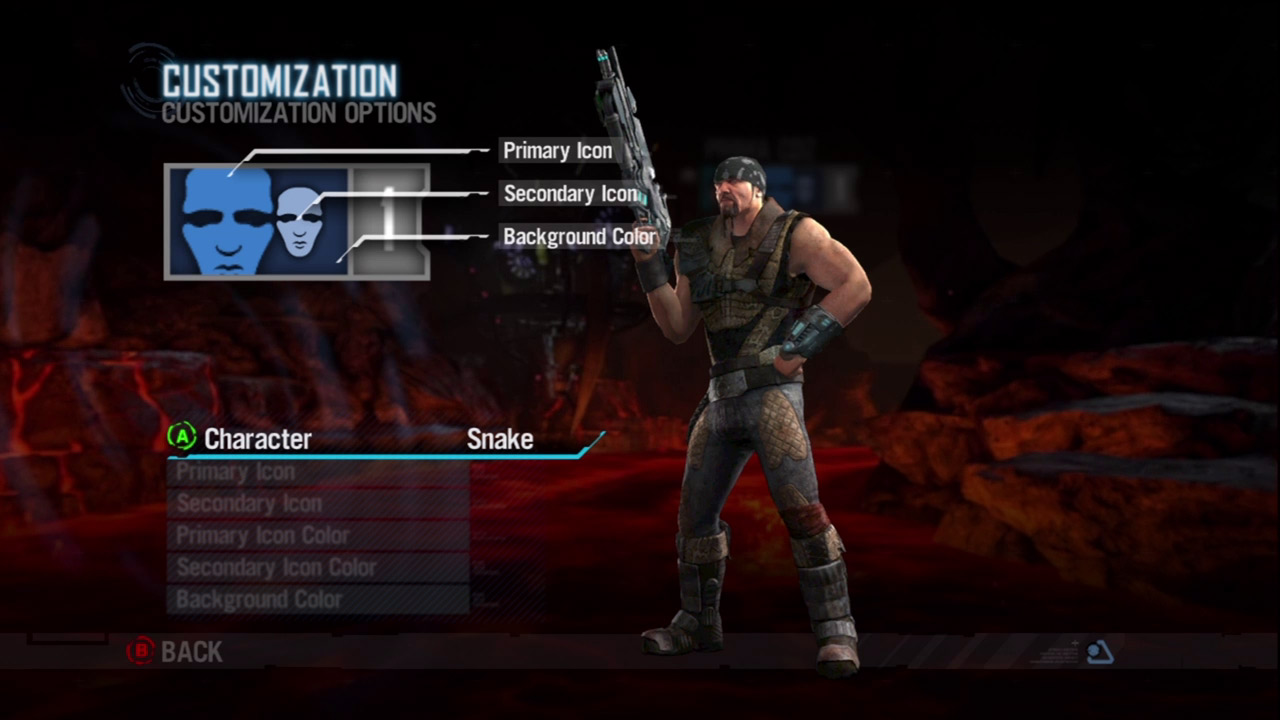
Take a moment to choose your character and personalize your tag in the Customization menu.
Before starting a game, or even between waves, you can access the Customization menu. Here you can choose from four different characters to play as: Sgt. Winters, Snake, Snipes, or Corvallis. All the characters play the same with the only differences being purely aesthetic. In addition to your character, you can also customize the tag that appears next to your name. Choose from a variety of primary and secondary icons and then choose colors for each, as well as the background. Personalizing your tag is purely optional and has no impact on gameplay. Note the number (1–4) next to your tag and character portrait represents the upgrade tier you've unlocked. This is less of a rank and more of a way to show your teammates how powerful you are. As you unlock a new tier, this number increases. Play through the single-player campaign to unlock all four tiers.
Gameplay
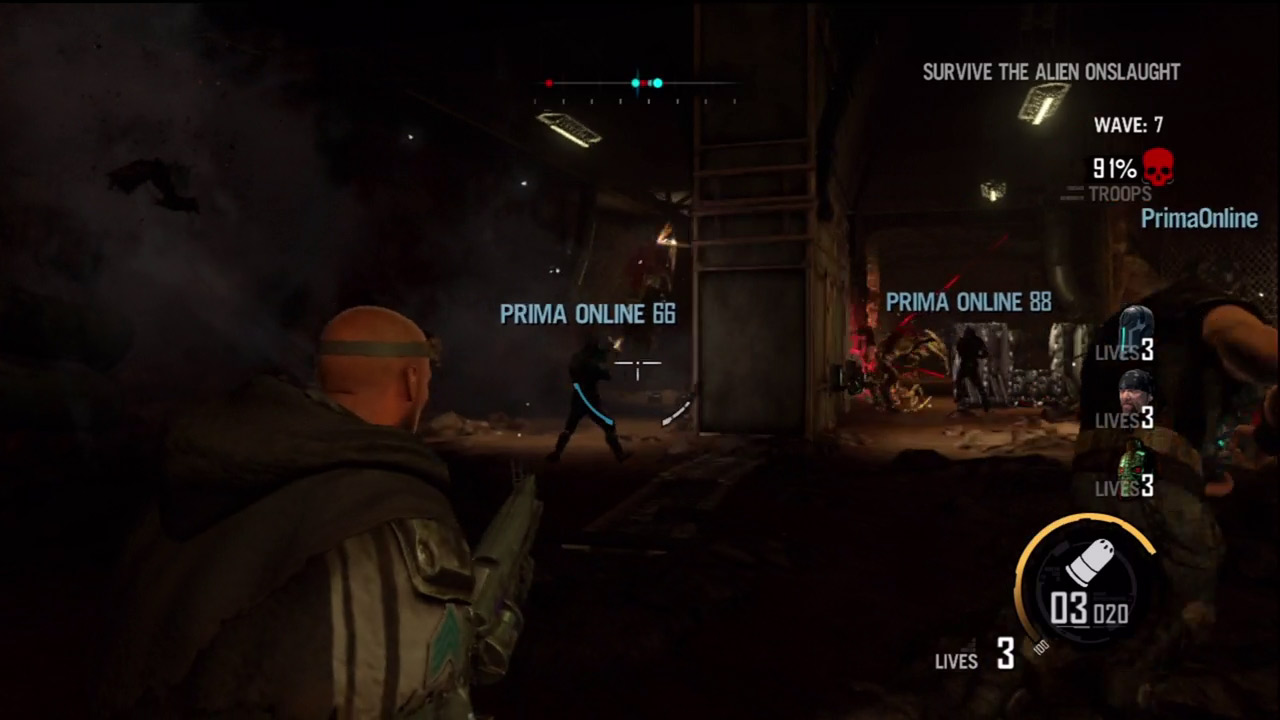
Stay within visual range of your teammates so you can support and revive each other.
The premise of Infestation is remarkably straight-forward: stay alive and kill all the bugs. It may sound simple, and it is early on. But as you progress through wave after wave, the task becomes increasingly challenging—particularly once berserkers and behemoths make appearances. The type of aliens that appear in each wave is fixed. However, the number of aliens that appear fluctuates based on the number of players. The more players in the game, the more aliens you encounter. In addition to the standard creepers, ravagers, berserkers, and behemoths, you can also expect tentacles and monoliths. A maximum of two tentacles appear in each wave on the Defend missions starting at wave 11. One monolith appears in each wave (of both mission types) starting at wave 21. Fortunately, by the time you face these hostiles you'll have access to stronger weapons. As a team-based game, it's important to work and stay together so you can support each other. If your teammates spread out in all directions, the aliens will have no problem picking you off one by one.
Weapon Selection
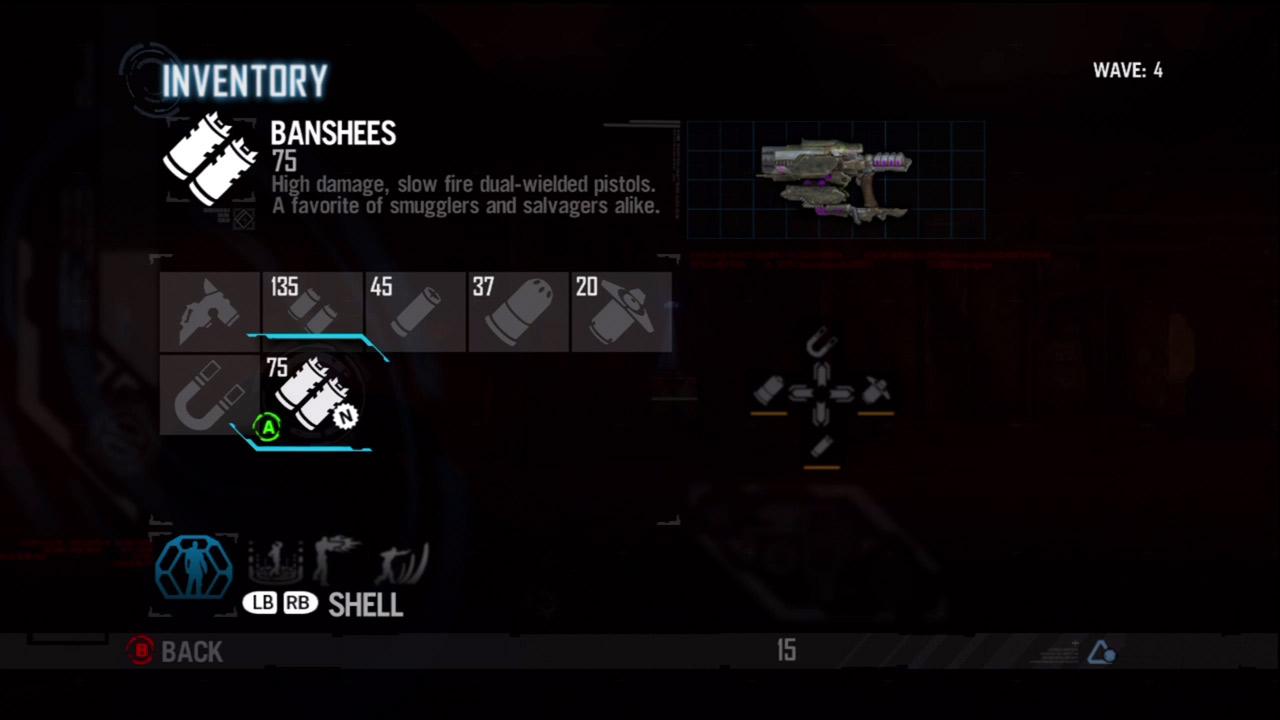
The weapons inventory is slim to begin with, but increases as you complete waves.
At the start of each wave, you must choose your weapons. As in the single-player campaign, you can carry a total of four weapons, but make your selections carefully and quickly. Once you begin a wave, you cannot swap out weapons—there are no weapons lockers. Plus, you only have eighteen seconds to choose your weapons before the wave starts, as indicated by the countdown timer at the bottom of the screen. When choosing your weapons, try to diversify your firepower to deal with a mix of close- to long-range threats. For example, the Shotgun and Maul are awesome at close range, but they won't be of much use for taking out enemies halfway across the map. Supplement these close-quarter weapons with something like the Pistols or Magnet Gun. Initially only six weapons are available, but as you progress through the waves, more and more weapons are unlocked. This comes in handy as you face tougher enemies. Study the table below to see when each weapon is available.
Weapon Availability
| Icon | Name | Unlocked |
|---|---|---|
|
|
Pistols |
Wave 1 |
|
|
Shotgun |
Wave 1 |
|
|
Pulse Grenade |
Wave 1 |
|
|
XNG-5000* |
Wave 1 |
|
|
Charge Launcher |
Wave 1 |
|
|
Magnet Gun |
Wave 1 |
|
|
Banshees |
Wave 4 |
|
|
Laser Pistols* |
Wave 4 |
|
|
Assault Rifle |
Wave 7 |
|
|
Enforcer** |
Wave 7 |
|
|
Rocket Launcher |
Wave 10 |
|
|
Plasma Thrower* |
Wave 10 |
|
|
Rail Driver |
Wave 13 |
|
|
Nano Rifle |
Wave 16 |
|
|
Plasma Cannon |
Wave 19 |
|
|
Plasma Beam |
Wave 22 |
|
|
Arc Welder* |
Wave 22 |
|
|
Singularity Cannon |
Wave 25 |


















* Pre-Order/DLC Weapon
** Unlocked through Red Faction: Battlegrounds on Xbox 360 and PS3. Unlocked on PC after you beat the game.
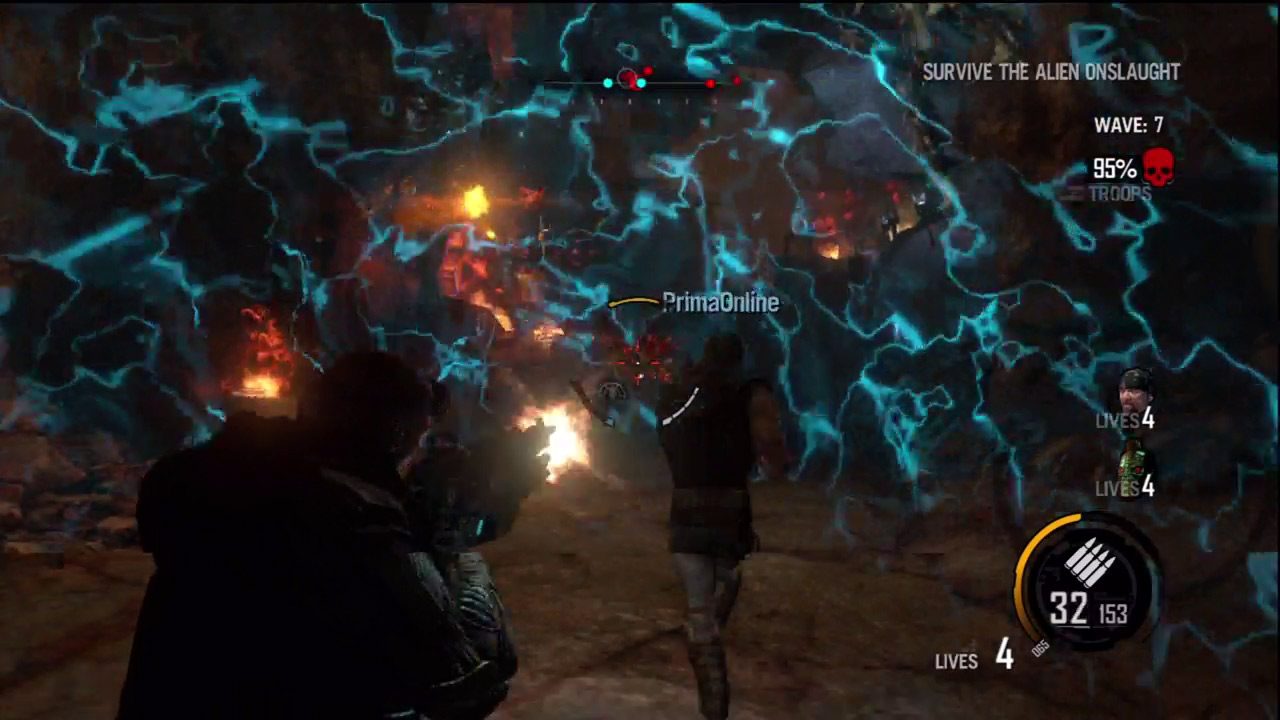
Use the Shell Nano Forge ability to protect yourself and teammates against alien concentrated attacks.
In addition to choosing weapons, you must also select your Nano Forge ability. Unlike the single-player campaign, in Infestation you can only assign one ability to your Nano Forge. Impact is available to all players, regardless of which upgrades they own. However, Shockwave, Shell, and Berserk must all be purchased with salvage from the Upgrades menu. If you've already purchased these upgrades in the single-player campaign, these abilities are made available in Infestation, along with any other upgrades. As previously mentioned, it's a good idea to diversify your Nano Forge abilities. For example, have one player select Shell, as this can be used to protect multiple teammates. This frees up other players to select Impact, Shockwave, or Berserk.
Revive
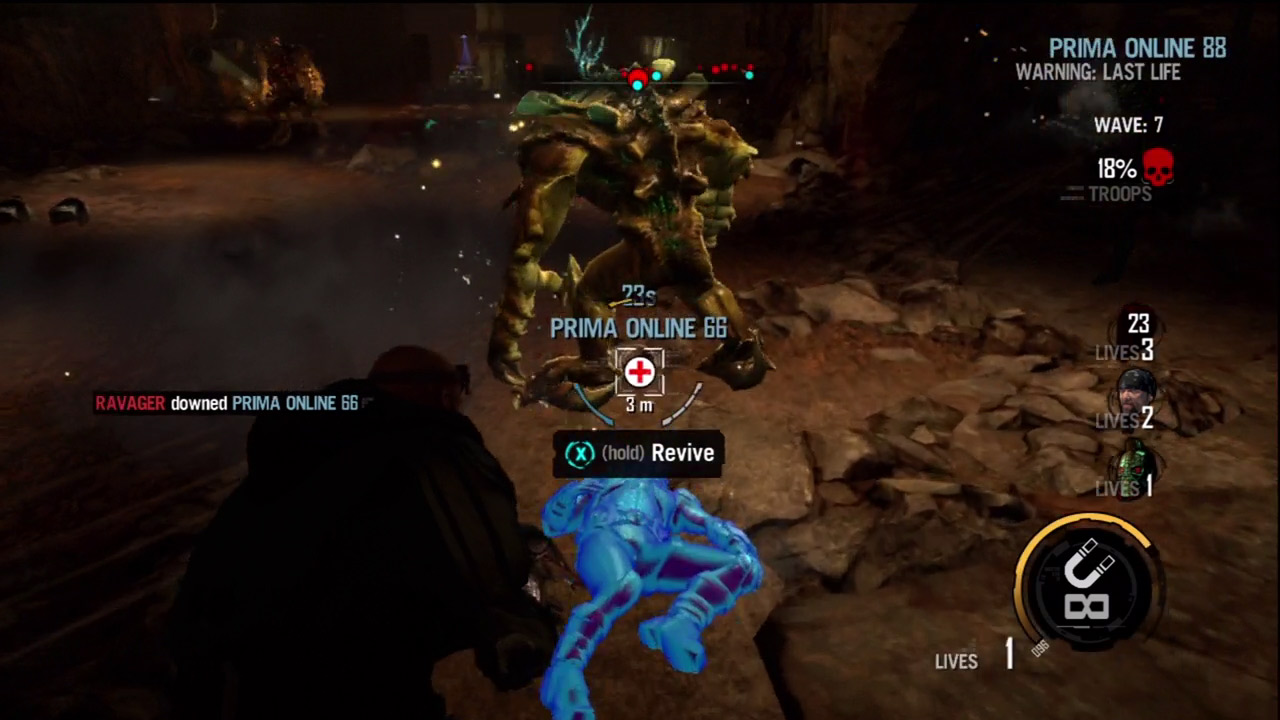
Get to fallen teammates and revive them before they bleed out.
Another unique feature of Infestation is your ability to revive fallen teammates. When a player's health drops to zero, instead of dying, they become incapacitated, lying on the ground and unable to move. At this point the fallen player can be revived. First you have to find the downed teammate, marked by a red cross icon on the HUD. The distance to the teammate, marked in meters, appears just below the icon. Move in the direction of the icon until you see the blue highlighted body of your teammate on the ground. Stand over your teammate's body and hold down the reload button to revive your teammate. You must act fast, however. Once a teammate is down, you only have twenty-five seconds before your teammate bleeds out.
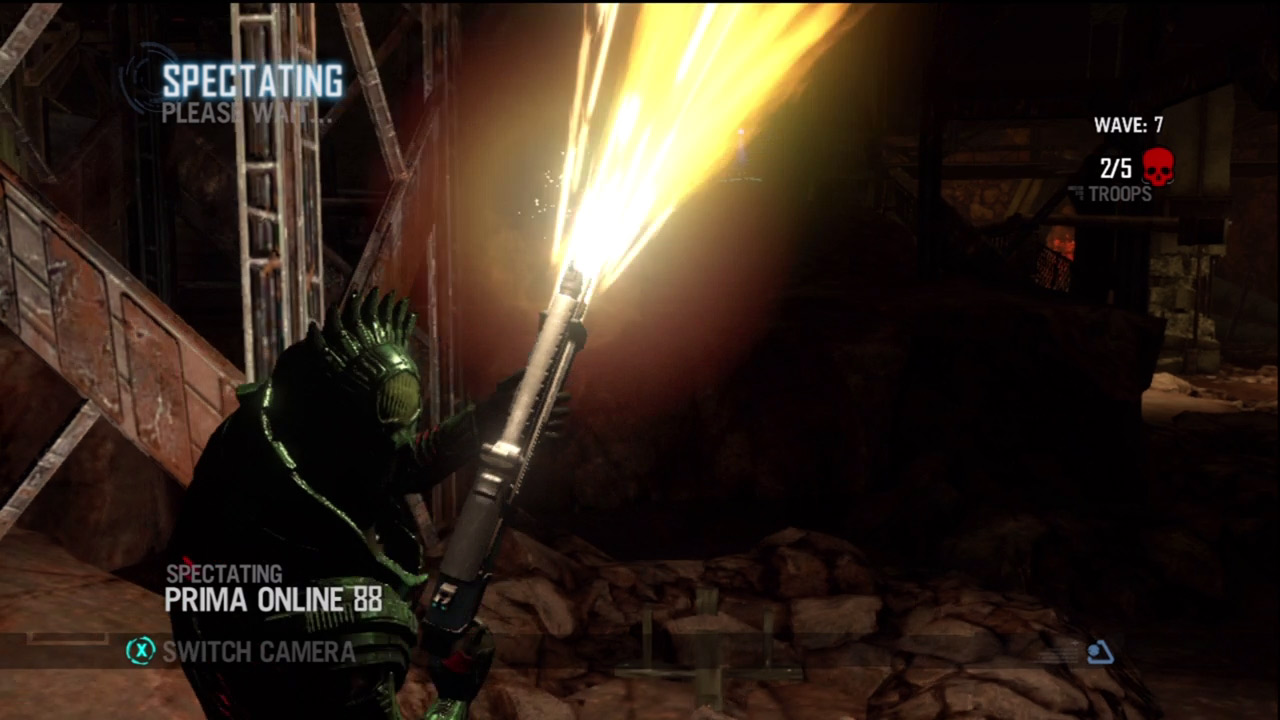
If you die, you can still watch the match from the perspective of one of your living teammates.
A teammate can be revived as long as he or she has lives to spare. A player's lives appear on the right side of the HUD next to the character's portrait. The number of lives a player has depends on how many players are in the game. In a two-player game of Infestation, each player has more lives than in a four-player game as a way to balance the difficulty. Each time you are revived, you use up one of your lives. If you bleed out or simply run out of lives, your character dies and is removed from the round. However, you can still watch your teammates carry on. Toggle the camera between your teammates and rotate the camera as necessary to get a better view of the action in this spectator mode. If your team manages to complete the wave without you, you'll rejoin them in the next wave. All players get a fresh batch of lives at the start of a new wave.
Salvage
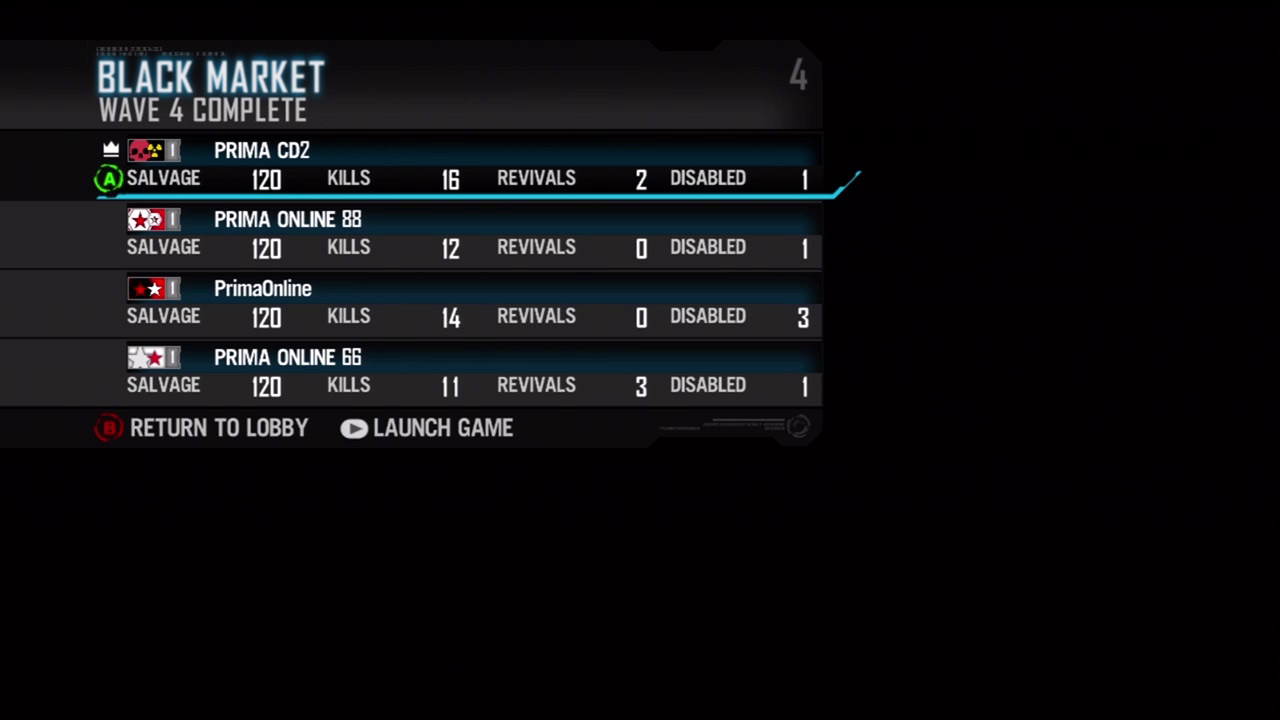
Salvage is awarded after completing each wave, as seen on the scoreboard.
Every player on your team earns the same amount of salvage upon the completion of a wave. However, teammates with the Autopsy upgrade earn more, accruing bonus salvage for each kill they score. Once a wave is completed, if you play the wave again, you will be rewarded with a lessened amount of salvage upon winning. Avoid replaying waves and missions you've already completed to gain more salvage. Dark mission variants award the same amount of salvage as non-dark missions. The amount of salvage earned is fixed per wave across all missions. The following table lists the amount of salvage awarded per wave on Normal difficulty. Modifiers are applied when playing the game on different difficulties: less salvage is awarded when playing on Casual, but more is awarded if playing on Hard or Insane.
Difficulty Multipliers
| Difficulty | Multiplier |
|---|---|
| Casual | 0.8 |
| Normal | 1 |
| Hard | 1.2 |
| Insane | 1.5 |
Salvage Earned (normal)
| Wave | Salvage | Replay Salvage |
|---|---|---|
|
1 |
30 |
3 |
|
2 |
60 |
6 |
|
3 |
90 |
9 |
|
4 |
120 |
12 |
|
5 |
150 |
15 |
|
6 |
180 |
18 |
|
7 |
240 |
24 |
|
8 |
300 |
30 |
|
9 |
360 |
36 |
|
10 |
480 |
48 |
|
11 |
60 |
6 |
|
12 |
120 |
12 |
|
13 |
180 |
18 |
|
14 |
240 |
24 |
|
15 |
300 |
30 |
|
16 |
360 |
36 |
|
17 |
480 |
48 |
|
18 |
600 |
60 |
|
19 |
720 |
72 |
|
20 |
960 |
96 |
|
21 |
120 |
12 |
|
22 |
240 |
24 |
|
23 |
360 |
36 |
|
24 |
480 |
48 |
|
25 |
600 |
60 |
|
26 |
720 |
72 |
|
27 |
960 |
96 |
|
28 |
1,200 |
120 |
|
29 |
1,440 |
144 |
|
30 |
1,920 |
192 |