
Red Faction: Armageddon Guide Walkthrough Campaign
On The Run
| Icon | Name | Description | Gamescore | Trophy |
|---|---|---|---|---|

|
Survival of the Fittest | Make it to the surface | 15 | Bronze |
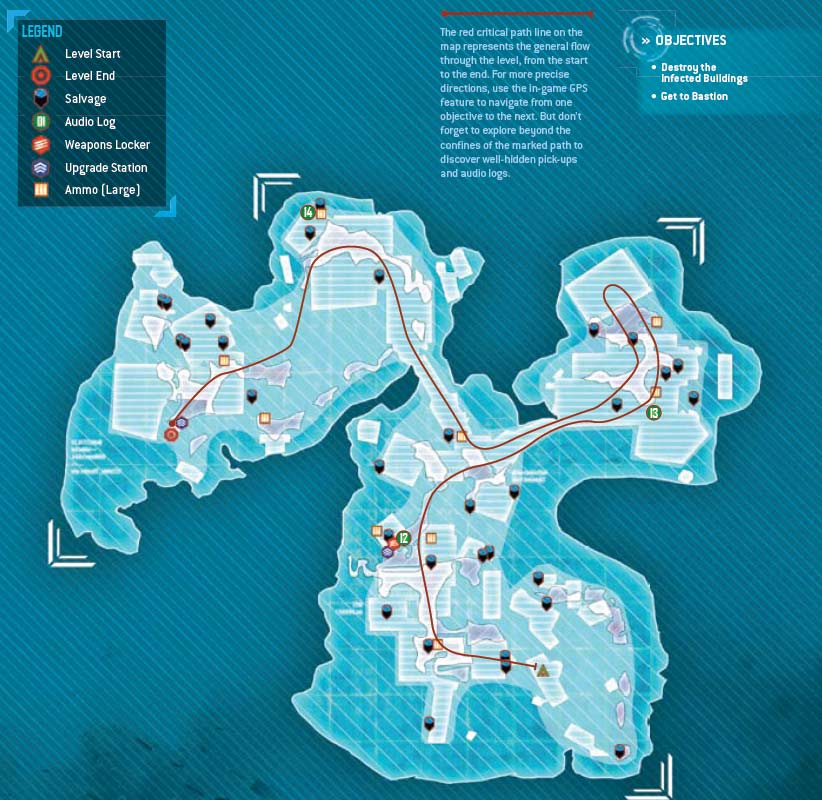
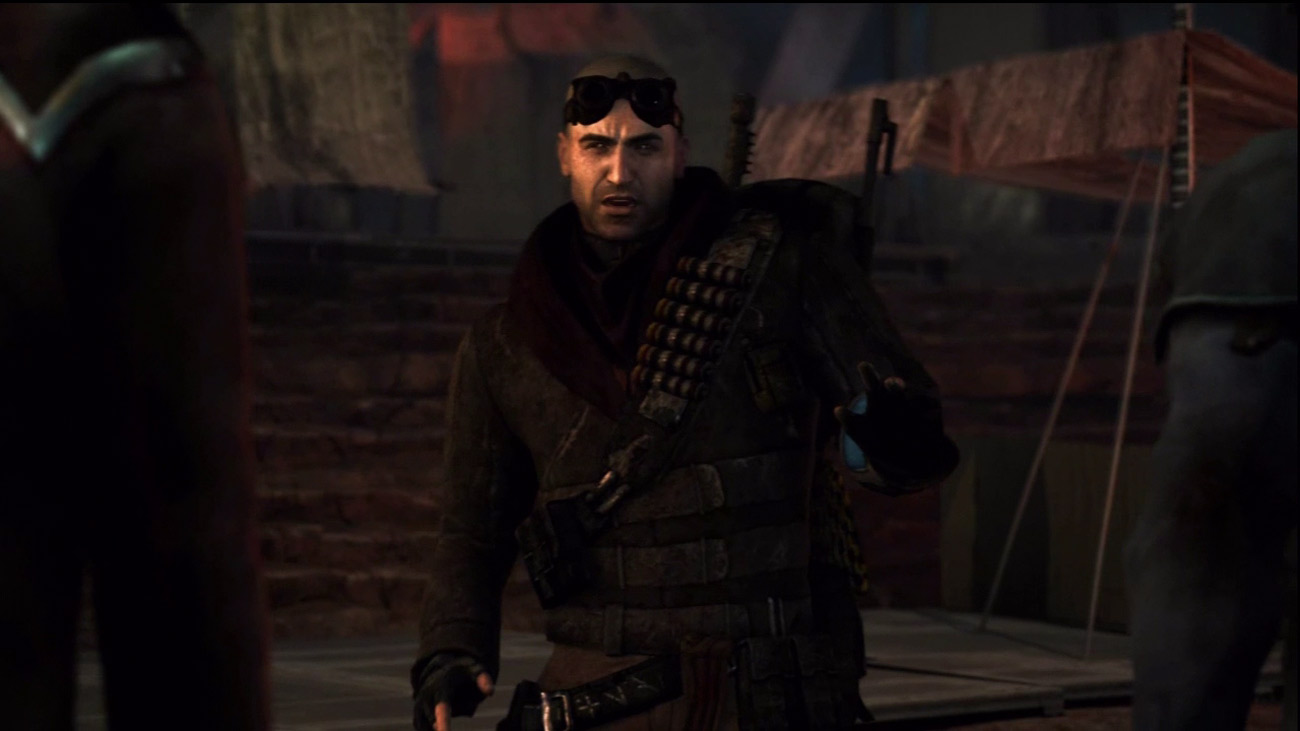
Upon returning to Bastion, Darius is confronted by an angry group of colonists. Most of them already blame Darius for failing to stop Hale's forces at the Terraformer. They've now linked him to the drilling job at the temple, where the alien creatures emerged. Darius tries to calm the crowd, telling them it was an accident. But his apologies aren't enough—the colonists want to make him pay. When one of the colonists pulls a gun, Darius has no choice but to run. He dashes through the crowds and makeshift structures, eventually ducking through an open hatch in the floor of a tunnel.
Waste Processing Center
New Objective: Find a Way Out of the Sewers
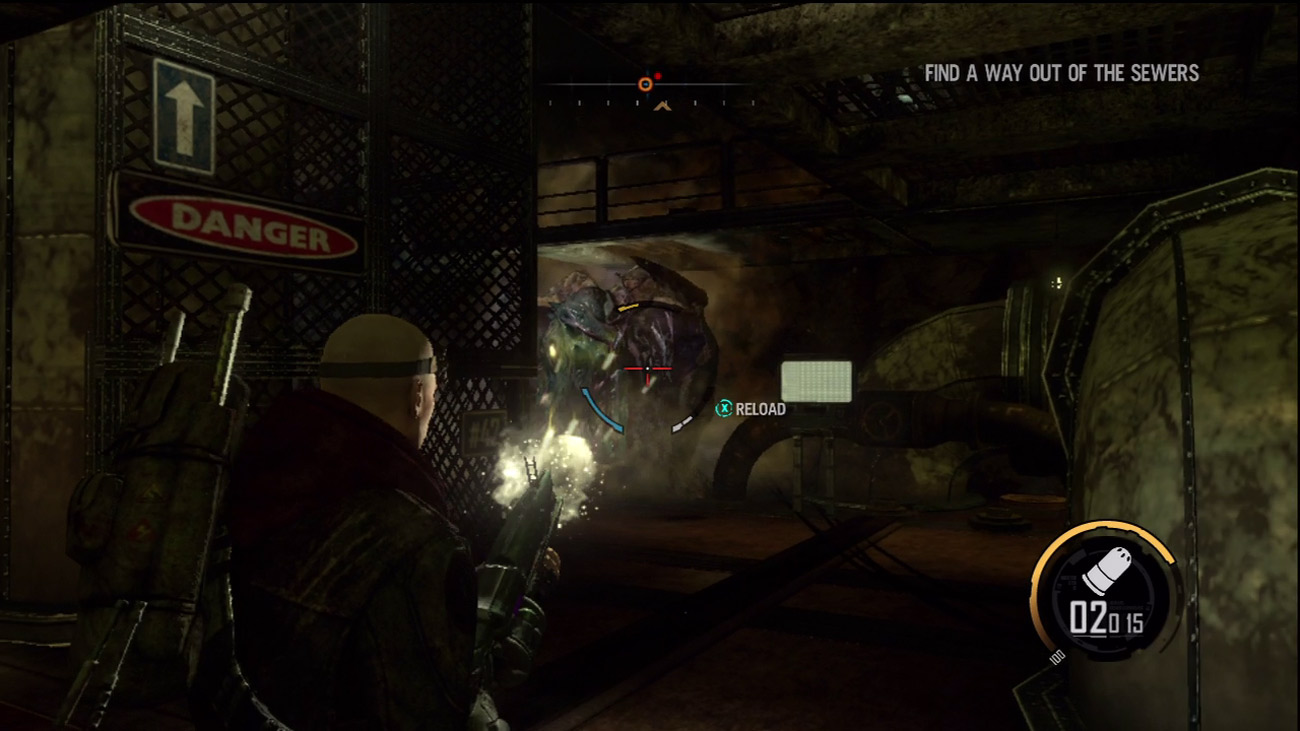
Darius lands in a smelly tunnel below Bastion. S.A.M. reports that this is the waste processing center. Advance to the end of the tunnel and pick up the Pulse Grenade on the ground. This weapon is a grenade launcher-like weapon firing explosive rounds that attack organic material while minimizing damage to structures—great for killing aliens! Add the weapon to your inventory and continue along the path. S.A.M. warns of hostile creatures ahead. Cross the catwalk and climb the ladder to enter a structure containing a pod and several ravagers. Equip your new Pulse Grenade weapon and blast the pod. Notice how the explosive rounds damage the pod but not the surrounding structural elements.
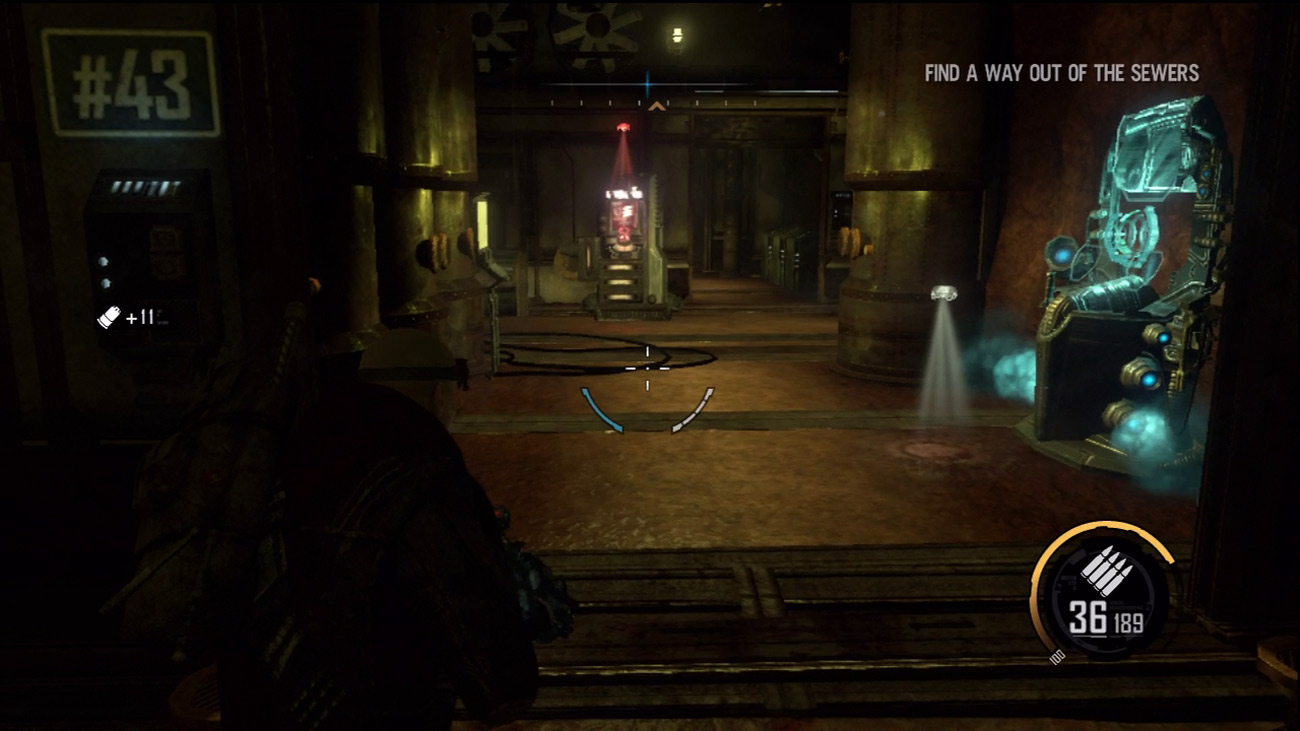
After eliminating the pod and the ravagers, follow the GPS markers up the nearby ramp and proceed to the neighboring structure, which contains an upgrade station and weapons locker. Take a moment to spend some salvage and adjust your weapons loadout. While the Pulse Grenade is nice, it isn't the most effective weapon available. Consider swapping it out for something with a bit more power, like the Rocket Launcher or Plasma Cannon. Also, be sure to bring along the Magnet Gun, Assault Rifle, and Nano Rifle.
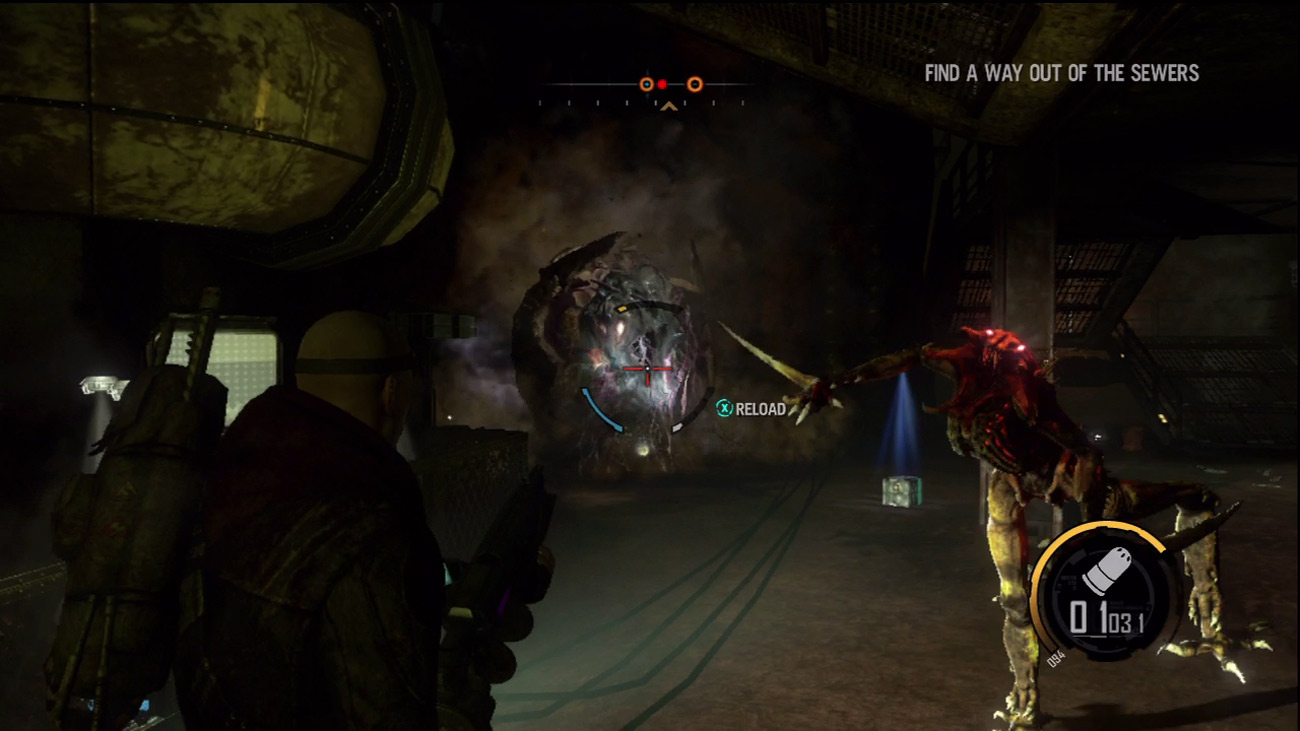
Beyond the weapons station, you come under attack by several creepers spawned from two pods in the nearby generator room. Fight your way past the creepers and then take out the two pods with the weapon of your choice. Eliminate any straggling creepers, then climb the ramp to the upper level.
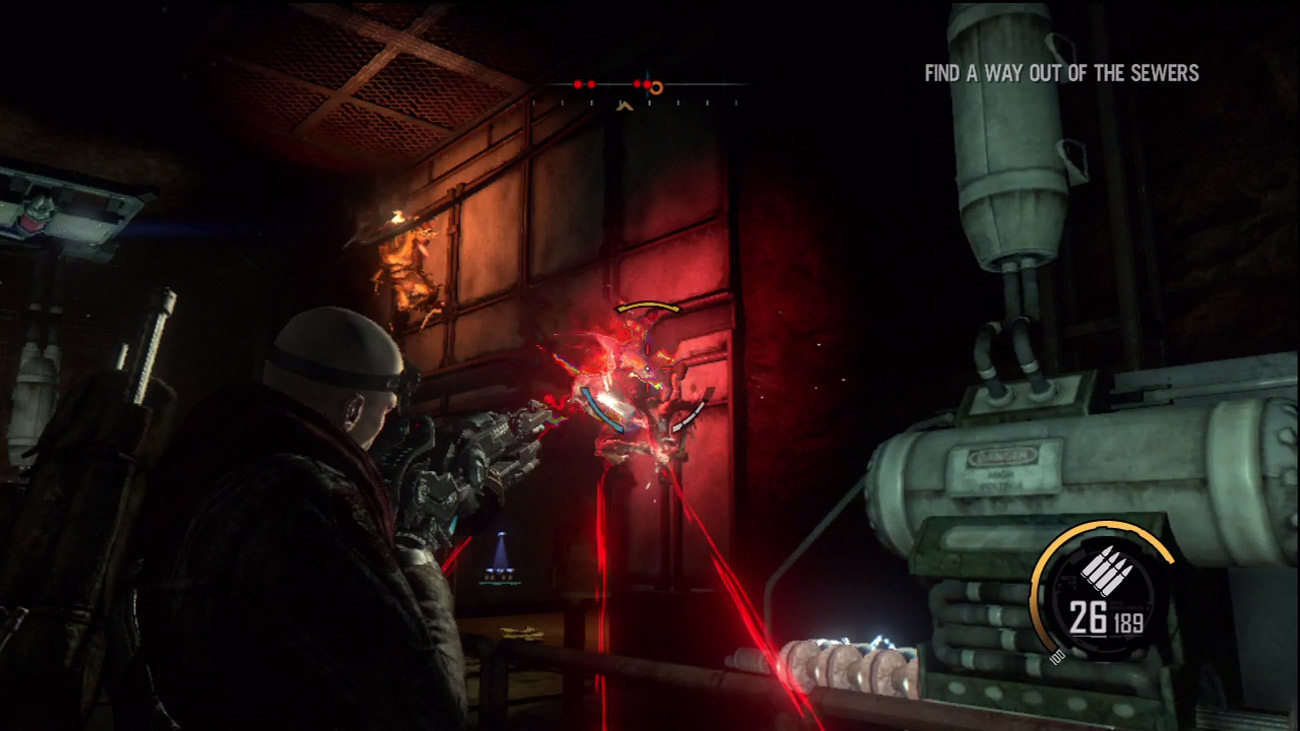
During the advance, you come under attack by ravagers and a wraith. Immediately focus your fire on the wraith and deploy a Shell if necessary to avoid incoming projectile attacks. Another pod can be found in the structure at the top of the catwalk system. Use your compass to zero-in on its location. Eliminate the wraith, destroy the pod, and mop up any surviving ravagers. When the area is clear, follow the GPS markers out into the next cavern.
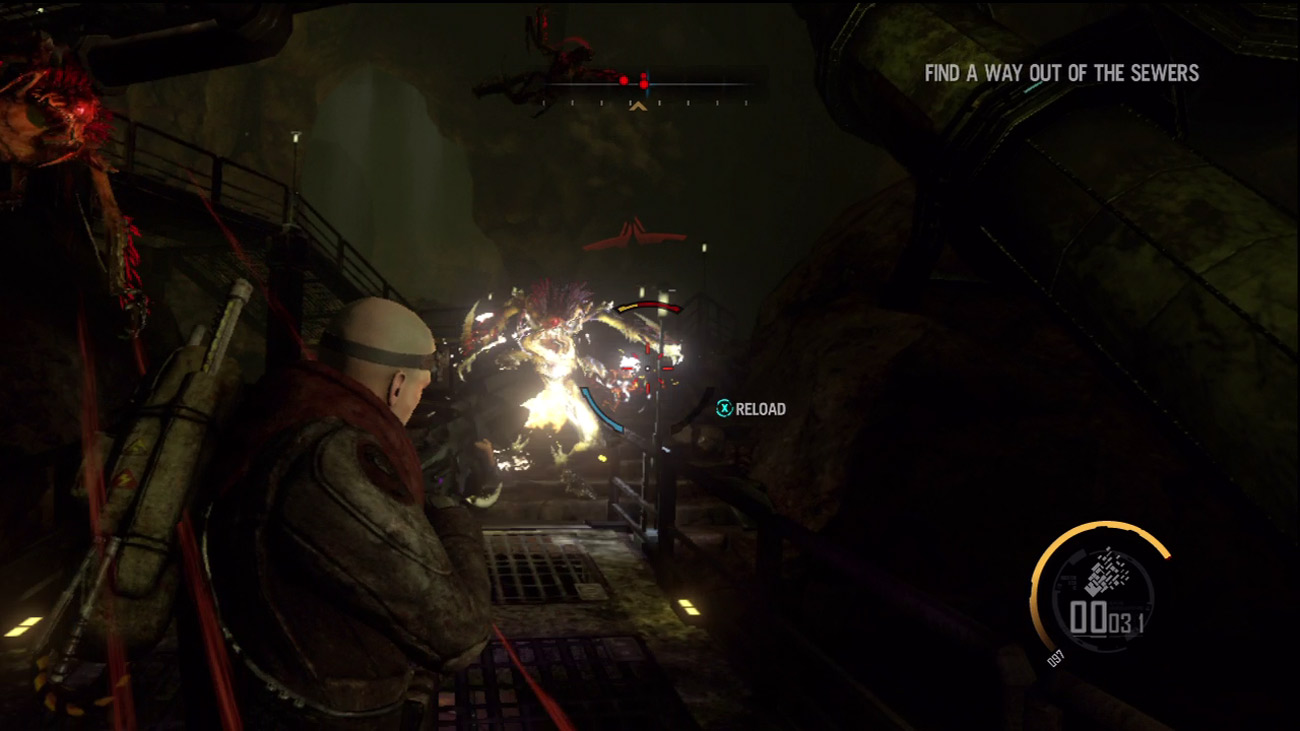
As you step into the cavern, McMahon, one of the angry colonists, warns Darius that he's surrounded and not getting out alive. The angry colonists are the least of your concerns now, however. Several ravagers materialize on the walls ahead. Quickly engage these aliens with your Nano Rifle. Check your GPS coordinates and keep pressing forward while engaging more ravagers along the way. Pay no attention to the distant voices of the colonists chasing you—they pose no threat. Don't worry about racing ahead—eliminate each batch of ravagers as it appears. If you run, the ravagers simply give chase and gang up on you.
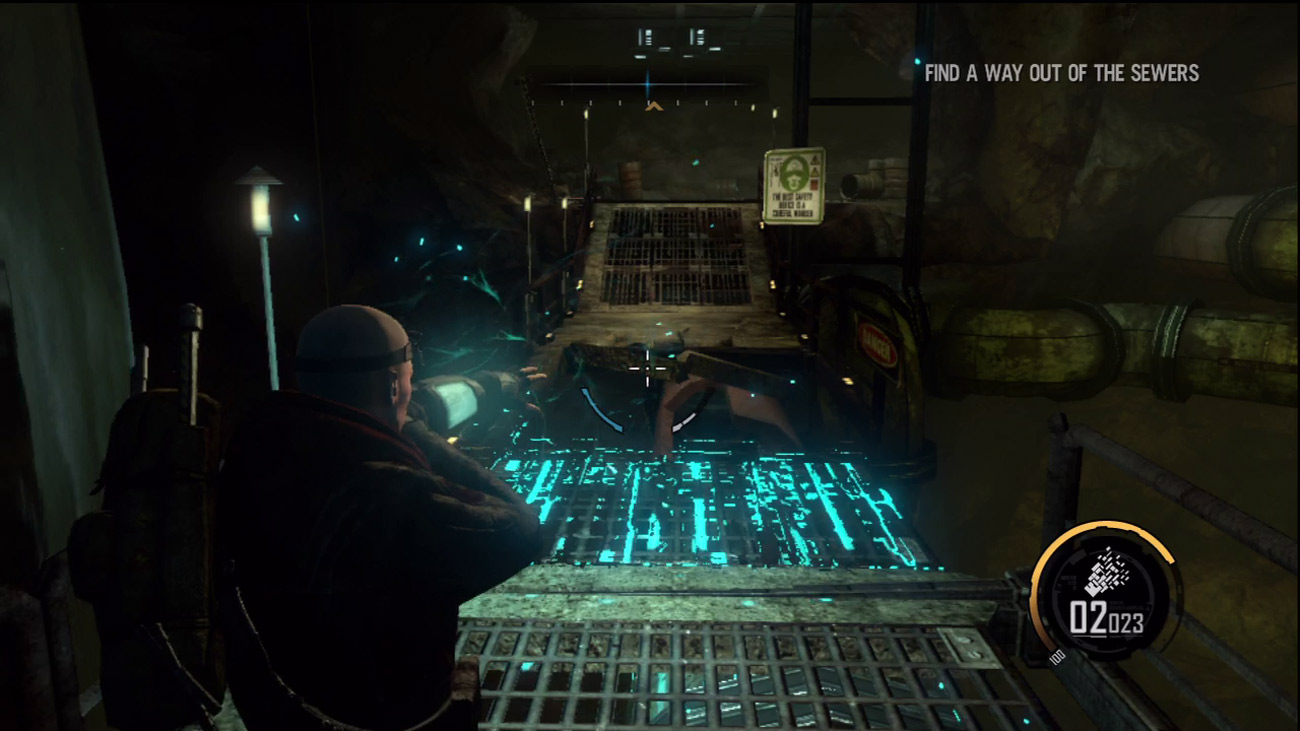
Climb through the structure ahead as indicated by the GPS markers. The colonists try to prevent your escape by blowing up the catwalk ahead. No problem—just repair it as you cross to the other side. As you enter the next tunnel, Kara checks in over the comm system. She says she's near the market and urges Darius to hurry—it won't be safe for long. Keep pushing ahead until you come to a weapons locker. Feel free to swap out your weapons, but keep the Nano Rifle for now.
New Objective: Meet Kara at the Market
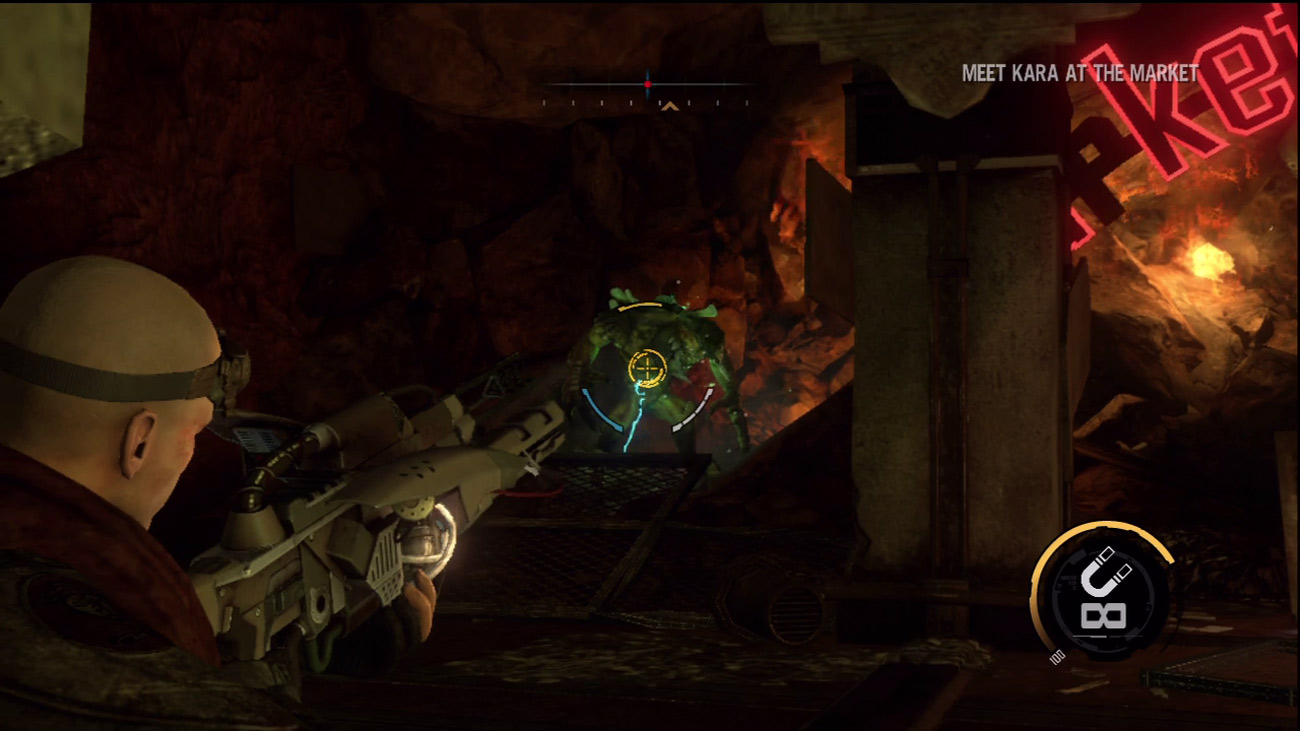
The entrance to the market has caved in. While S.A.M. finds another path, busy yourself by eliminating a pod, some ravagers, and a berserker. Destroy the pod first, then mop up any ravagers. Next, focus on the berserker. Instead of wasting your ammo, use the Magnet Gun to throw the berserker around this chamber, smashing it into walls, pillars, and even the neon market sign above the caved-in entrance.
New Objective: Find Alternate Route
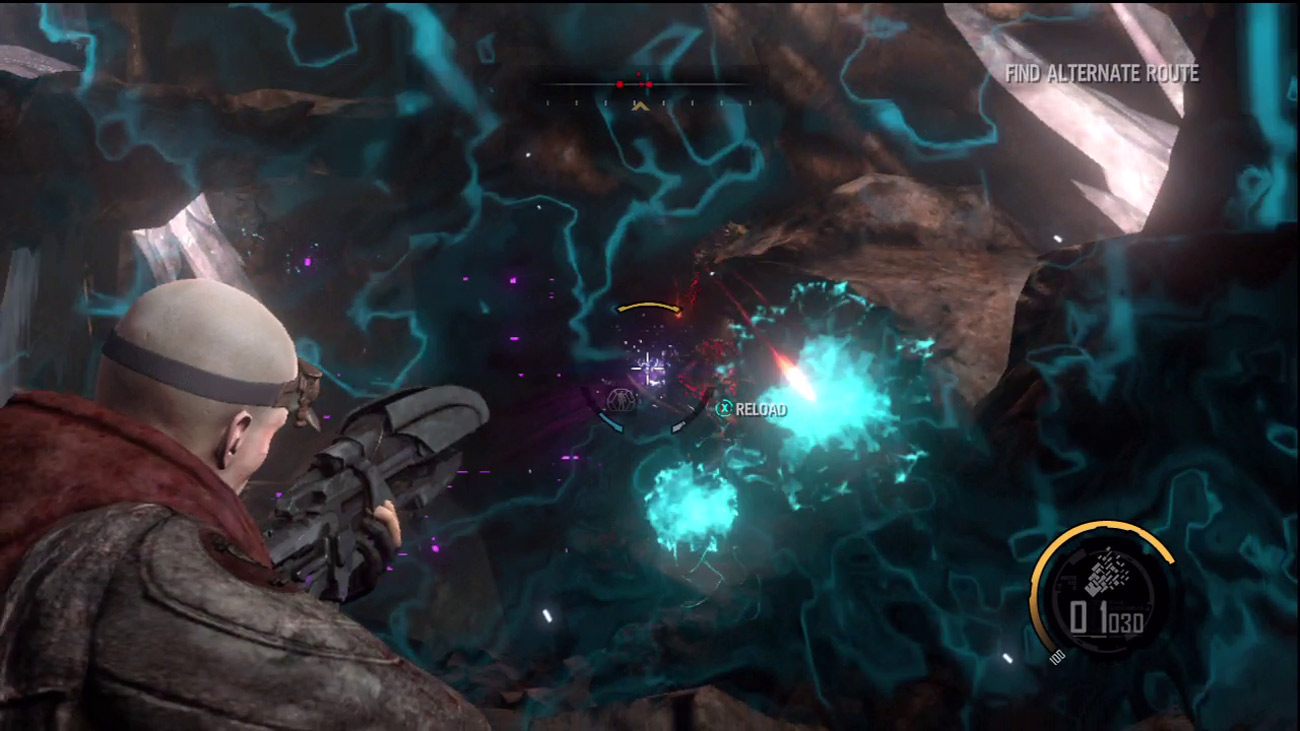
Advance through the next passage, repairing the floor as you go. As you drop down to the ground, a cutscene is triggered that shows one of the colonists confronting Darius. The colonist is soon charged by a berserker and disappears in a blinding explosion. Following the cutscene stay on your toes and engage a large group of ravagers. Deploy a Shell to protect yourself from incoming fire, then open up with the Nano Rifle, picking off one ravager at a time. .
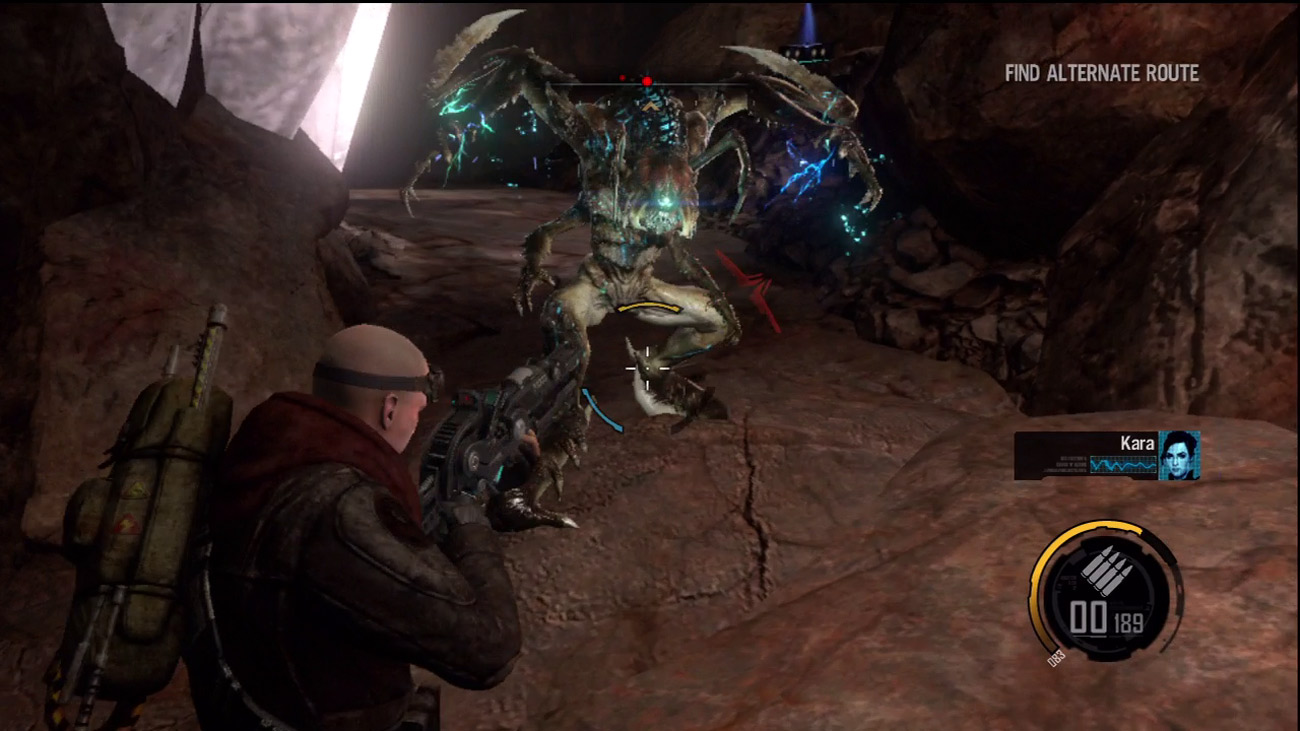
Continue advancing through the cavern as ravagers and creepers spawn around you. Kara tries to get in touch, but S.A.M. reports that the crystals in the cavern walls are interfering with communications, causing Kara's transmission to sound garbled
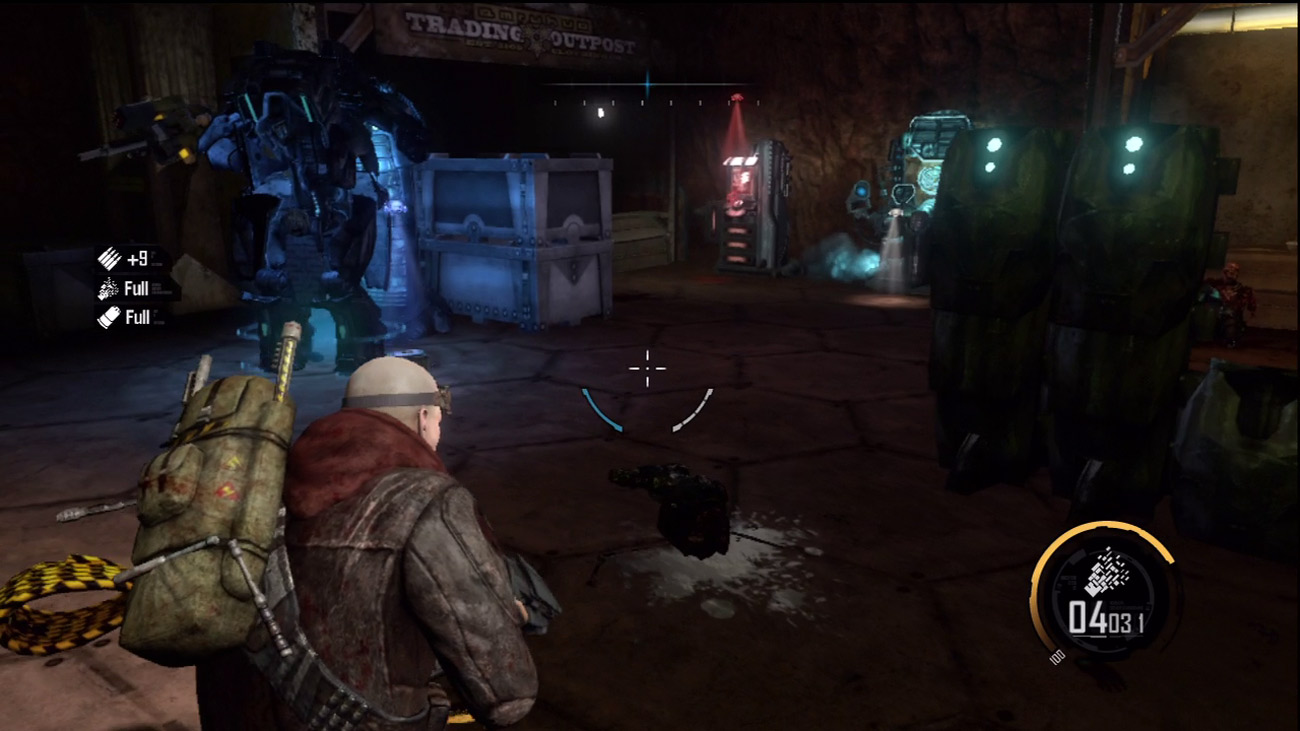
At the end of the cavern's path, drop down into a trading post area that is equipped with an upgrade station, weapons locker, and a LEO Exo suit. For the next phase you can rely solely on the Exo suit's machine guns and rockets. However, in the event that the suit is destroyed, make sure you have plenty of armament to defend yourself. Choose your weapons carefully from the weapons locker. Also consider spending any salvage on upgrades before stepping into the Exo suit.
Market
New Objective: Find Kara
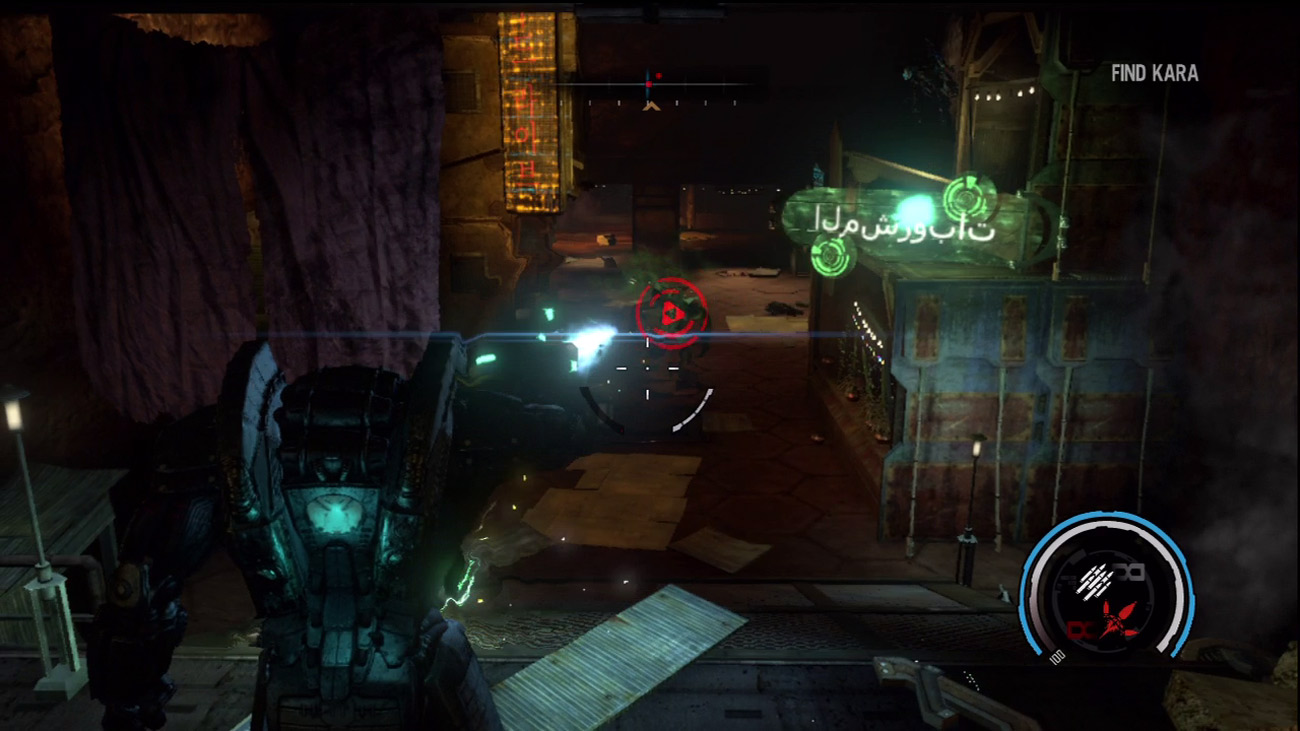
Once in the Exo suit, fire a few rockets at the debris ahead to clear a path into the market. The market is cramped, filled with abandoned shops and stalls. There isn't much room to maneuver, so rely on your firepower to quickly dispatch enemies. Early on you encounter a berserker. Engage the berserker with rockets and machine gun fire until it explodes. The berserker is backed up by several ravagers. Use your compass to locate and hunt down these enemies as you continue your advance through the market.
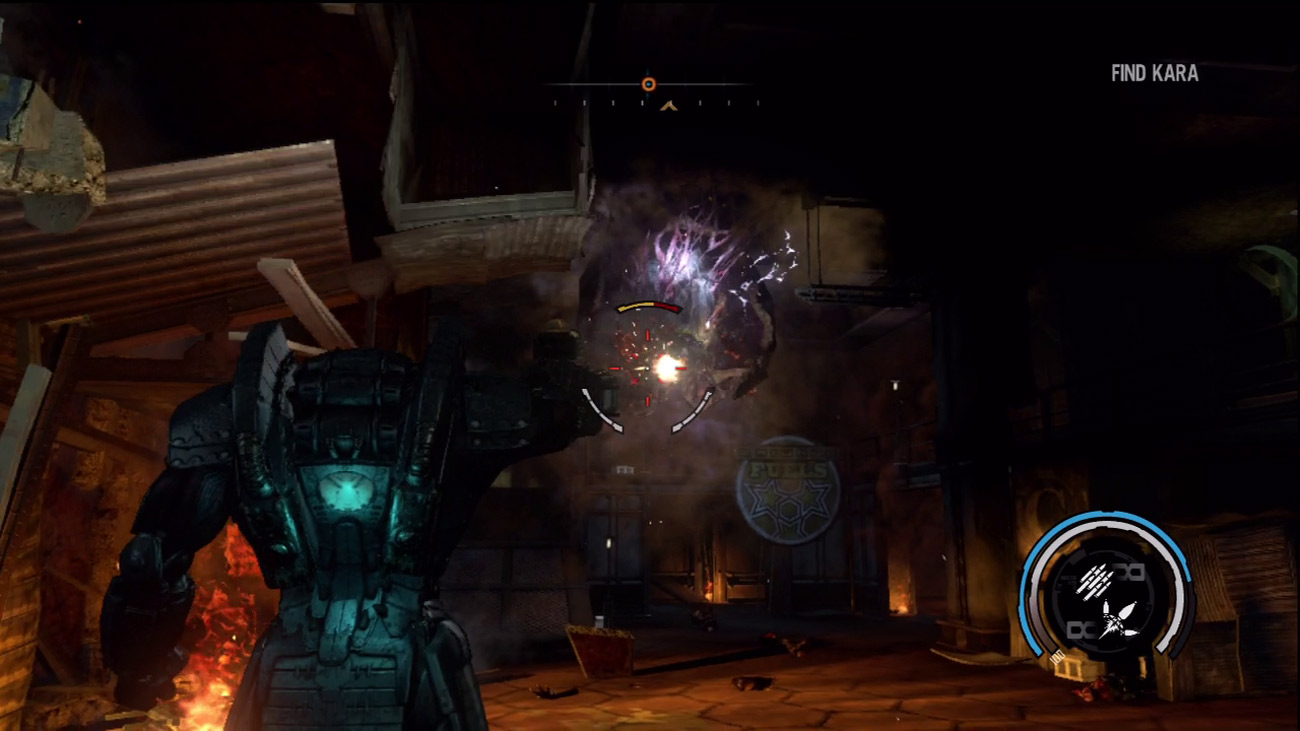
Deeper into the market you encounter more ravagers, creepers, and pods. Blast your way past these enemies and make an effort to destroy the pods as fast as possible. But be on the watch for more berserkers. Despite the armor surrounding you, berserkers can still dish out some serious damage. As soon as you spot a berserker, nail it with rockets. Kara finally checks in and warns you to avoid the market at all costs, but it's a little too late for that now.
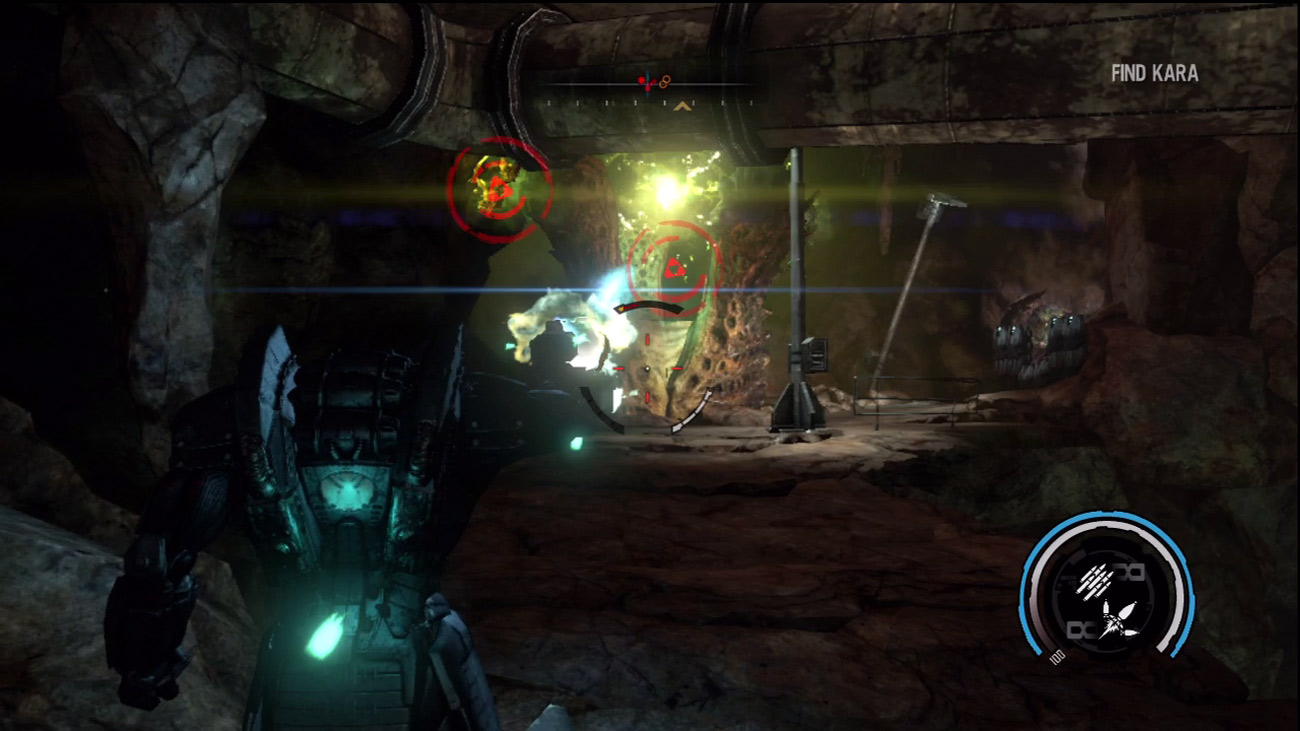
Beyond the market you enter another cavern only to be ambushed by more aliens, including a monolith. Blast the monolith with rockets and machine gun fire until it explodes. Next, target the pods in the area beyond the monolith. Burst open the pods and then mop up the ravagers and creepers clinging to the cavern walls. However, avoid performing shoulder bash attacks here as you might accidentally rush off the side of the path, forcing you to restart from the last save checkpoint.
Military Checkpoint
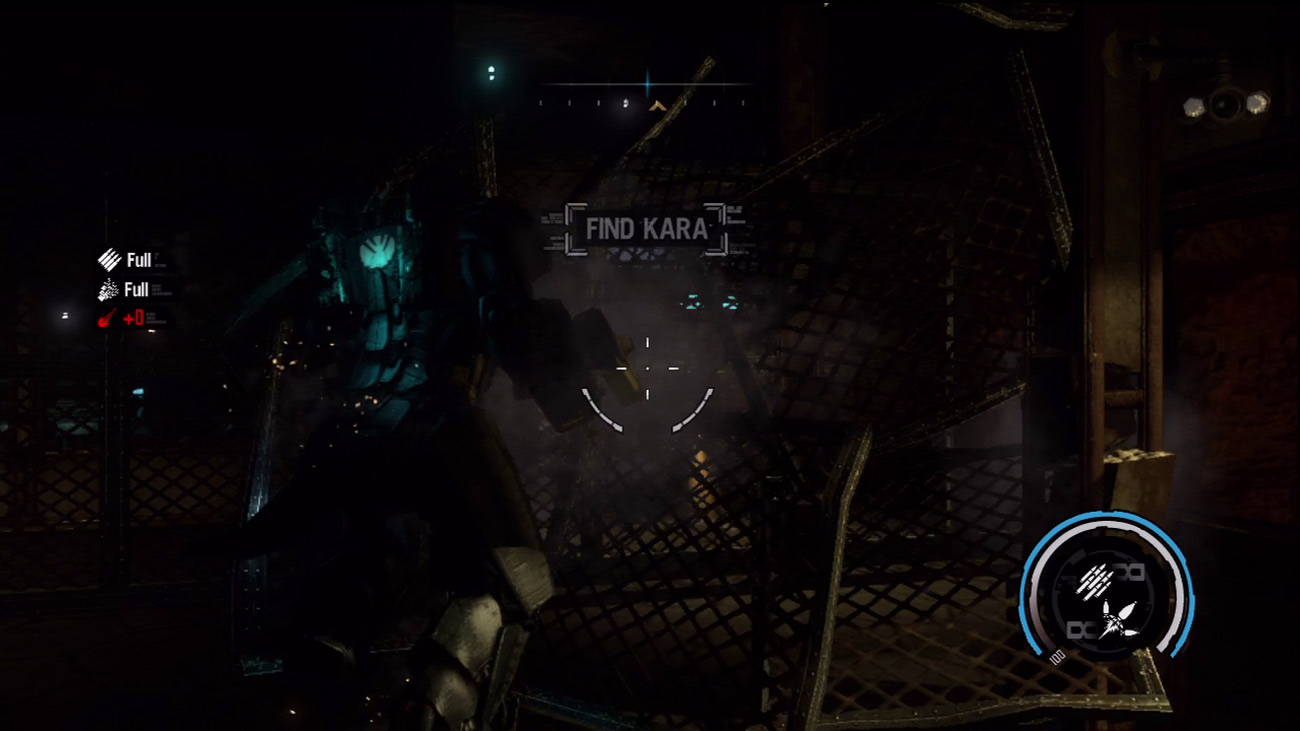
When you come to the military checkpoint structure, step inside and charge through the fencing in your path. The Exo suit's shoulder bash is capable of breaking through these barriers as well as any creatures that get in your way. Take a moment to burst through the walls and barriers here to collect a few salvage containers. However, when you exit the small structure on the second floor, destroy the two pods near the doorway as well as any creepers scurrying nearby.
Detention Facility
New Objective: Reach the Elevator to the Surface
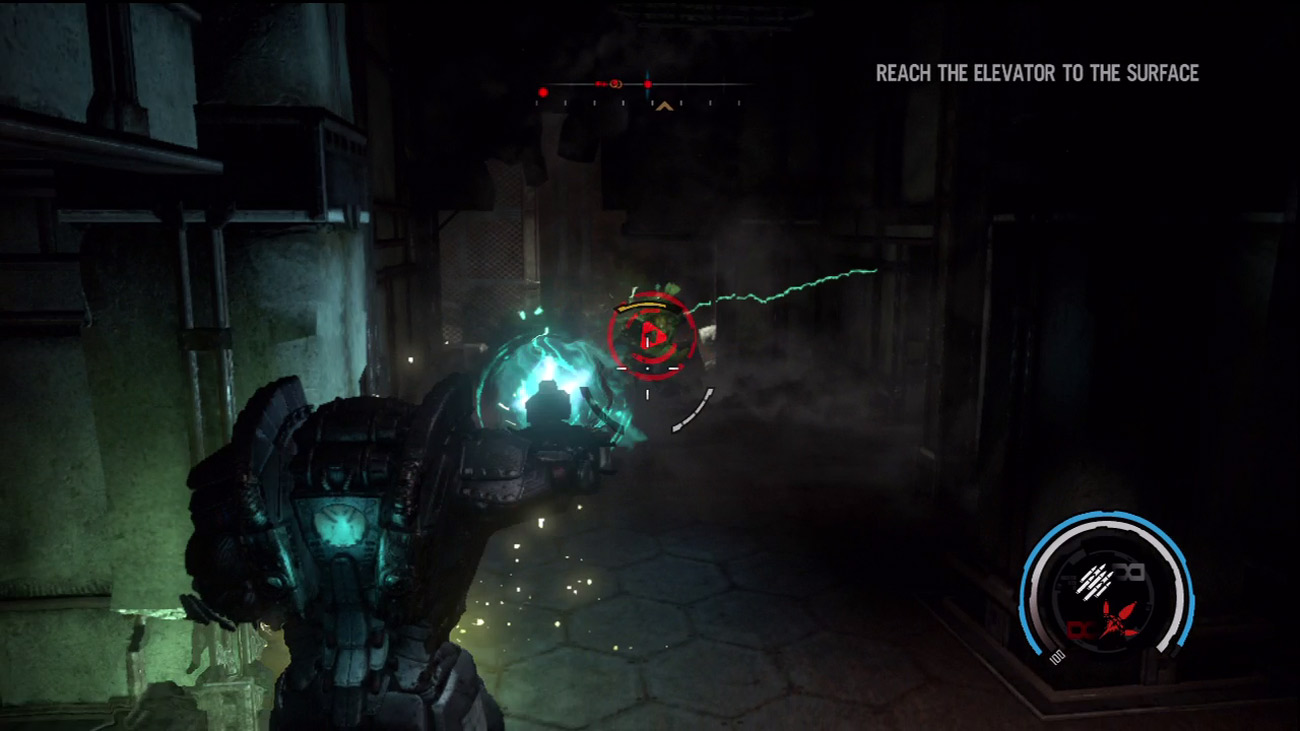
Beyond the military checkpoint, fight your way past more ravagers and then enter the detention facility. The detention facility is a cramped structure filled with narrow corridors as well as plenty of alien creatures and pods. As you fight your way through the enemies, Kara tells Darius to meet her at the elevator leading up to the surface. Despite the cramped surroundings, don't hesitate to charge through enemies and pods you encounter along the way. However, keep your distance from the berserkers roaming the corridors, using rockets and machine gun fire to take them out.
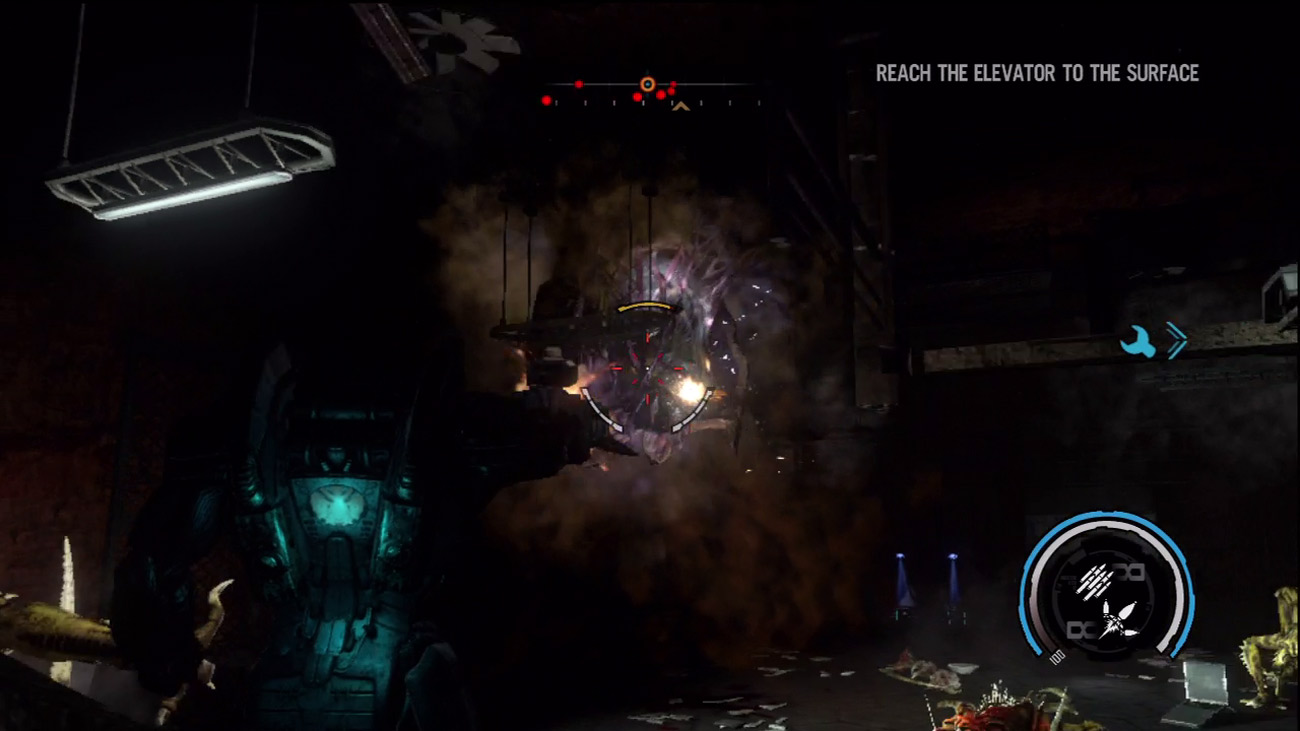
As you near the first structure's exit, you come under attack by multiple creepers and a wraith. Charge through the creepers and the wraith while blasting the pods attached to the wall. By charging you can squish multiple enemies per attack while staying on the move. Study the compass to hunt down each enemy before making your way through the exit.
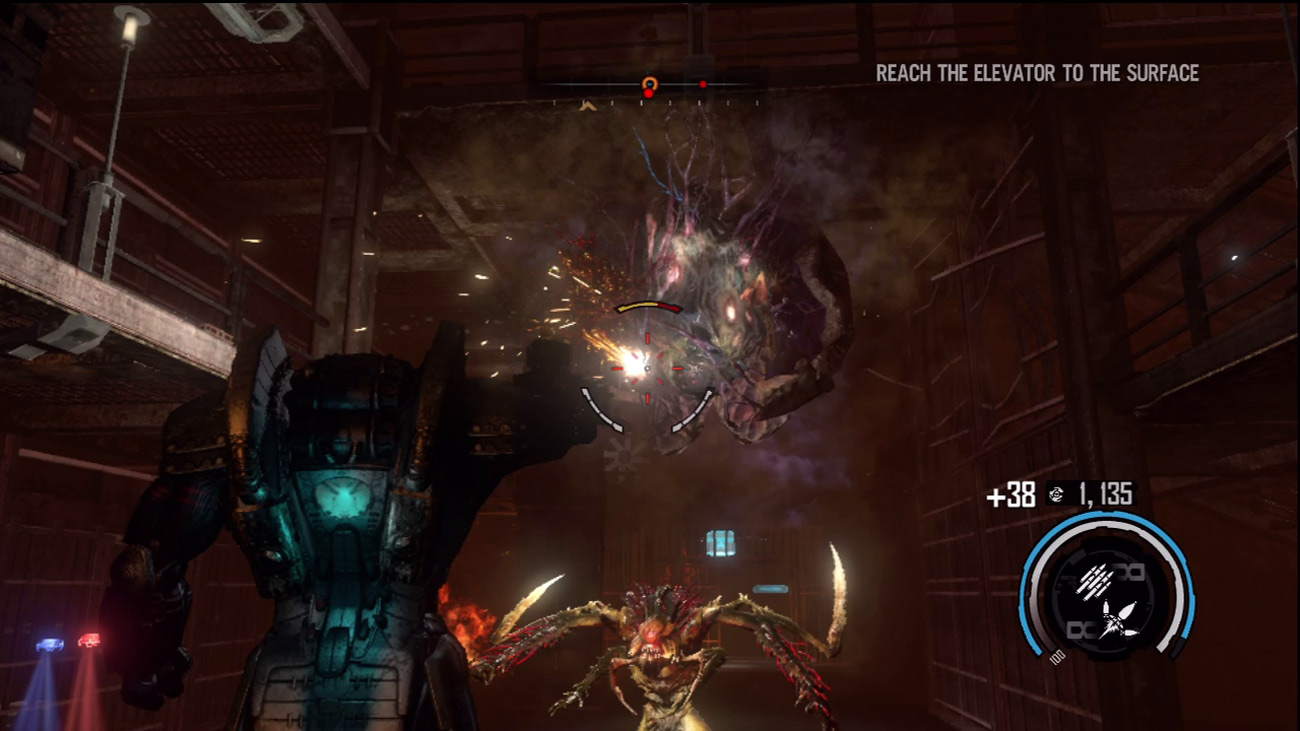
Upon exiting the first structure, Darius tells Kara to get the elevator working. Darius wants to get back to the temple site and find Adam Hale. While Kara gets busy working on the elevator, continue into the detention facility's second structure. The cell block is filled with more ravagers and pods. Prioritize the pods first, bursting them with rocket or machine gun fire. Some of the narrow doorways may be too small to squeeze your Exo suit through, so simply charge through to clear a path. On the way to the exit, blast past a couple of berserkers and then do battle with a couple of pesky wraiths.
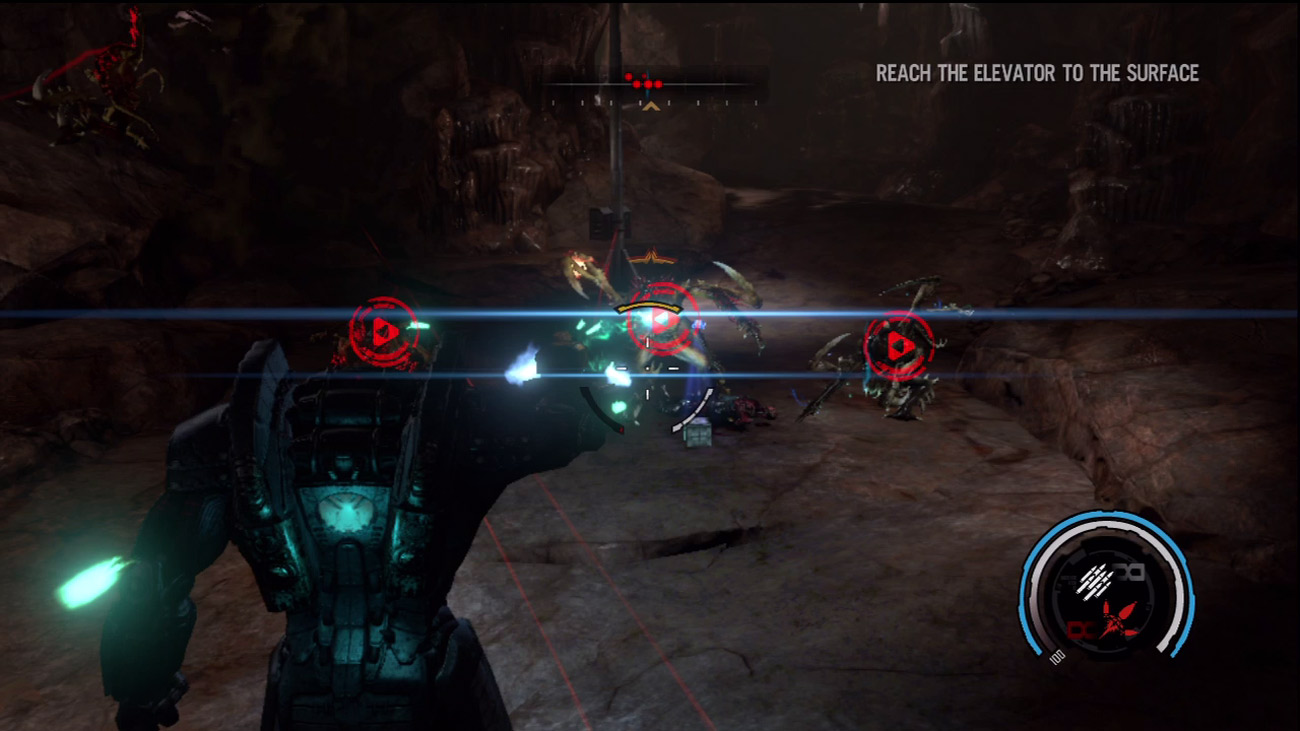
Outside the detention facility you're ambushed again by an aggressive group of ravagers spawning on the cavern walls. Hold your ground and engage the group with rockets. You can track and engage up to three targets at a time with each rocket deployment. While the next set of rockets reloads, engage the other ravagers with machine gun fire. Keep up the attack until all the ravagers are dead, then continue through the cavern. You eventually come to a dead end, but don't jump out of the Exo suit just yet. Wait for a wraith to appear. Finish off the wraith while in the Exo suit and then get out once there are no more enemy contacts on your compass.
Elevator
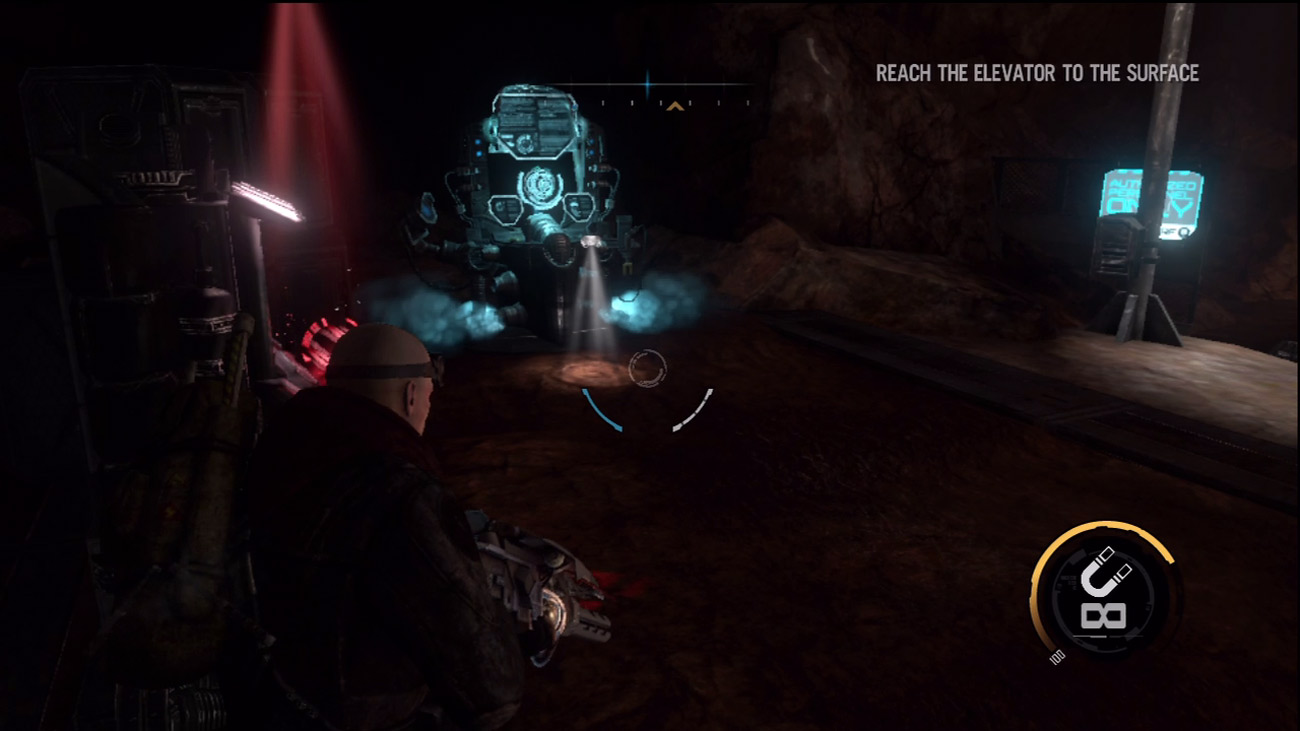
Upon exiting the Exo suit, repair the ladder leading up to the platform at the end of the tunnel. Meanwhile, S.A.M. detects a large heat signature ahead, but is unsure whether it is one creature or two. Climb up to the platform and visit the nearby upgrade station and weapons locker—it's time to prepare for a big fight. Since you must leave the LEO Exo suit behind, you need to go into this next fight with all the heavy firepower you can carry. Choose the Rocket Launcher, Plasma Cannon, Nano Rifle, and Charge Launcher as your weapons.
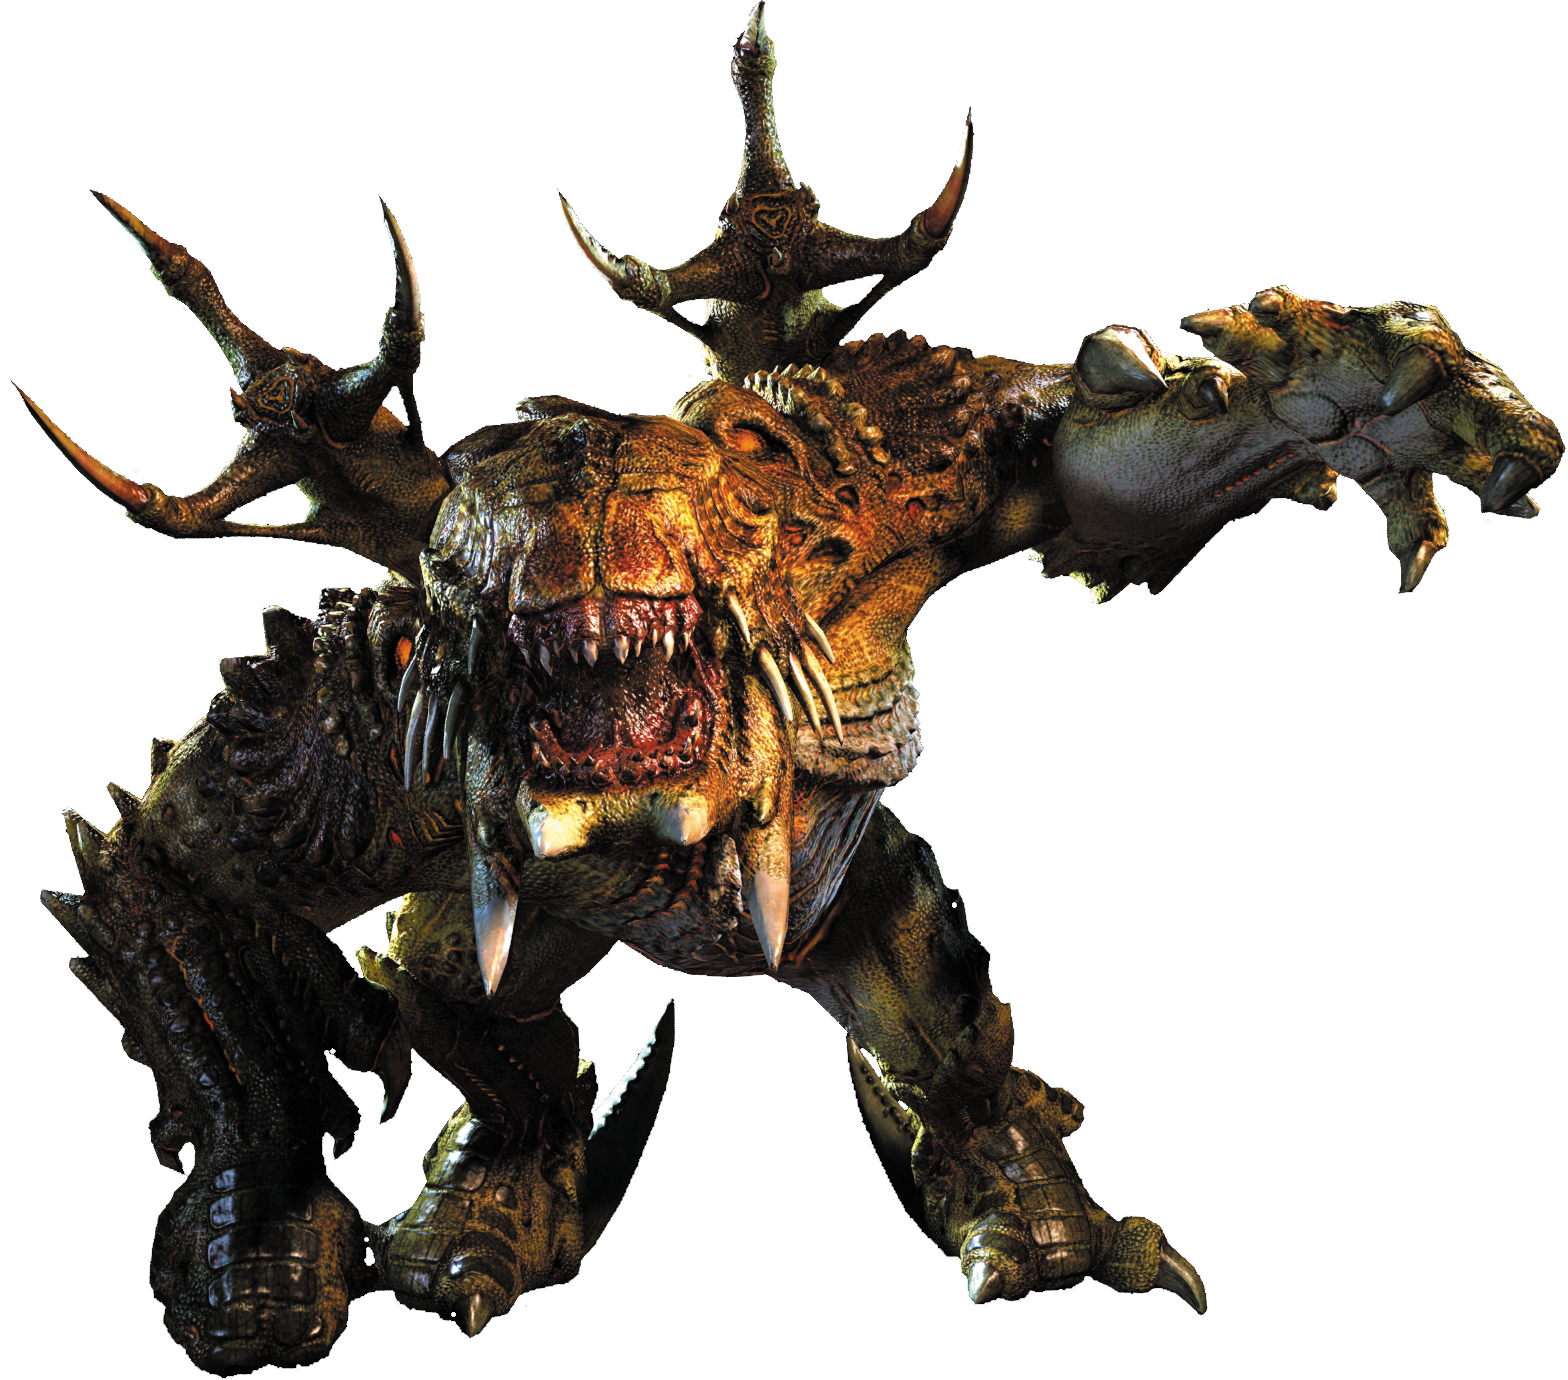
New Objective: Kill the Behemoth
Just beyond the weapons station a cutscene is triggered showing Darius' first encounter with a behemoth. These massive creatures perform like oversized berserkers, so stay on the move. The behemoth's primary attack is a charge, so circle around this chamber to avoid getting run over. The creature also fires a toxic liquid at range—yet another reason to keep moving.
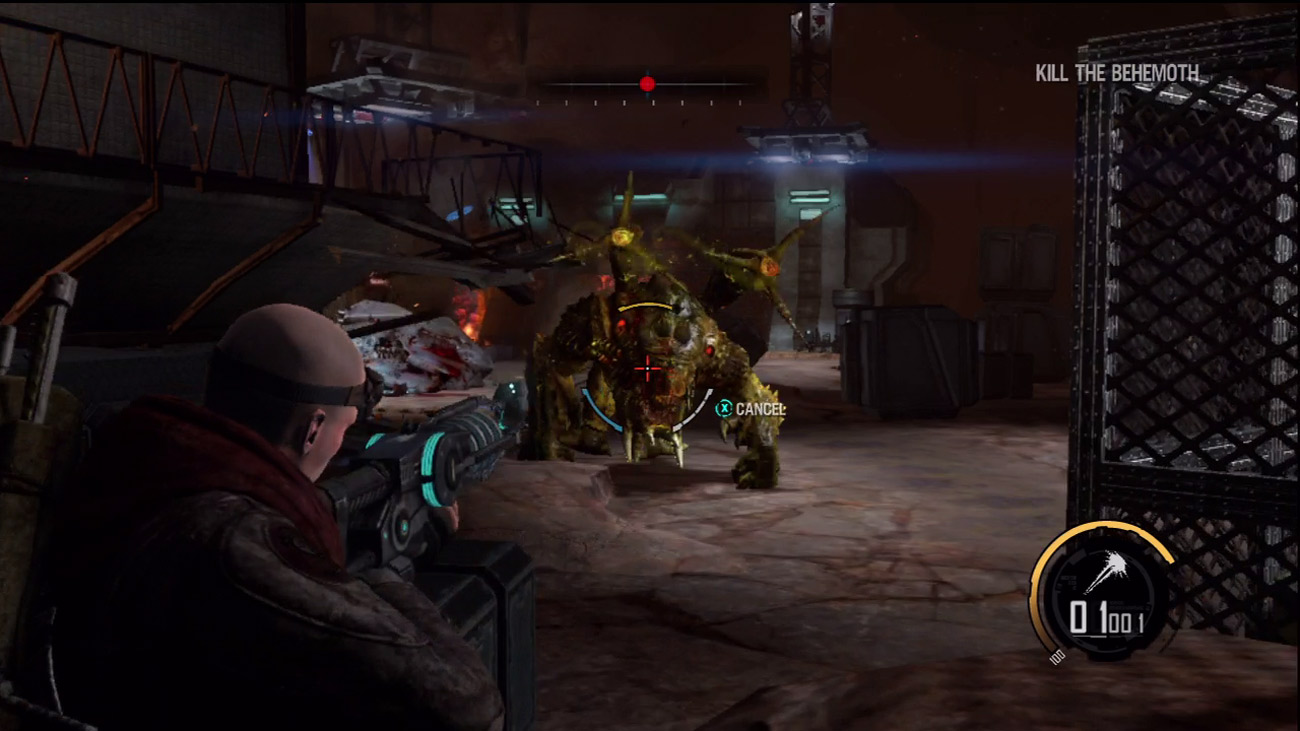
Also, don't think that taking cover will help you. Behemoths can charge directly through entire structures without even slowing down. It's much better to keep the creature in your sights so you can shoot it and predict its movement. Start off by hammering the behemoth with the Plasma Cannon. When that weapon runs out of ammo, switch to the Rocket Launcher. Little by little the behemoth's health decreases, so keep up the attack. If necessary, finish it off with the Nano Rifle. Once the behemoth is down for good, scour the surrounding area for salvage and ammo. Kara is insistent that you hurry, but there's no need to rush. Once you're ready to leave, approach the elevator and press the button shown on screen to complete the level.
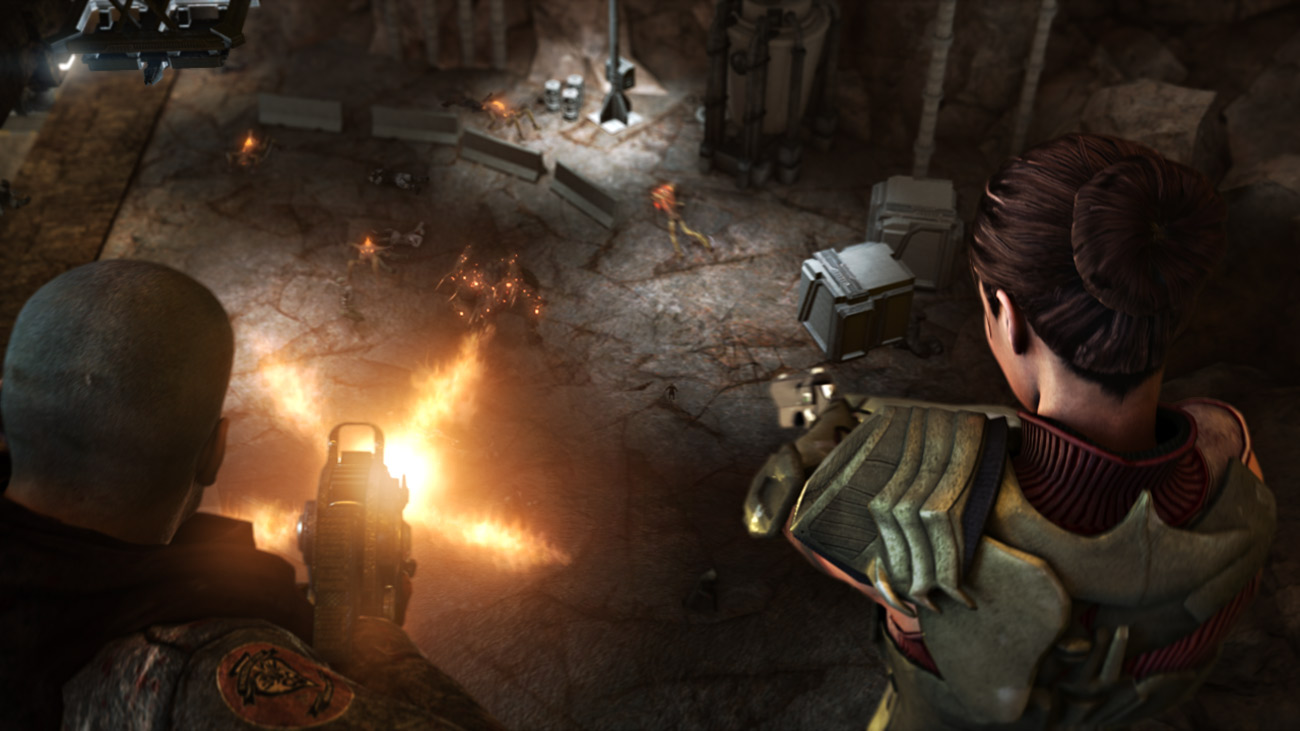
Kara and Darius reunite at the elevator. But as the elevator rises to the surface, a large group of angry colonists approach from below. Darius warns them of the aliens in the tunnels, but it's too late. A behemoth and a large group of ravagers descend on the colonists and attack. There's nothing Kara and Darius can do to help as they ride the elevator to the surface.