
Red Faction: Armageddon Guide Essentials Enemies
Creatures of the Plague
A few years following the destruction of the Terraformer, a long-dormant evil was released from deep within the planet's mantle. Darius Mason unwittingly set these creatures free while on an excavation job in Bradbury Canyon. Tricked by Adam Hale, Darius broke a seal in an old Marauder temple dating back to Ultor scientist Axel Capek's time. But even Hale was incapable of controlling this ancient Plague, leaving it to Darius to bring an end to this devastating outbreak.
Creeper
Stats
| Mobility |

|
| Health |

|
| Range |
|
| Melee Damage |
|
| Ranged Damage |
|
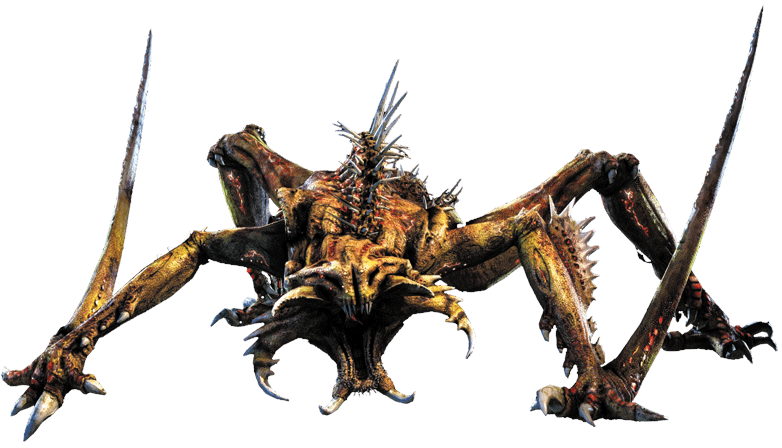
Small in stature, but deadly in groups, creepers were the first enemies encountered after the release of the Plague, quickly overwhelming outlying Red Faction bases. At close range, creepers attack with their razor forelegs. They're also capable of ranged attacks, spitting toxic acid at their prey. Creepers are fast and capable of leaping long distances, making it difficult to predict their movement. Expect creepers to primarily attack at melee range, so answer back with melee strikes of your own—all it takes is one hit to squish one of these bugs. The Shotgun is also an ideal weapon for blasting these creatures. If facing large groups, the Impact or Shockwave Nano Forge abilities are an effective way to gain some breathing space. In addition to the standard, small creeper, watch out for large variants, known as alpha creepers. These large creepers are slightly tougher to kill, but are still vulnerable to light weapons and melee strikes.
Pod
Stats
| Mobility |

|
| Health |

|
| Range |
|
| Melee Damage |
|
| Ranged Damage |
|
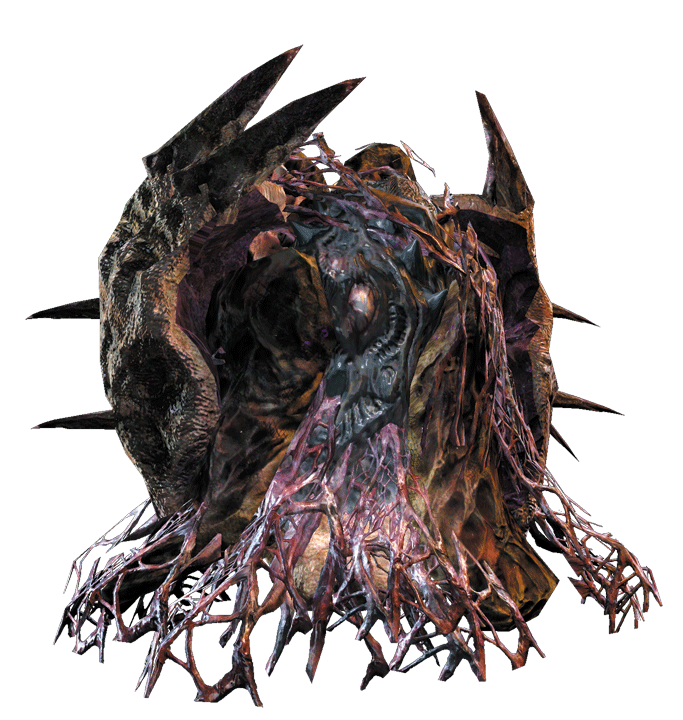
Pods are slimy, purple cocoon-like objects responsible for hatching both creepers and ravagers. A single pod can hatch a new creature every few seconds, producing a nearly endless supply of enemies. Therefore, when encountering pods, destroy them as quickly as possible—or face a never-ending wave of enemies. Pods appear as orange circle icons on your compass at the top of the screen. Use the compass to locate each pod in the area, and destroy each of them by any means necessary. Pods have no offensive capability, so don't worry about getting in close and smashing them with the butt of your rifle or the Maul. However, a pod may spawn a creature while you're smacking it, so be prepared to defend yourself against a newly hatched creeper or ravager. At range, heavy weapons like the Rocket Launcher or Plasma Cannon are quick ways to destroy large clusters of pods, but lighter weapons like the Assault Rifle or Nano Rifle are more efficient when targeting individual pods.
Ravager
Stats
| Mobility |
|
| Health |
|
| Range |

|
| Melee Damage |
|
| Ranged Damage |
|
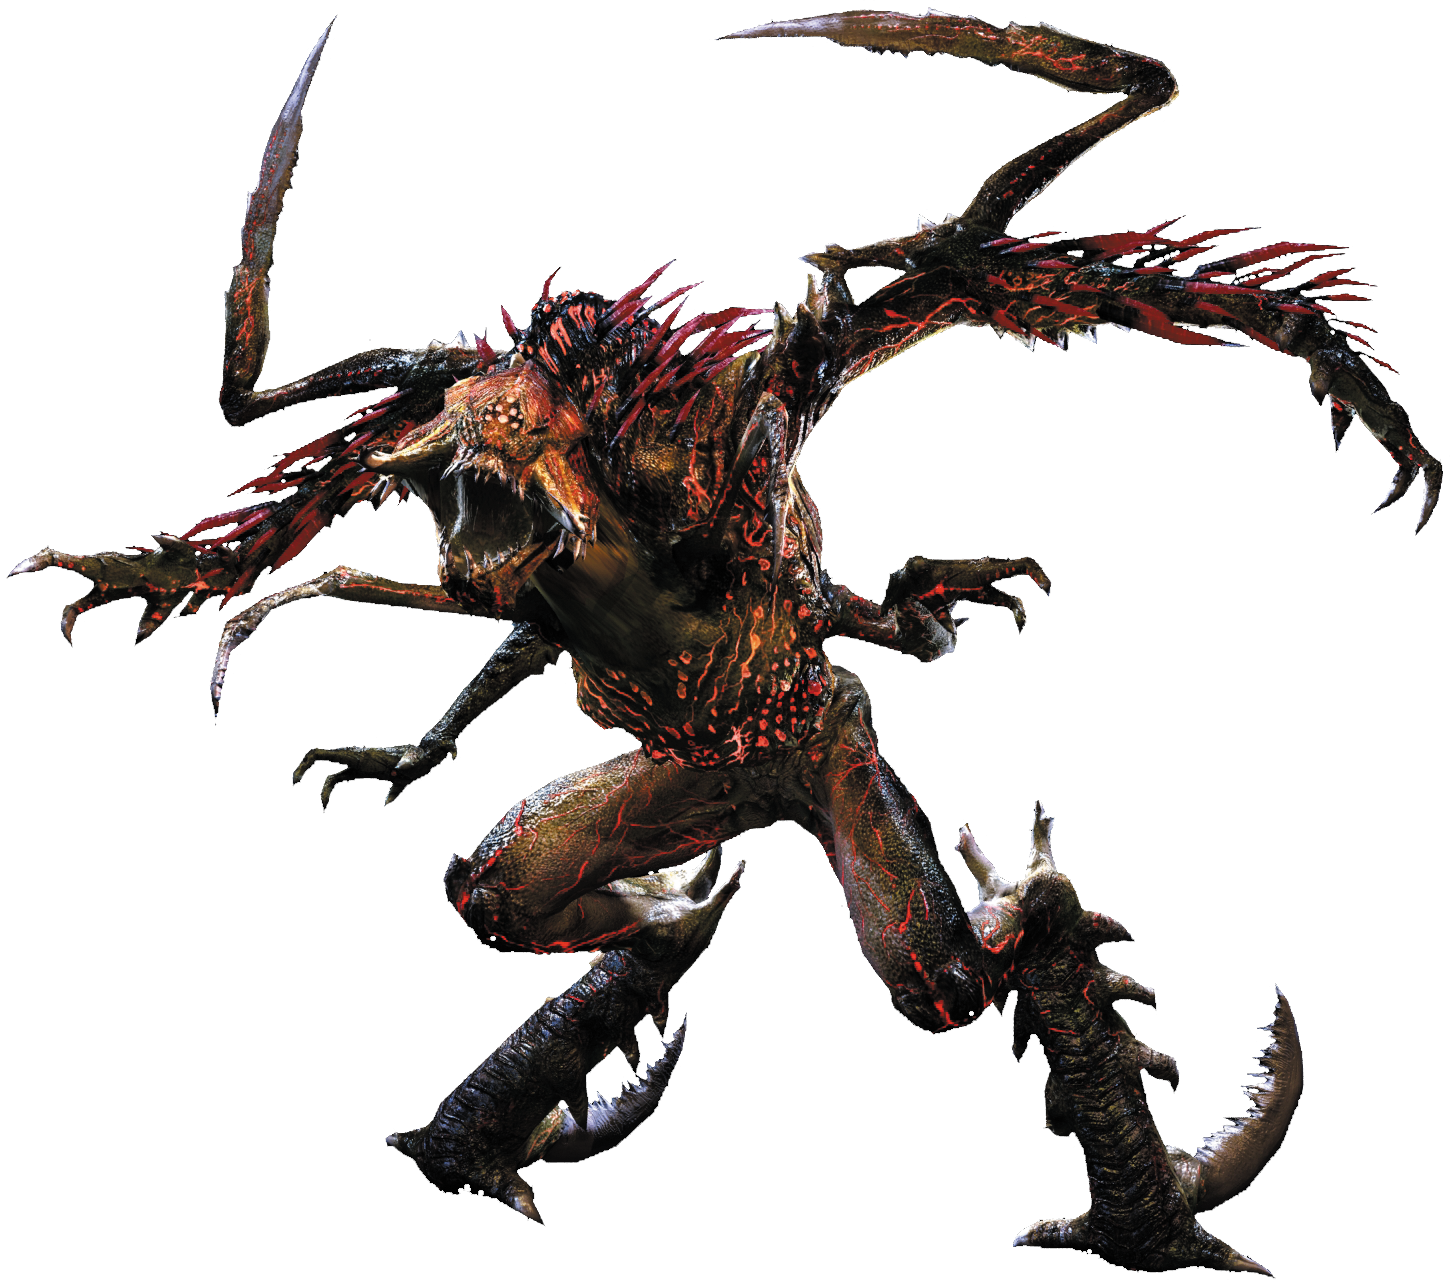
Ravagers make up the bulk of the Plague's fighting forces and use a range of biological weapons. There are three ravager variants, each with a unique attack ability. Red ravagers are the most common, and attack at range by firing razor quills. Blue ravagers channel bio-electric energy into a slow-moving ranged projectile of ball lightning. While the ball lightning causes heavy damage and has a slight area of effect, it moves slowly enough to dodge when seen incoming. The yellow ravagers fire a mass of biological matter that explodes upon contact, causing damage in a wide area and destroying whatever they hit. Ravagers can often be found clinging to ceilings and walls and, like creepers, always attack in large groups. Despite their size and ferocity, ravagers can't withstand a ton of damage. A couple of melee strikes or hits from light weapons are enough to bring these creatures down. Just as with the cultists, always aim for their head. Once available, deploy the Shell Nano Forge ability when confronting large groups of ravagers to repel their projectile attacks.
Monolith
Stats
| Mobility |
|
| Health |
|
| Range |
|
| Melee Damage |
|
| Ranged Damage |
|
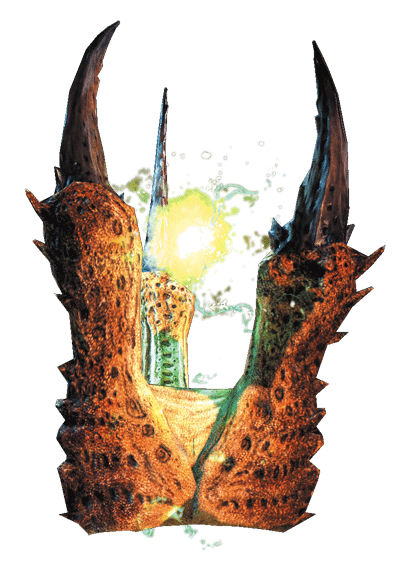
Monoliths are peculiar claw-shaped alien structures that sprout from the ground, usually in support of an enemy ambush or defensive effort. Pay close attention to the green glowing pulse of energy forming at the center of a monolith—this indicates that the monolith is preparing to fire a plasma pulse in your direction. Quickly dive to get out of the way of these incoming pulses of plasma, as they explode upon contact, inflicting heavy damage. In addition to firing these plasma pulses, monoliths also enhance all creatures within a wide radius, making them tougher to kill. Creatures enhanced by a monolith have a pulsing green barrier around them, serving as type of armor. They can still be killed, but it takes more hits than normal. Monoliths should be at the top of your target priority list in any fight. Take them out quickly with heavy weapons like the Charge Launcher, Pulse Grenade, Plasma Cannon, Rocket Launcher, or Singularity Cannon. When possible, deploy a Shell for protection while hammering away at monoliths. This allows you to focus your fire on the alien structure without having to worry about dodging its energy pulses or attacks by other enemies.
Berserker
Stats
| Mobility |
|
| Health |
|
| Range |
|
| Melee Damage |
|
| Ranged Damage |
|
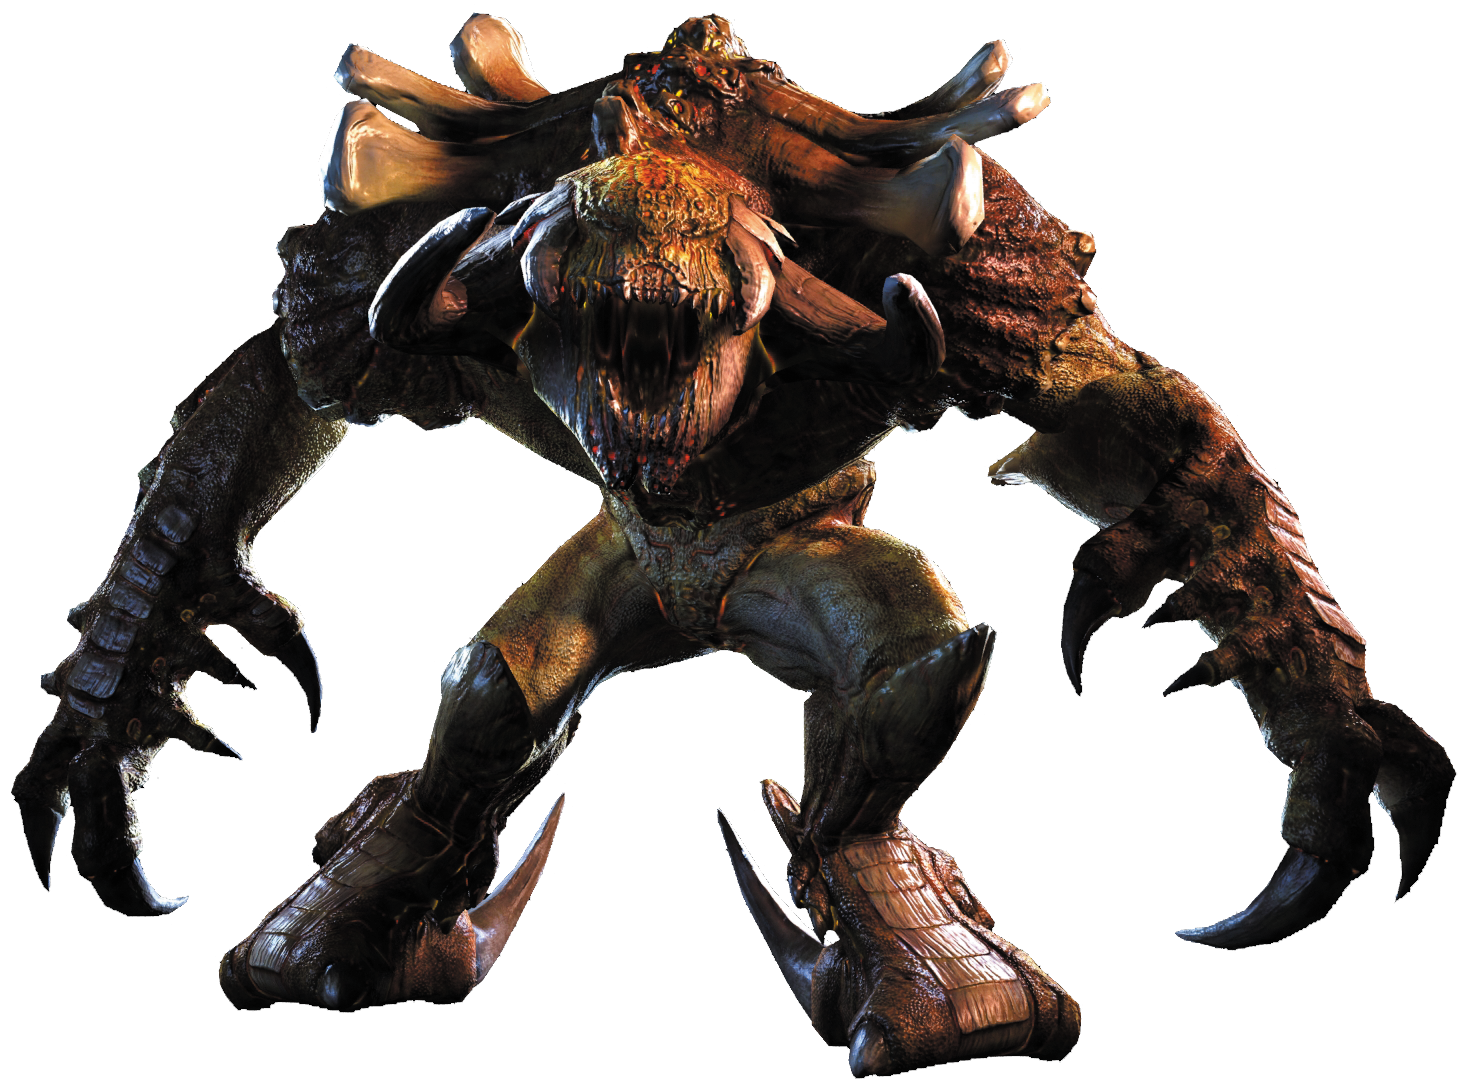
Think of the berserkers as the alien force's heavy infantry. These large, slow-moving creatures are covered in thick armor, making them tough to kill. There are two berserker variants, each with a unique attack. Green berserkers fire a bolt that charges over time and then explodes after landing. Yellow berserkers attack with a fireball-like explosive that detonates upon contact with any surface. Both berserker attacks have a large blast radius, causing both damage and destruction. So make sure you're far away from the impact point. It's best to keep berserkers at as great a distance from you as possible. Consider using the Magnet Gun to launch berserkers far away from you. When using the Magnet Gun, berserkers make excellent wrecking balls, ideal for demolishing structures. As a bonus, each high velocity collision slowly eats away at the berserker's health. If you don't have the Magnet Gun, heavy weapons like the Charge Launcher, Rocket Launcher, or Plasma Cannon are a good way to weaken a berserker. Pay close attention to the berserker's health, as visible with the Enemy Health Indicators upgrade. When a berserker's health is low, it will charge directly at you and explode, so if you spot a berserker charging at you, quickly dive out of the way or deploy a Shell.
Wraith
Stats
| Mobility |

|
| Health |
|
| Range |
|
| Melee Damage |
|
| Ranged Damage |
|
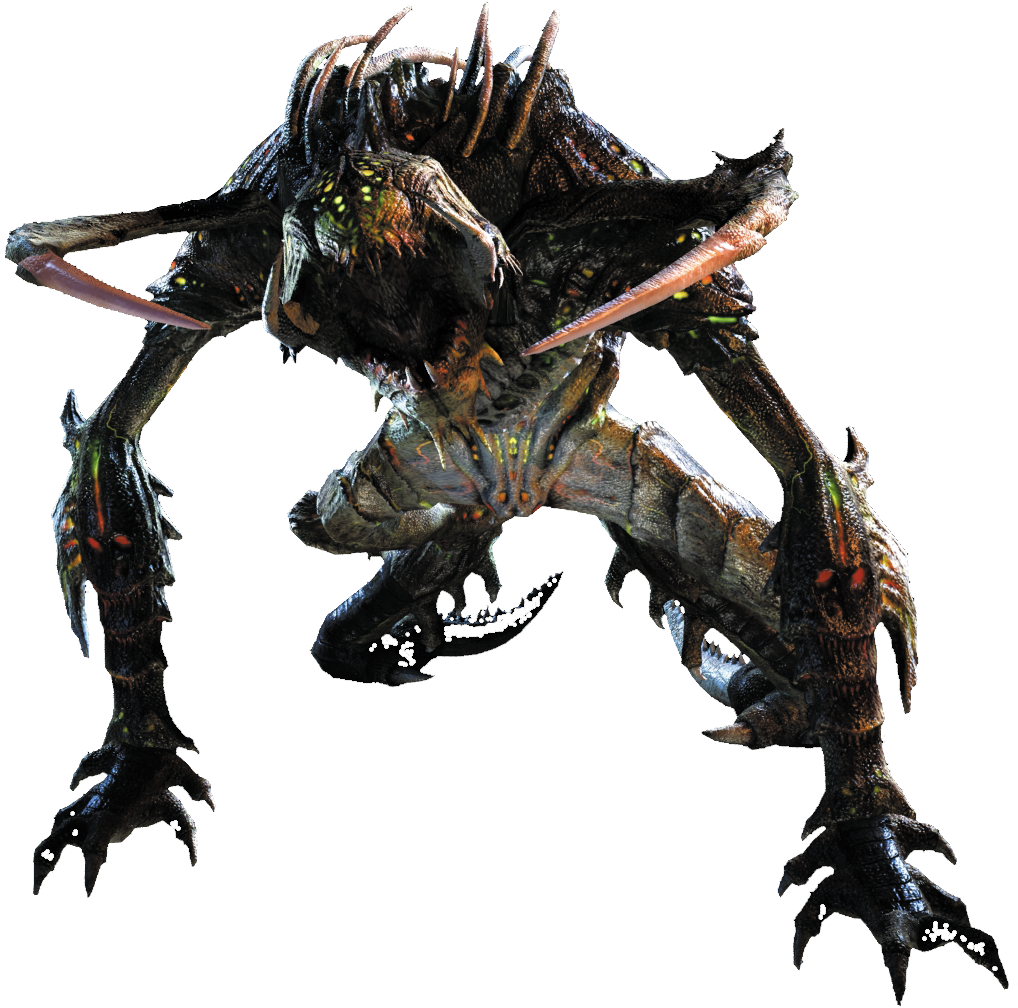
Wraiths are gray stealthy creatures capable of cloaking, making them impossible to see or hit. Their rapid appearances and disappearances allow them to create the illusion of teleportation. In reality, they simply move while cloaked, making it impossible to determine where they'll pop up next. Fortunately, when wraiths uncloak, they emit a high-pitched screeching sound, giving you an audio cue of their presence. Wraiths fire a powerful convergence laser, so watch out for these red beams zeroing in on your location. Once initiated, the laser attack's aim cannot be adjusted. If you simply dive out of the way while the lasers converge, you can avoid taking heavy damage. But don't let these pesky creatures live long enough to launch follow-up attacks. The Rocket Launcher is most effective against wraiths. As soon as a wraith appears, rapidly fire two rockets to take them out, preferably before they can cloak. Melee strikes are also effective at close range, especially once you purchase the Melee Training upgrade. Don't get locked in a duel with a wraith. If a wraith begins firing its laser, get out of the way first before counter-attacking. In some instances, wraiths may also deploy psychic barriers. These transparent amber-colored barriers act like impassable membranes, preventing you from escaping. They also let you know that a wraith is in the area. If you spot these barriers, stay on your toes.
Tentacle
Stats
| Mobility |
|
| Health |
|
| Range |
|
| Melee Damage |
|
| Ranged Damage |
|
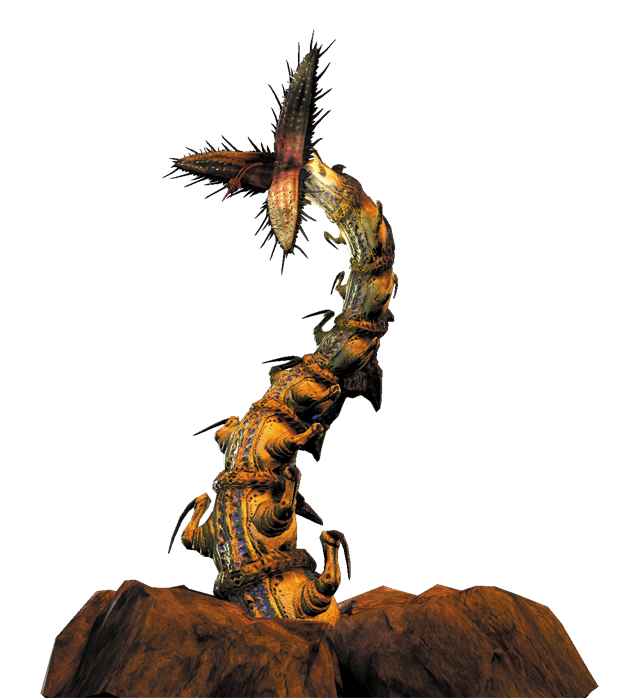
Like monoliths, tentacles emerge from the ground often in support of alien ambushes or defensive actions. Unlike monoliths, tentacles have no enhancing powers over nearby creatures, not do they fire pulses of energy. Instead, tentacles use their tendril-like appendages to grab pieces of debris and throw them at you. A tentacle is also capable of occasionally charging up the debris so it explodes on contact. In this sense, tentacles exhibit remarkable strength, capable of heaving massive objects at devastating speeds, so never turn your back on these enemies. Anticipate their throws and either dive out of the way or deploy a Shell. Heavy weapons like the Charge Launcher, Rocket Launcher, or Plasma Cannon are the quickest ways to take out tentacles. In a pinch, lighter weapons like the Assault Rifle and Nano Rifle also can get the job done.
Behemoth
Stats
| Mobility |
|
| Health |
|
| Range |
|
| Melee Damage |
|
| Ranged Damage |
|
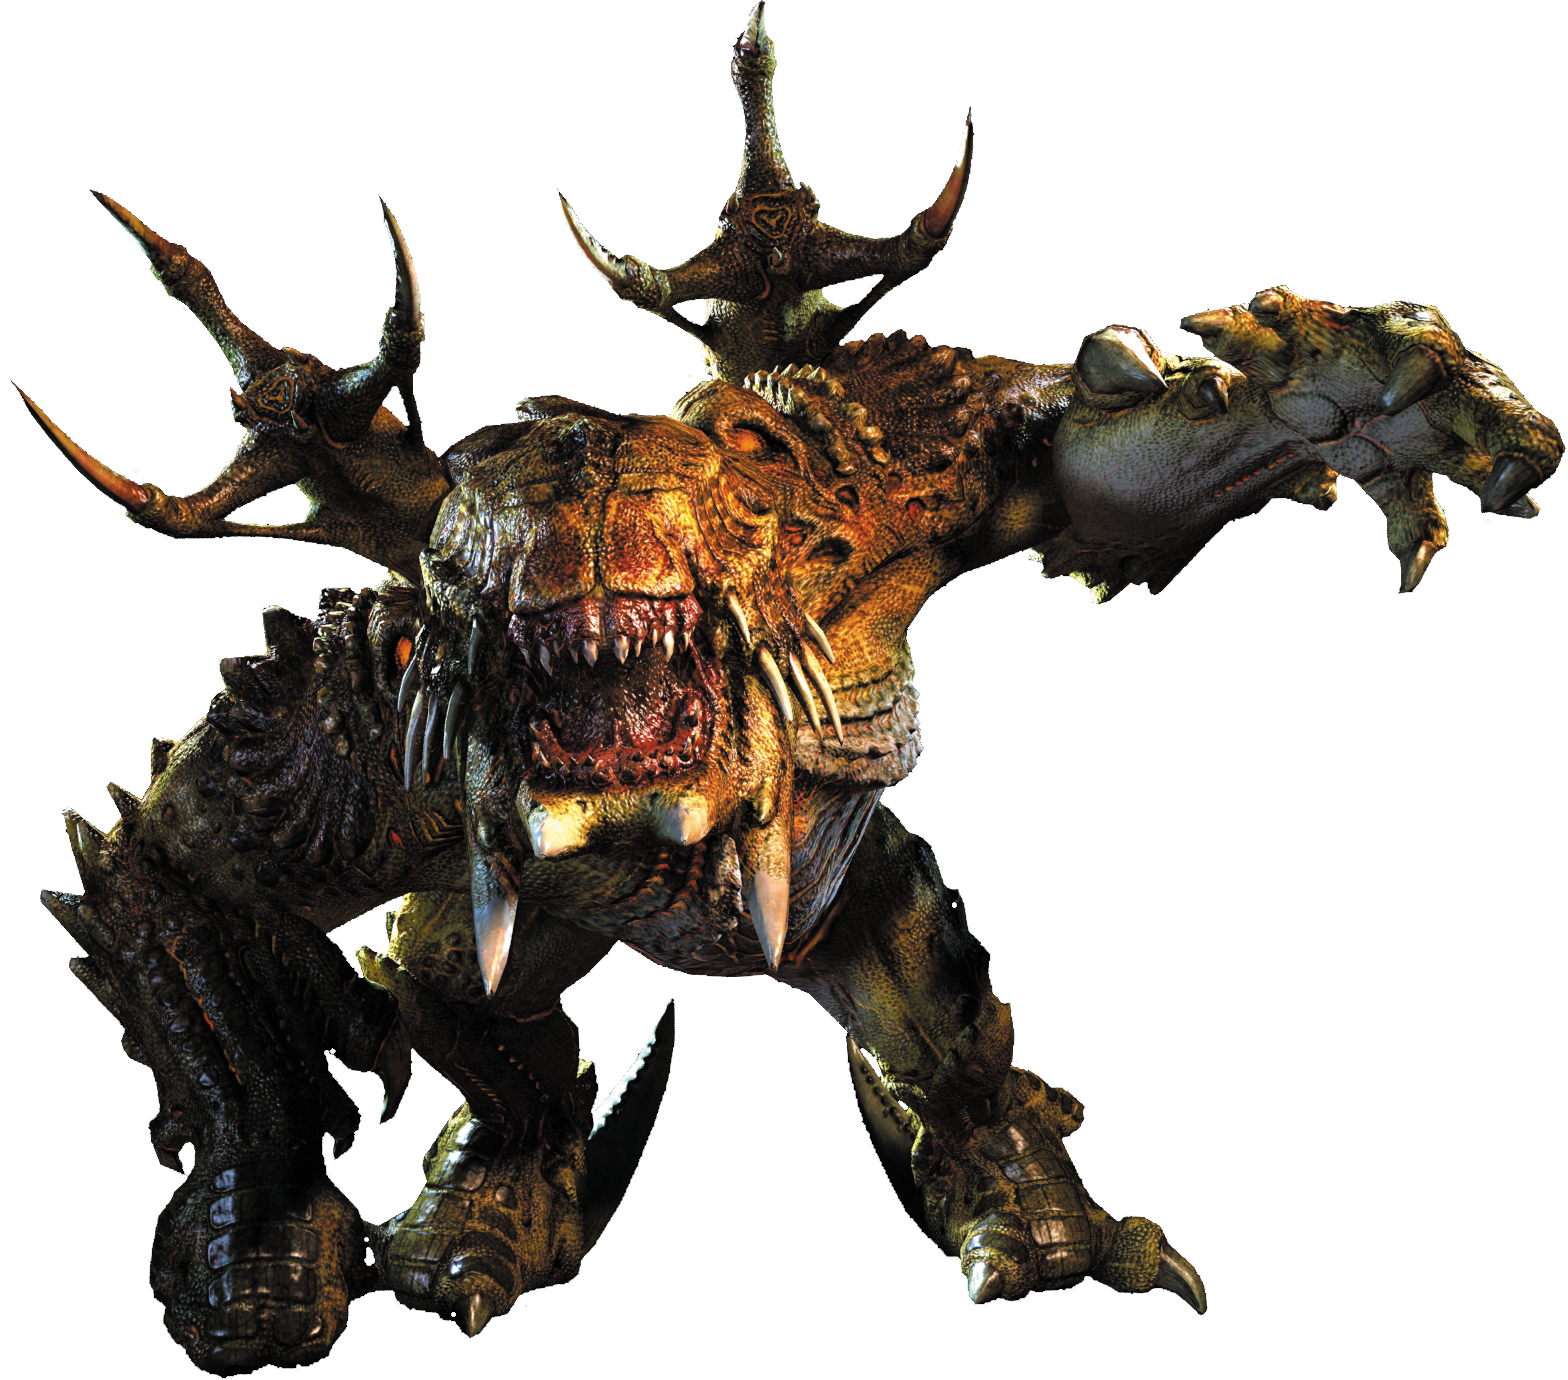
Behemoths are massive creatures covered in thick armor, resistant to most weaponry. Although behemoths move at relatively slow speeds, they are capable of charging forward, smashing through anything in their way, so don't think you'll be safe hiding behind a building or any other object. Instead, it's best to keep moving while engaging these beasts, circling and diving out of their way. In addition to their charging attacks, behemoths also spit a toxic liquid that creates a small toxic cloud on impact. However, if you keep moving, you're unlikely to be hit by these projectile attacks. While circling and diving, constantly fire at the behemoth with the heaviest weapons you have. The Rocket Launcher, Plasma Cannon, and Singularity Cannon are all very effective, but it takes multiple direct hits to bring down a behemoth. If you've upgraded Berserk with the Berserk Pulse upgrade, the Nano Rifle can make a serious dent in the behemoth's health. If you need to take a break from moving, or if the area doesn't allow for evasive movement, deploy a Shell and hold steady while blasting the behemoth. The Shell won't last long enough to kill a behemoth, however, regardless of which weapon you use. Be ready to move once the Shell expires.
Queen Tentacle
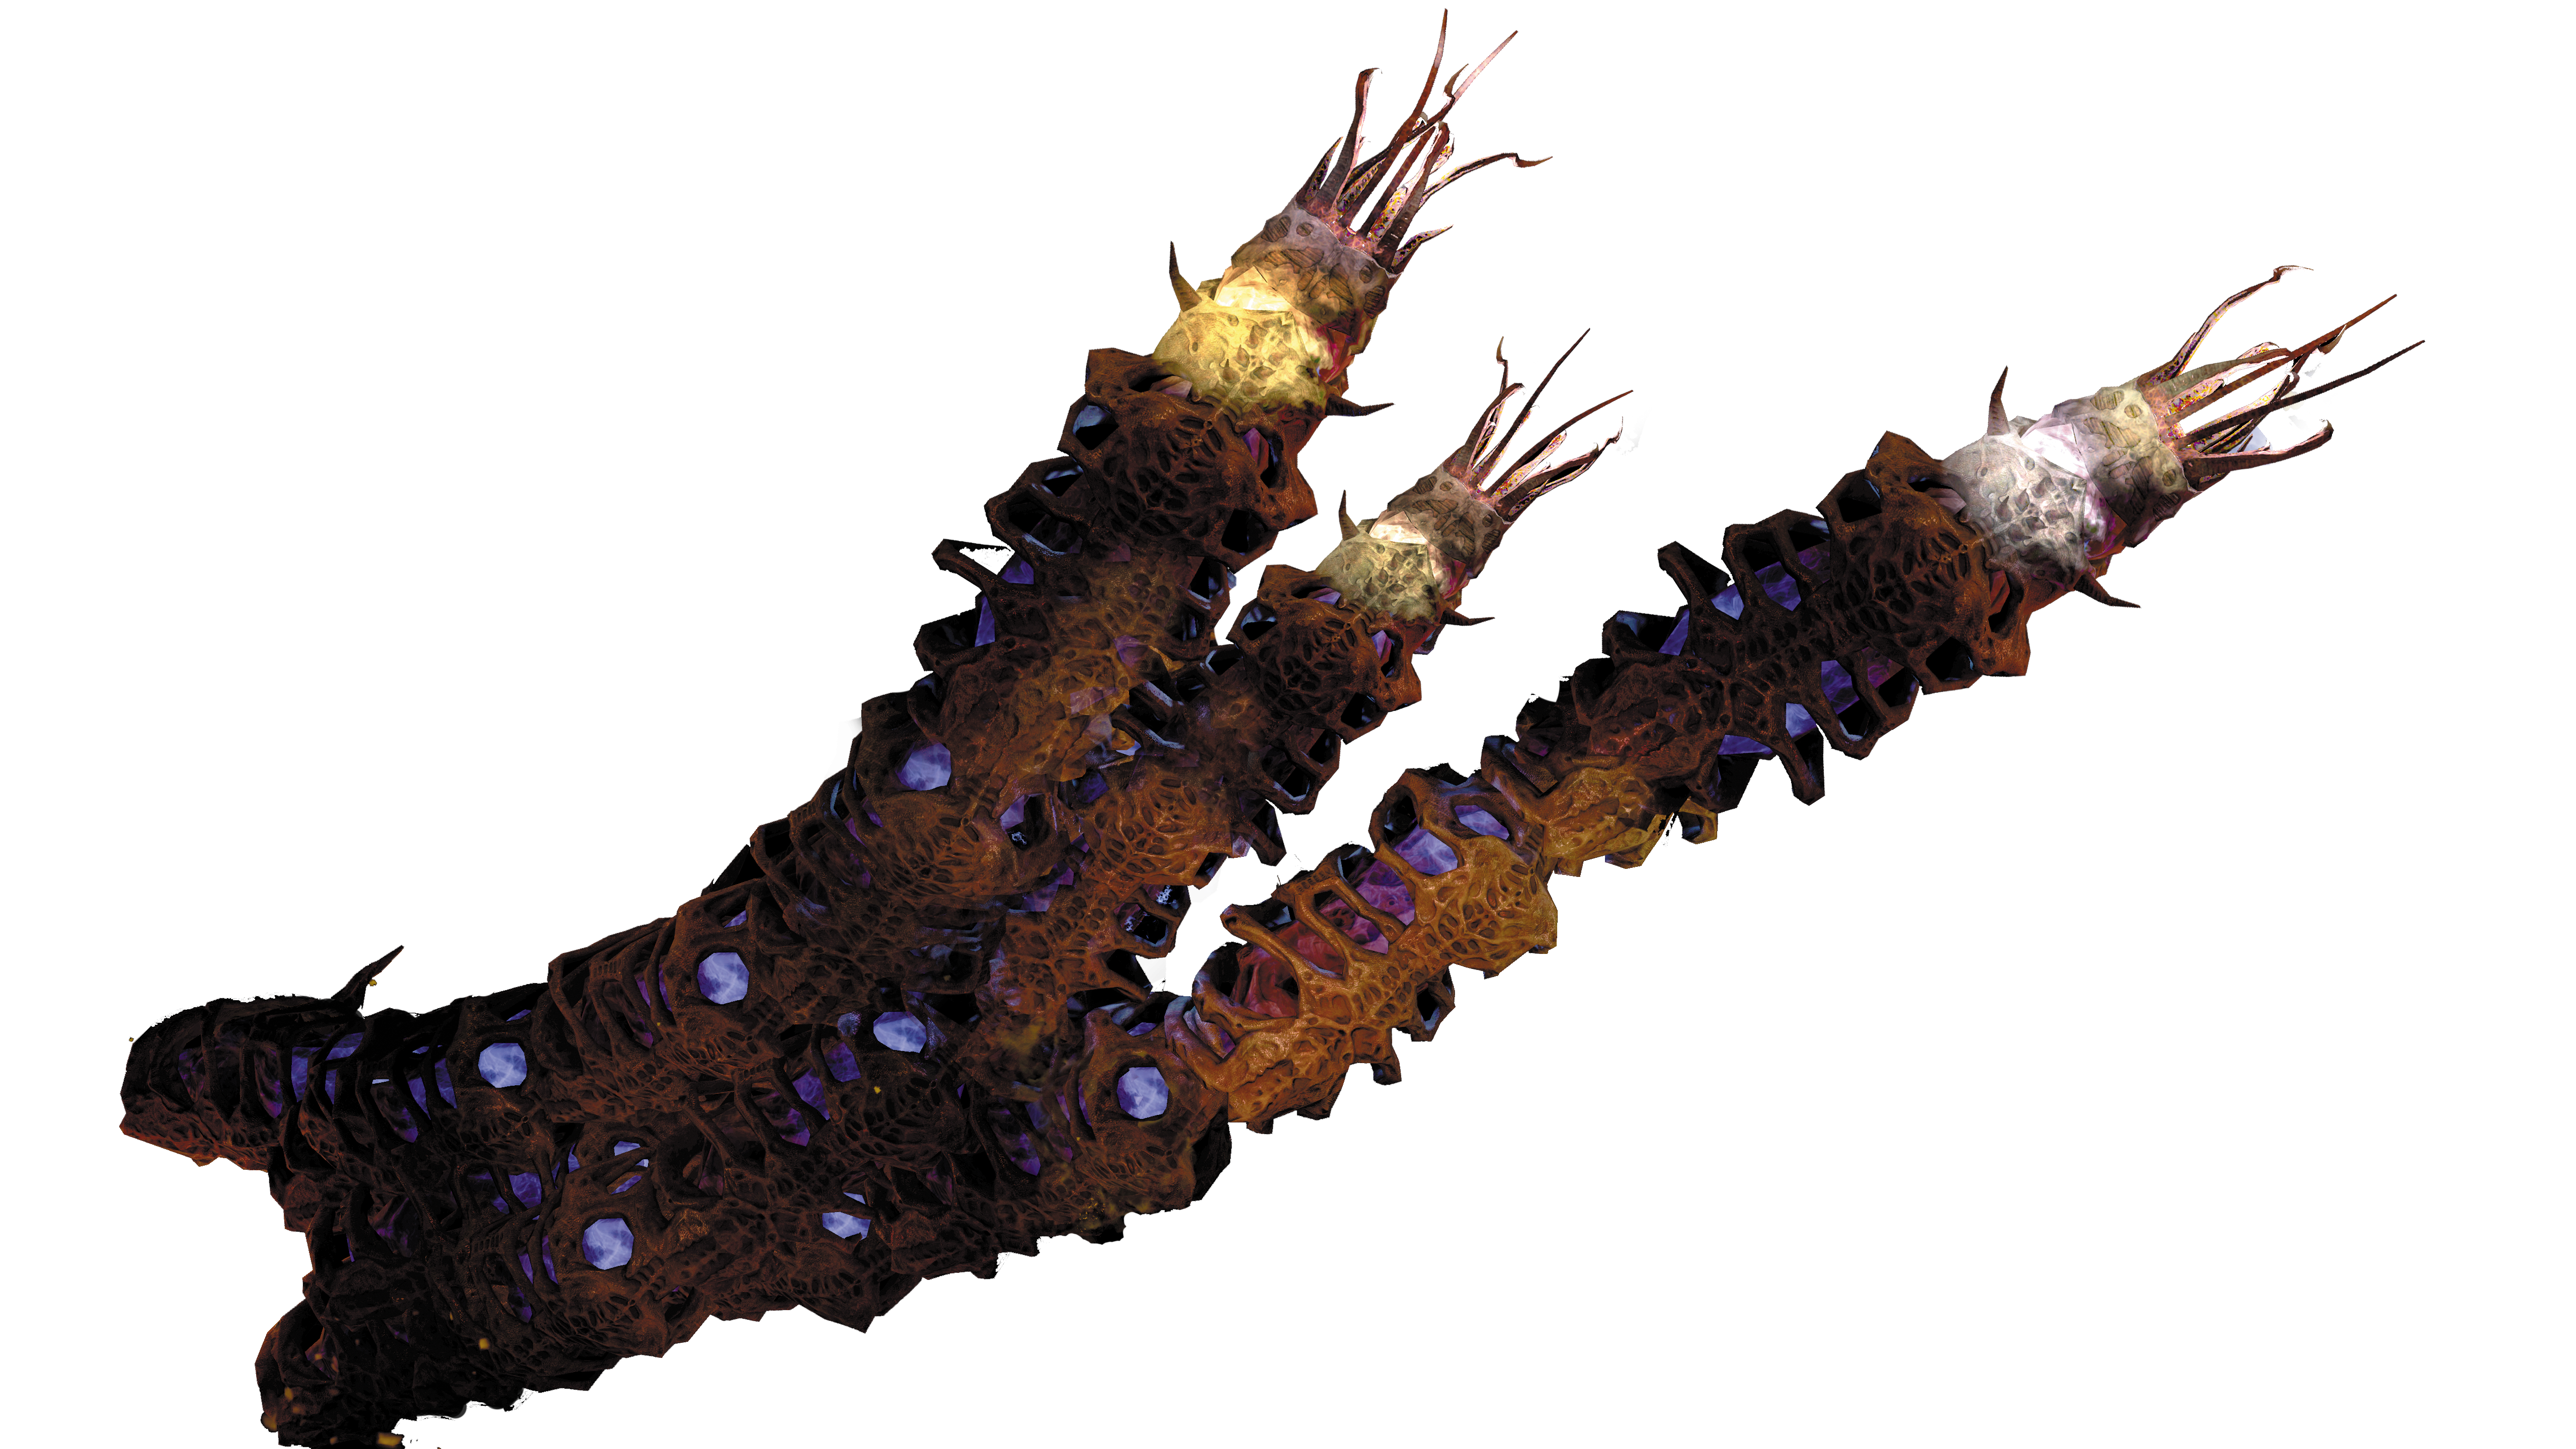
Deep in the queen's lair, you encounter several massive tentacles that block passages. Unlike the smaller tentacles, these tentacles don't move or attack.
Instead, they simply prevent you from reaching critical areas. Locate the ends of the tentacles and target the tendril-like appendages. Targeting these vulnerable ends causes the tentacles to explode, clearing a path for you.