
Red Faction: Armageddon Guide Walkthrough Campaign
The Road Less Traveled
| Icon | Name | Description | Gamerscore | Trophy |
|---|---|---|---|---|
|
Chronicler | Listen to 40 audio logs. | 25 | Silver |

|
Back At Ya! | Make an enemy kill itself while shooting at your Shell. | 20 | Bronze |
|
Knock, Knock | Open up the secret entrance. | 15 | Bronze |
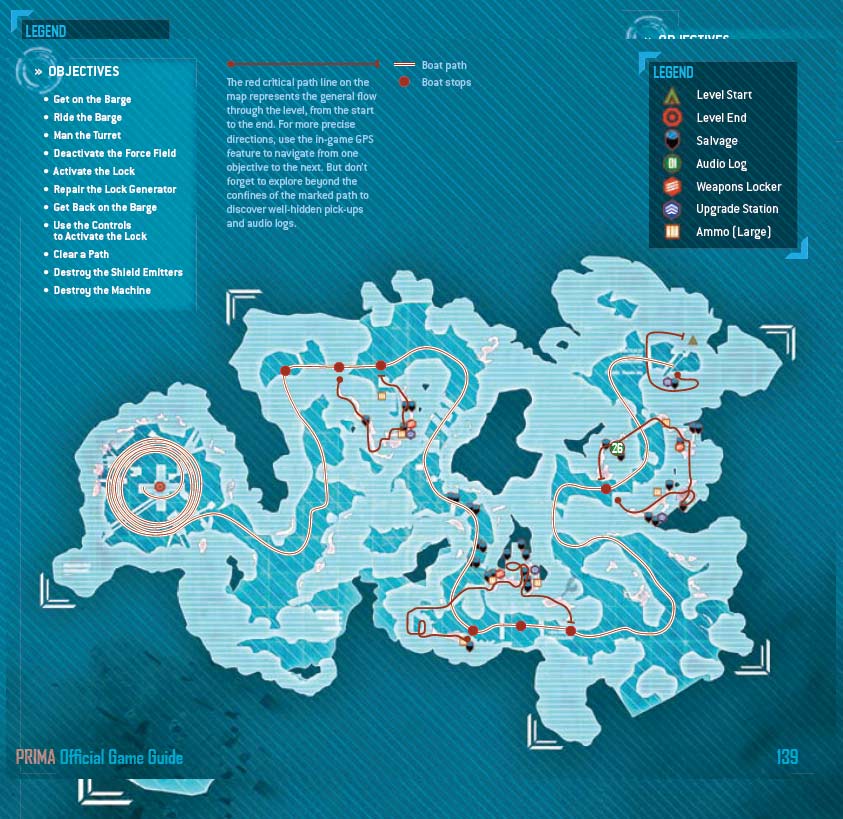
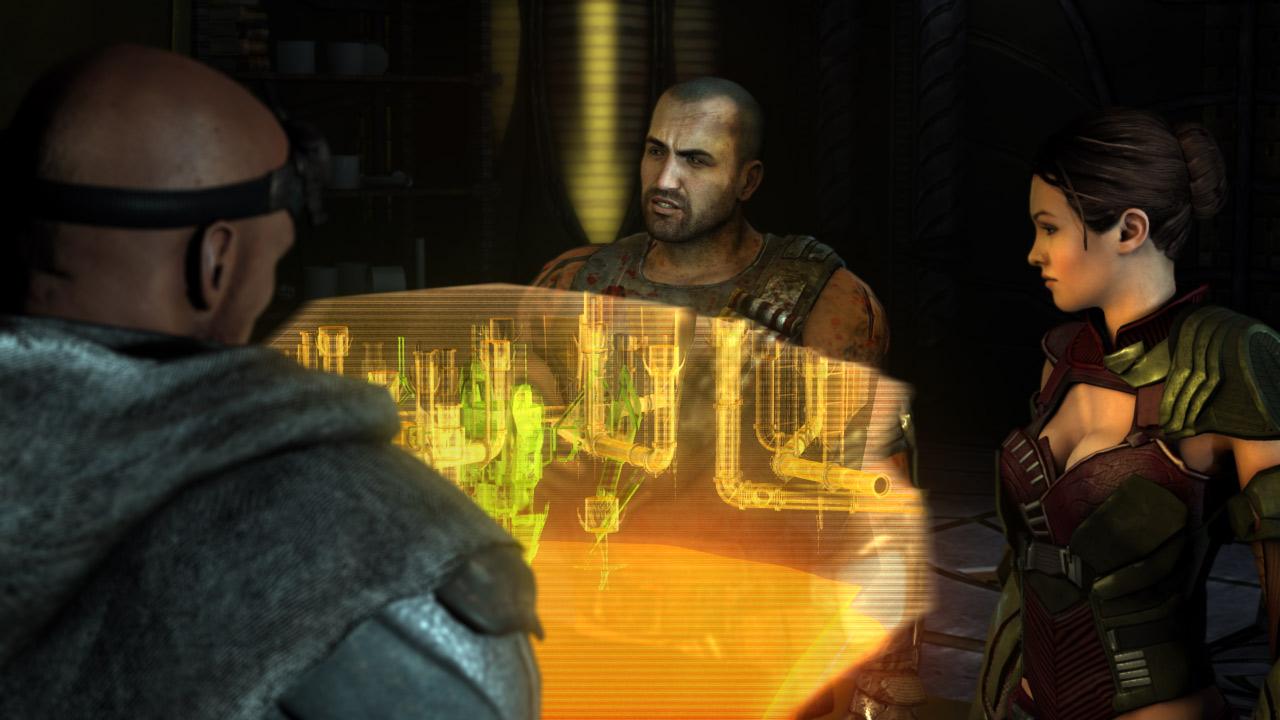
Noella's holo-recording contains a path to something known as the backdoor—a secret tunnel that leads directly to the central mind, or queen. However, the tunnel is filled with magma, redirected by some machinery. The machinery was likely built following the first plague, designed to seal this secret tunnel with lava. Destroying the machinery can reopen the tunnel. While Darius and Sergeant Winters pilot a barge down the lava river, Kara volunteers to procure some heavier firepower necessary for the assault on the queen, displaying a massive Mantis Heavy Walker on the holo-table.
New Objective: Get on the Barge
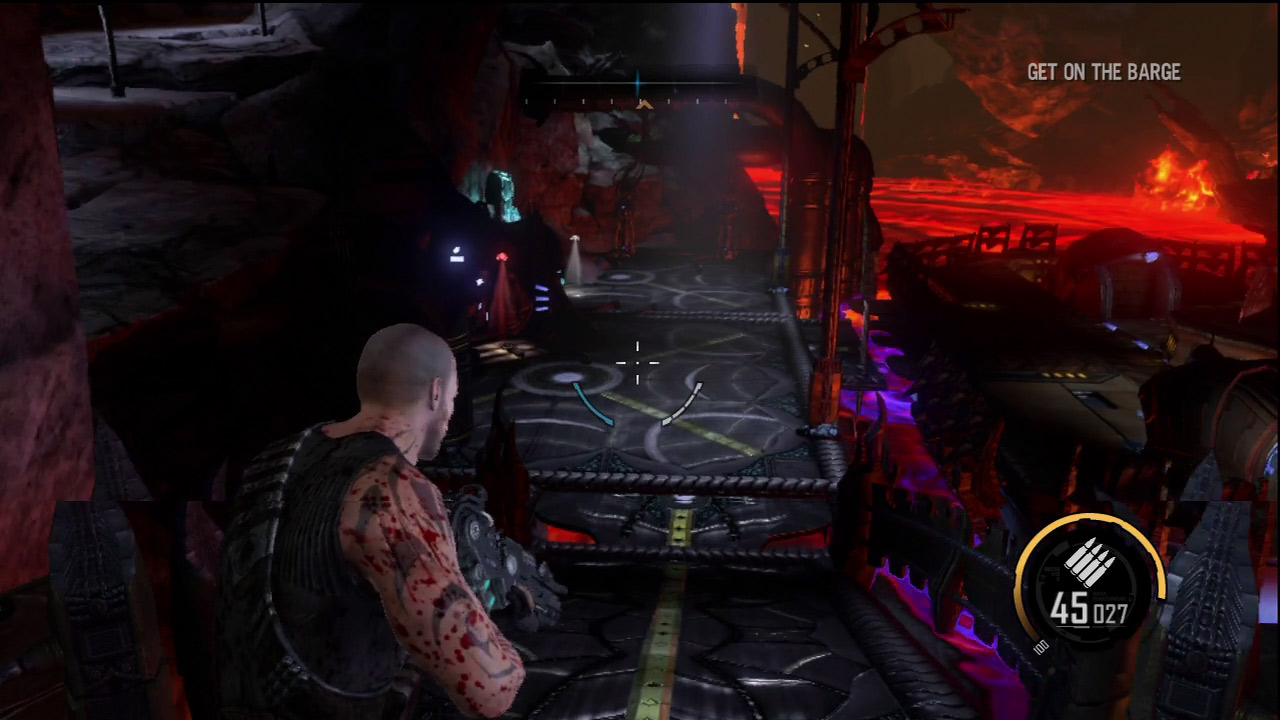
Following the cutscene, Sergeant Winters is already waiting on the barge docked below. Traverse the nearby ramps and walkways down toward the barge. There's a Nano Rifle and salvage container on the dock, along with an upgrade station. By now you can access upgrades in the fourth tier. Now's a good time to upgrade your Shell with the Reflective Shell upgrade—this causes enemy projectiles to reflect off the Shell. Shockwave Drain, Health Increase III, and Energy Transfer are also worthwhile fourth tier upgrades.
New Objective:
Ride the Barge
Man the Turret
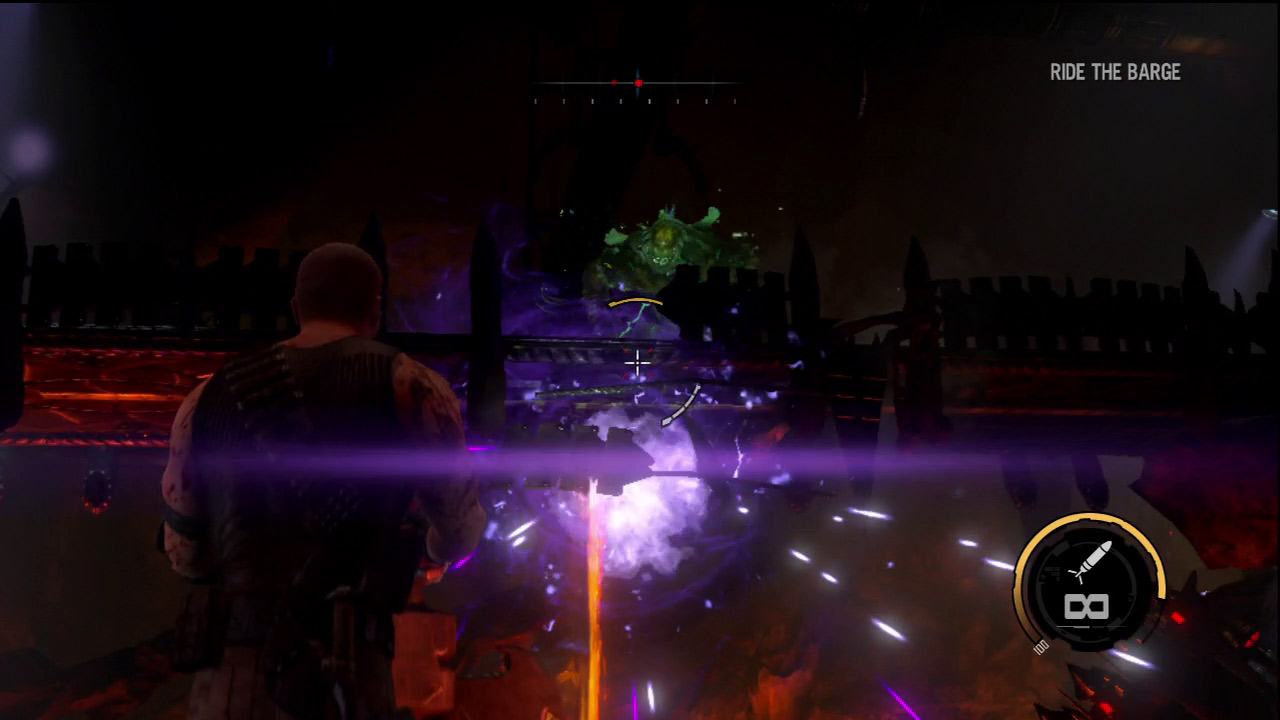
Once on board, take control of the turret in the middle of the barge. While the barge is moving, you must man the turret. You cannot exit the turret, nor can you use your Nano Forge abilities. Fortunately the turret is very powerful, capable of rapidly firing plasma bolts. As the barge nears a bridge, open fire on a berserker and ravager. You can either target the enemies directly, or destroy the bridge beneath their feet, causing them to fall into the lava.
Force Field
New Objective: Deactivate the Force Field
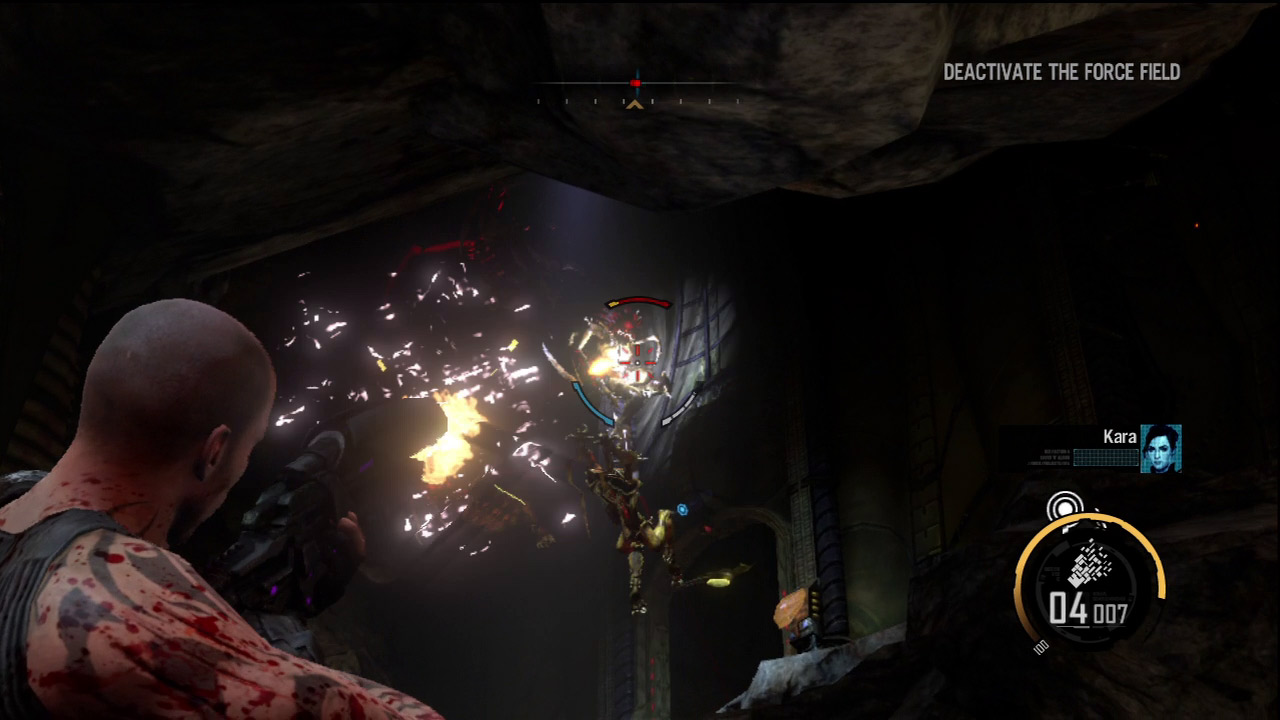
Clear a path through the first group of enemies using the turret. Darius automatically disembarks when the barge comes to a stop at a force field. You need to find a way to shut it off. Hop off the right side of the barge and enter the adjoining passage where you're promptly attacked by a few creepers and ravagers. Eliminate them with your Nano Rifle or melee strikes. As you fight off these creatures, Kara reports that she's almost made it to the walker.
Next to the audio log is a Pulse Grenade. Consider swapping it in instead of one of your more powerful weapons. This will allow you to inflict damage on creatures without destroying vital walkways. Continue along the GPS-marked path across a bridge. You may have to repair the bridge if you damaged it earlier. Halfway across the bridge you come under attack by two wraiths—don't stop. Race to the opposite side of the bridge, ensuring solid ground is beneath your feet before engaging the wraiths. Deploy a Shell and begin hammering the wraiths with your Nano Rifle or Rocket Launcher. Hold your ground until both wraiths are down for good. Inside the adjoining room is a weapons locker. Choose the Nano Rifle, Rocket Launcher, Magnet Gun, and Pulse Grenade as your weapons.
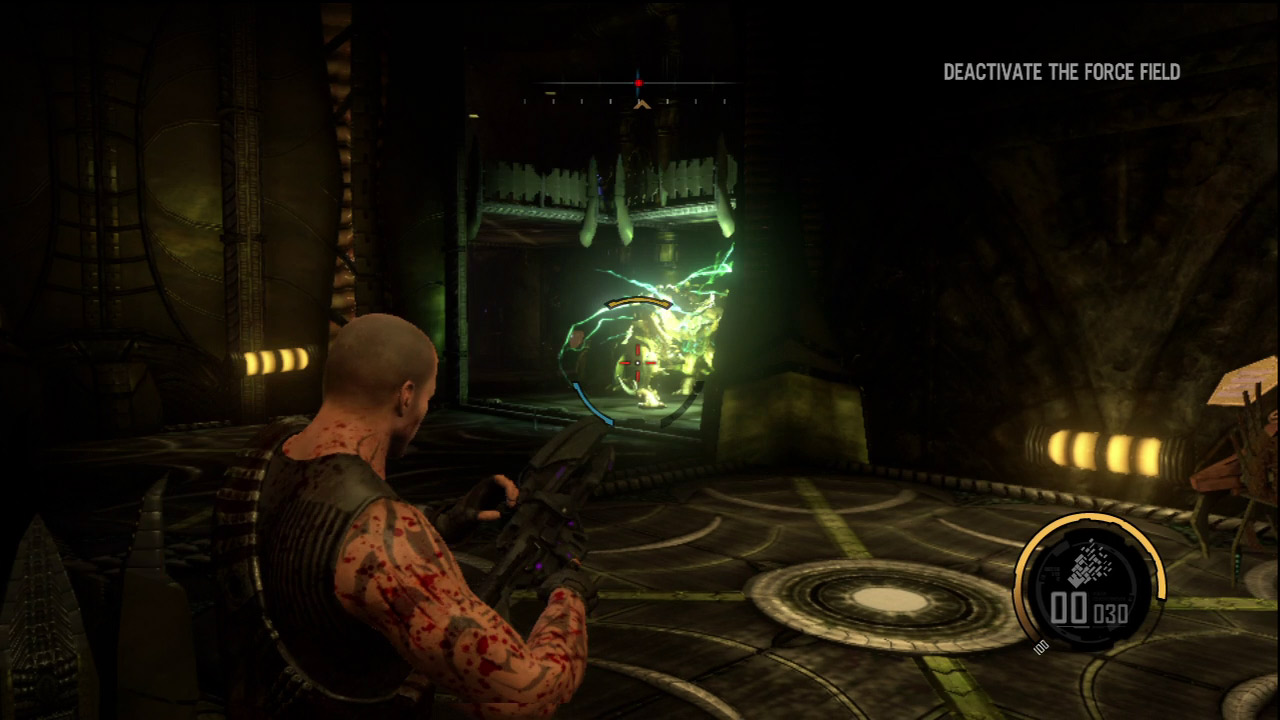
After accessing the weapons locker, cross another damaged bridge, repairing it along the way. Step inside the structure at the end of the bridge and ascend a ramp to the upper level. Here you're attacked by two berserkers. Immediately deploy a Shell and bombard the berserkers with your Rocket Launcher while they're still close together. The resulting explosions may blow away the flooring beneath their feet, causing them to fall to the floor below. Keep up the attack until both berserkers explode, then repair any damage dealt to the room's floor.
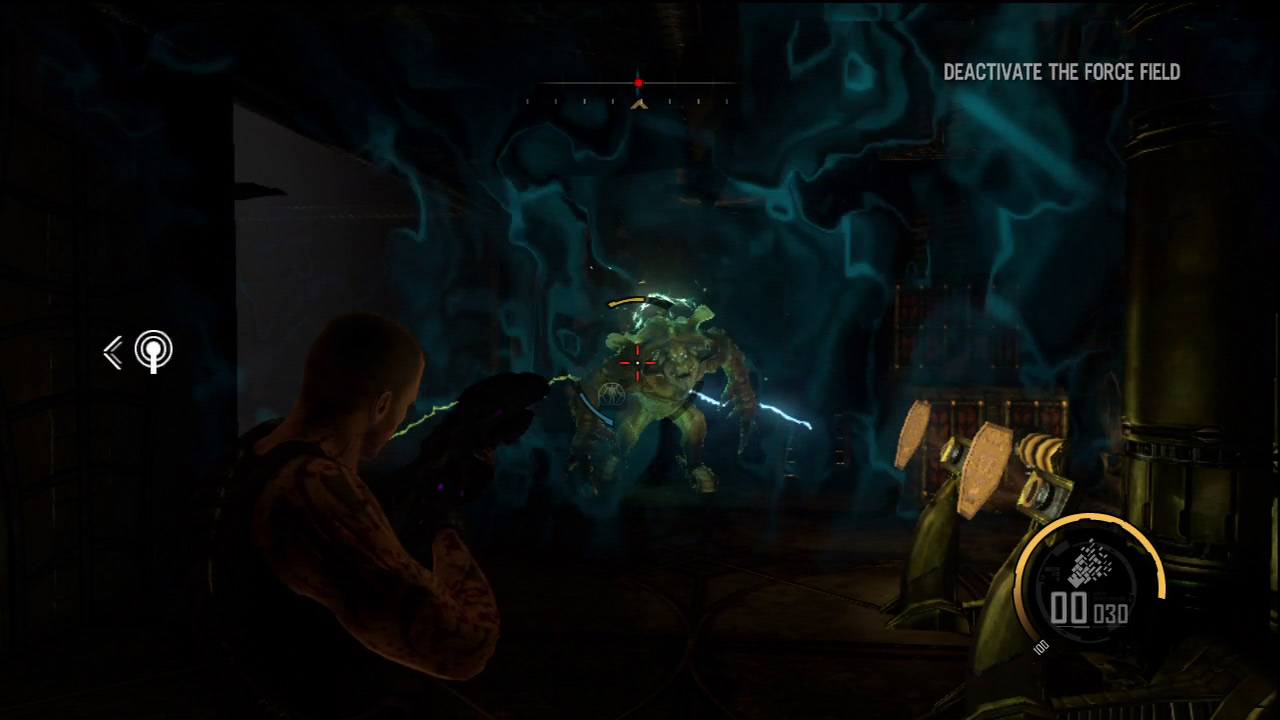
There's an upgrade station on the structure's second floor. Before accessing it, watch out for another berserker lurking outside. If the berserker manages to corner you near the upgrade station, deploy a Shell and open fire with any weapon you still have ammo for. The Shell protects you long enough to eliminate the berserker, but act fast. You don't want the berserker to charge at you and explode in such tight quarters. Once the berserker is down, turn to the upgrade station and spend some salvage. If the upgrade station was destroyed in the berserker attack, you'll have to repair it.
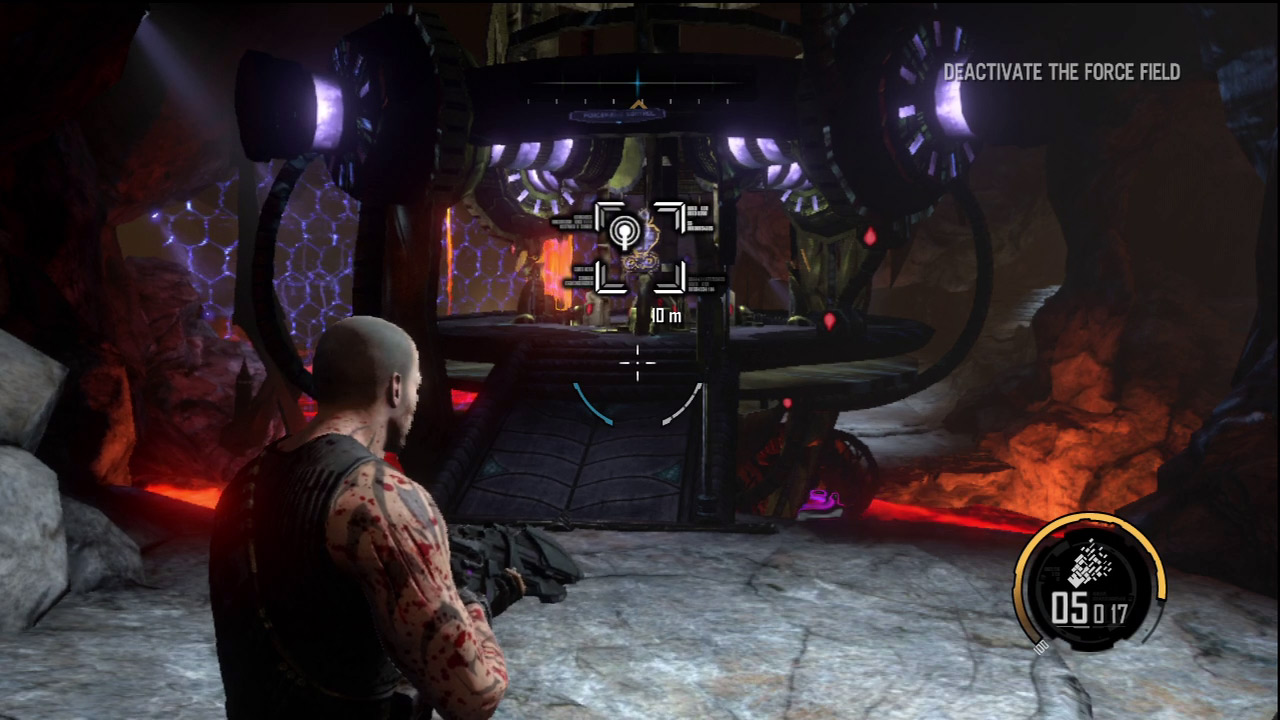
Just outside is the force field generator. Step up to the controls (marked on the HUD) and throw the switch to deactivate the force field. Afterward, simply jump down to the barge—this saves you from backtracking. However, be careful when jumping down to the barge. If you're not properly aligned, you may accidentally fall into the lava, forcing you to restart from the last save checkpoint. Winters isn't thrilled with your risky move, but no harm is done. Onboard the barge, man the turret once again as you continue your journey.
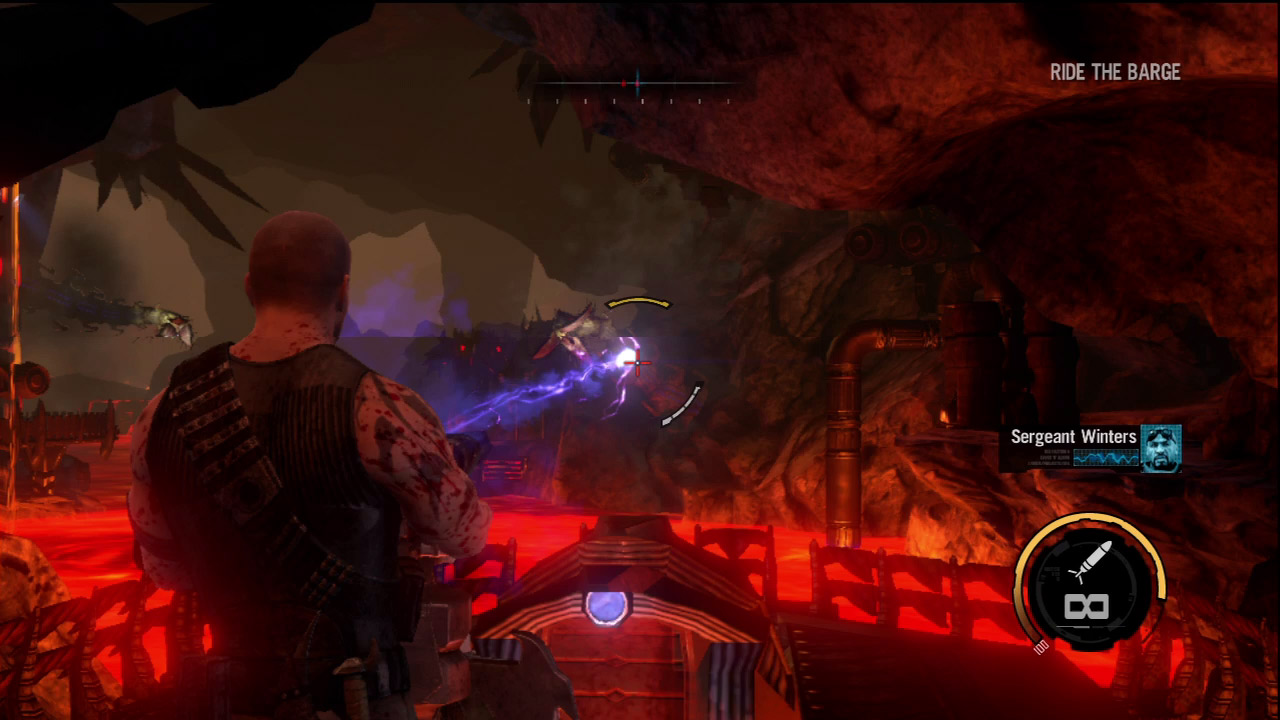
As the barge negotiates a turn, two tentacles sprout from the wall ahead, forcing Winters to take evasive action. As Winters maneuvers the barge to the left, open fire on the tentacles. The turret has enough firepower to take out both tentacles before the barge moves outside their line of sight. There's nothing you can do to evade the incoming debris thrown by the tentacles, so try to kill the tentacles before they can score a direct hit. Meanwhile, Kara reports that she's secured a walker. When the barge stops in front of a closed lock, hop off and find a way to open it.
The Locks
New Objective: Activate the Lock
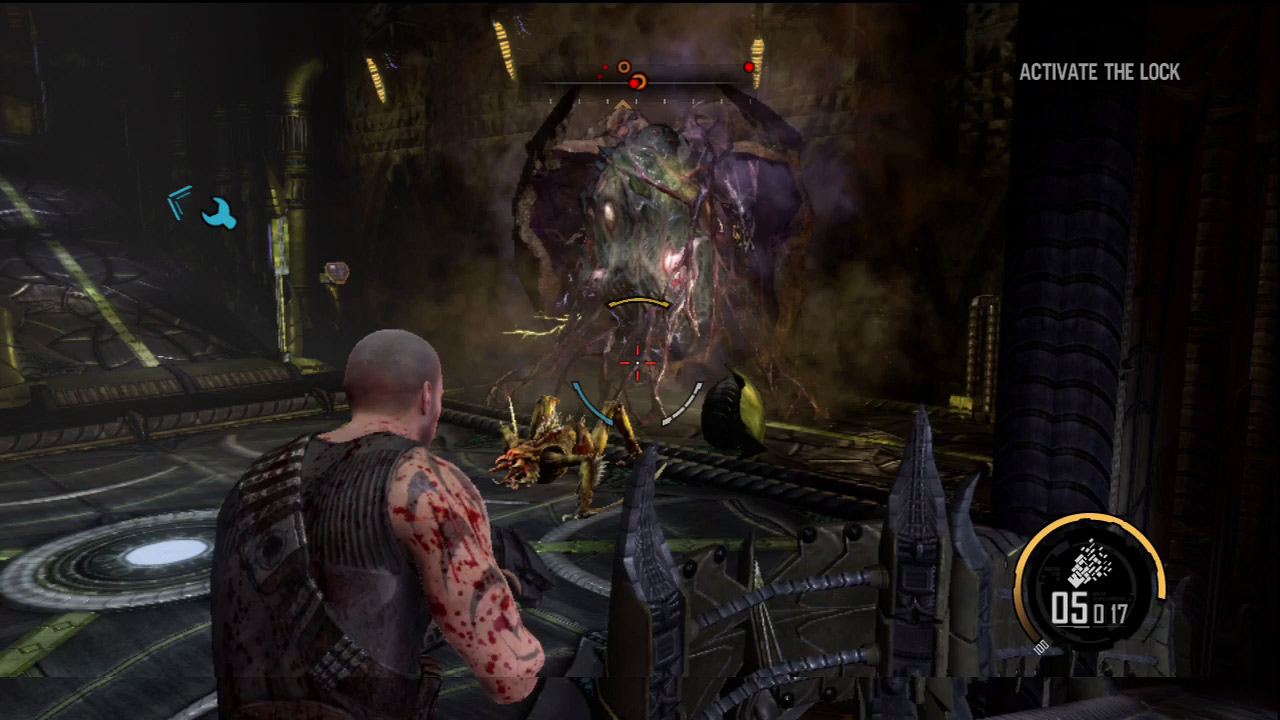
S.A.M. reports that the lock is powered by a geothermal reactor—the reactor's location appears on your HUD, marked with blue brackets, indicating it needs to be repaired. But reaching it won't be so easy. As you climb the nearby ramp, your compass is populated with enemy contacts, including multiple creepers, ravagers, and pods. Fight your way past the initial creepers and ravagers, then immediately hunt down the first two pods. During the fight, the flooring may become damaged, mostly by a berserker lobbing explosive projectiles. Be ready to repair any damaged sections as you move out and kill that berserker fast. The Nano Rifle is effective for taking out the creatures, but it also damages the walkways, so consider using the Pulse Grenade. Its explosive rounds only inflict damage on organic organisms, leaving the walkways untouched. If you don't have a Pulse Grenade, one can be found in an alcove during your ascent.
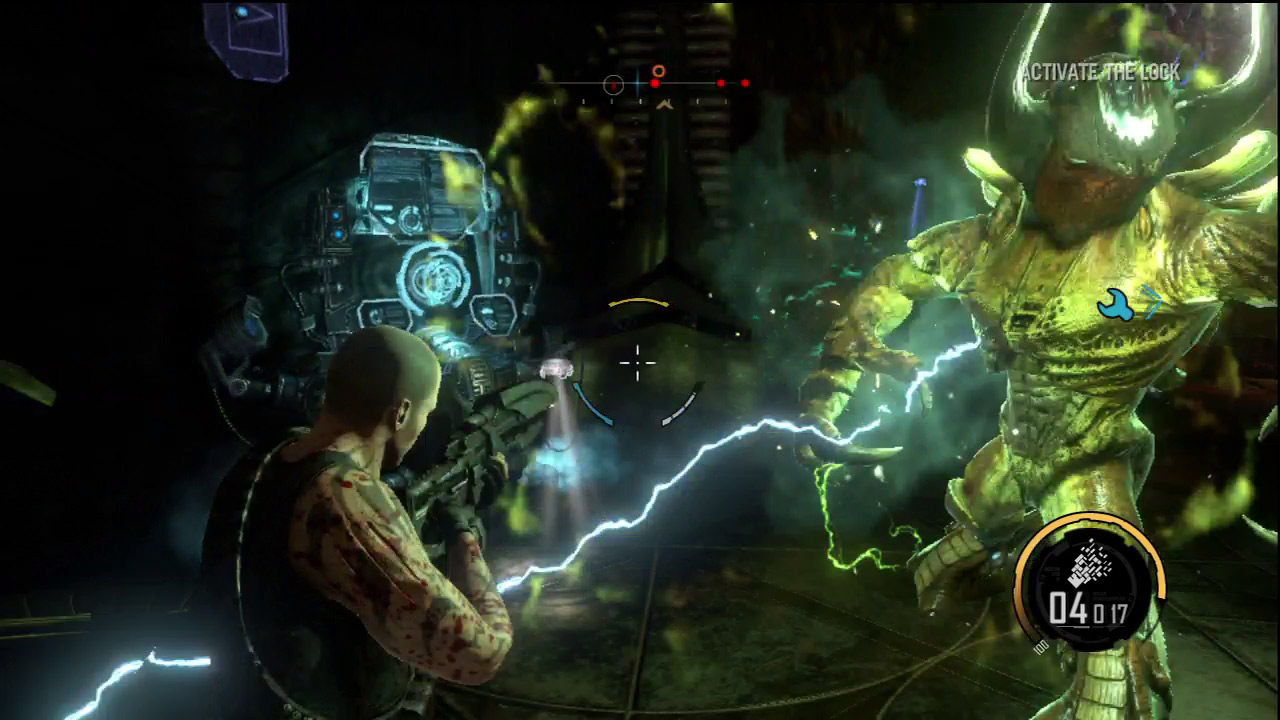
At the top of the ramps you encounter another berserker at extremely close range. Back up and deploy a Shell before it can attack or charge toward you. While the berserker loiters outside your Shell, hammer it with your Nano Rifle, Rocket Launcher, or Pulse Grenade until it explodes. Next, target the nearby pod and any creepers it may have spawned. Once the area is clear, locate an upgrade station to the left. It may have been destroyed during the fight with the berserker, requiring you to repair it before shopping for upgrades.
New Objective: Repair the Lock Generator
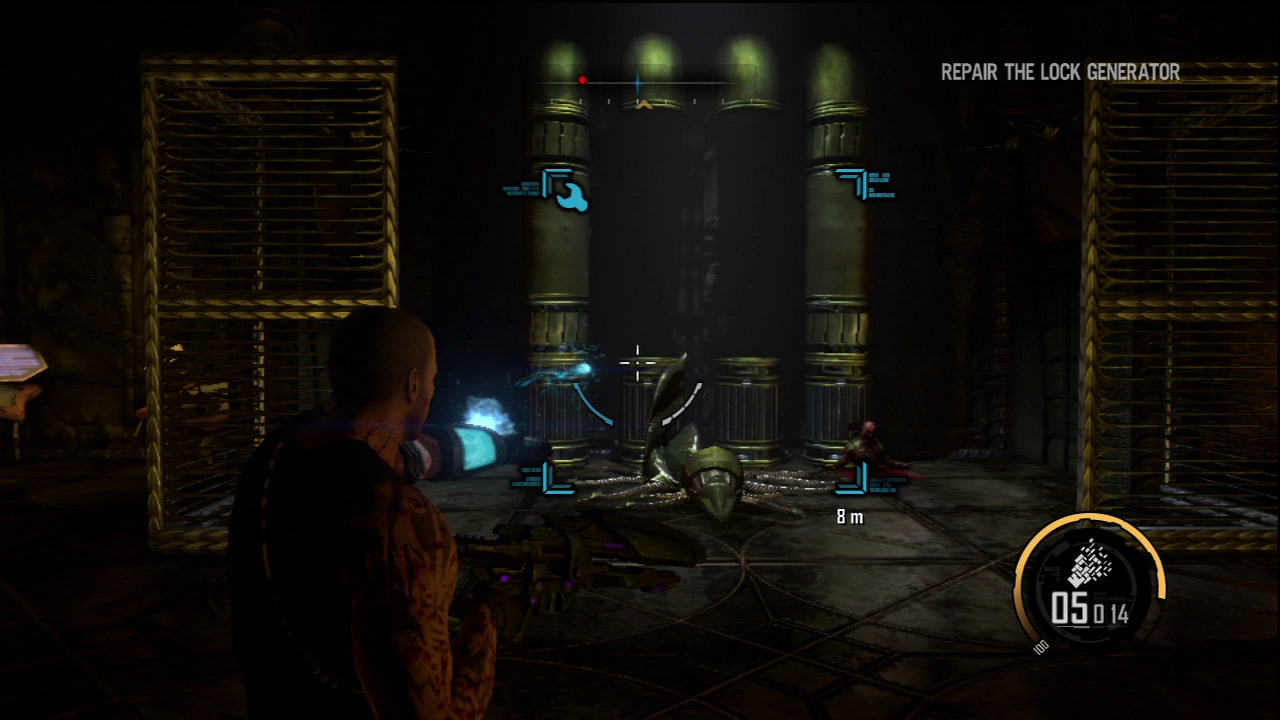
The lock generator is located in the adjoining room, along with a weapons locker. Fire a repair grenade at the generator and then turn to the weapons locker to make any slight adjustments to your load-out. It's advisable to keep the Pulse Grenade and Nano Rifle for now. Supplement these weapons with heavy hitters like the Rocket Launcher, Plasma Cannon, or Singularity Cannon. Once your weapons are squared away, grab some ammo and salvage next to the weapons locker, then follow the GPS markers back to the barge.
New Objective: Get Back on the Barge
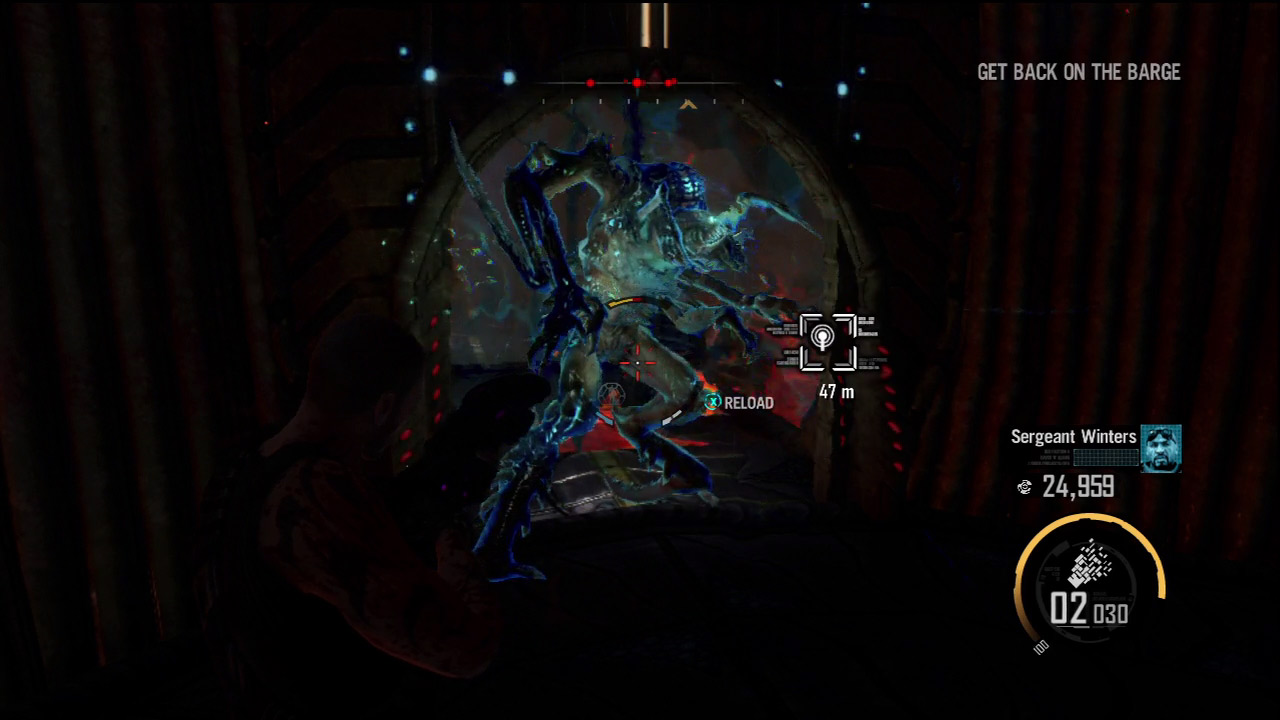
As you cross a long catwalk bridging the lava river, you come under attack by a wraith and several ravagers. Race to the enclosed room at the far end of the catwalk and deploy a Shell. The Shell prevents the creatures from entering this small enclosure. With only two entry points, you can focus your fire through the two doorways. Hold your ground and take out all the creatures that approach. By targeting the adjacent catwalks with your Nano Rifle or heavier weapons, you can cause the creatures to fall into the lava. However, be mindful of the flooring beneath your feet too. For this reason, it is safer to use the Pulse Grenade during this engagement. Once your compass is clear of threats, return to the barge, repairing any damaged sections of the catwalk along the way.
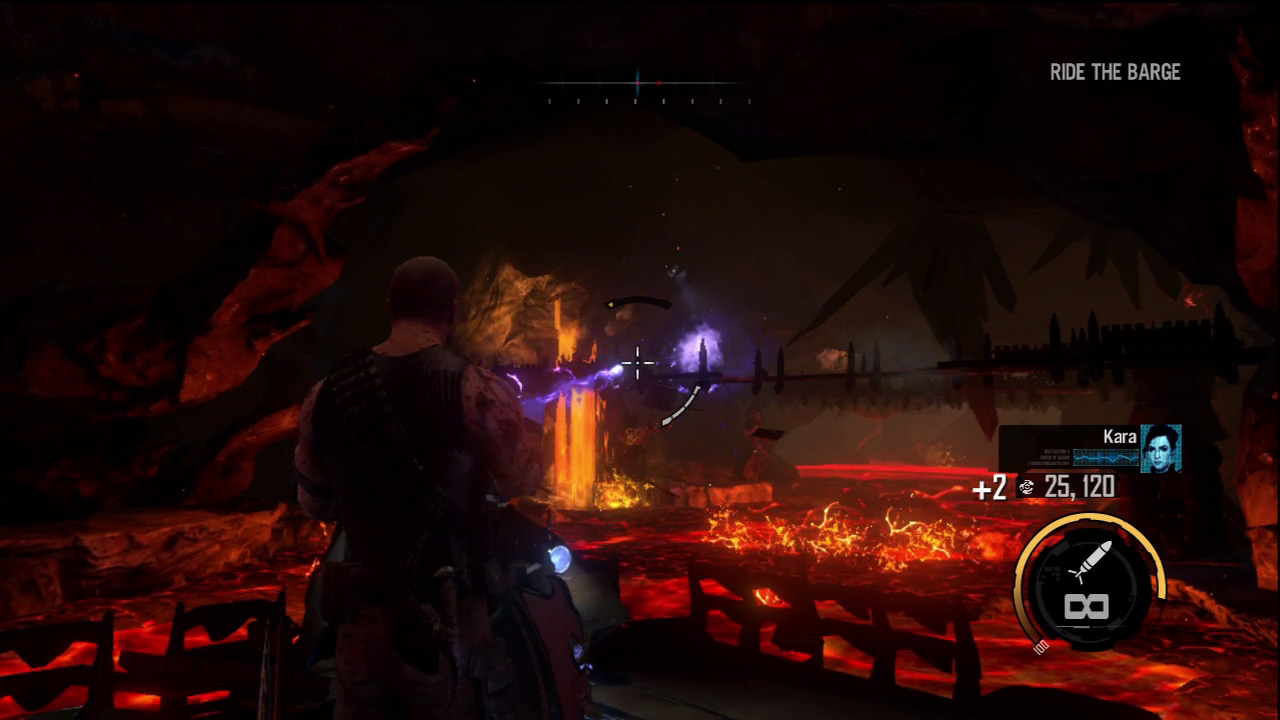
Back on the barge, man the turret and watch for enemies while continuing your journey down the river of lava. Expect heavy resistance from ravagers attacking from the catwalks and perimeter walls. Study your compass constantly and rotate to face the enemies as soon as they appear. The faster you take them out, the greater your chances for surviving. There are salvage containers on some of the catwalks the barge passes beneath. Destroy the catwalks so the salvage drops down onto the barge—you can collect the containers at the next stop. Kara checks in to see if the lava has been lowered—she's almost at the tunnel. But Darius is unable to send an outgoing transmission. You need to pick up the pace, otherwise Kara will be trapped.
New Objective: Activate the Lock
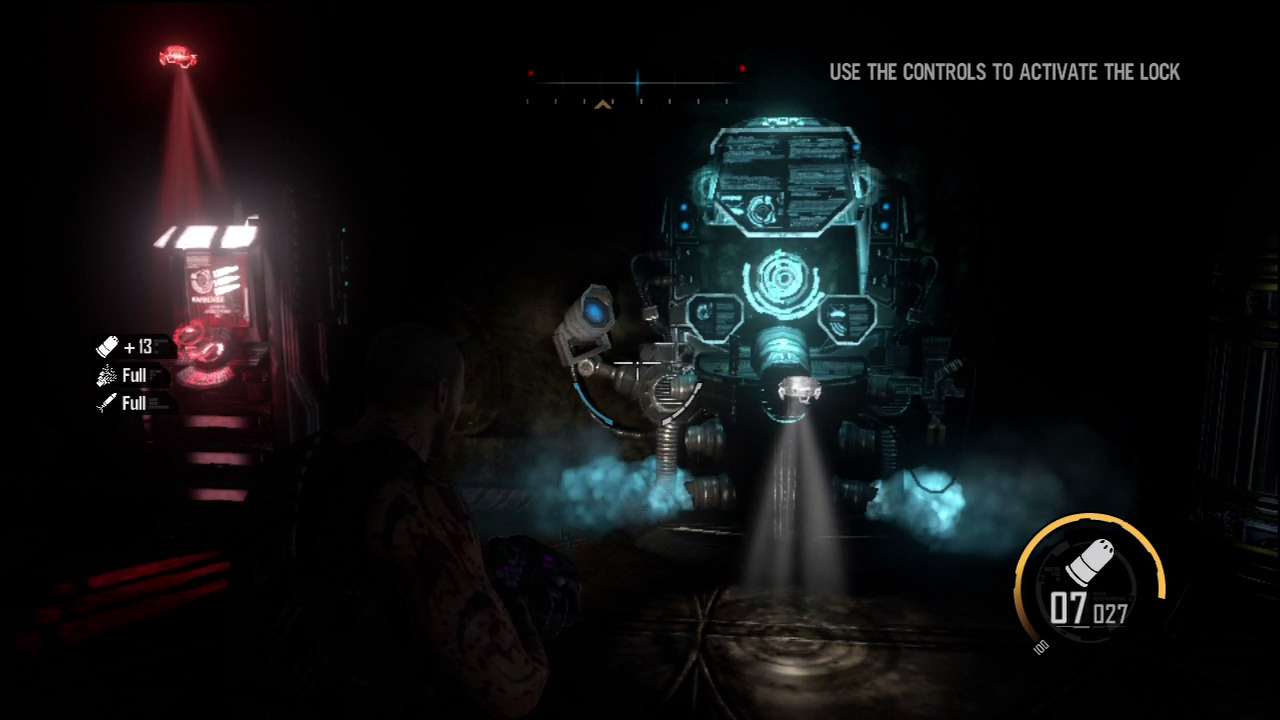
When the barge pulls up to another dock, take aim at the infected structure to the left and destroy it for some bonus salvage. When Darius disembarks, follow the path into the nearby structure. Inside you're immediately attacked by a wraith. If the wraith appears directly in front of you, hit it with melee strikes to inflict heavy damage. Otherwise, deploy a Shell and attack the wraith with your Rocket Launcher or Pulse Grenade. Once the wraith is down, access the upgrade station and weapons locker—they may need to be repaired if damaged or destroyed in the fight with the wraith. Your current weapon load-out is sufficient, but feel free to mix it up as you see fit—for instance, the Magnet Gun can come in handy ahead.
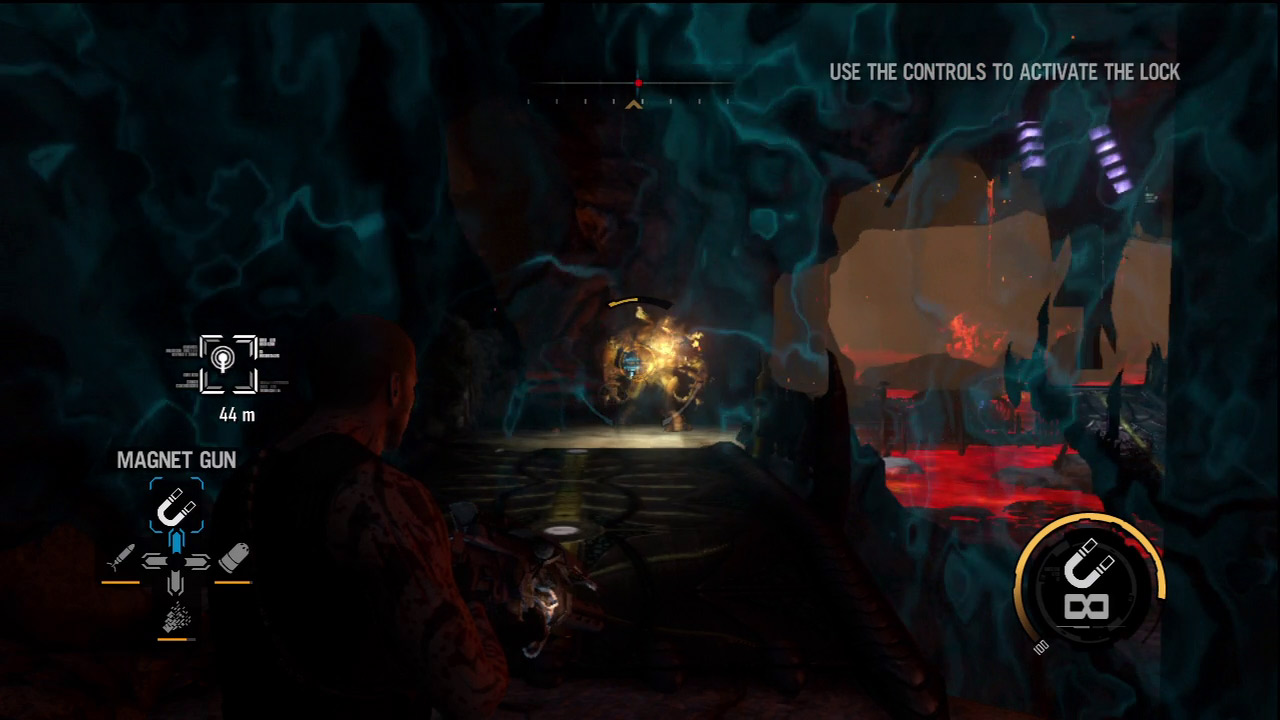
From the upgrade station and weapons locker on the first floor, climb the nearby ramp to the second floor and negotiate a few walkways outside. Watch out for a ravager and a berserker here. Before engaging the berserker, make it to solid ground, otherwise the berserker's attacks may collapse the walkways beneath your feet. When within safe striking range of the berserker, grab him with the Magnet Gun and launch him toward the lava below. Once you've dealt with the berserker, interact with the nearby control panel to activate the lock. Next, jump down to the barge Winters has pulled alongside the nearby cliff. Man the turret and resume your journey.
New Objective: Clear a Path
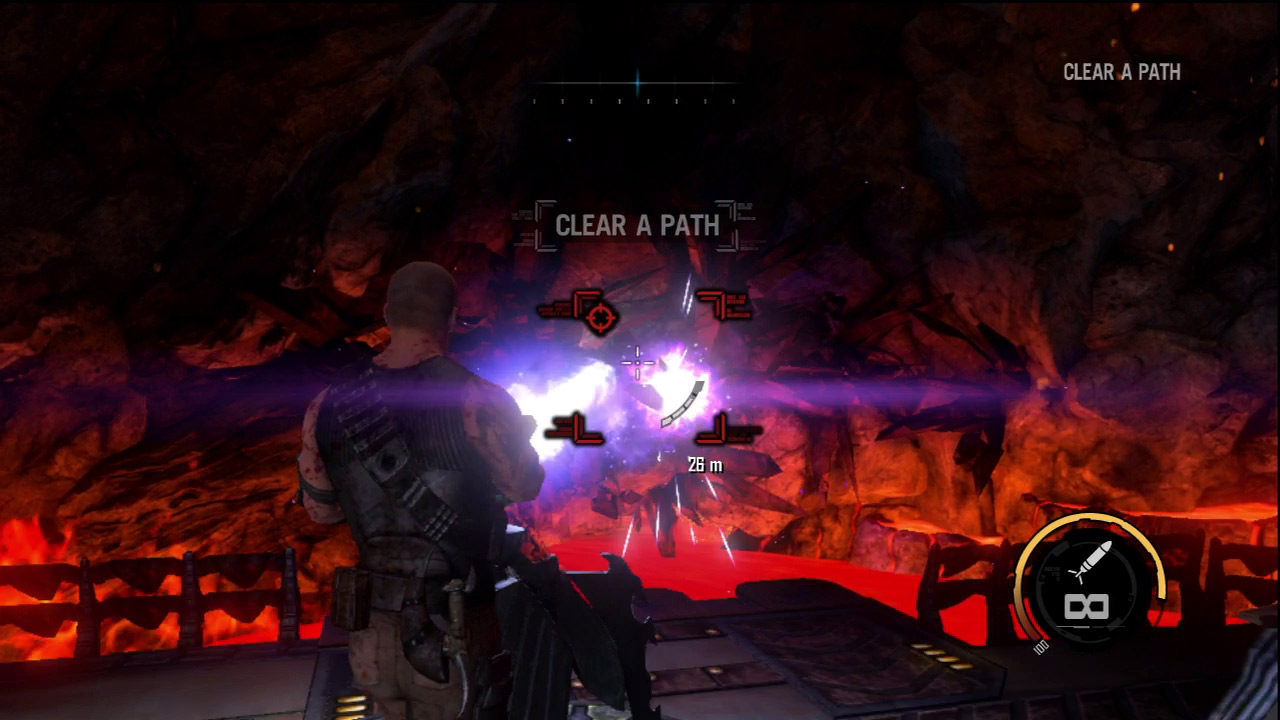
As the barge moves out, Kara checks in again, reporting that the tunnel isn't clear. Darius tries to tell her to stay put, but the transmission breaks up. As the barge enters the lock, something isn't working right. The door behind the barge closes, but the one in front of the barge refuses to open, trapping you in the lock. You need to make your own exit. Pan to the left side of the barge and open fire on the wall marked with red brackets on the HUD. Chip away at the rock with the turret until the hole in the wall is big enough for the barge to make it through.
The Machine
New Objective: Destroy the Shield Emitters
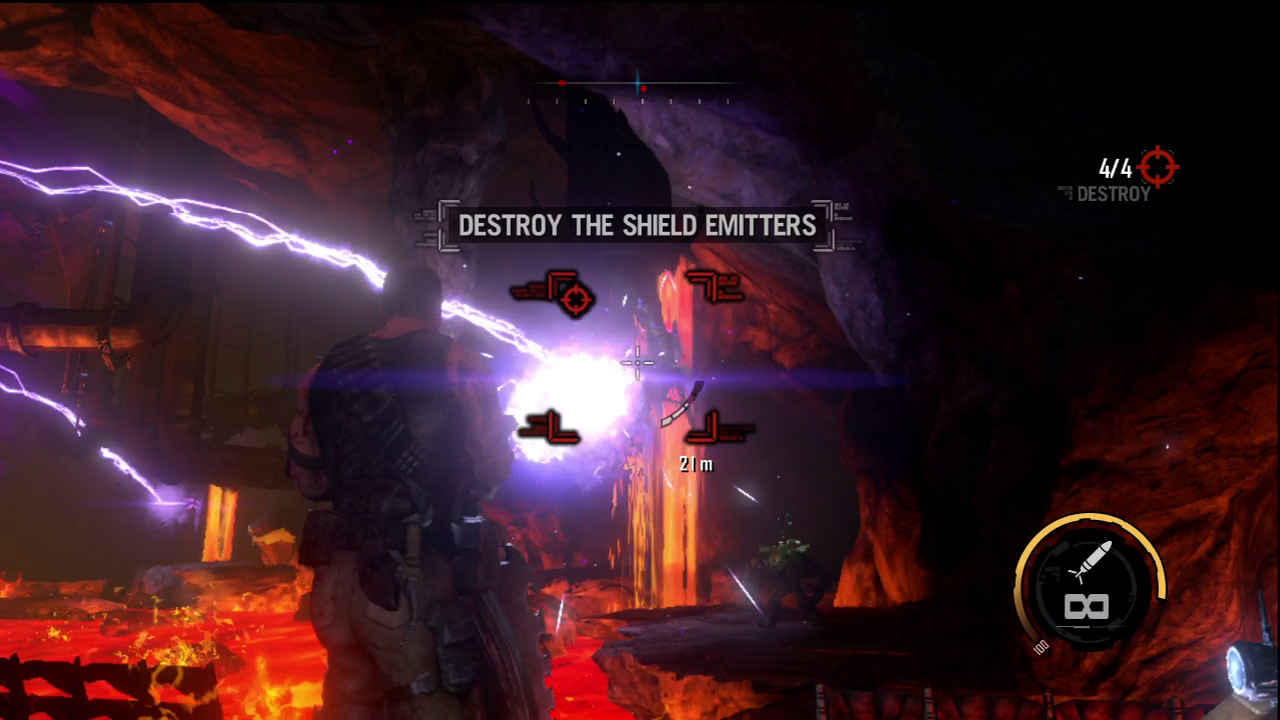
After busting out of the lock, Winters has a difficult time controlling the barge as it rushes down the river of lava. The machinery responsible for filling the secret tunnel with lava is suspended above the cavern ahead. The whirlpool-like effect makes it difficult to control the barge, causing it to circle around the lava pool. The machinery is shielded, but S.A.M. quickly identifies four shield emitters, marked with red brackets on the HUD. As the barge circles around the cavern, blast the four shield emitters. There are also berserkers positioned around the perimeter of the cave, but don't let them distract you from targeting the shield emitters. As long as the barge keeps moving, it's difficult for the berserkers to inflict much damage. Keep pounding the shield emitters until all four are destroyed.
New Objective: Destroy the Machine
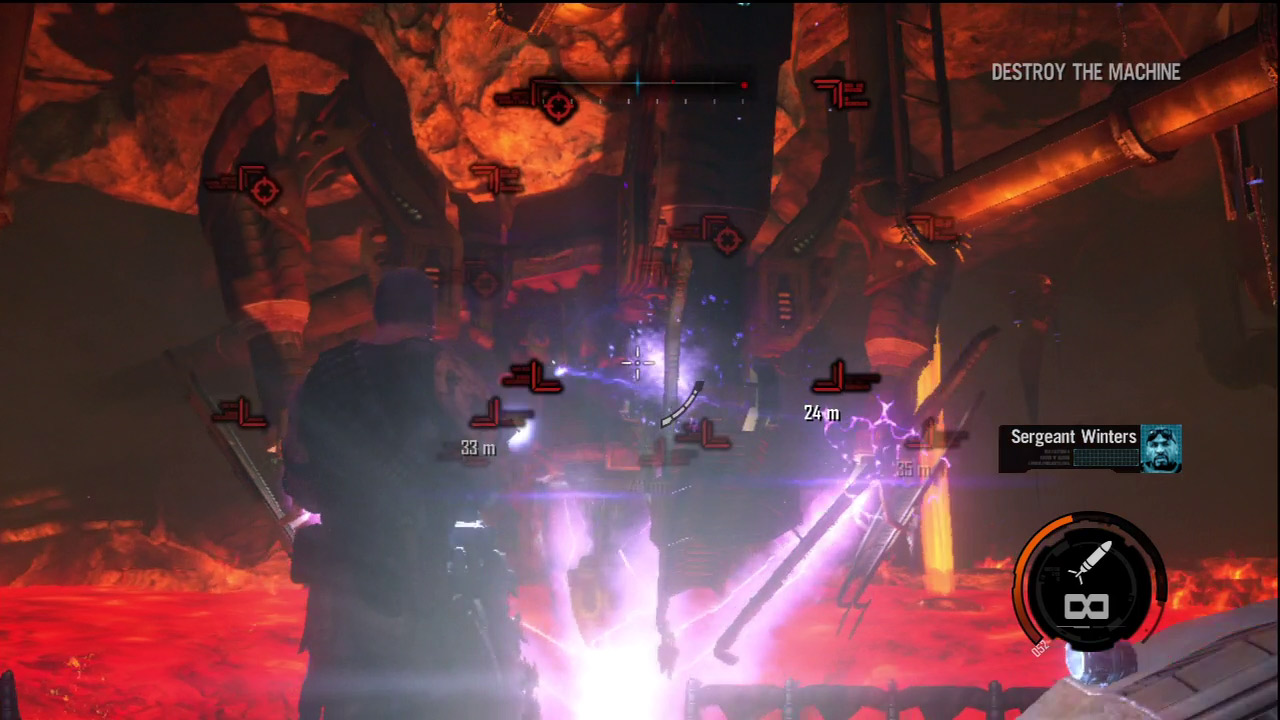
Once the shield emitters are destroyed, focus your fire on the machine's four relays. Each relay is attached to the machine with an arm-like appendage. Target the joints where the arms attach to the machine to quickly destroy each relay. Now you can finally attack the machine's repulsor beam at the center. As the barge continues circling closer to the center of the whirlpool, continue hammering the repulsor beam until it's destroyed. But even destroying the machine isn't enough to prevent the barge from plunging into the tunnel below. . .