
Red Faction: Armageddon Guide Walkthrough Campaign
Ice Mines
| Icon | Name | Description | Gamescore | Trophy |
|---|---|---|---|---|

|
Crack Shot | Kill a wraith before it restealths. | 10 | Bronze |
|
Things Fall Apart | Destroy the Water Filtration Plant. | 20 | Bronze |
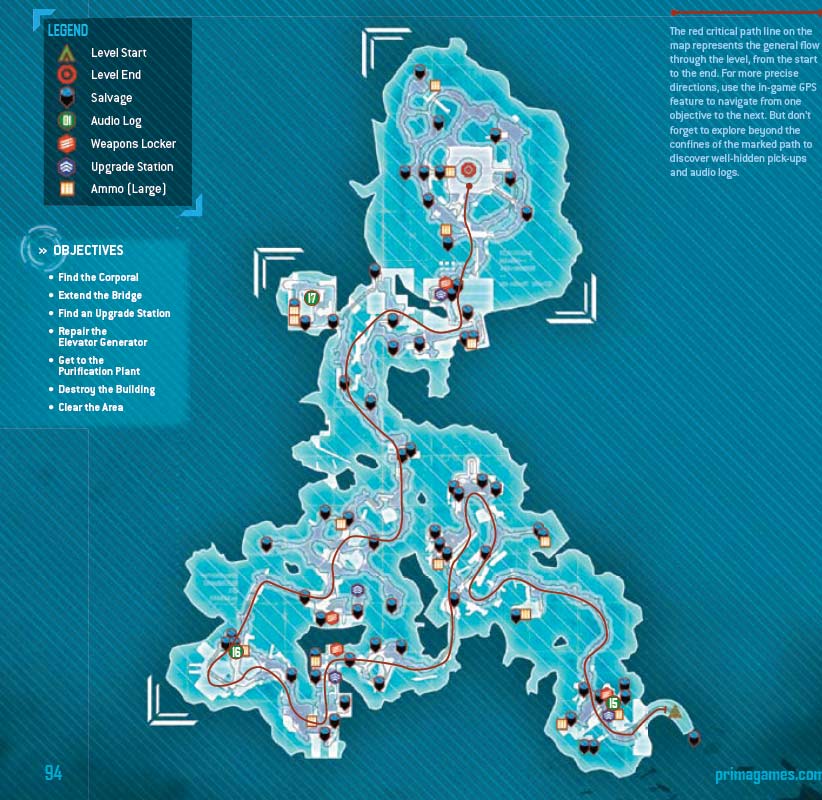
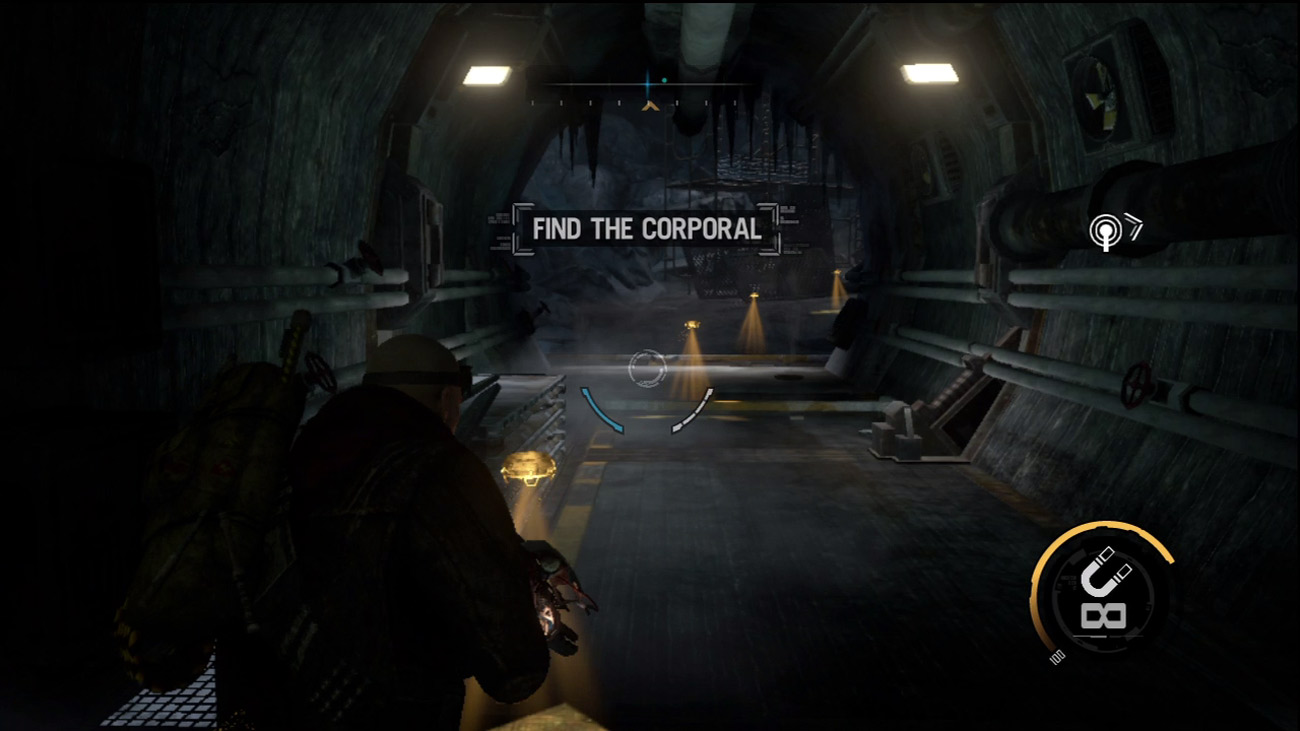
Darius drops into a tunnel connected to the lower cavern. While Darius managed to get the water pumps working, the water is dirty. At last contact, Corporal Hoddle was investigating equipment malfunctions at a water purification plant known as Deep Freeze 2, but communication with Hoddle was lost. You need to regroup with Hoddle and get to work at Deep Freeze 2. Unless the water is properly filtered, it won't do the colonists any good. As you gain control of Darius, turn around and head toward the tunnel's dead end, in the opposite direction of the GPS markers. At the end of the tunnel you find some salvage. Turn around and exit the tunnel, following the GPS markers. S.A.M. reports movement ahead.
New Objective: Find the Corporal
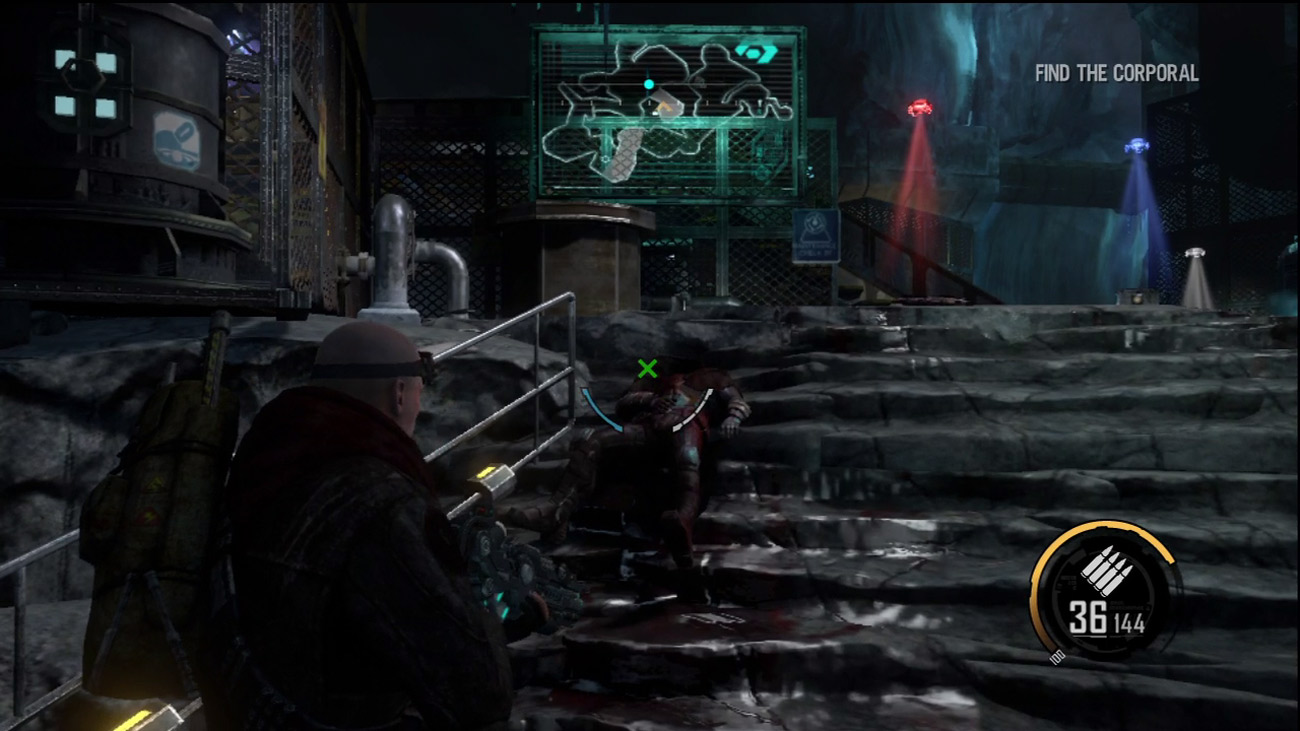
A dying Red Faction soldier is lying on the steps ahead, warning about something watching. But by the time Darius reaches the soldier, it's too late to do anything to help. There is a Rocket Launcher on the ground not far from the dead soldier—add it to your arsenal now. A sudden flash behind Darius gets his attention. Turn around to spot an orange smoke-like vapor. Soon this vapor dissipates. Settle down and search the surroundings for salvage and ammo—you may have to break some stuff. There's also an upgrade station and weapons locker nearby. The Rocket Launcher now appears in the weapons locker. Build your load-out around the Rocket Launcher—the Nano Rifle, Assault Rifle, and Magnet Gun are good backups.
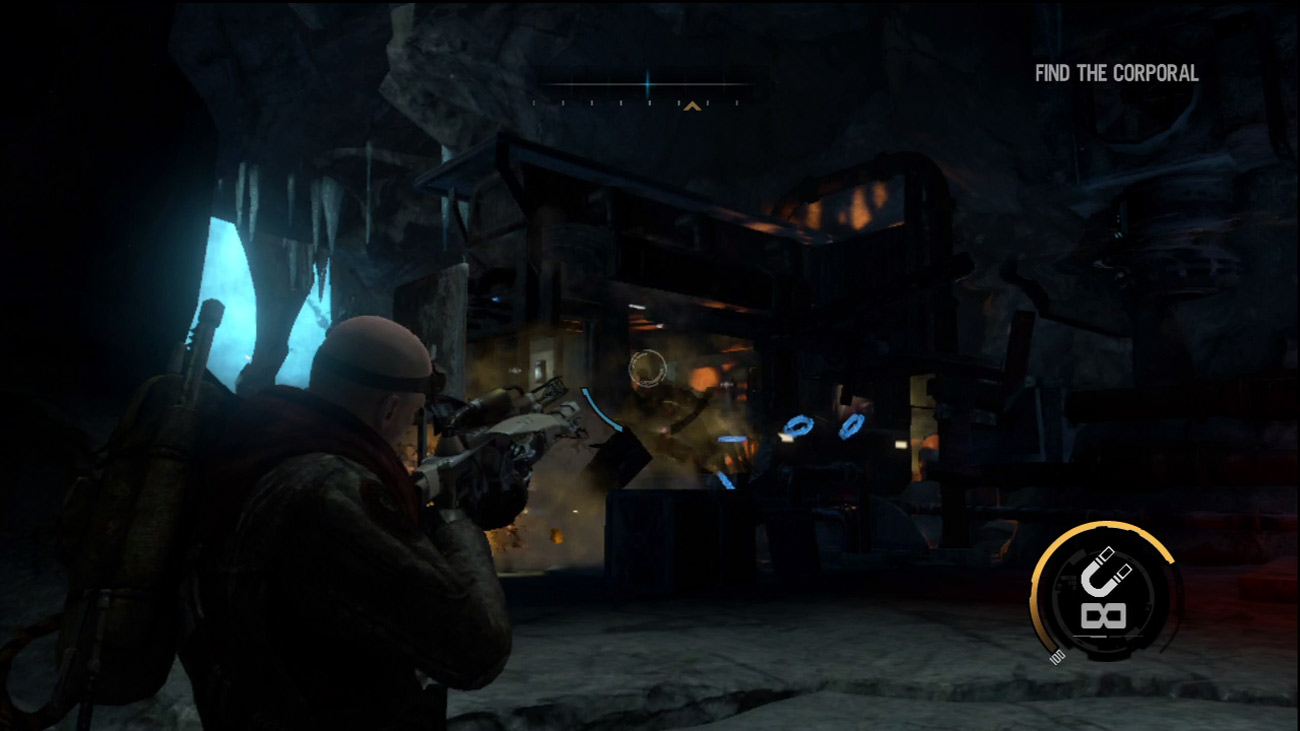
Continue your advance through the next tunnel. Darius experiences another flash, but S.A.M. detects nothing. Further down the tunnel, Darius is finally able to make contact with Corporal Hoddle. Before Hoddle's communication breaks up he says they've discovered a new creature. He pleads for Darius to return to Bastion, telling him it's too late, but Darius isn't about to give up. Just ahead, use the Magnet Gun to dismantle the infected structure on the left side of the tunnel and then gather the salvage left behind. There's ammo behind the structure too.
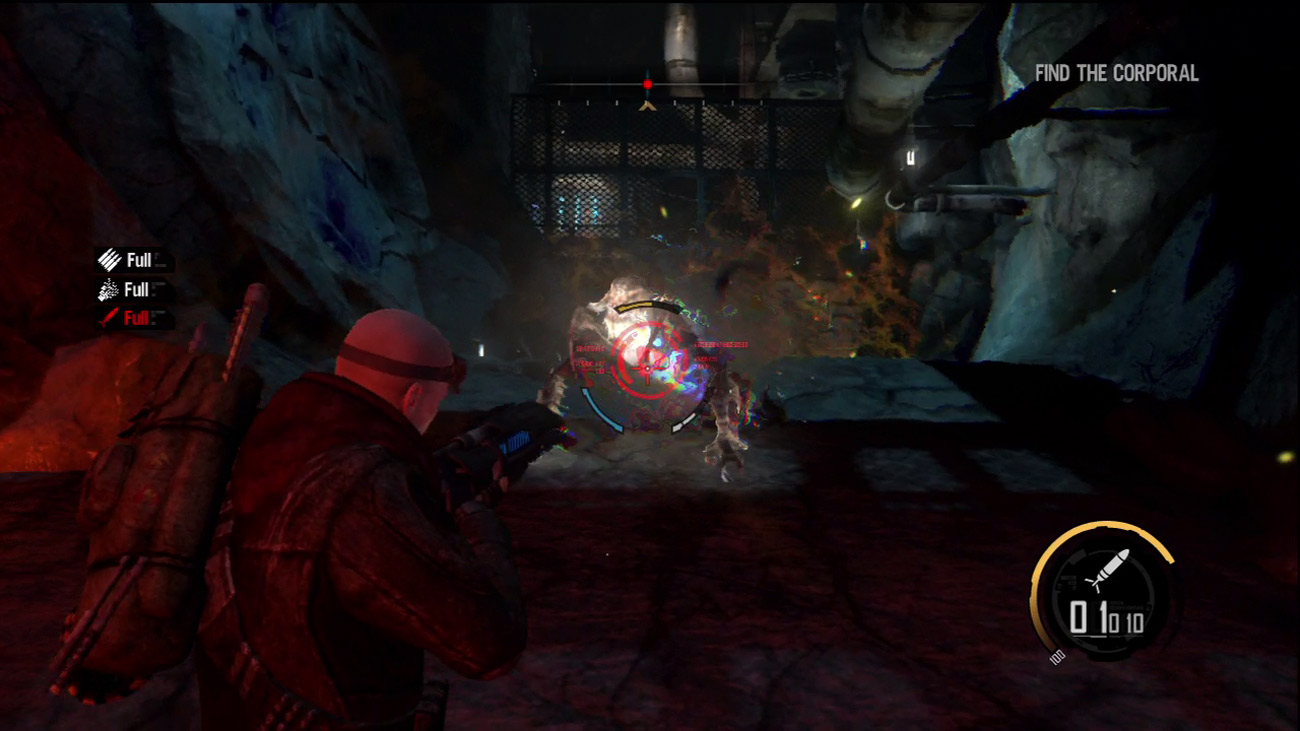
As you advance down a set of steps, a cutscene is triggered showing a wraith huddled over the corpse of a Red Faction soldier. As Darius fires a few shots at the creature, it simply vanishes. Wraiths are capable of cloaking, seemingly teleporting from one location to the next. Following the cutscene, equip the Rocket Launcher and creep down the tunnel until the wraith appears again. Once the wraith appears, hit it with the Rocket Launcher before it can disappear. Another flash complicates this fight, temporarily blurring Darius' vision. Fortunately, the Rocket Launcher is capable of locking onto the wraith, as indicated by the red targeting icon appearing on the HUD. Once this icon appears, the rocket is locked onto the target. Hit the wraith with a couple of rockets to kill it. During the fight, S.A.M. reports unknown toxins in Darius' bloodstream. This could account for the flashes you're seeing. . .and the dead soldiers.
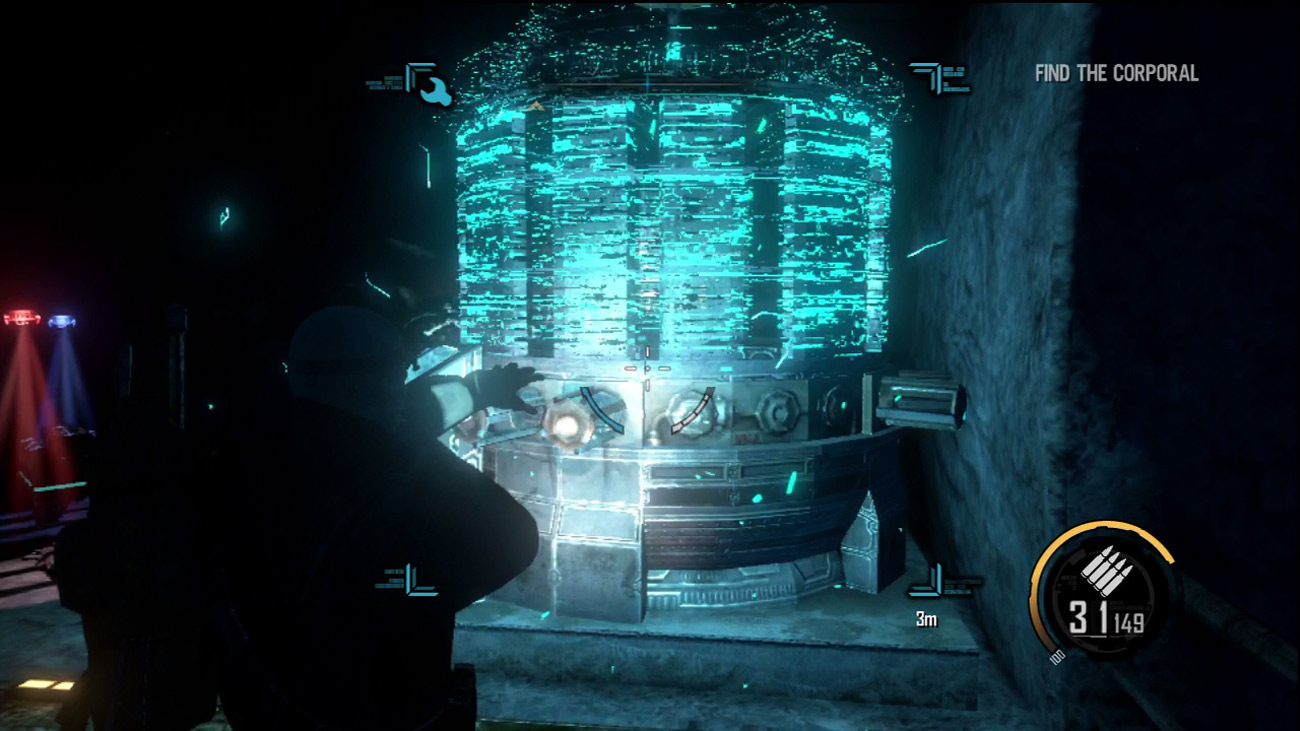
The tunnel ahead is very dark. To restore lighting to this area you must repair the nearby generator, but this area is also guarded by another wraith. Once again, use the Rocket Launcher to take down this alien fast—hunting a wraith in the dark is no fun. With the wraith down, climb the nearby ramp to reach a platform where the damaged generator is located. Repair the generator to turn the lights on. This makes it easier to retrieve the nearby salvage and ammo.
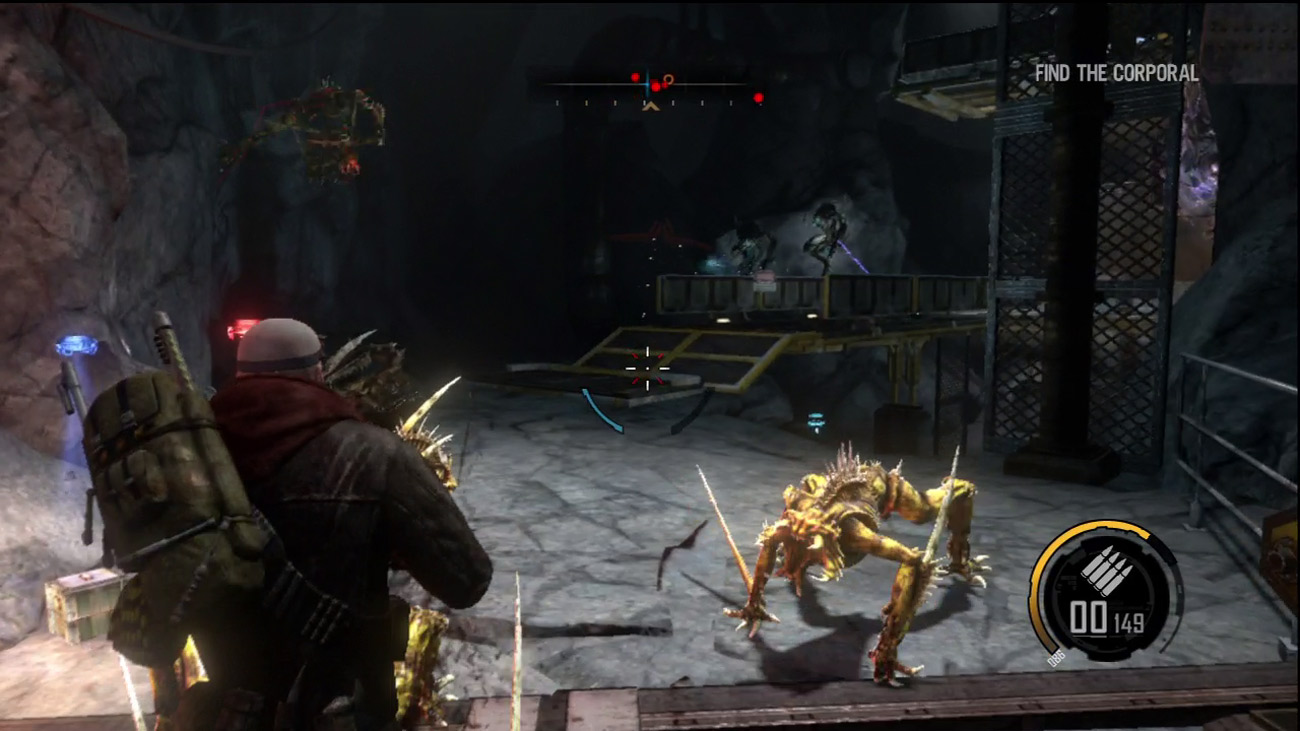
With the lights restored, follow the GPS markers to the next chamber where you come under attack by several creepers and ravagers. Use the Assault Rifle to chew through these enemies. If the creepers get too close, don't forget to use Shockwave or Impact. Clear a path through these creatures until you can get a line of sight on the nearby pod. Destroy the pod as soon as possible to prevent it from producing more creepers.
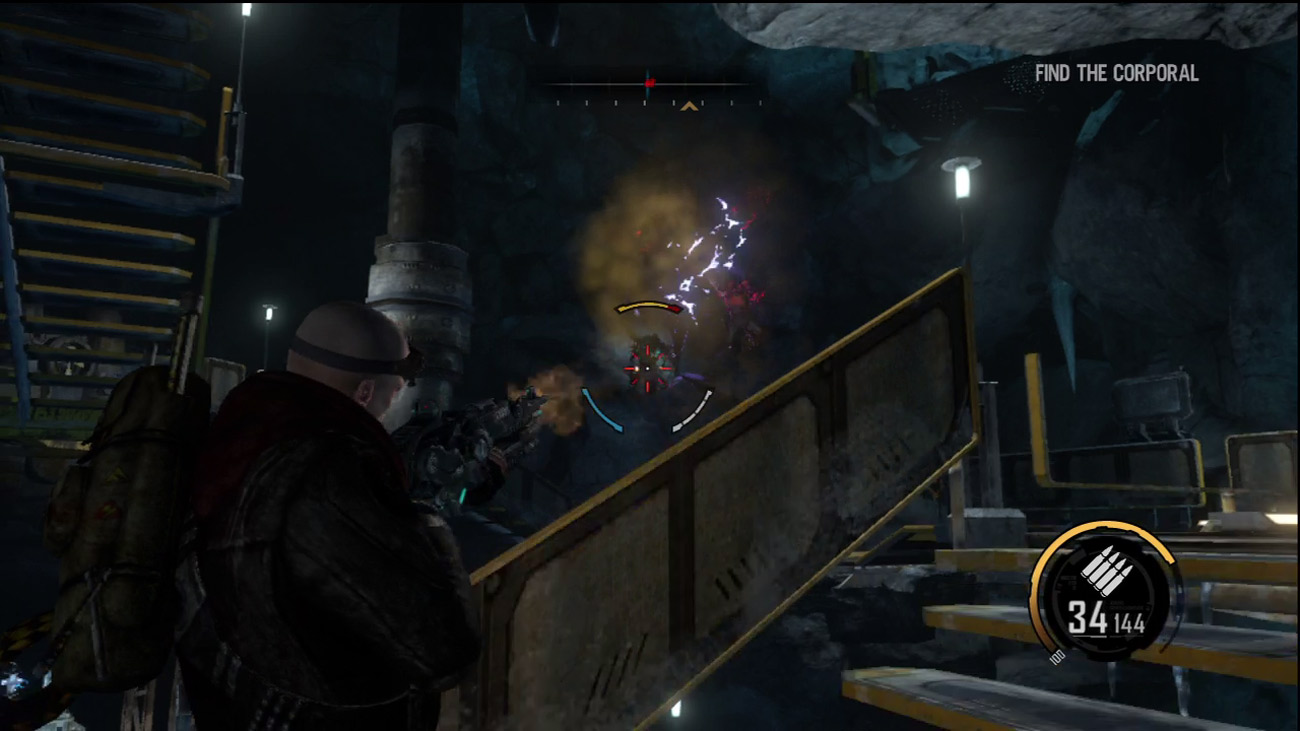
Advance through the next passage and be sure to search for salvage as you go. The GPS markers simply show you the path to the next objective. Keep a keen eye open for pick-ups and deviate from the critical path as necessary to collect them. Expect more ambushes from ravagers and wraiths along the way. After crossing a bridge and entering a dark passage, you come to a vaulted chamber. As you climb the scaffolding, more ravagers attack. Avoid using explosive weapons here as it may destroy the scaffolding. Instead, target the ravagers with your Assault or Nano Rifle. If pieces of the scaffolding are destroyed, you can still repair them to continue your ascent to the top of this chamber.
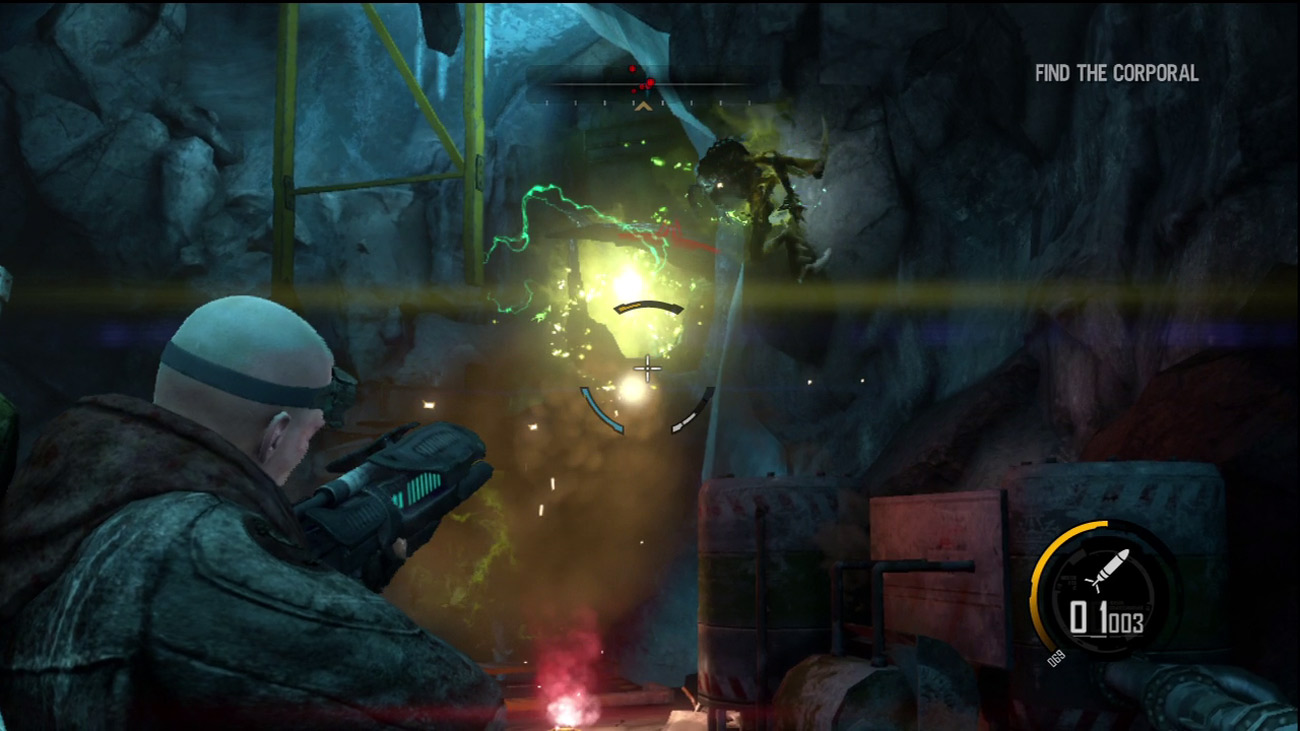
At the top of the chamber, a monolith appears behind you. Make sure you're standing on firm soil and then pound the monolith with your Rocket Launcher until it explodes. With the monolith down, eliminate the ravagers that spawned with it. The scaffolding may have sustained damage during your fight with the monolith, so avoid stepping off the soil at the top of the chamber while engaging the ravagers. The ravagers cling to the cavern walls and fire at you, so keep moving, even if you are just side-stepping left and right. The Nano Rifle can make quick work of these enemies. Once all the ravagers are down for good, follow the GPS markers to the nearby control center. You must repair the nearby bridge to reach it.
Control Center
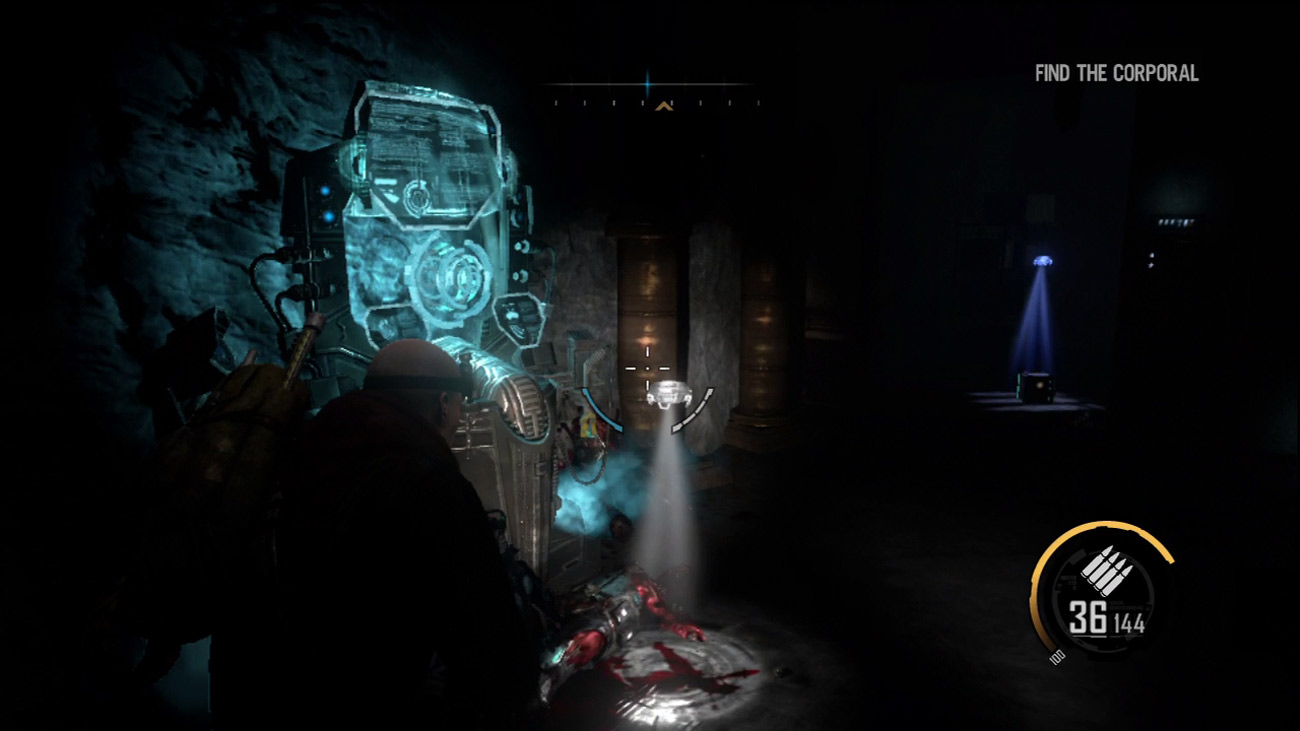
The control center's administrative offices are filled with dead bodies, but there's some pick-ups within this dark facility too. Search the offices near the entrance for pick-ups. You can also find a weapons locker and upgrade station here. If you have enough salvage, strongly consider purchasing the Shell upgrade for your Nano Forge. This tier 2 upgrade allows you to cast a temporary dome-shaped force field, useful for repelling projectile attacks. Shell can come in handy in the fight ahead. If necessary, consider resetting your upgrades so you can afford to purchase Shell now.
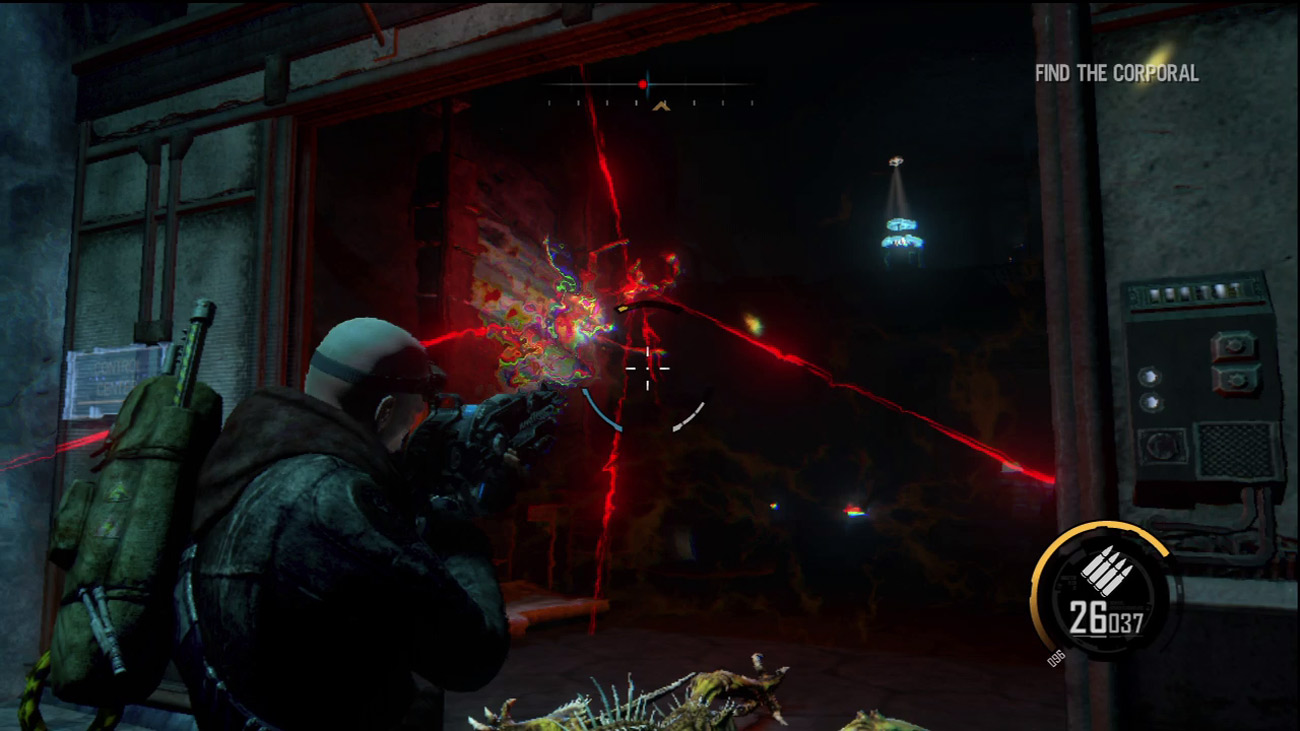
As soon as you step through the office next to the upgrade station, multiple enemy contacts appear on the compass. Instead of pressing forward, backpedal to the entrance of the control center. This draws the enemies toward you and allows you to fight them on solid ground—and in better lighting. Hold outside the entrance and mow down every creeper, ravager, and wraith that comes chasing after you. The doorway serves as a choke point, allowing you to focus your fire on one spot. It also prevents the enemies from sneaking up behind you. Creatures deep inside the control center are also under the enhancements of a monolith. If you can draw them outside, they'll no longer benefit from the monolith's enhancements.
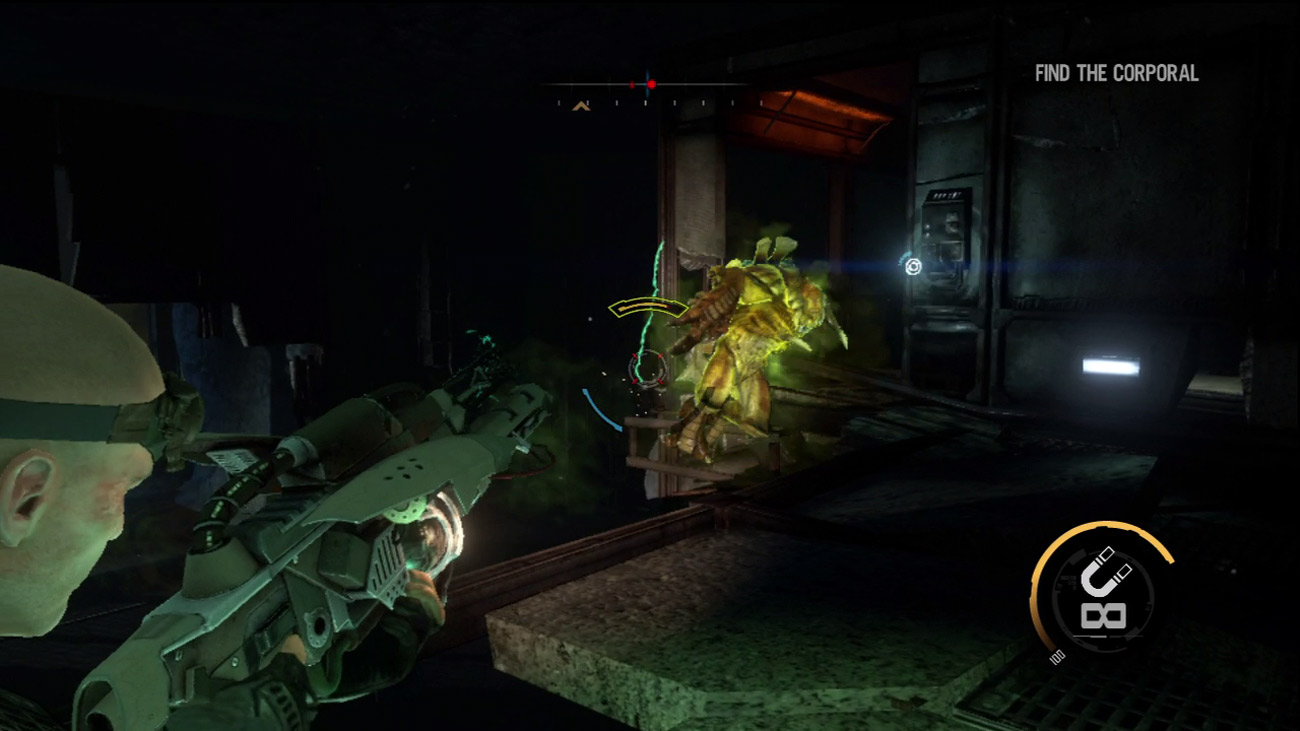
Once you've thinned out the resistance from outside the control center, sneak back in and hunt down that monolith. It's on the lower level but can be engaged from one of the offices on the upper floor. Aim out the window on the right and fire rockets at the monolith until it explodes. This destroys one monolith, but there's still one more you can't see from the offices. Don't worry about it until you've dealt with the berserker downstairs. Instead of dueling the berserker, use your Magnet Gun to knock him around. Throw the berserker into the offices, then smack him against the cave walls until he explodes.
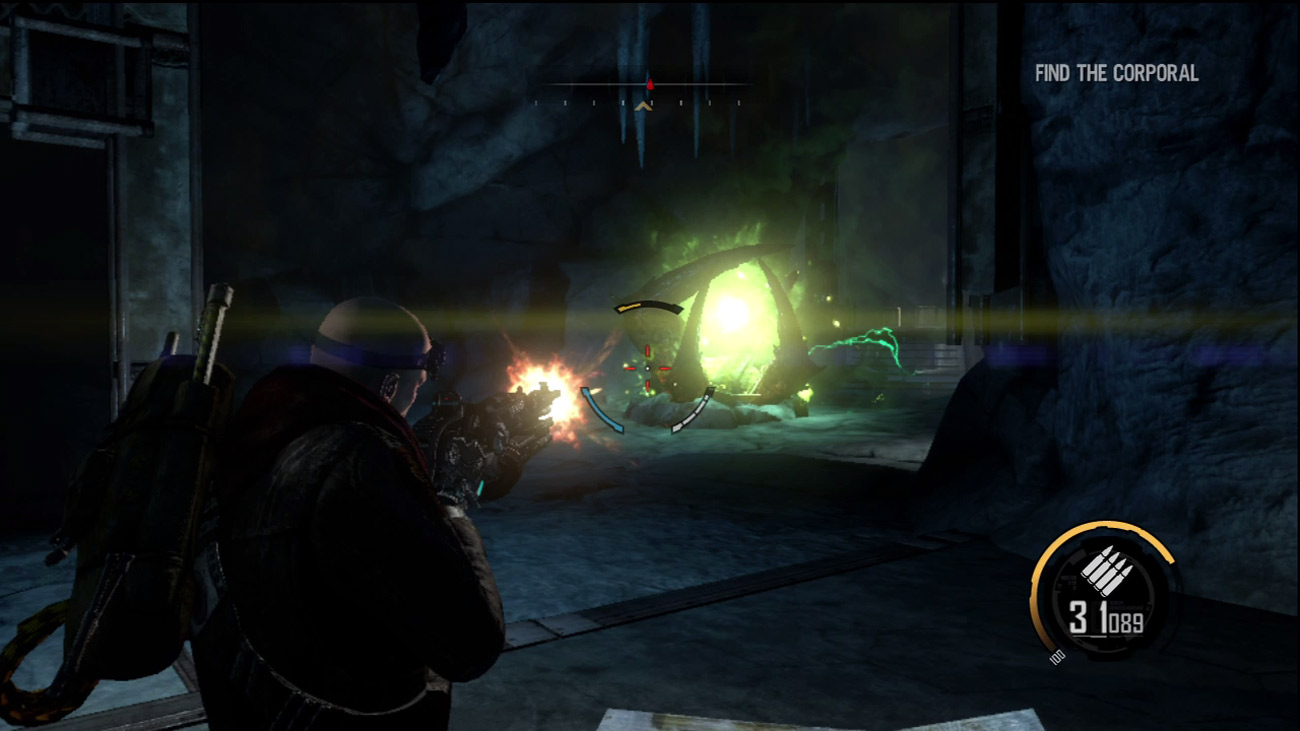
Tossing around the berserker with the Magnet Gun denies him the chance to attack. It's also a great way to keep this devastating foe away from you. Once the berserker is down, locate the second monolith and destroy it. Before pressing forward to Corporal Hoddle's last known position, search the office area for ammo and salvage. This may require repairing sections that were destroyed in our fight with the monoliths and berserker. You can even revisit the upgrade station and weapons locker upstairs before moving out.
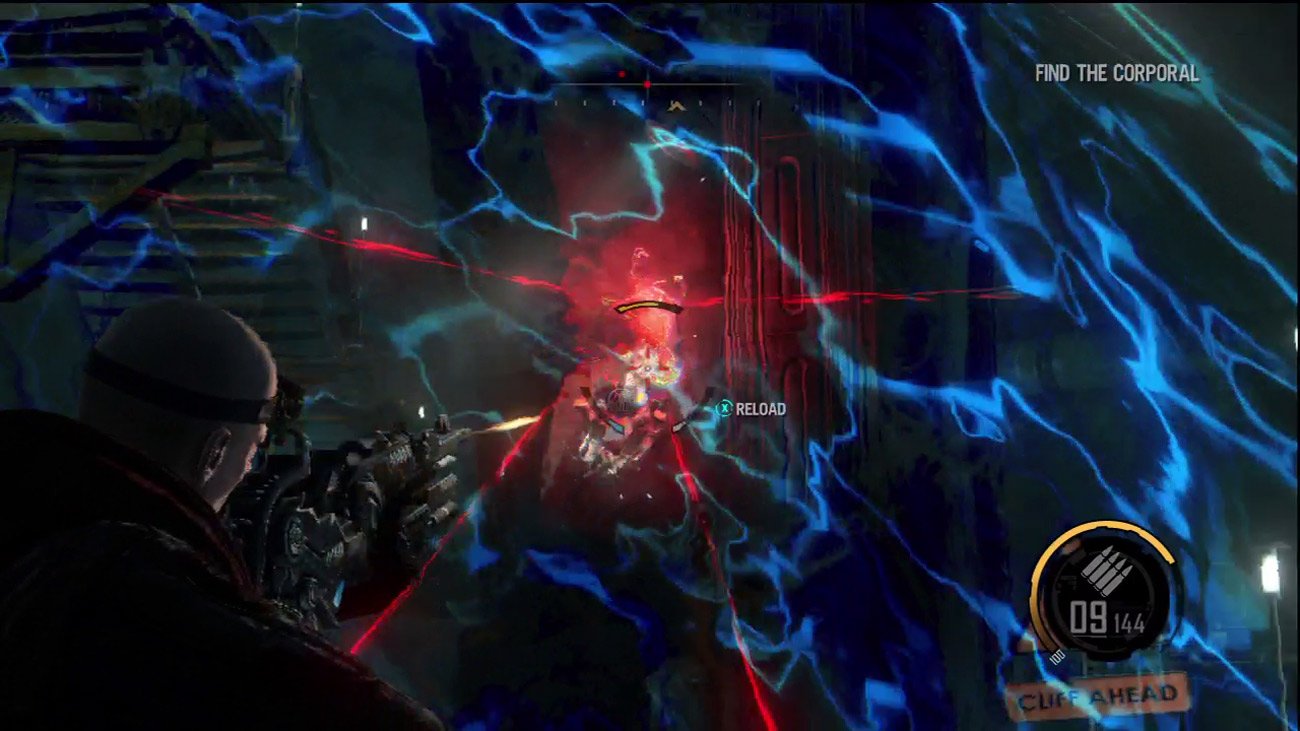
Pass through the cavern where the monoliths were positioned to reach another vaulted chamber. Here you must climb another set of scaffolding while fending off attacks from wraiths. Repair the scaffolding as necessary during the ascent, but only stop to engage the wraiths when standing on firm soil. The Rocket Launcher is still the best way to defeat these pesky creatures, but the resulting explosions do cause extensive damage to the scaffolding. If you begin taking heavy damage, deploy your Shell and stay within the protective bubble while the wraiths attack. You can still shoot out from the Shell, but the wraiths' attacks can't get in.
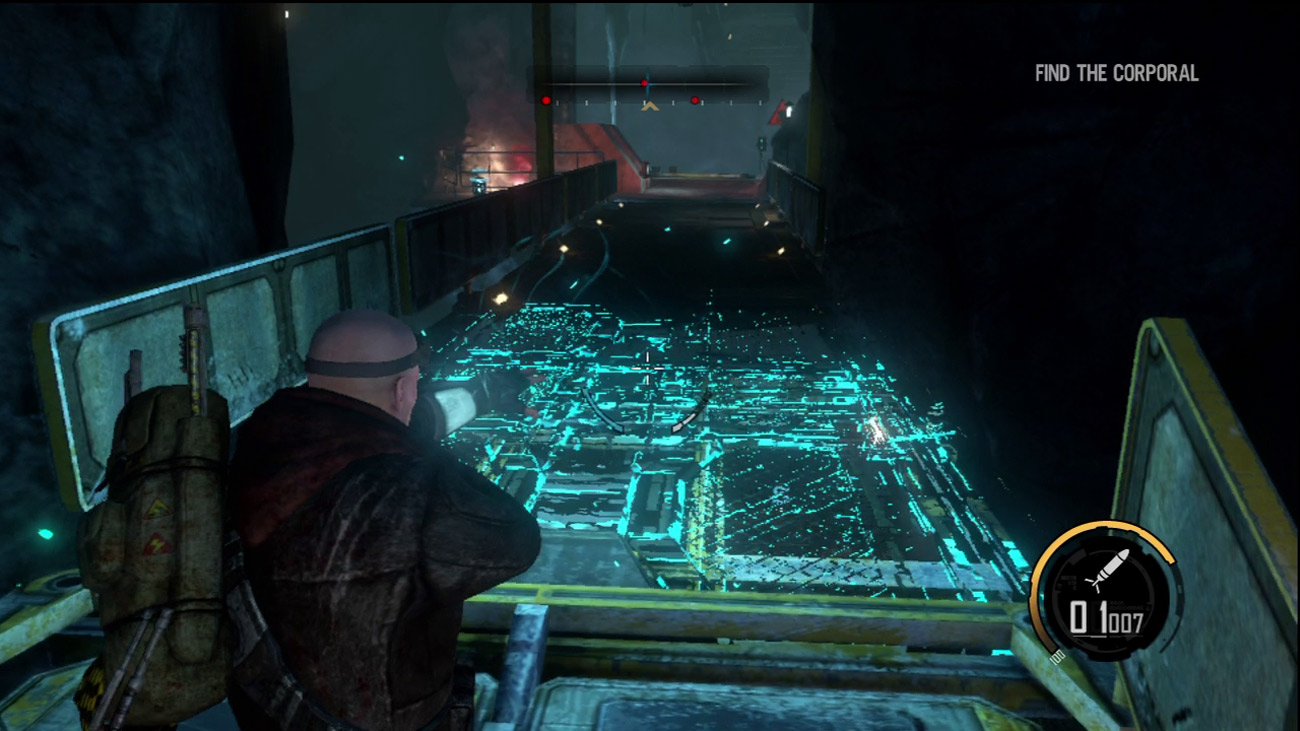
Further up the scaffolding Corporal Hoddle checks in. He says the water purification plant is just ahead. Hoddle must be wounded, because he says he can't go much further. Darius pleads with him to stay put, but it's unclear if Hoddle received the message. Continue repairing the scaffolding during the ascent and watch out for creepers as you reach the top. Blast them as they come into view, but don't let them distract you from your repair duties. If you fall through a damaged section, it may be a long way down. Before you can reach Hoddle's position, you must extend a bridge.
Bridge
New Objective: Extend the Bridge
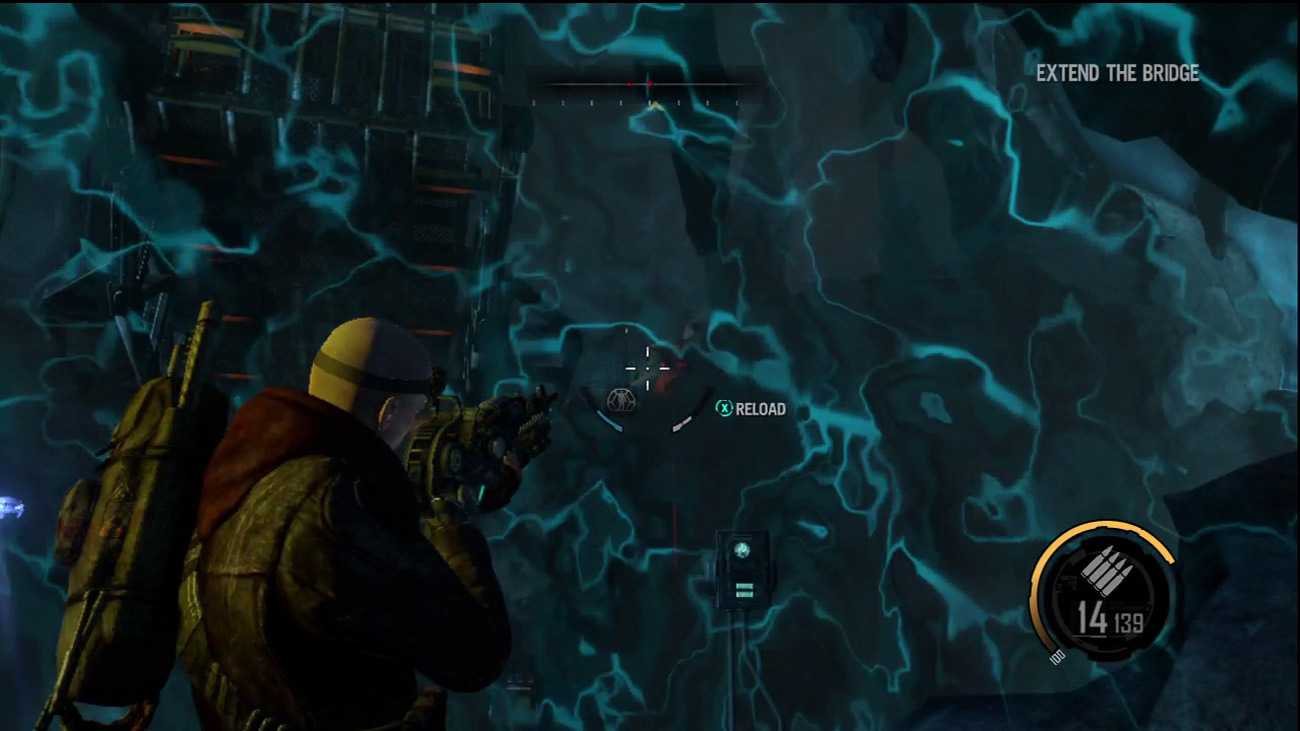
Finish off any remaining creepers before throwing the switch to extend the bridge. Once the area is clear, interact with the control panel. The bridge extends at a very slow pace, leaving you somewhat exposed while waiting. Several ravagers materialize along the cave's ceiling and open fire. Deploy your Shell for protection and return fire using either the Assault or Nano Rifle. If you're low on ammo for these weapons, consider using the Magnet Gun to throw the ravagers about.
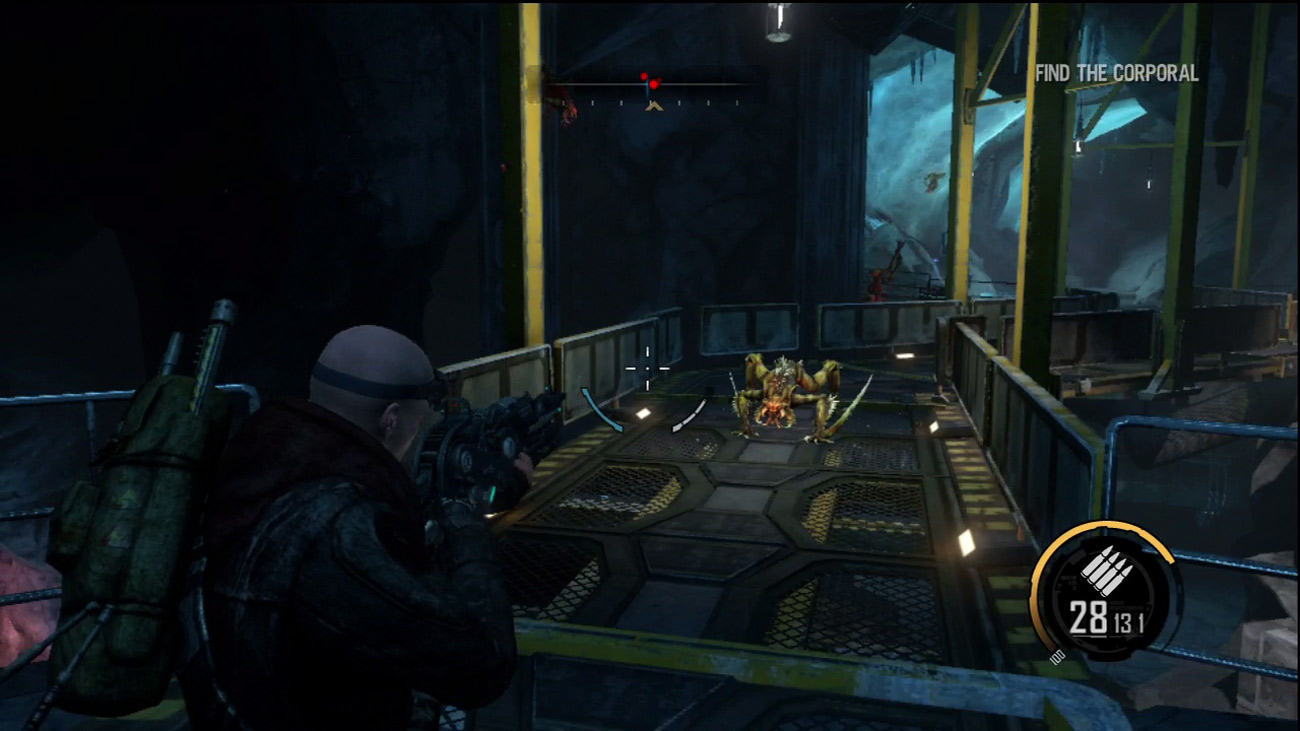
Cross the bridge and follow the adjoining path. You pass another dead Red Faction soldier along the way—grab his Rocket Launcher ammo. Just ahead you come under attack by more creepers. Fight your way past them and cross the catwalk, following the GPS markers (and signs) to the elevator where Corporal Hoddle is located, but don't rush. There are some ammo and salvage pick-ups along the way. After crossing the catwalk, search the dark alcove on the right for a large collection of salvage.
Elevator
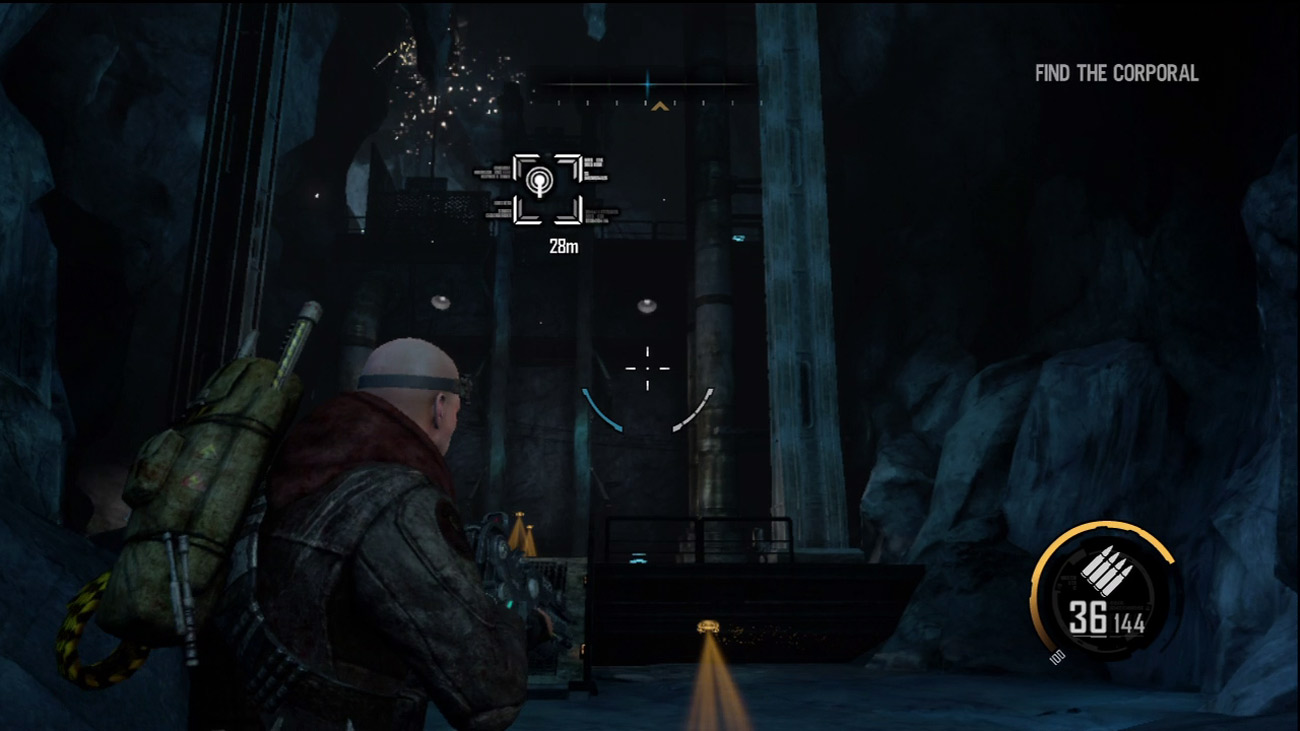
S.A.M. reports that Hoddle's last transmission came from the elevator, but the elevator's generator is damaged and well out of reach. S.A.M. states that such a long-distance repair is theoretically possible by overloading the Nano Forge and projecting nanites. Darius isn't crazy about the idea, but there are no other options. Before you can attempt such a repair, you must first find an upgrade station to acquire this new ability.
New Objective: Find an Upgrade Station
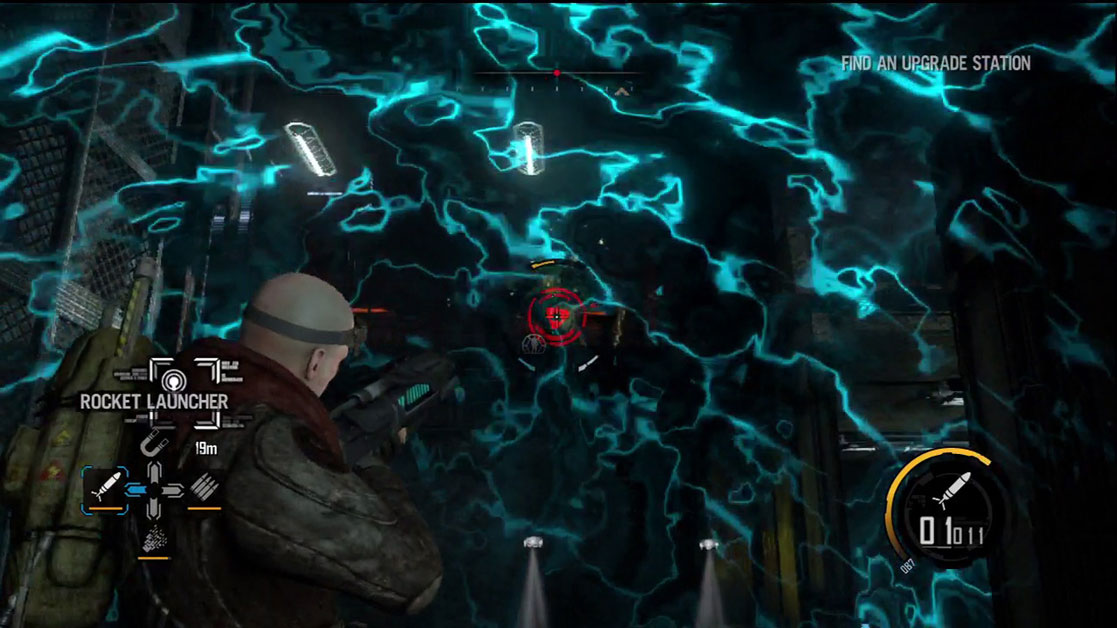
Turn away from the elevator and follow the GPS markers into the adjoining cavern. You're suddenly ambushed by a wraith. Deploy your Shell and return fire until the wraith is down for the count. Proceed to the science lab structure and cautiously step inside. Soon after entering the structure you come under attack by a berserker and several ravagers. Quickly blast the ravagers first, annihilating them with the Nano Rifle. Next, deploy another Shell and use the Rocket Launcher to engage the berserker. Keep hitting the berserker until he explodes. As long as the Shell is deployed, it can repel the berserker's powerful energy blasts, allowing you to survive a toe-to-toe duel with this formidable creature.
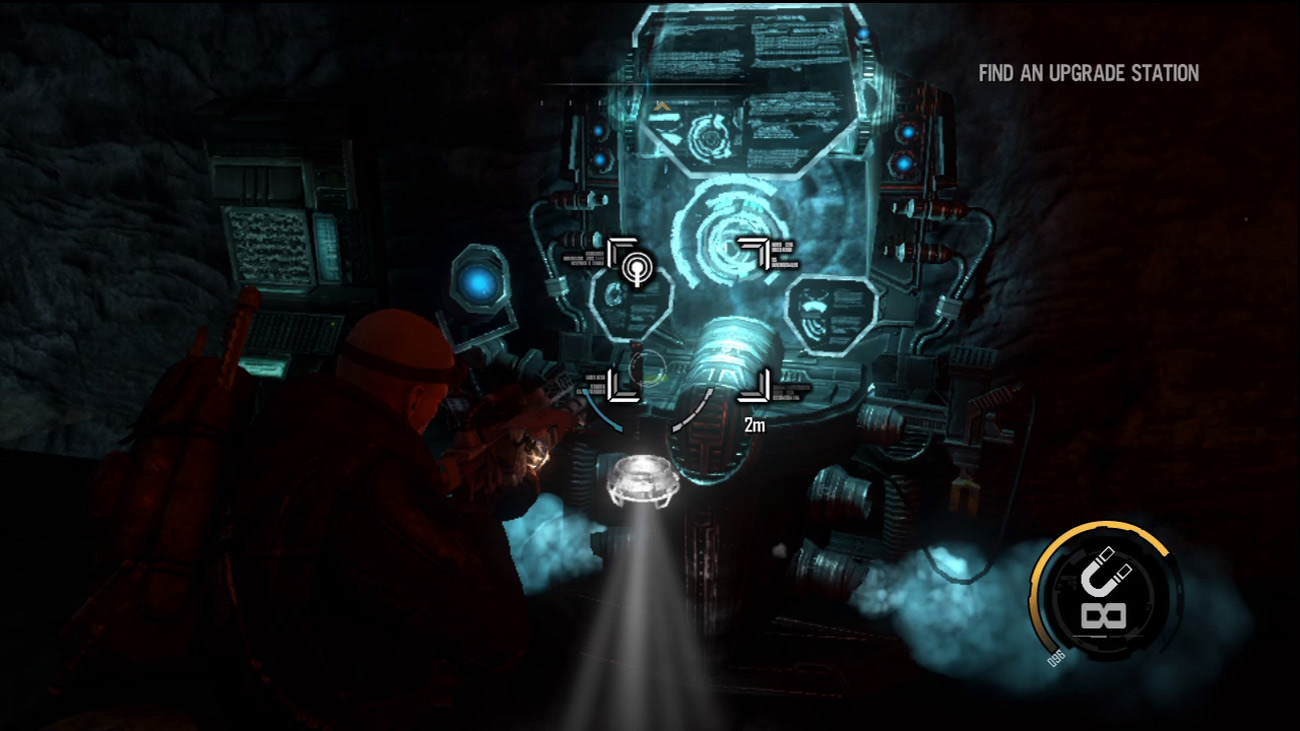
The upgrade station is located on the science lab's upper floor. You may need to repair the upper level catwalks along the way. Also be sure to search the adjacent rooms for salvage and ammo. Accessing the upgrade station automatically grants you the Repair Grenade capability—this costs you no salvage. If you like, take a moment to purchase any other upgrades you can afford. Downstairs there's also a weapons locker. While your current weapon load-out is sufficient, feel free to mix it up. It is strongly advisable to keep the Rocket Launcher, Nano Rifle, and Magnet Gun, however.
New Objective: Repair the Elevator Generator
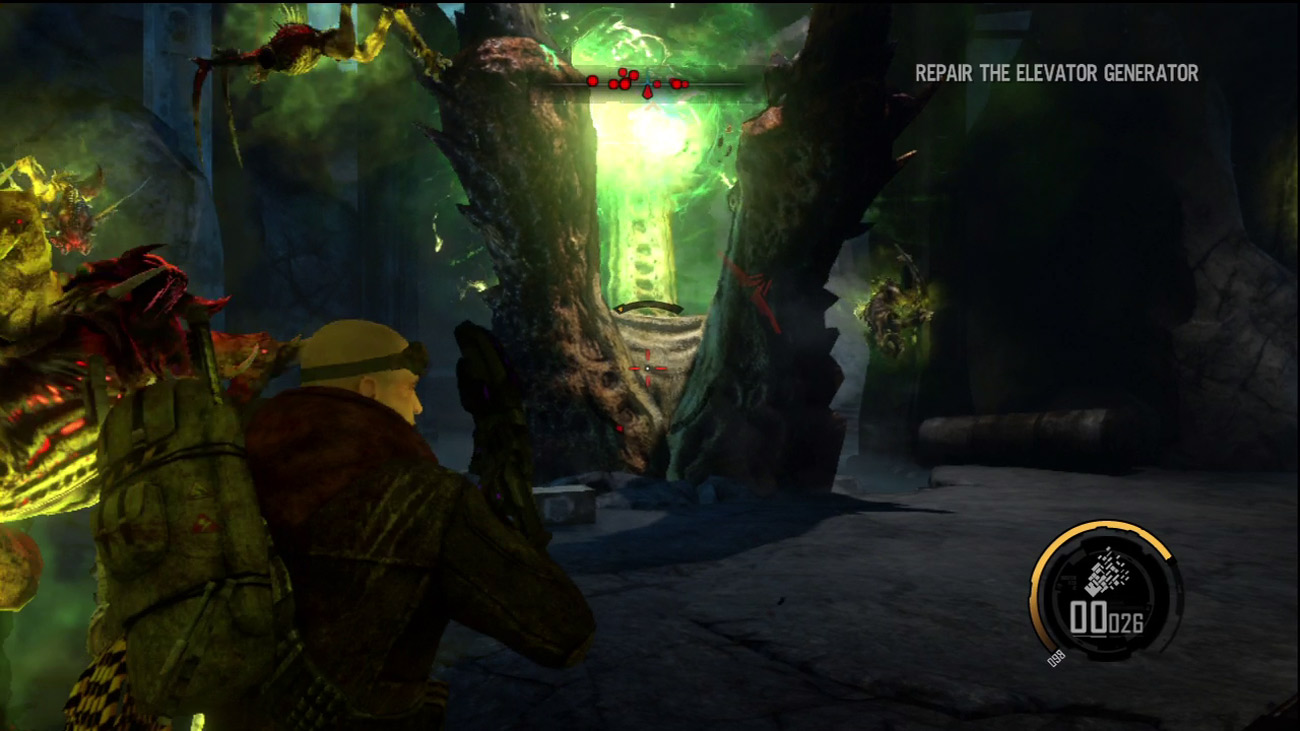
With the Repair Grenade capability now at your disposal, return to the elevator. The cavern outside the science lab is swarming with alien creatures. Soon after you step out of the building, a monolith sprouts from the ground nearby and multiple creepers scurry toward you. Take out the monolith quickly by blasting it with the Rocket Launcher. Once the monolith is destroyed, focus on the creepers. Keep moving and shooting. Use Impact or Shockwave as necessary to put some space between yourself and these creatures. Just be sure to eliminate all the enemy contacts on your compass before advancing.
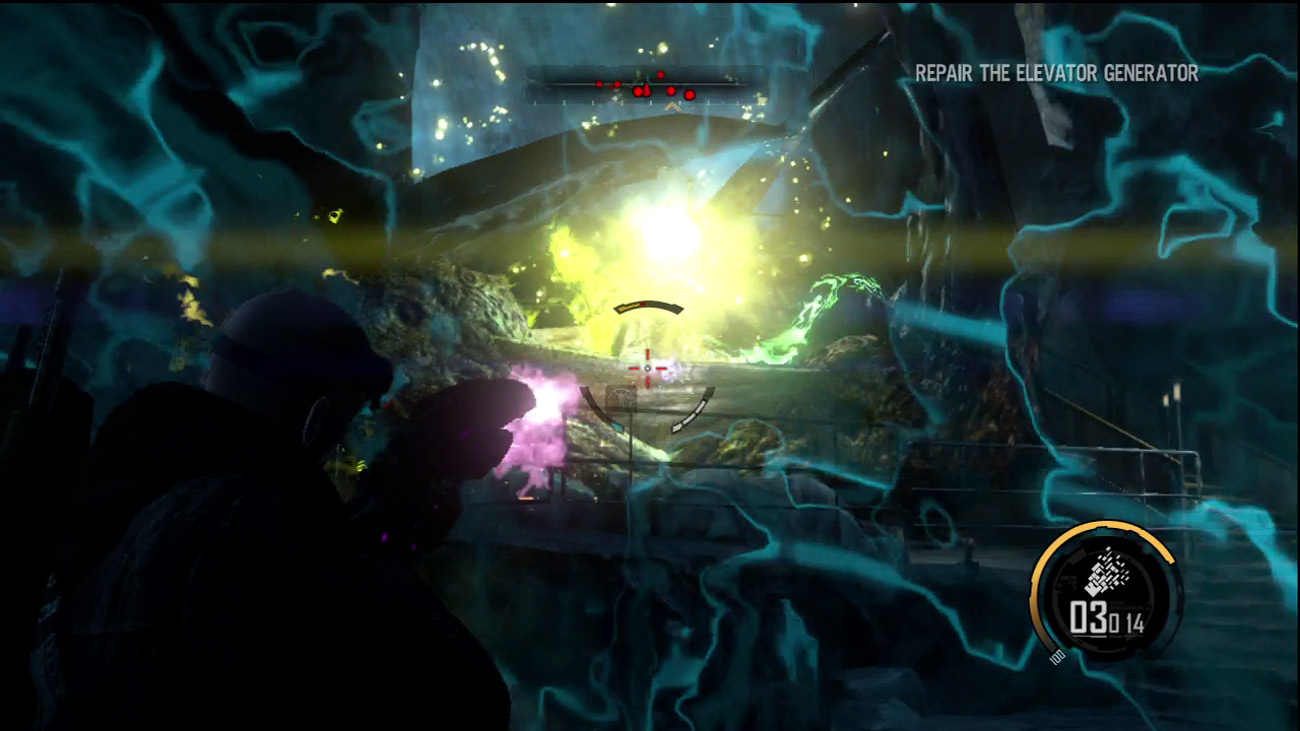
This allows you to hold your ground and pound the monolith with rockets. The Shell also repels the creepers, preventing them from performing melee attacks. If you run low on rockets, hit the monolith with the Nano Rifle. With the monolith out of the way, mop up the creepers by either shooting or stomping them.
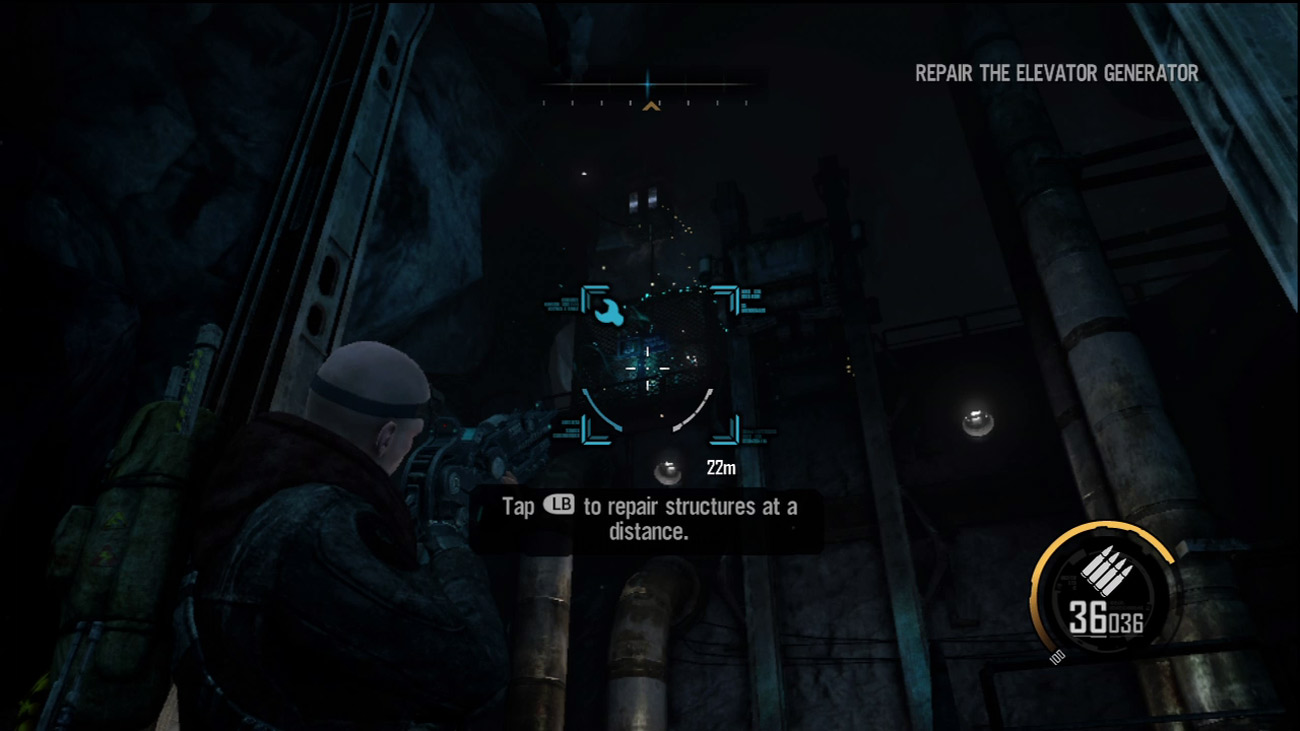
At the elevator, aim up at the generator marked on the HUD and then press the button shown on screen to fire a repair grenade. As S.A.M. theorized, the projected nanites work, restoring the generator. Board the lift and ride it up to the next level where Corporal Hoddle is located. In the following cutscene, Darius rushes over to Hoddle—he's still alive, but not for long.
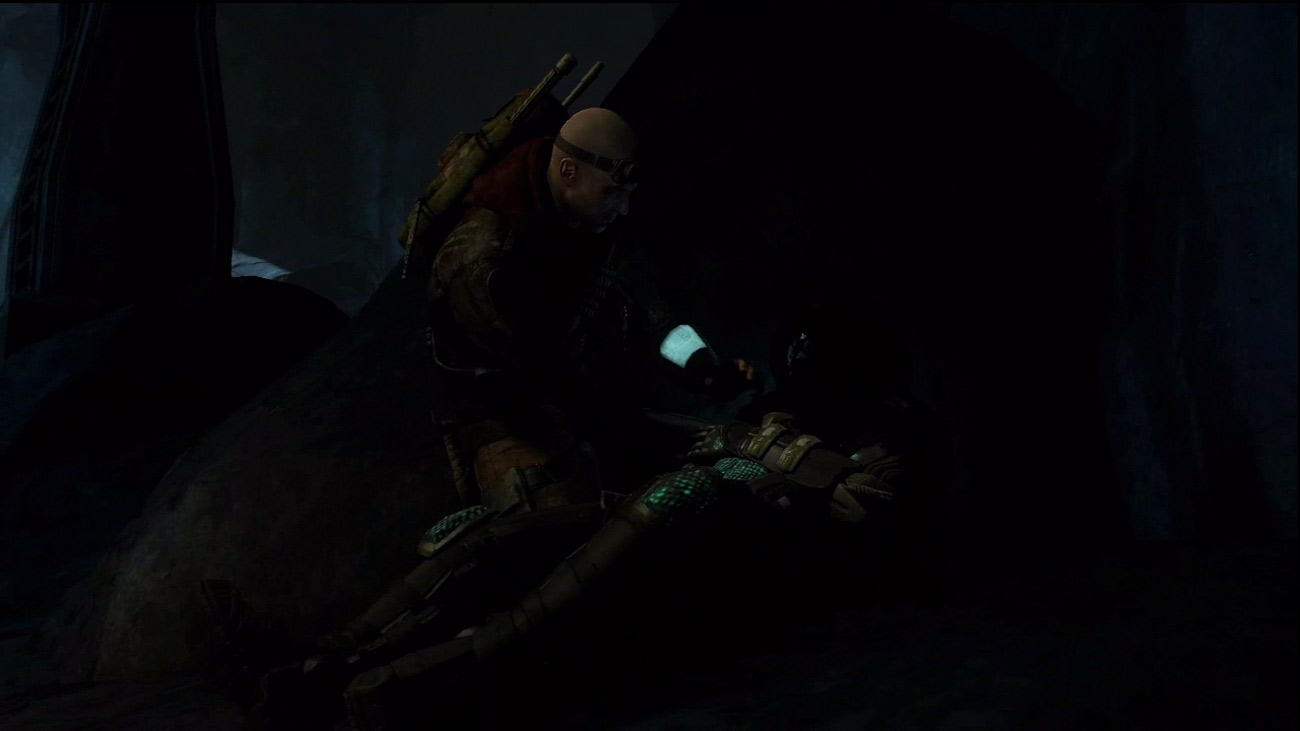
After murmuring a few words, Hoddle succumbs to his wounds. Darius is now committed to finishing the job and tells S.A.M. to provide a heading for the water purification plant.
New Objective: Get to the Purification Plant
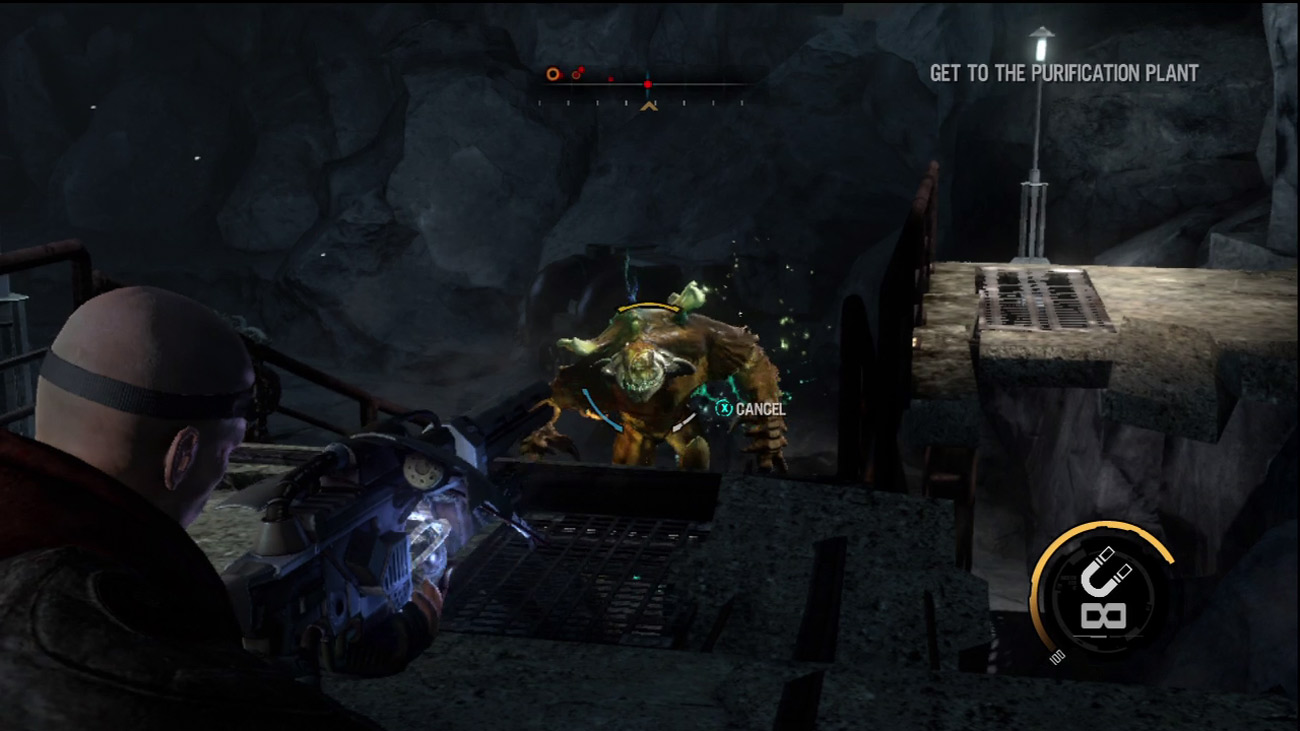
Follow S.A.M.'s new GPS coordinates up the nearby steps. A few ravagers attempt to halt your advance, but they're no match for your Nano Rifle. Put them down fast. Follow a series of ramps to a lower level. Here you come under attack by more ravagers and a berserker. Equip the Magnet Gun and target the berserker. Use the berserker as a wrecking ball to smash the ravagers. Keep bouncing the berserker around the cavern until he explodes. Now go after the remaining ravagers and the two pods from which they spawn. Use the compass to track down each pod and destroy it with the Rocket Launcher or Nano Rifle. Once all enemy contacts disappear from the compass, take a moment to search the surrounding area for ammo and salvage.
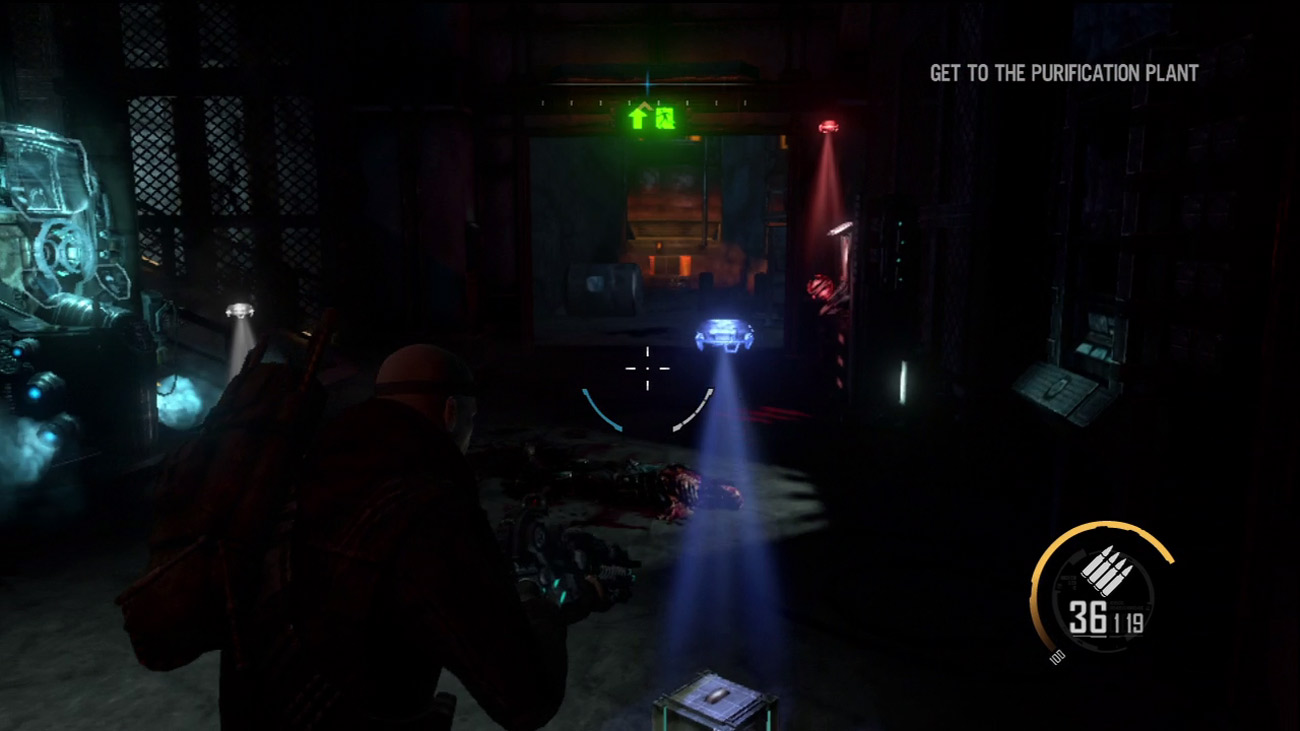
Stay on the path leading to the purification plant. Along the way you pass through a structure fitted with an upgrade station and weapons locker. Purchase any upgrades you can afford and then adjust your weapons load-out. This time bring along the Plasma Cannon, Magnet Gun, Nano Rifle, and Assault Rifle. Once you're outfitted, head upstairs to grab some more salvage before proceeding toward Deep Freeze 2. The large red tanks outside the structure can be destroyed for even more salvage.
Deep Freeze 2
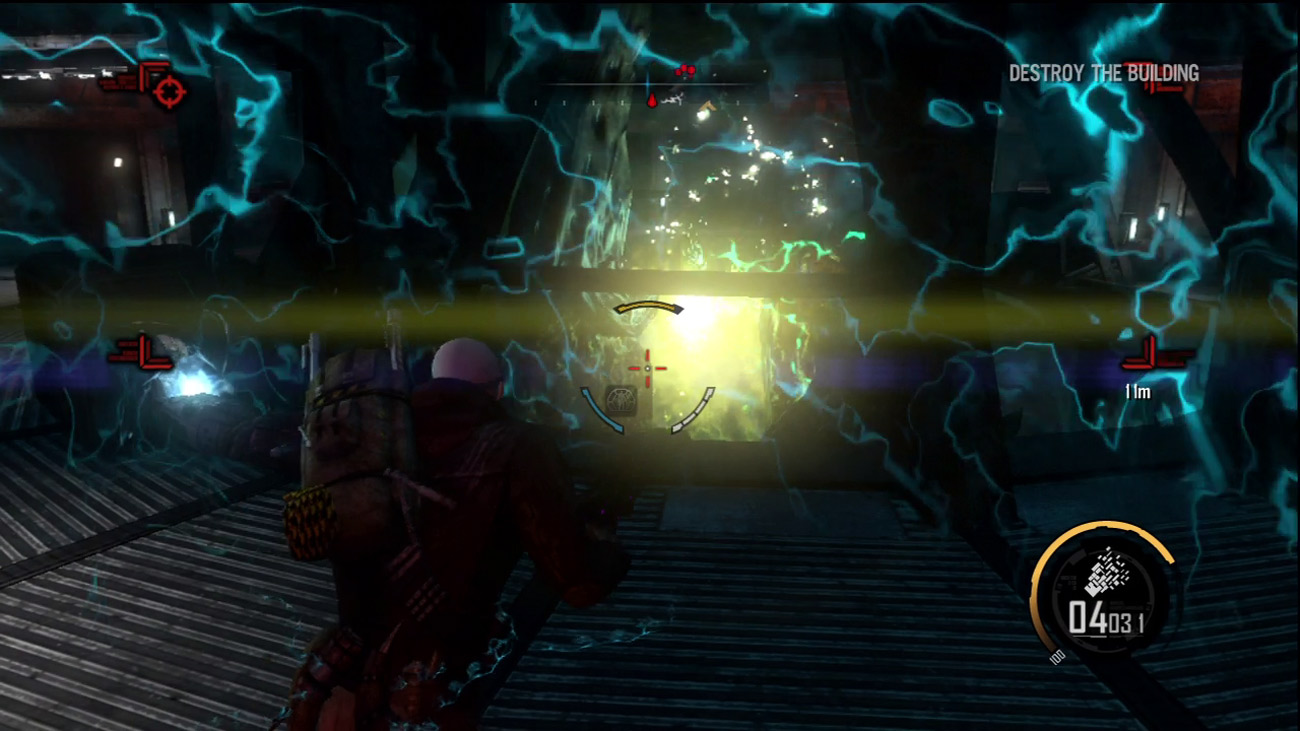
Continue through the adjoining cavern to trigger a cutscene showing Darius entering the purification core. But something's wrong—the aliens have infested the whole structure! Following the cutscene, deploy a Shell and take aim at the ravagers swarming around you. Blast them with the Nano Rifle until the interior of the structure is clear.
New Objectives:
Destroy the Building
Clear the Area
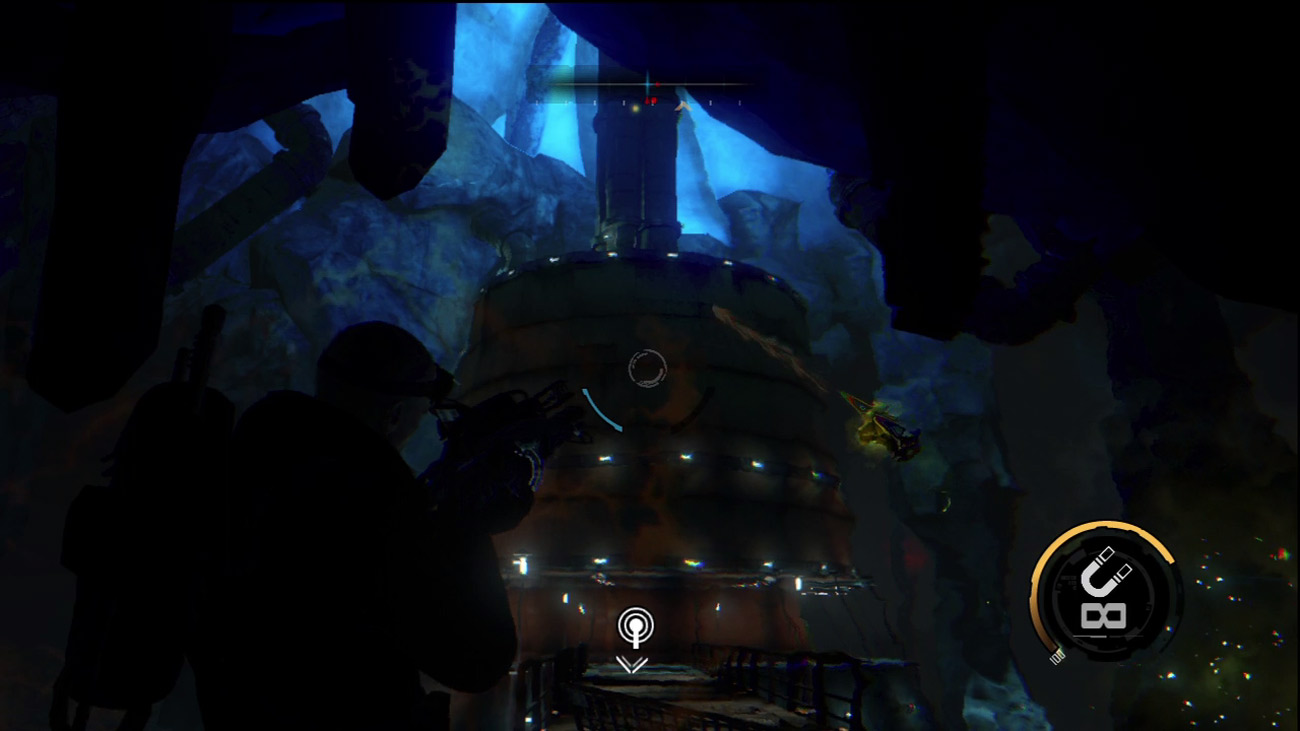
After eliminating the ravagers, locate the catwalk leading outside the structure and race to the dirt path surrounding this chamber. From here you can better target the structure and the aliens surrounding it. Watch out for wraiths attacking you from long and close range. If you can't deploy another Shell yet, just keep moving and shooting until the bulk of the alien attackers are eliminated. Next, target the berserkers with the Magnet Gun and use their bodies as wrecking balls against the purification plant. You must completely demolish the structure, so this is a great way to inflict some heavy damage—plus it keeps the berserkers from firing at you. But even the durable berserkers won't be able to withstand this much abuse. When you have no more enemies to use as ammo, dismantle the rest of the structure with the Magnet Gun or Plasma Cannon. Once the structure has completely collapsed, hunt down the surviving aliens. S.A.M. has received reports of hostile attacks on the outskirts of Bastion. Before leaving this area, scour the debris for salvage and ammo. When you're ready to leave, hold down the button shown on screen to return to Bastion.